You have seen it dozens of times on your feed, on someone's hand at a restaurant, in a TikTok you bookmarked but never returned to. But every time you've searched for an explanation, you've ended up more confused than when you started.
Syrup nails are one of those looks that seems almost impossibly simple on screen and mysteriously elusive in real life. The finish is like nothing else: translucent, ultra-glossy, slightly pooled at the tips, the colour appearing to melt through the nail rather than sitting on top of it. And yet half the internet insists it's just jelly nails with a rebrand, your local nail tech looks slightly blank when you say the word "syrup," and you still don't know whether you need a UV lamp, a specific gel brand, or four coats versus two.
This post is the one that actually answers those questions. What the look is. What makes it different from every other sheer manicure. Which colours give you quiet luxury versus which ones give you children's party. And whether the syrup nail trend is still worth booking in 2026 because the answer is more interesting than a simple yes.
What Makes Syrup Nails Look Different From Every Other Sheer Manicure
Three things set a syrup nail apart from every other translucent finish and all three have to be present at once for the look to actually land.
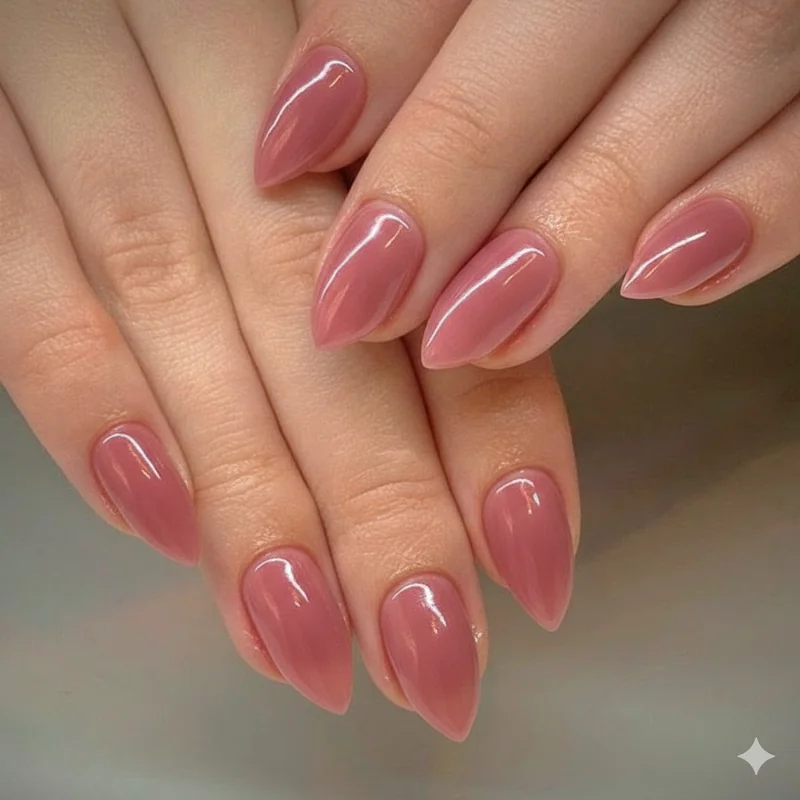
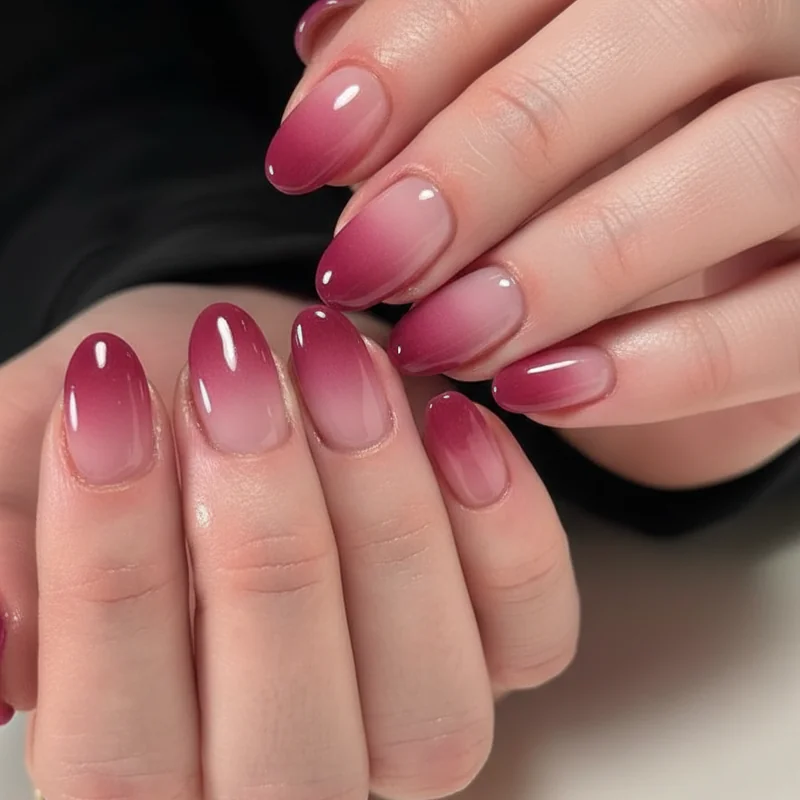
The first is the finish. Not just glossy, but wet-looking the kind of high-gloss surface that makes the nail appear freshly dipped. The second is the colour behaviour: syrup nail colour doesn't sit flatly across the nail. It pools. It deepens slightly at the tip and thins out towards the base, which is what gives the look its signature gradient even when no deliberate ombre technique has been used. The third is nail bed visibility. A properly done syrup nail lets the natural nail structure show through the lunula, the slight translucency of the free edge because that visibility is what makes the whole thing look alive rather than painted.
This is why you can apply a sheer pink and get a syrup nail. You can also apply a sheer pink and get nothing remotely like one. The formula, the layering technique, and the topcoat all determine which outcome you get.
The look originated in Seoul, where nail artists started using a product category known as syrup gel a slightly thicker, self-levelling gel formula that produces that characteristic pour-and-pool effect without effort. You can read more about the Korean syrup and jelly nail trend and how it crossed from Korean nail studios into global salon menus. The product came first. The name followed.
Syrup Nails vs Jelly Nails: The Difference Actually Matters
Most people treat these as interchangeable. Most people are wrong and the confusion is costing them accurate salon results.
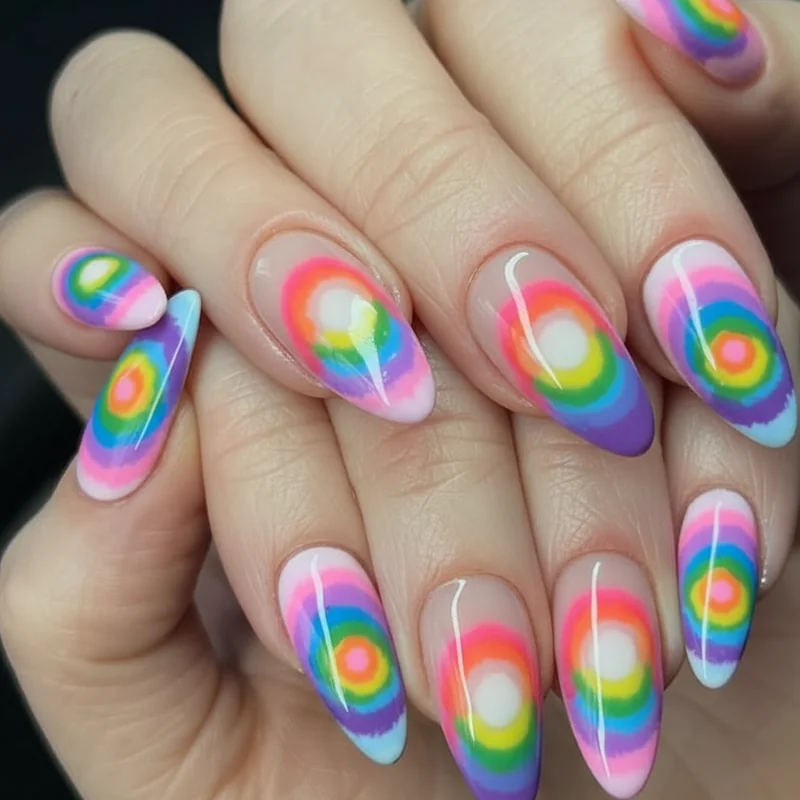
Jelly nails are defined by their candy-like translucency and vibrant finish. Think stained glass. Think hard boiled sweet. The colour is saturated enough to be bold while still remaining see-through, and the effect tends to be consistent from cuticle to tip. Jelly nails prioritise colour pop. They are cheerful, eye-catching, and unapologetically sweet.
Syrup nails are quieter. Where jelly nails push colour forward, syrup nails pull it back the colour melts into the nail rather than decorating it. The gradient is the point. The sheerness is deliberate, not just a side effect of the formula. A syrup nail at its best looks like the colour is inside the nail, not on it.
The product distinction matters too. Jelly gel polish is a broad category bright, translucent shades in a standard gel formula. Syrup gel is a specific product type: a self-levelling, slightly viscous formula with a built-in gradient-friendly consistency that pools naturally at the tips. You can approximate a syrup finish with jelly gel polish, but the effect requires more deliberate technique to replicate what syrup gel does on its own.
The short version, if you're heading to a salon: asking for "jelly nails" will likely get you a bold, uniform translucent colour. Asking for "syrup nails" should get you something more gradient, more diffused, and more quiet. Bring a photo regardless.
The Best Syrup Nail Colours Right Now And Which Work For Your Skin Tone
A syrup nail is only as good as the colour you choose. "Sheer pink" is not a colour. It is a category containing both the most beautiful syrup nail you have ever seen and the most washed-out, nothing finish imaginable and the difference is almost entirely about whether the shade was chosen for your specific skin tone.
Here is how to read the landscape:
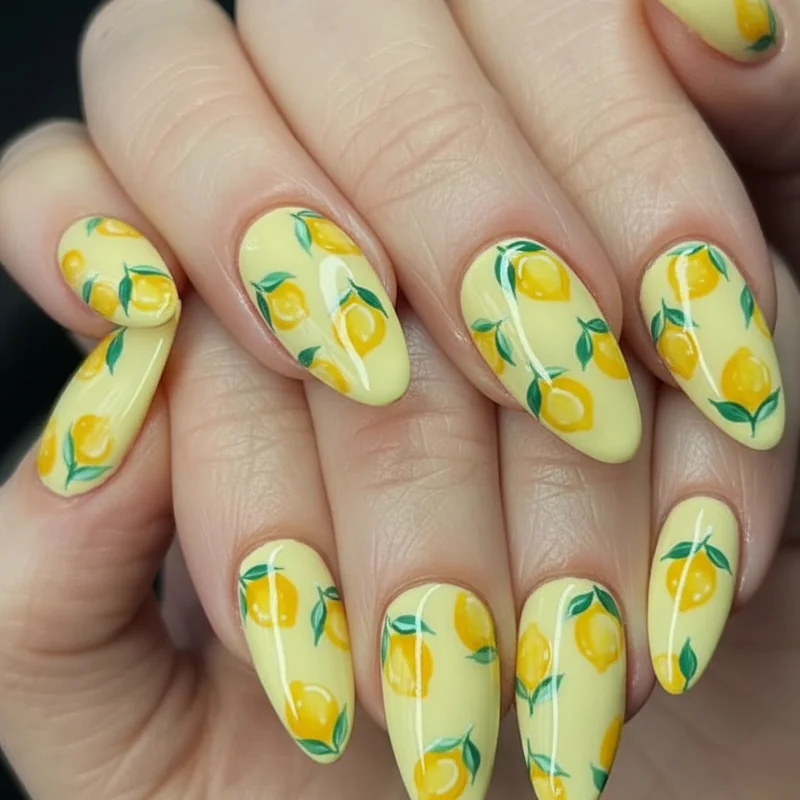
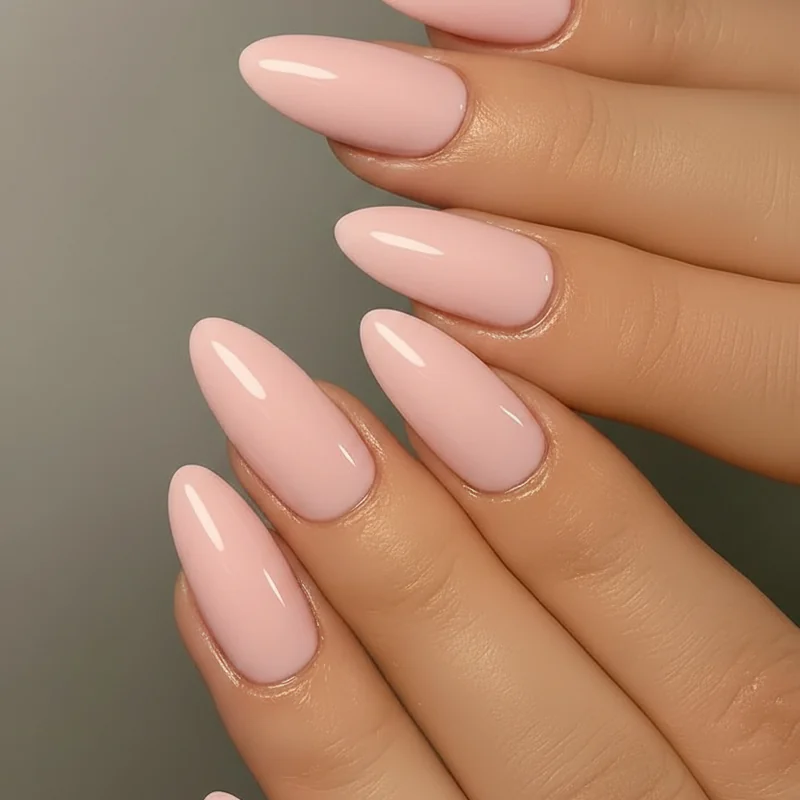
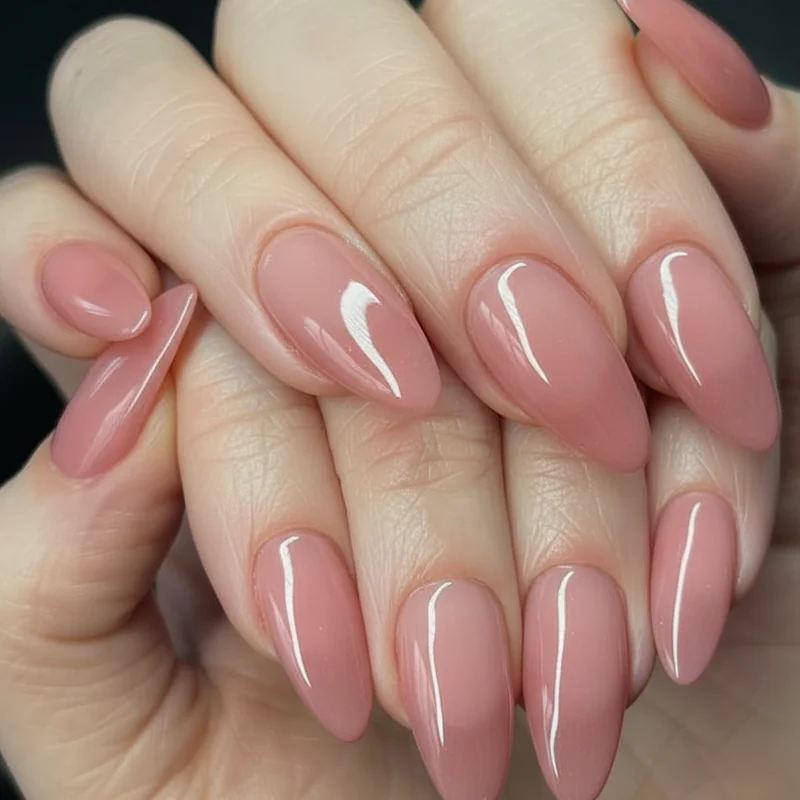
Fair to light skin tones respond well to the classic syrup palette: soft pinks, milky rose, sheer peach, and barely-there nudes with a warm or neutral undertone. The goal is a colour that reads as "better than your natural nail" rather than "painted." Cherry blossom pink, glazed caramel, and sheer white with the faintest blush tint all work beautifully. Avoid anything too cool or grey-toned these tend to look slightly ashy against lighter skin rather than luminous.
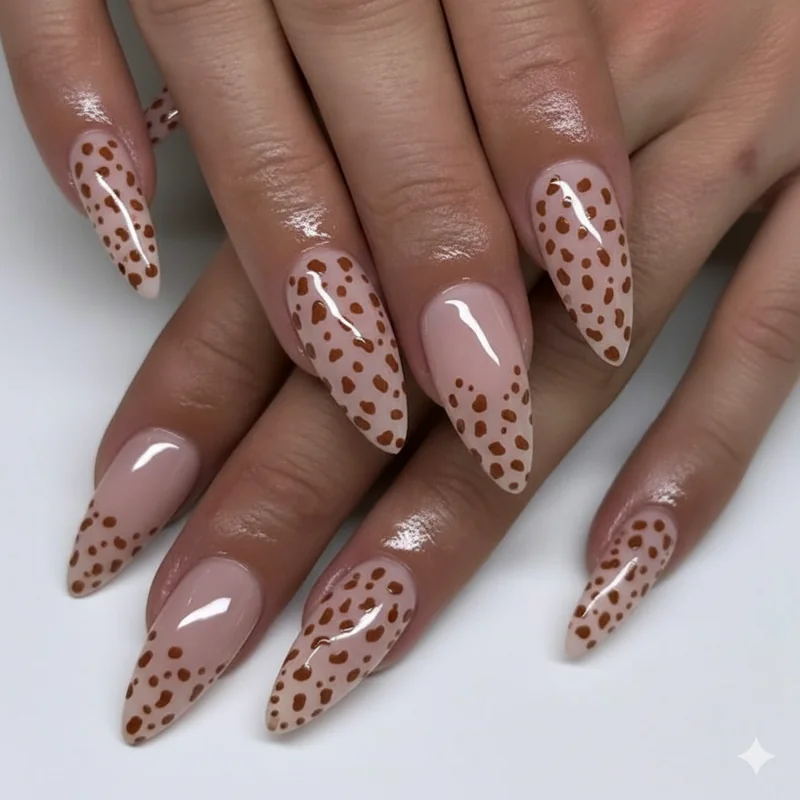
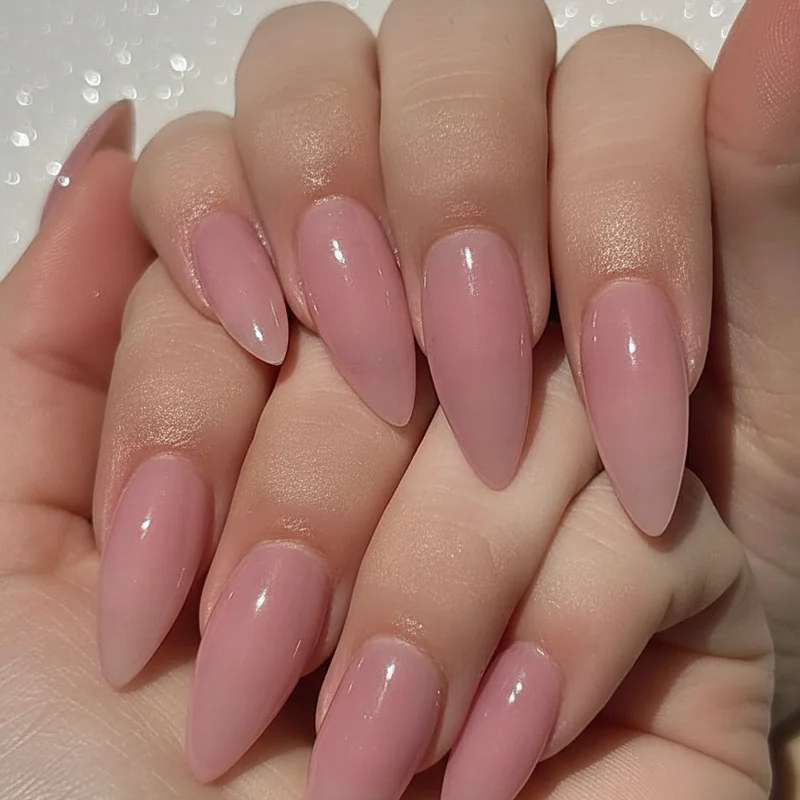
Medium and olive skin tones have the widest range. The classic pinks work, as do warmer sheers: apricot, sheer coral, peachy bronze, and the caramel-amber shades that mimic the original maple syrup inspiration literally. A sheer terracotta in two coats, gradient-applied, is one of the most flattering syrup nail looks on an olive complexion.
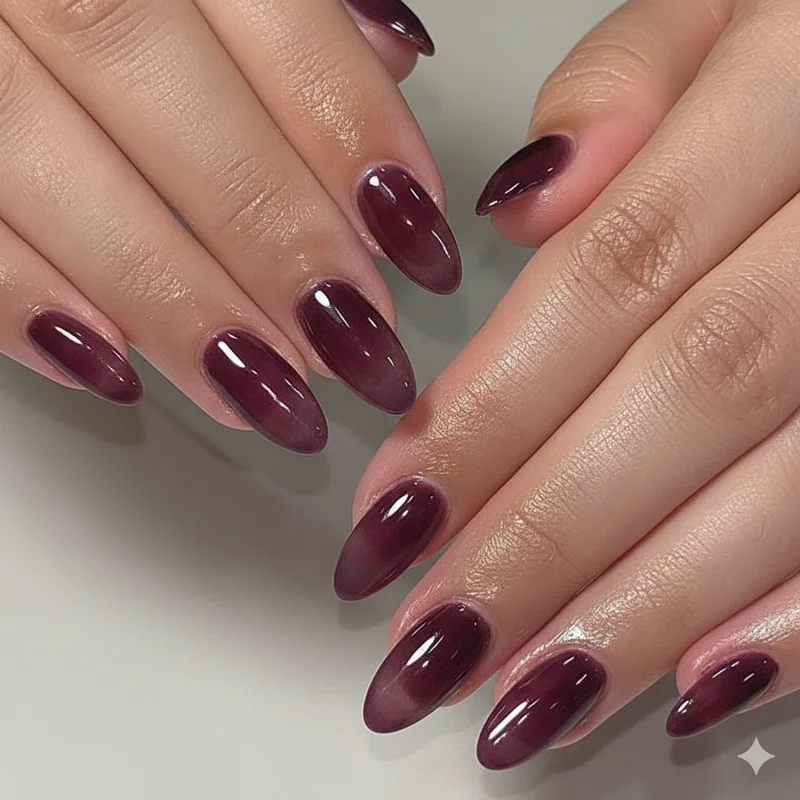
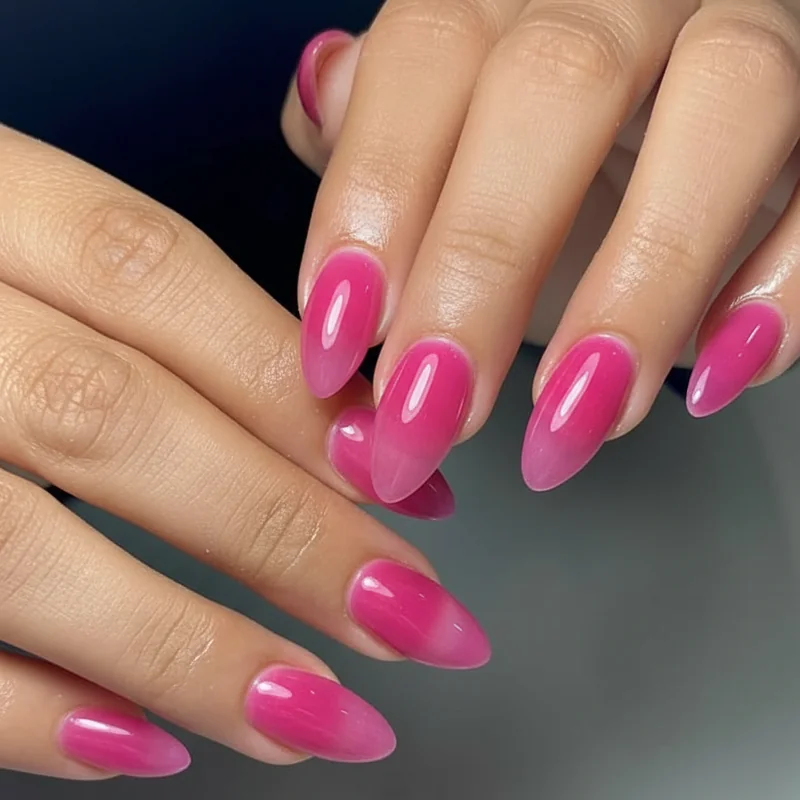
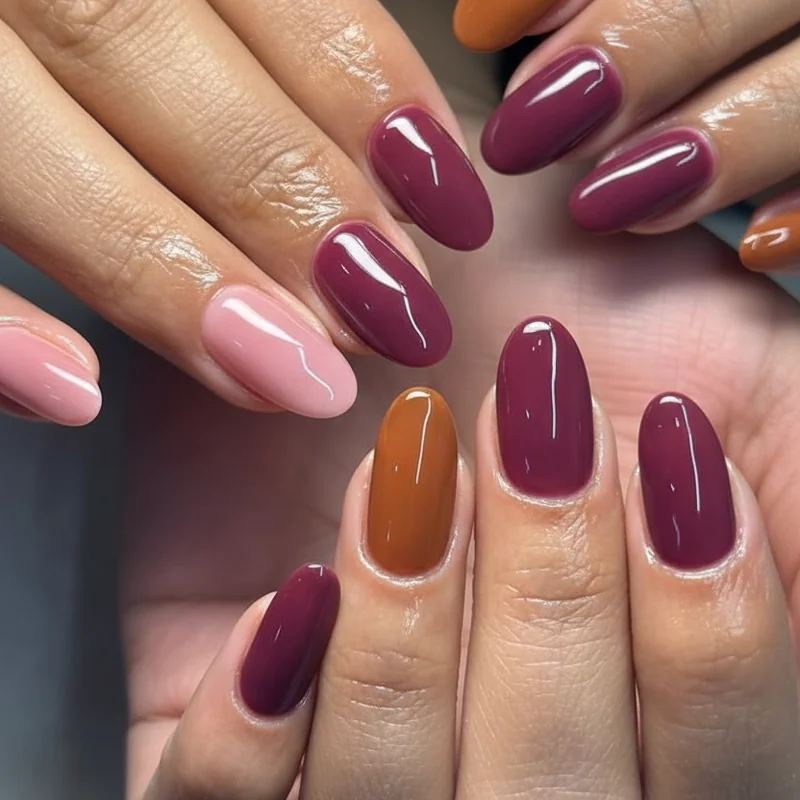
Deep skin tones are where syrup nails get genuinely interesting and where competitors consistently fail to be specific. Avoid pale pinks entirely; they disappear or read as off-white. Instead, go for the deeper end of the syrup palette: rich berry sheers, plum-tinted clears, deep cranberry built to two or three coats, sheer espresso brown with a glossy topcoat. The 2026 evolution of the trend has moved in exactly this direction towards jewel-toned sheers that work across all skin tones, not just the palest ones. A deep mulberry syrup nail on dark skin is one of the most arresting looks the trend has produced.
One rule across all skin tones: a single coat of syrup gel will almost always look better than you expect and two or three coats will always look more intentional. Build slowly.
Do Syrup Nails Work on Short Nails?
If your reference for syrup nails is an image of long almond-shaped tips pooled in sheer amber gel, this question is completely understandable. The answer is yes and arguably, the look was designed for shorter nails.
The Korean nail artists who developed the syrup nail aesthetic were explicitly working with shorter nail lengths. Celebrity nail artist Sarah Chue, who credits Korean studios with defining the current iteration of the trend, has noted that keeping nails short is actually key to the look. A shorter nail bed concentrates the gradient effect, makes the nail bed visibility more noticeable, and creates the pooling at the tip that defines the finish. Long nails with syrup gel can look beautiful, but they require more deliberate technique to prevent the colour from spreading too flatly across a larger surface.
The shapes that suit syrup nails best on shorter lengths: rounded, squoval, and soft oval. All three allow the gradient to pool naturally at the free edge. If you have shorter, wider nail beds, a soft oval is your most flattering option because it creates the visual illusion of length while keeping the syrup effect centred. For shape ideas and design pairings, the almond nail guide for 2026 is worth bookmarking too some of those shapes translate directly into beautiful syrup nail territory.
Square and stiletto shapes can both work, but they demand more precise gradient technique. If you're DIYing, round or squoval will give you the most forgiving result.
How To Get Syrup Nails at Home Without a UV Lamp
The lamp question is the one that stops most DIY attempts before they start. Here is what's true: gel syrup nails the real, product-specific version require a UV or LED lamp to cure. There is no workaround for that.
What is also true: you can achieve a genuine syrup nail finish with regular polish. The gap between the two is primarily longevity and depth, not appearance.
The method that works is the 1:2 ratio: one part your chosen colour polish to two parts a clear or sheer gloss polish, mixed together before application. The result is a custom sheer formula that behaves like a syrup gel the colour is thinned enough to be translucent but concentrated enough to build. Apply in thin layers, concentrating slightly more polish at the tip with each coat to build the gradient. Three coats, each allowed to dry fully, is usually the sweet spot.
The second element is the topcoat, and this is where most at-home attempts fall short. A standard topcoat will not give you the syrup finish. You need a high-gloss, thick topcoat the kind described as "gel-effect" or "ultra-shine." The gloss is not decorative; it is structural to the look. For more technique support and beginner-friendly nail guides, the easy nail designs for beginners section has tutorials that cover layering and topcoat application in detail.
The Step-by-Step Syrup Nail Technique (For Gel and Regular Polish)
Nail prep is not optional. Every syrup nail failure lifting at the edges, uneven gradient, topcoat dulling traces back to preparation, not product.
For gel syrup nails:
Start with clean, shaped nails. Apply a dehydrator, let it fully evaporate, then follow with a base coat and cure under your lamp. Apply your first coat of syrup gel in a thin, even layer from the cuticle area to about two-thirds up the nail not the full length. Cure. On the second coat, start from the midpoint and pull to the tip, concentrating more product there. Cure. The third coat, if needed, is tip-only. Finish with a gel topcoat for the signature gloss. The professional technique behind this syrup gel gradation technique is worth reading before your first attempt it covers the exact brush angle and pressure that creates the self-levelling pour effect without flooding the cuticle.
For regular polish:
Mix your 1:2 ratio in a small dish before starting. Apply two thin coats of a dehydrating base coat this step significantly extends wear time for sheers, which tend to lift faster than opaque polishes. Apply your mixed colour in three layers using the concentration method described above: even coat from base, build at the midpoint, concentrate at the tip. Seal with a gel-effect high-gloss topcoat. If you want to replicate the syrup effect at home using products you may already own, there are detailed instructions on how to mix your own syrup nail polish that cover ratio adjustments for different base colours.
How Long Do Syrup Nails Last And How Do They Grow Out?
Gel syrup nails last two to three weeks without chipping, which puts them in line with standard gel manicures. The grow-out, however, is kinder than most gel finishes and this is one of the things the internet consistently forgets to mention.
Because syrup nails are translucent by design, the new growth at the cuticle area is far less visible than it would be with an opaque gel colour. The gap that forms after two weeks is sheer against sheer, rather than the stark contrast of dark opaque gel growing out from a pale nail bed. Most people find they get an extra three to five days of wear from syrup nails before the grow-out becomes obvious. That is not nothing.
Regular polish syrup nails last five to seven days with a gel-effect topcoat, or three to five days with a standard gloss. Reapplying the topcoat every two days significantly extends this. The colour itself is less prone to visible tip wear than opaque polish, again because the translucency makes small chips less stark.