Mother's day nails DIY does not have to mean a compromised result. These five designs were chosen because they are genuinely achievable at home — not salon-level aspirational content with no technique guidance behind them. Before you pick up the brush, browse our full round-up of designs to find the one that suits your mum's style in our guide to Mother's Day Nail Ideas: 50+ Designs for Every Mom.
US Mother's Day falls on 11 May 2026. That gives you time to practise once before the real thing — and practising once is genuinely worth it.
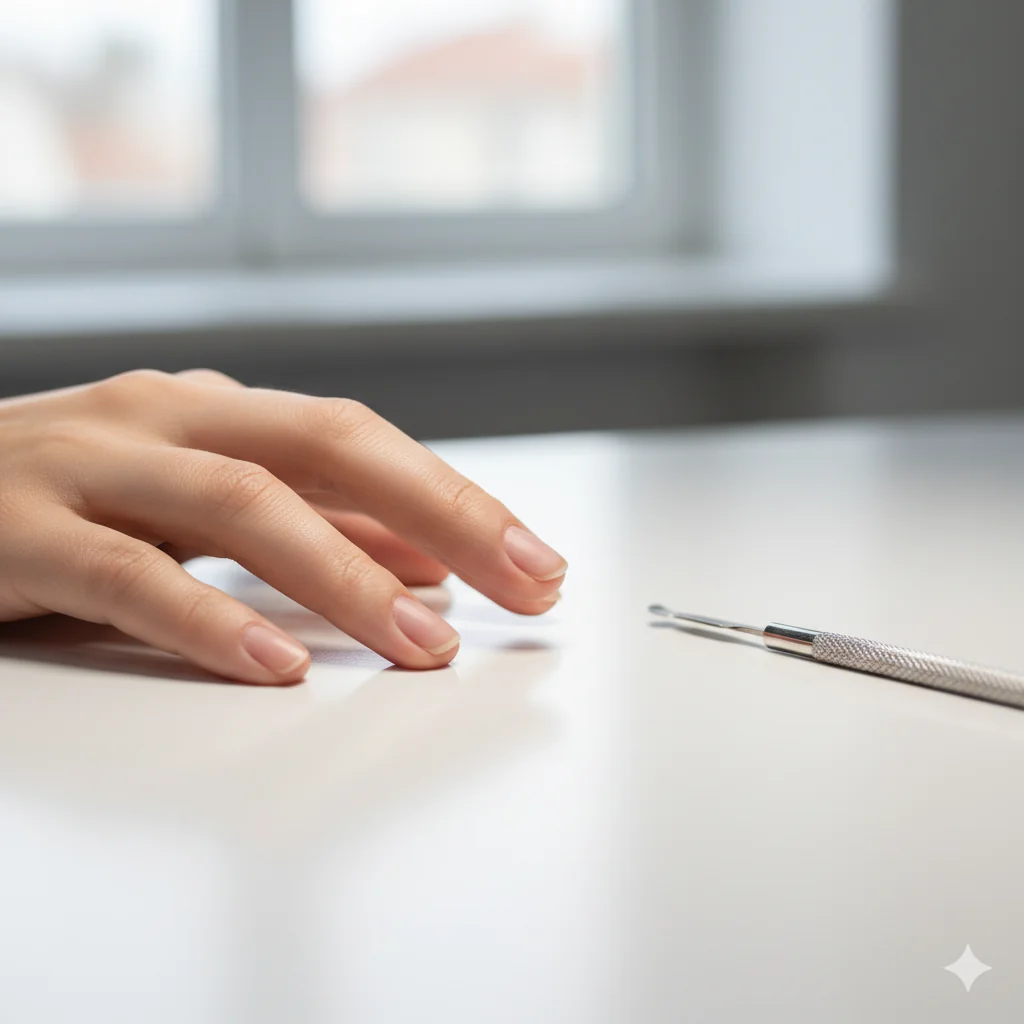
Before You Paint: The Prep Steps That Make or Break Your Manicure
Most DIY manicures fail here, not at the design stage. Skipped prep is the primary reason polish chips within 48 hours.
Step 1 — Dehydrate the nail plate. Wipe each nail with an alcohol wipe or nail dehydrator. This removes the natural oils that prevent polish from bonding properly. It takes 30 seconds and adds days to your wear.
Step 2 — Push back cuticles. Use a cuticle pusher or the flat end of an orange stick. Do not cut unless you are confident — pushing back is enough.
Step 3 — File to shape. Squoval (square with soft corners) and almond are the easiest shapes to paint at home. Both give you a flat surface to work with and reduce the chance of product lifting at the sides.
Step 4 — Apply base coat. One thin layer. Wait until it is fully dry before any colour — tacky base coat under colour is a leading cause of bubbling and poor adhesion. For more on why both base coat and top coat are non-negotiable, read what base coat and top coat actually do.
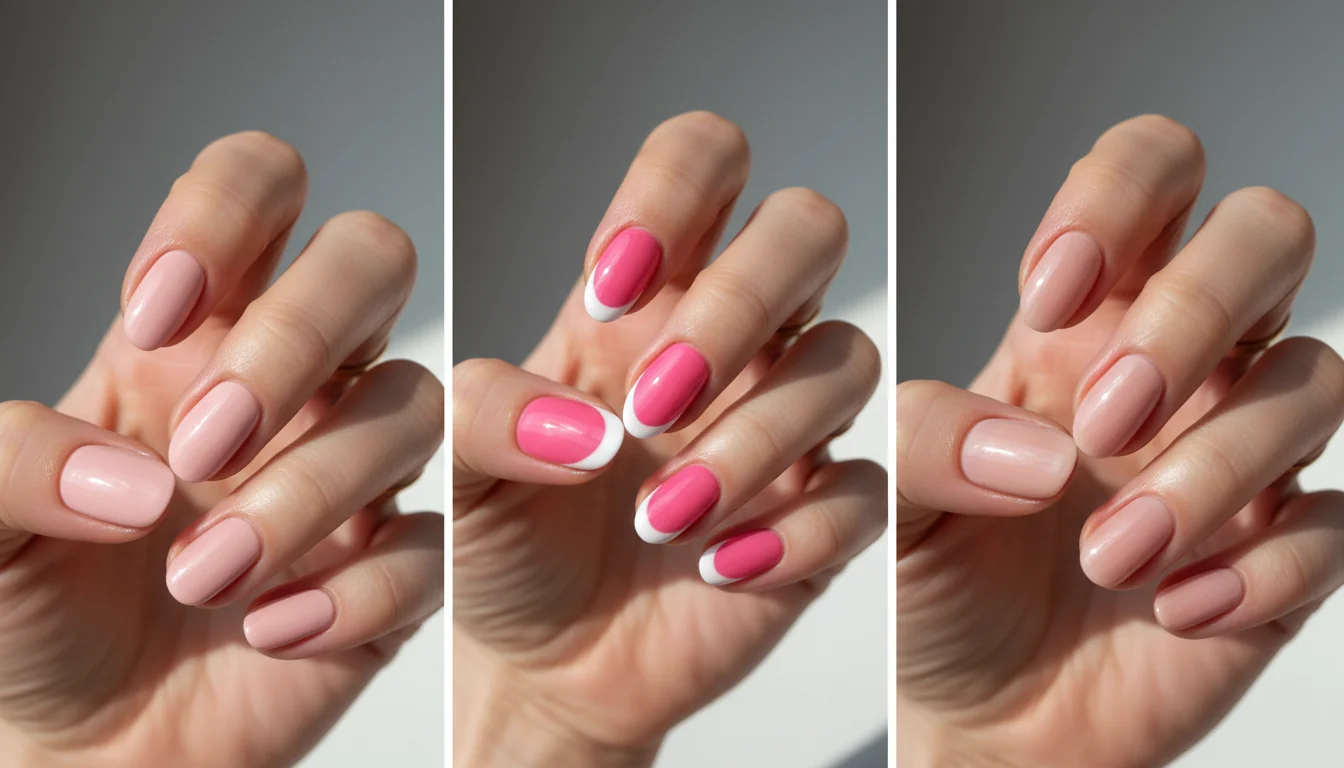
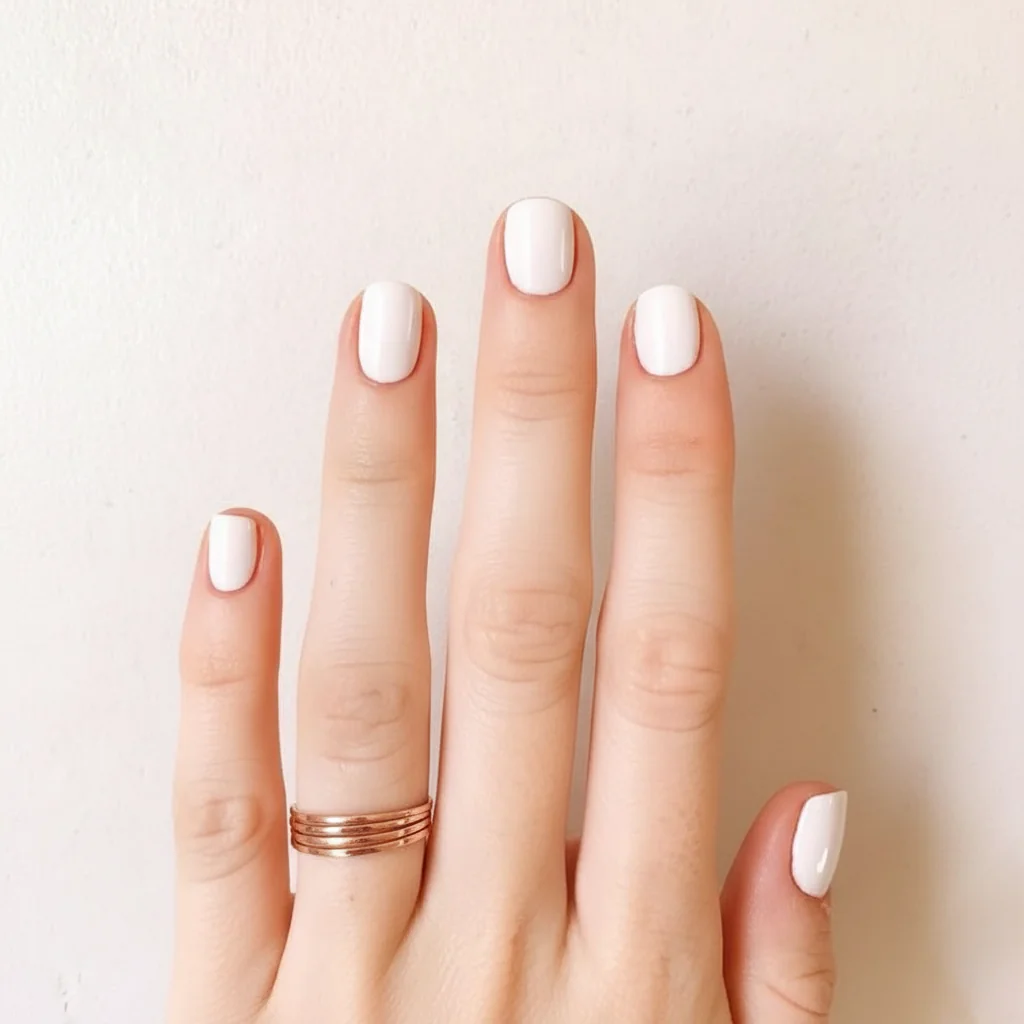
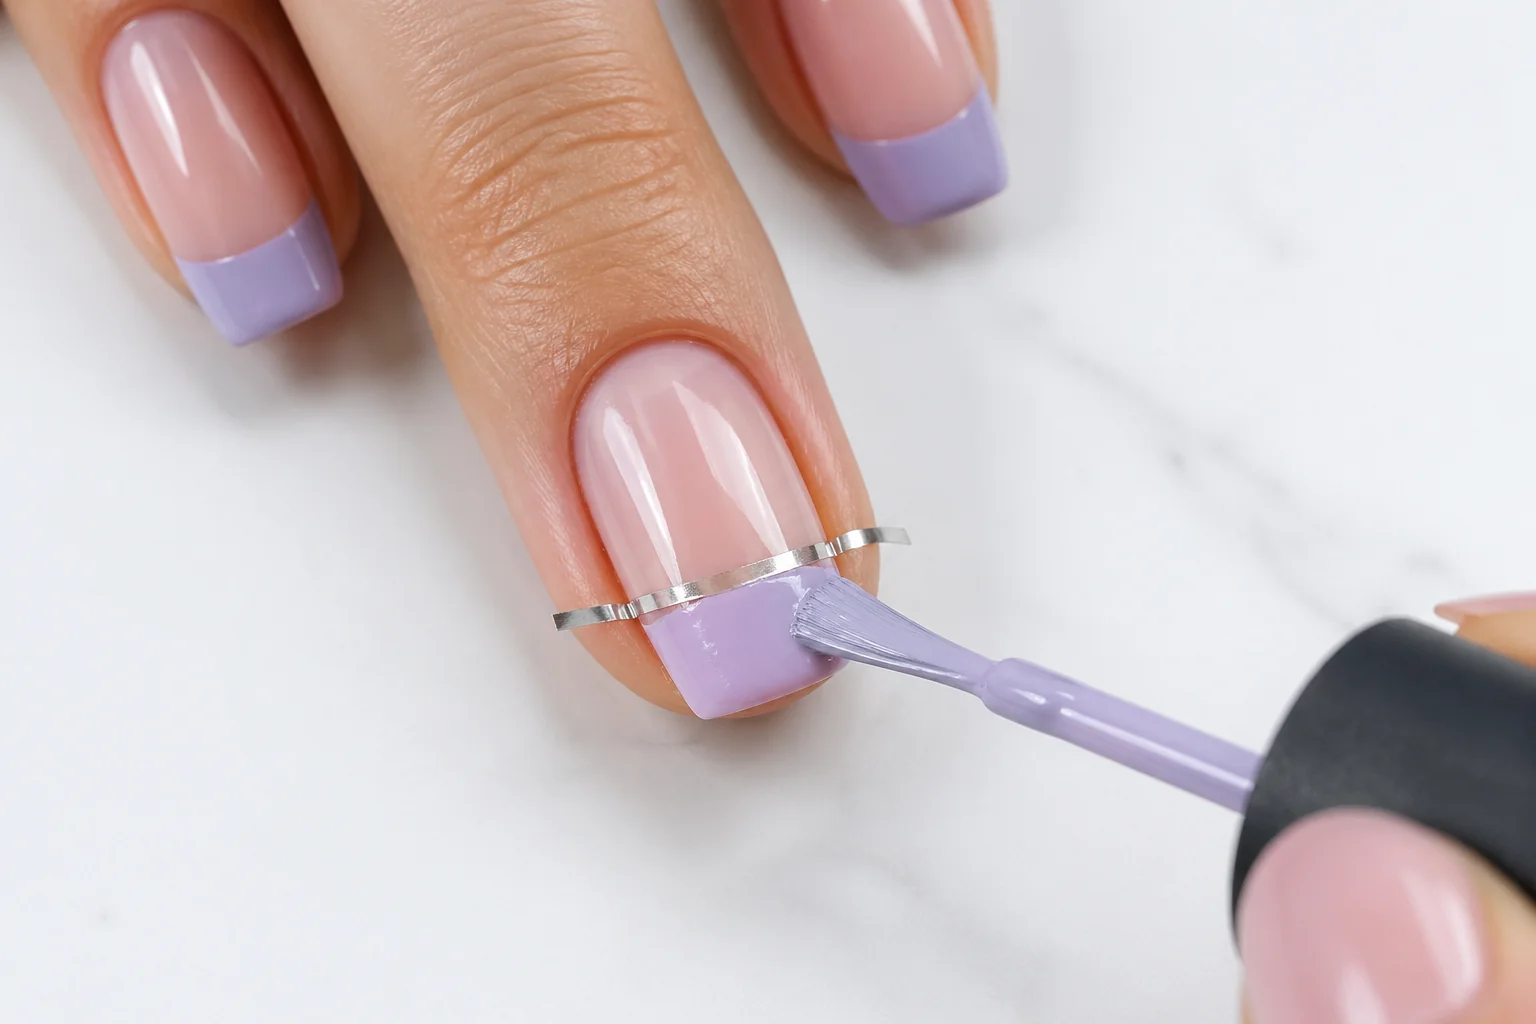
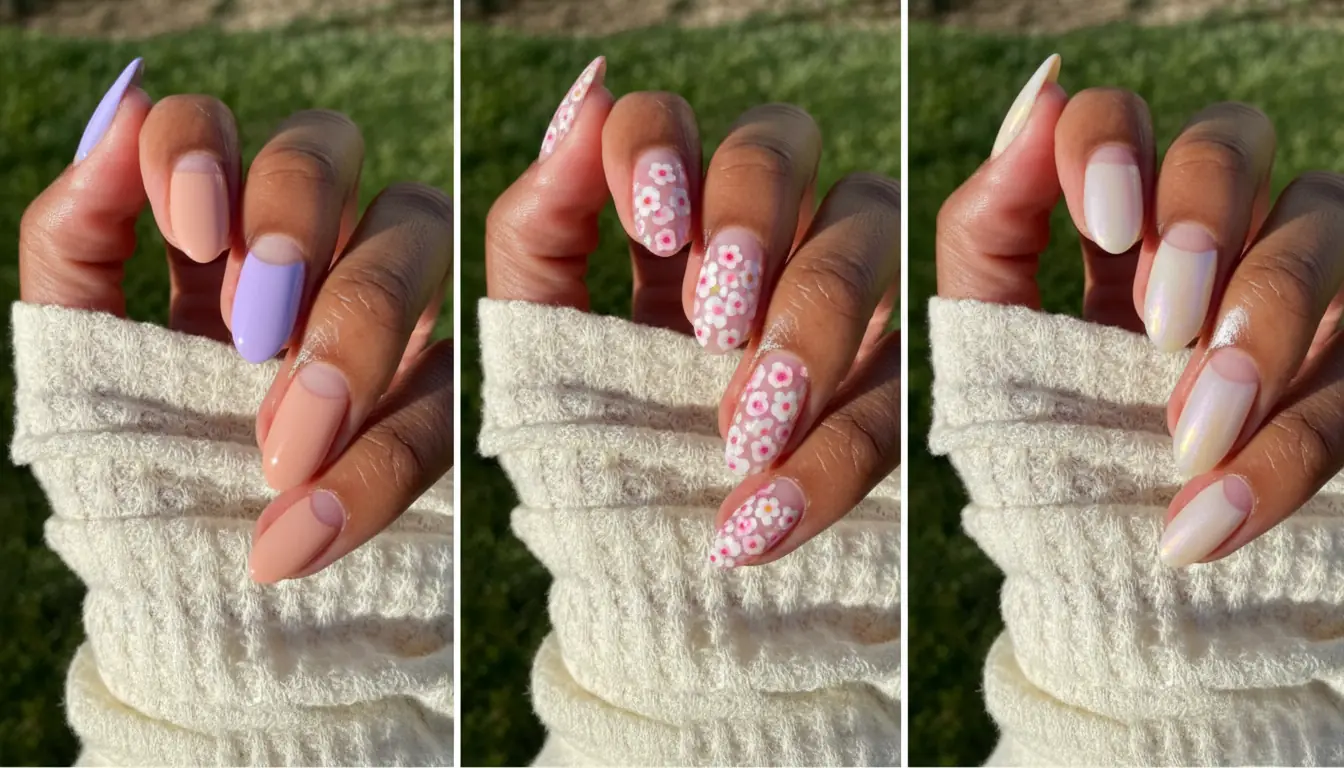
Design 1: Pastel French Tip — Beginner | 25 Minutes
The 2026 update to the classic French tip swaps the white for blush, lavender, or butter yellow. Softer, more wearable, and easier to execute cleanly at home.
Step 1. Apply one thin coat of nude or sheer base colour across all nails. Let dry.
Step 2. Place a guide strip or a small piece of tape just below the free edge — this is the line where your tip colour will start.
Step 3. Apply your pastel tip colour in two thin coats. Think of thin coats like sunscreen: two light layers beat one thick one every time.
Step 4. Remove the tape while the second coat is still slightly wet. Peel slowly at a low angle for the cleanest edge.
Step 5. Apply top coat over the entire nail, including the tip, to seal and prevent lifting.
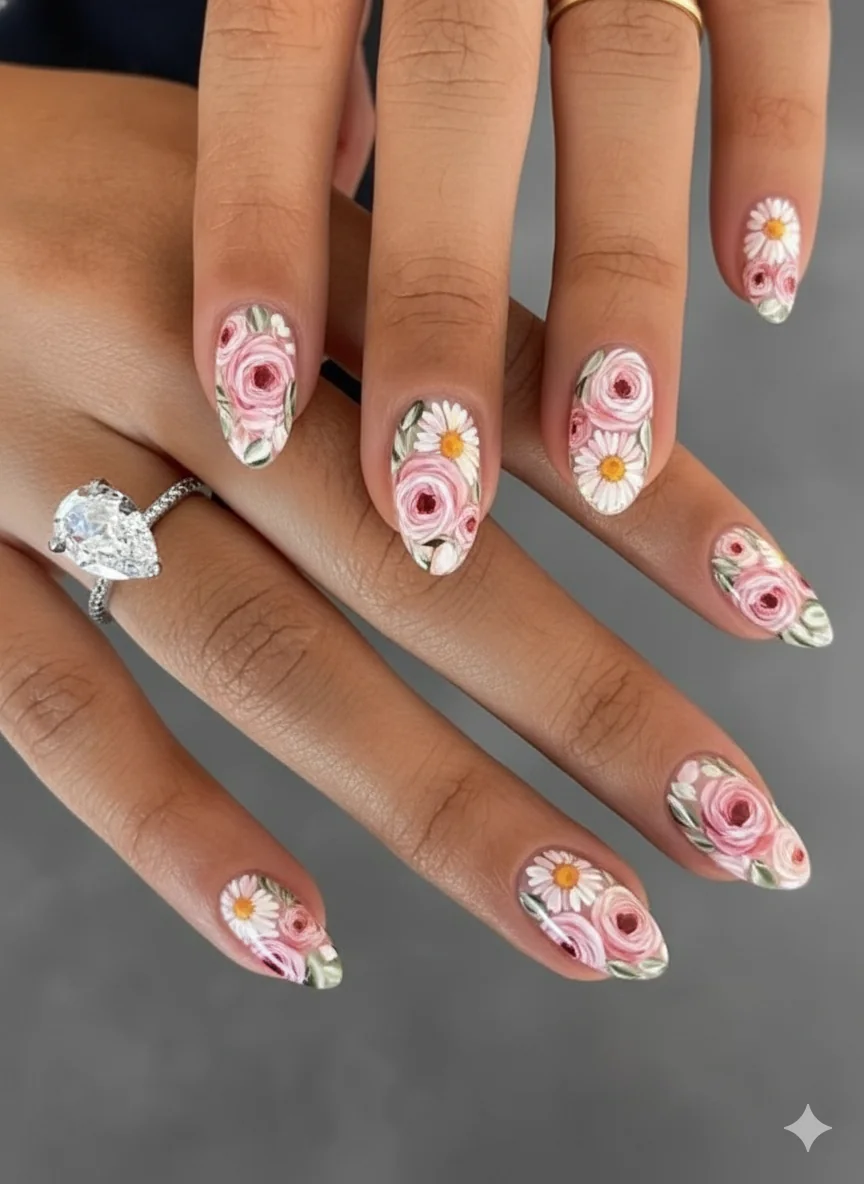
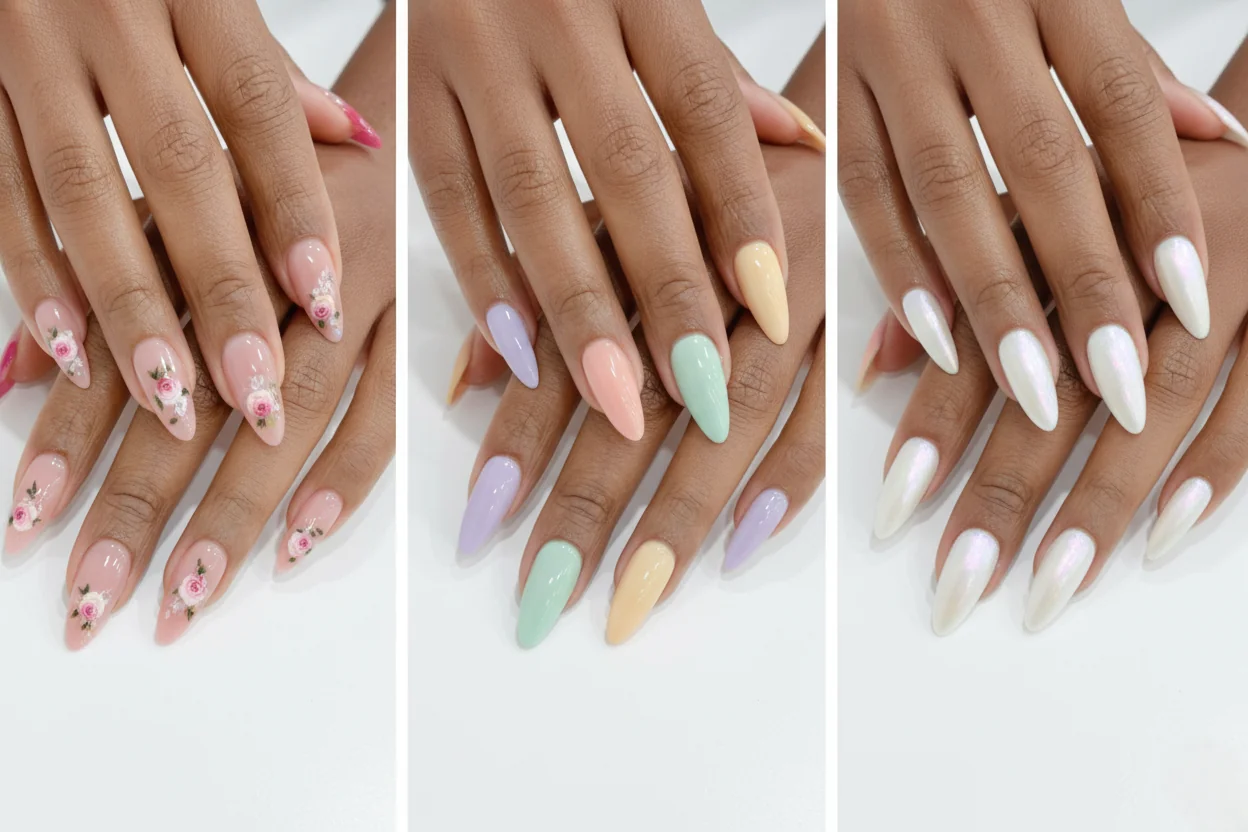
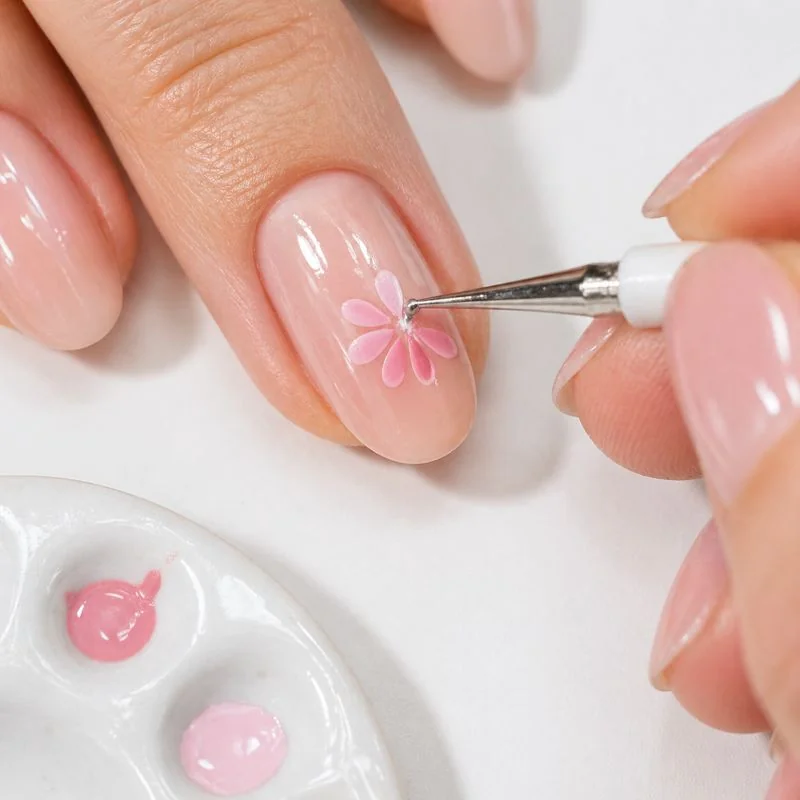
Design 2: Watercolour Floral Dots — Beginner–Intermediate | 35 Minutes
No fine brush skills needed. The dot method creates a soft, watercolour-style floral that looks intentional even when your hand is not entirely steady. That slight imprecision is part of the aesthetic.
Step 1. Apply a soft nude or blush base across all nails (two thin coats). Let dry completely.
Step 2. Choose one or two accent nails. Dip your dotting tool or a toothpick into pink polish and press four or five dots in a loose circular petal formation — they do not need to be evenly spaced.
Step 3. Use a separate toothpick dipped in green polish to add a small dot at the centre of the petal cluster.
Step 4. Allow the design to dry for at least five minutes before top coat — rushing this step smears the petals.
Step 5. Seal with a clear glossy top coat.
If these five designs feel too involved for right now, our guide to simple Mother's Day nails covers the easiest single-step looks that still photograph beautifully.
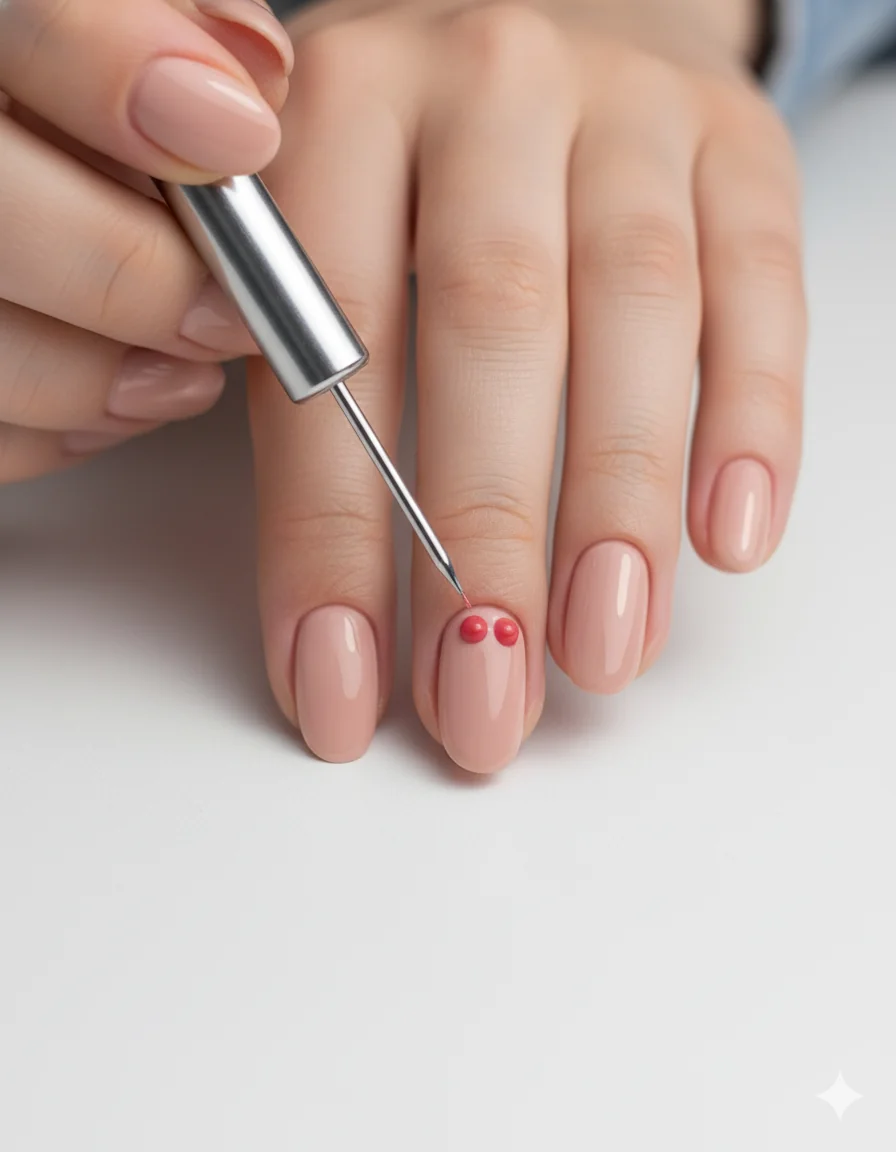
Design 3: Heart Accent Nail — Beginner | 20 Minutes
Heart designs dominate Mother's Day nail searches every year. They are also one of the most misunderstood — most people try to paint the shape freehand when the two-dot method is far more reliable.
Step 1. Paint all nails in a coordinating nude or soft pink (two thin coats). Let dry.
Step 2. On your accent nail, use a dotting tool to place two dots of red or pastel polish side by side at the top of the nail, close enough to just touch at their edges.
Step 3. While the dots are still wet, drag each one downward and inward to a point using the tip of your dotting tool. The two strokes meet at the bottom to complete the heart.
Step 4. Clean up any edges with a nail remover pen or a fine brush dipped in acetone.
Step 5. Seal all nails with top coat.
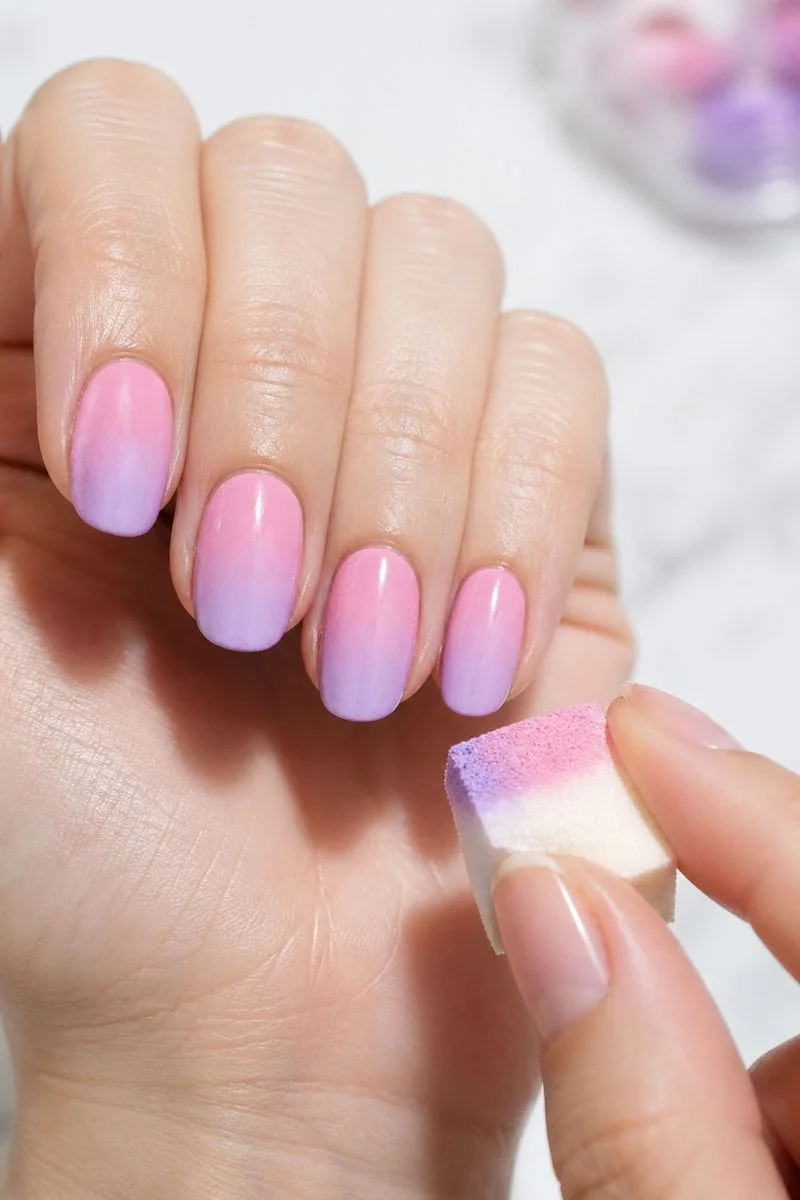
Design 4: Pastel Ombré Fade — Intermediate | 40 Minutes
The sponge ombré method requires no professional tools — just a makeup sponge and a little patience with layering. The results genuinely look more complex than the technique deserves.
Step 1. Apply a white or very pale nude base coat. This makes pastels appear more vivid and reduces the number of sponge layers you need.
Step 2. Paint two pastel shades side by side on a makeup sponge with a small overlapping area between them.
Step 3. Dab the sponge onto the nail using short, light pressing motions — do not drag. Build three to four layers, allowing each to dry slightly before the next.
Step 4. Clean up the skin around each nail with a cleanup brush dipped in acetone. This step transforms the result from messy to polished.
Step 5. Apply top coat. A glossy finish makes the fade appear smoother.
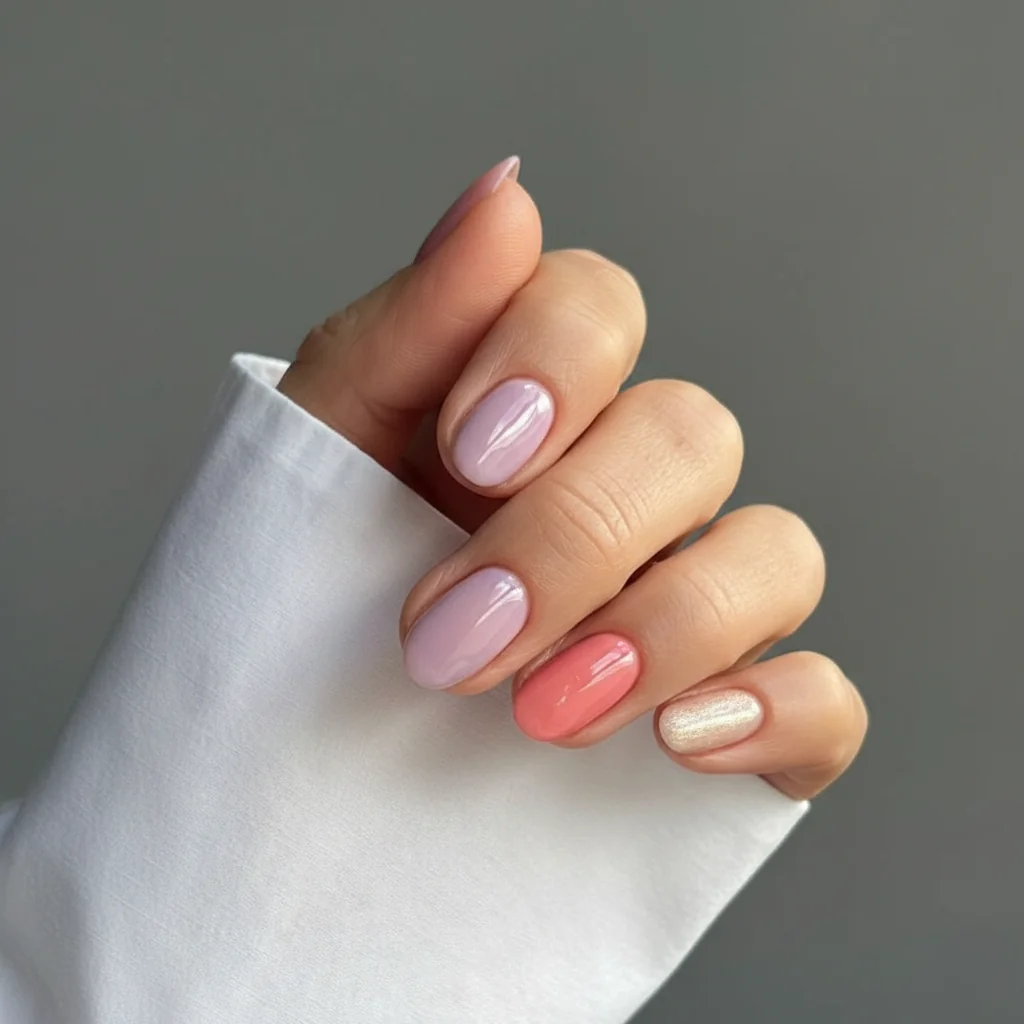
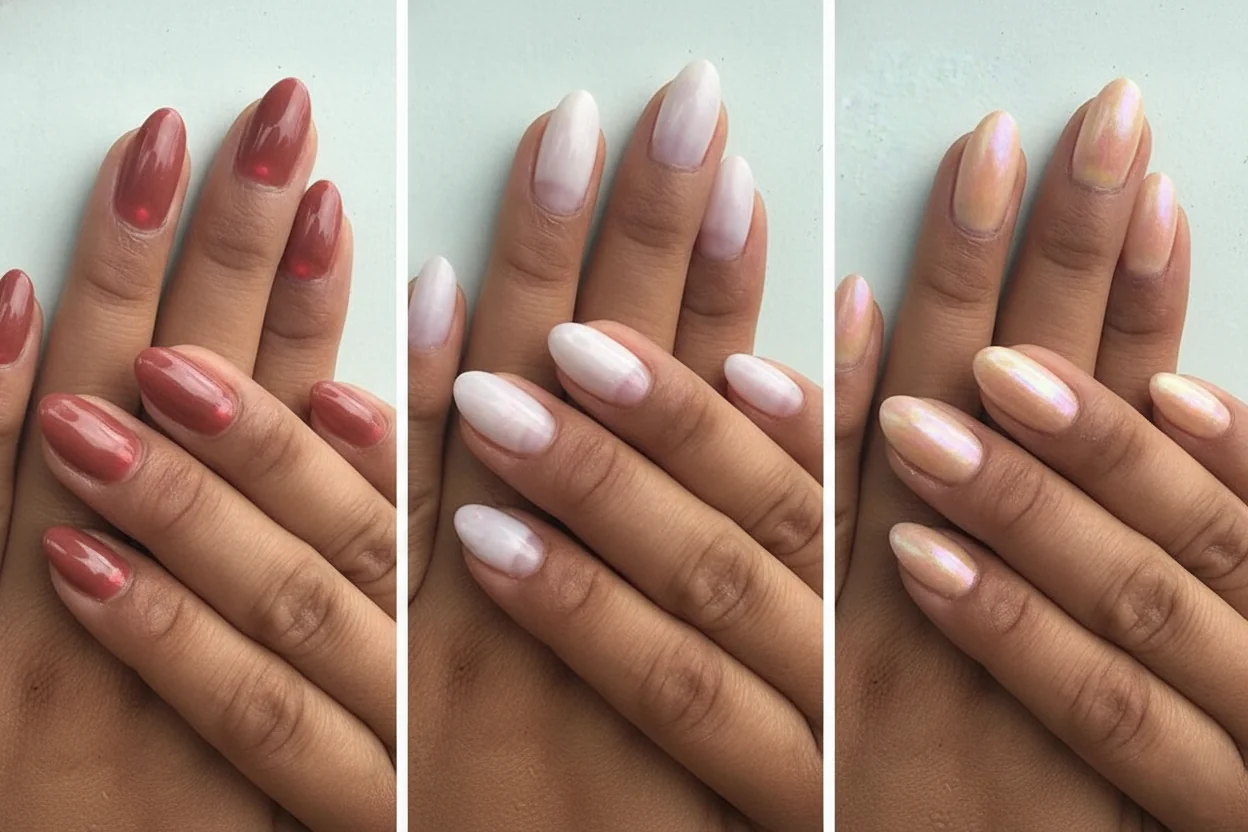
Design 5: Pearl Glaze / Soap Nail Effect — Beginner | 15 Minutes
Pearl and glazed nails are the dominant manicure trend of 2026 — the soap nail aesthetic has moved from editorial pages to everyday wear. The chrome powder method requires no UV lamp, which makes it entirely at-home friendly.
Step 1. Apply a sheer nude or soft pink base (two thin coats). Allow to dry completely. Fully dry polish is non-negotiable here — chrome pigment will not adhere to tacky polish.
Step 2. Dip a small eyeshadow brush or your fingertip into chrome powder pigment.
Step 3. Rub the pigment across the nail surface in small circular motions. The iridescent pearl effect builds as you work — add more pigment for a stronger sheen.
Step 4. Seal immediately with a glossy top coat. This locks the pigment and enhances the glaze finish.
How to Make Your At-Home Manicure Last Up to 10 Days
The gap between a three-day and a ten-day manicure comes down to technique, not product price. For a full breakdown of every method, see this guide on techniques to extend nail polish wear.
Cap the free edge. Run your brush along the very tip of the nail with every coat — base, colour, and top coat. This seals the edge and is the single most effective longevity technique most home manicurists skip.
Thin coats only. Thick coats take longer to cure fully, flex differently under stress, and chip sooner. Two thin coats always outperform one thick one.
Reapply top coat every two days. A fresh layer of fast-dry top coat every 48 hours extends wear significantly without redoing the whole manicure.
Protect around water. Frequent handwashing and harsh soaps are the primary enemies of polish longevity — hand hygiene and nail durability are directly linked. Apply cuticle oil after washing to keep the skin flexible and reduce lifting at the edges.
For the full technique walkthrough from prep through final coat, this step-by-step nail polish application guide covers every stage in detail.