DIY prom nails are entirely within reach, and no, you do not need a salon appointment to prove it. Whether you have never held a nail art brush in your life or you have dabbled in the odd accent nail, doing your own prom nails at home is genuinely doable when someone gives you a proper plan. Not a vague gallery of pretty results. An actual plan.
This guide covers five complete designs, each with its own difficulty rating, a specific tools list, step-by-step instructions, and a dress colour pairing note. Before any of that, there is one universal prep section to work through once. Do it properly and it becomes the reason your nails survive the entire night. If you want to see what nail styles are dominating prom right now before committing to a design, start with our full prom nails guide. And if you are worried about nail length, every design here works on short prom nails too.
Why DIY Prom Nails Are Worth Trying (and What to Expect)
Salon nails are lovely. They are also expensive, time-pressured, and entirely dependent on someone else's schedule the week of prom. Doing your own nails means you can practise in advance, adjust the design if your dress changes, and redo anything that goes wrong without waiting for a booking.
The honest caveat: your first attempt probably will not look perfect. That is not a reason to give up. It is a reason to practise at least once before the real thing. Every technique here has a difficulty rating out of five so you can go in with realistic expectations. A 1/5 is genuinely beginner-proof. A 3/5 requires a steady hand and a little patience the first time around.
None of these designs require a UV lamp, acrylic, or professional tools. Regular polish, a handful of basics, and the steps below are all you need.
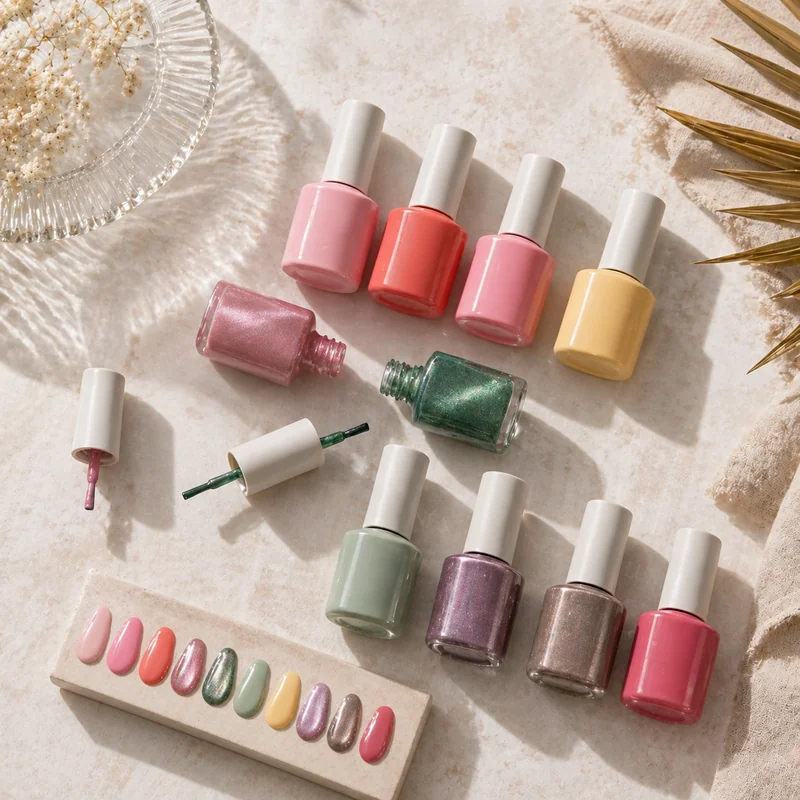
What You Need: The Essential Tools Kit
These are the non-negotiables for any of the five designs. Buy these once and they work across all of them.
A nail file (180 grit) for shaping, a buffer for smoothing the nail plate, a cuticle pusher, rubbing alcohol or a nail dehydrator, a good base coat, and a quick-dry top coat. That is the core kit. Each design section adds whatever is specific to that look: a sponge for ombre, chrome powder for mirror nails, and so on. A thin nail art brush and tweezers are worth having regardless of which design you choose.
If you are weighing up whether to use regular polish, gel, or press-ons for prom, our full comparison of acrylic vs gel vs press-on nails breaks it down properly. Not sure which design suits your dress? Browse our full prom nail ideas gallery before you decide, with over fifty options organised by style.
Step One for Every Design: How to Prep Your Nails Properly
This section runs once. Every design below assumes you have done these steps first.
File your nails to your chosen shape and length. Push back your cuticles gently with a cuticle pusher, without cutting them. Buff the nail plate lightly to remove shine and create grip for the polish. Wipe each nail thoroughly with rubbing alcohol or a nail dehydrator on a lint-free pad. This removes the oils that cause lifting and chipping. It is the single most skipped step in DIY nail tutorials, and it is the reason most people's nails chip before midnight.
Once nails are clean and dry, apply one thin coat of base coat and allow it to dry fully before moving to your chosen design.

Design 1: Classic French Tip
Difficulty: 2/5
The French tip has survived every nail trend cycle for a reason. On a prom nail it reads polished, intentional, and quietly appropriate with anything: sequins, embellishment, a simple satin column. It is the design that does not compete with your dress.
What you need: Sheer pink or nude polish, white polish, French tip guide strips or clear tape, a thin nail art brush, base coat, top coat.
Steps: Apply two coats of your sheer nude or pink over the base coat and allow to dry. Press a guide strip along the smile line, the curved border where the white tip begins. Paint the white tip over the strip in two thin coats. While the second coat is still slightly tacky, peel the strip away cleanly. Use a thin brush dipped in acetone to tidy any wobble along the edge. Seal with top coat, capping the free edge.
Pro tip: Roll the white polish bottle between your palms rather than shaking it. Shaking introduces bubbles. Rolling does not.
Dress pairing: Every colour. Sequinned or heavily embellished gowns in particular, where nails should sit quietly rather than compete.

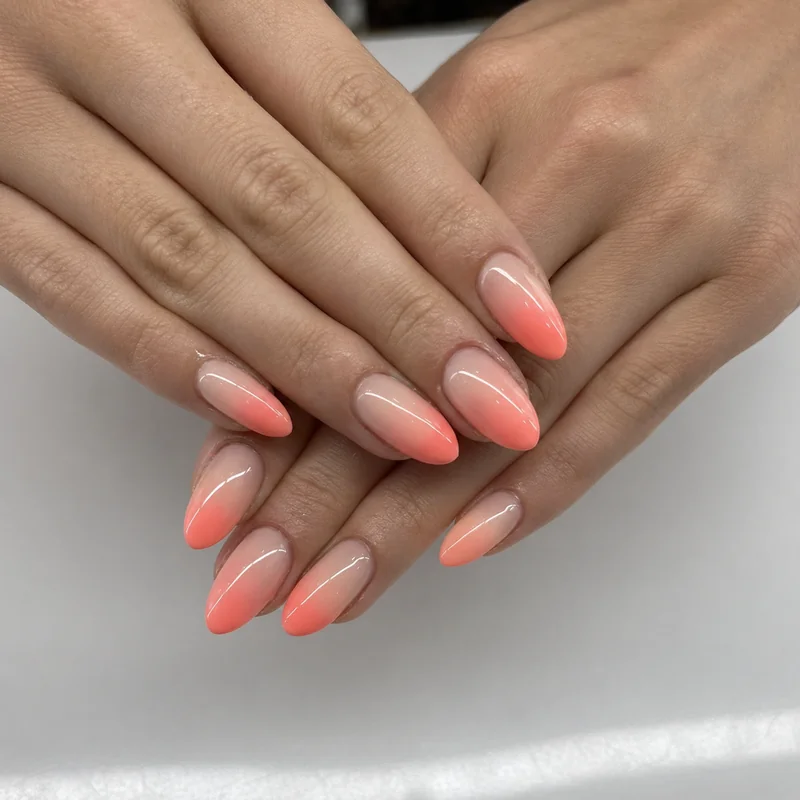
Design 2: Pink-to-Nude Ombre (Sponge Method)
Difficulty: 2/5
The sponge ombre looks like it requires professional skill. It does not. It requires patience and the willingness to accept that the first press will look patchy, because it always does, and that is fine. You build it in layers. These are among the most easy nail techniques for beginners once you understand how the layering works.
What you need: Sheer nude polish, bubblegum pink or rose polish, a small cosmetic wedge sponge, base coat, quick-dry top coat, liquid latex or tape to protect the skin around your nails.
Steps: Apply one coat of nude over your base coat. Paint two stripes of colour side by side on the sponge, nude and pink, slightly overlapping in the middle. Dab the sponge onto your nail in light tapping motions, not dragging. Repeat three to four layers until the gradient looks opaque, letting each layer dry briefly between presses. Remove the latex or tape. Smooth the whole nail with a generous layer of quick-dry top coat.
Pro tip: The top coat blurs the gradient seams and makes the fade look intentional rather than patchy. Do not skip it.
Dress pairing: Blue, lilac, sage, ivory, champagne, blush. Any cool or neutral gown. See our prom nails by dress colour guide for detailed pairings.

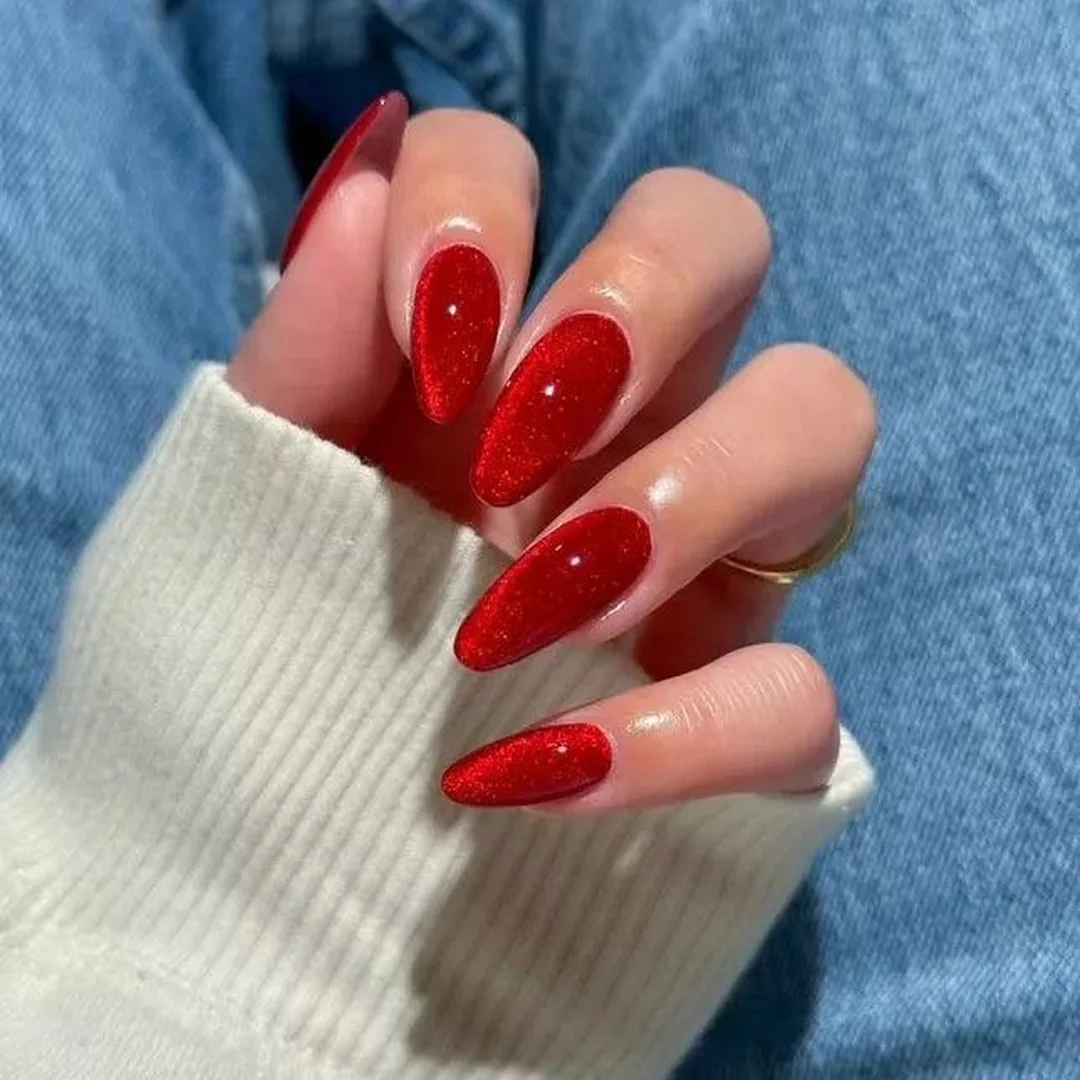
Design 3: Glitter Fade (Gold or Silver)
Difficulty: 1/5
This is the design for anyone who is nervous. It hides imperfect application, photographs beautifully, and requires no steady hand or fine detail work. Chunky holographic glitter catches camera flash in a way that looks far more expensive than it is.
What you need: Nude or sheer base polish, a glitter topcoat or fine glitter polish in gold or silver, regular clear top coat.
Steps: Two coats of nude or sheer base over the base coat. Apply glitter polish heavily at the nail tip only. Use the brush to drag the glitter downward toward the cuticle with decreasing pressure, fading as you go. Apply a sheer glitter topcoat over the entire nail to blend and unify the gradient. Seal with clear top coat. This guide on how to make nail polish last longer covers exactly the habits that keep a glitter finish intact all night.
Pro tip: Chunky holographic gives a more dramatic, camera-ready result. Fine-grain glitter is subtler for an understated look. Both use identical technique.
Dress pairing: Gold with champagne, black, red, or burgundy. Silver with icy blues, white, grey, or any dark gown.

Design 4: Pearl Accent Nails
Difficulty: 2/5
Pearl nails photograph like a designer accessory and cost almost nothing to recreate at home. Small flat-backed pearls from Amazon or any craft shop, tweezers, and the right sealing technique. That is the whole thing.
What you need: Nude or white polish, small flat-backed nail pearls, nail glue or a thick clear base coat as adhesive, tweezers or a dotting tool, top coat.
Steps: Two coats of nude or soft white over base coat. While the top layer is still slightly tacky, use tweezers to place two to three pearls along the cuticle border or scattered across the nail. Press each pearl gently to secure without sliding it. Let everything dry completely. Apply top coat carefully around the base of each pearl to seal, not directly over the domed surface.
Pro tip: Top coat directly over raised pearls turns cloudy. Seal around the pearl's base, not over the top. That one detail separates a sharp result from one that looks foggy.
Dress pairing: Ivory, champagne, blush, powder blue, sage. Particularly elegant with off-shoulder styles. Check our prom nails by dress colour guide for exact pairings.

Design 5: Metallic Chrome (Mirror Finish)
Difficulty: 3/5
Chrome nails are the one design here that requires genuine attention to technique. Get it right and the mirror finish is extraordinary, the kind of result that reads expensive from across a room. The key is the base: chrome powder only adheres properly to a perfectly smooth surface, and dark bases give the most dramatic payoff.
What you need: Black or dark base polish, chrome powder in silver or gold, a small eyeshadow sponge applicator or silicone fingertip, a buffer, a non-wipe top coat if possible.
Steps: Two coats of black or deep base colour over base coat. Navy and dark burgundy work equally well. Apply a thin layer of top coat and let it dry almost fully, to a slightly tacky finish. Dip the sponge applicator into the chrome powder and rub onto the nail in small circular motions with medium pressure. The mirror effect appears quickly. Buff gently to intensify the shine. Seal with a non-wipe top coat. Confident DIYers wanting to take this further will find that a full gel nails at home tutorial explains how a gel base enhances chrome adhesion significantly.
Pro tip: Any texture in your base colour will show through the chrome. Bumps, ridges, and brush strokes all get amplified. Smooth each base coat layer carefully before the next goes on.
Dress pairing: Black, deep navy, midnight green, dark red. Silver chrome pairs beautifully with icy-toned and cool dresses.