How to do ombre nails at home is one of those searches that looks straightforward until you're standing at the kitchen table with a blotchy sponge and stained fingertips wondering what went wrong. The technique is genuinely achievable, but most tutorials skip the part where things fall apart, which is why so many first attempts end in frustration rather than the glass-smooth gradient you had in mind.
This is your fix. Three distinct techniques, the right one matched to your polish type, and a proper troubleshooting section for the most common failures. Ombre is also one of the defining techniques of summer 2026 nail trends, so there's no better time to get it right.
What Are Ombre Nails, and Why Do They Work So Well in Summer?
Ombre nails use a colour gradient across the nail: two shades blending from tip to base, or base to tip, with no hard line between them. The result reads as polished and considered without requiring the precision of nail art. That's exactly why it works for summer: the soft fade suits the season's unhurried, sun-washed aesthetic in a way that a sharp block colour or an intricate design doesn't.
The technique predates its current resurgence. Nail artists have been blending polish gradients for decades. What has changed is the technology. Modern gel formulas and sheer, buildable pigments produce a smoother, longer-lasting blend than the original versions most people remember.
Which Ombre Technique Is Right for You? (Quick Selector)
Pick your starting point before you touch a sponge:
- Regular nail polish → Technique 1: The Sponge Method
- Gel polish → Technique 2: The Brush Method
- You want the easiest possible result → Technique 3: The Glitter Fade (no blending, no experience needed)
Getting this wrong is where most tutorials lose people. Gel polish stays in the sponge rather than transferring to the nail, so attempting the sponge method with gel gives you almost zero colour transfer and a lot of confusion. Match technique to polish type, and half the battle is already won.
What You Need Before You Start (Tools + Supplies)
Nothing here is unusual or expensive, but skipping any of it causes problems:
- Base coat: skipping it is the main reason ombre chips within a day
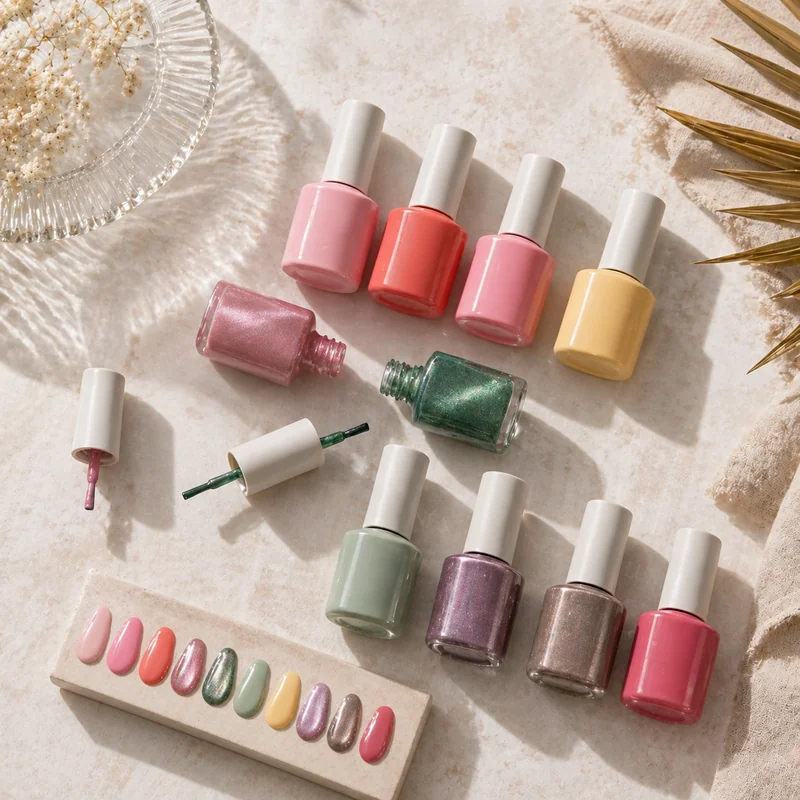
- Two nail polish colours (regular or gel, not mixed)
- Makeup sponge (dense wedge type, not open-cell foam)
- Small flat nail brush or ombre brush (for the gel method)
- Thick, glossy top coat: a thin one won't fill the textured surface left by the sponge
- Nail polish remover + cleanup brush: for the inevitable skin transfer
- Liquid latex or peel-off base (optional, but makes cleanup quick and clean)
The right polish makes all the difference; see our roundup of the best summer nail polish sets for 2026 if you're building a palette from scratch.
Prep Your Nails First: This Step Makes or Breaks the Result
File to your chosen shape, then buff the surface lightly, as this gives the base coat something to grip. Push back cuticles with a rubber tool or cotton bud; you don't need to cut them. Apply one thin base coat and let it dry completely. Not mostly dry. Completely.
A properly prepped nail gives your ombre somewhere stable to live. A nail with oils still on the surface, or a base coat that's still tacky, will cause the colour to peel in sheets within two days regardless of how good your blending is.
Technique 1: The Sponge Method (Best for Regular Polish Beginners)
Paint two colours side by side on your makeup sponge: one shade taking up roughly two-thirds, the second covering the other third, with a small overlap where they meet. That overlap is your blend zone.
Dab the sponge onto the nail using quick, light pressure. Don't drag. The motion is a stamp, not a brush stroke. You'll see very little colour on the first pass. That's correct. Build up four to six thin layers, letting each one dry slightly before the next. The gradient develops gradually, not immediately.
Two things kill this technique: loading too much polish onto the sponge at once, and letting the polish dry on the sponge before you reach the nail. Work with small amounts of fresh polish each time, and move with purpose. For a deeper look at why regular polish behaves differently to gel in this method, this breakdown of gel vs regular polish for at-home ombre explains the pigment differences clearly.
Technique 2: The Brush Method (Best for Gel Polish)
Apply your base gel colour across the full nail and cure. Then take a small flat brush or dedicated ombre brush, pick up a small amount of your second gel colour, and dab it onto the tip, covering roughly the top third of the nail. Don't spread it; pat it.
Use a clean, dry flat brush to blend the join between the two colours with short, feathery strokes. The tap brush technique (patting the colour in overlapping strokes rather than sweeping) gives the cleanest blend. Work quickly before the gel starts to become unworkable under ambient light. Cure once satisfied with the blend, then add a second gel layer if you want more opacity at the tip.
This is the approach behind the Japanese gel no-sponge ombre technique, producing a cleaner fade than the sponge method for most people after one try.
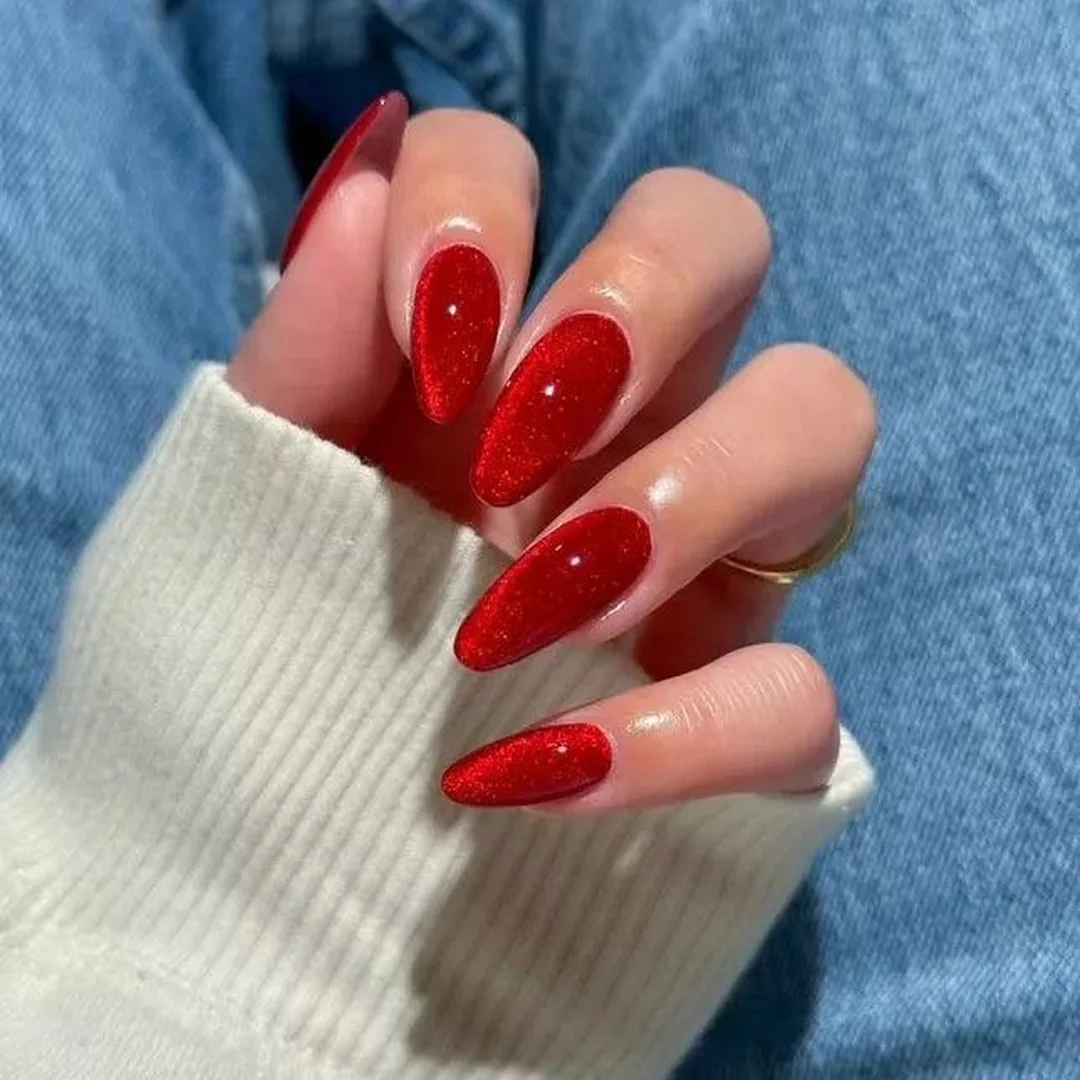
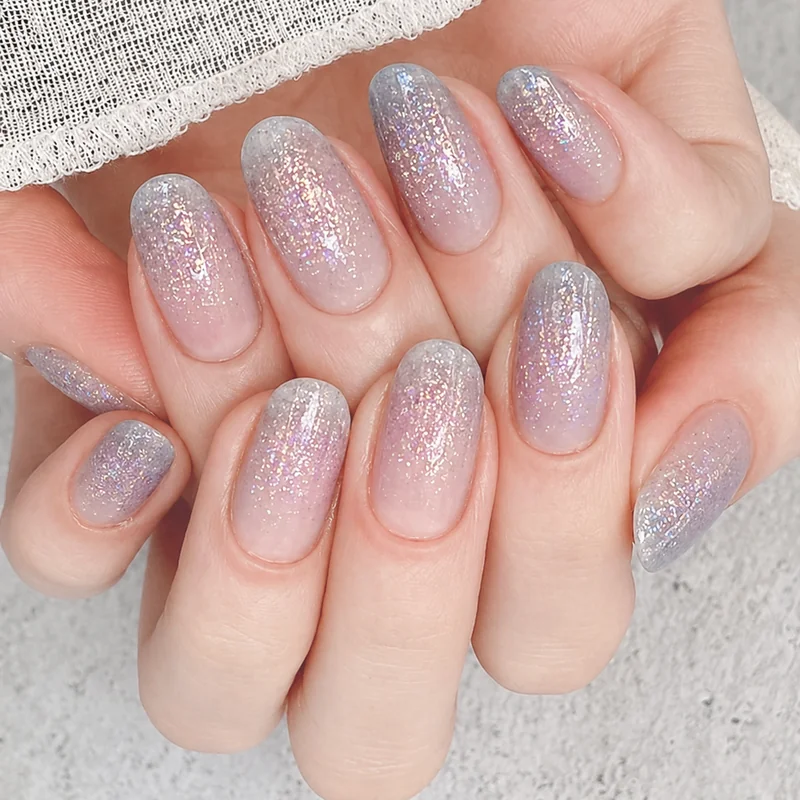
Technique 3: The Glitter Fade (Zero Blending Required)
This is the one for anyone who wants the ombre effect without the blending anxiety. Apply one or two coats of your base colour and let it dry. Then take a makeup sponge, pick up a small amount of fine or chunky glitter polish, and pat it onto the tip of the nail. The concentration of glitter naturally reduces as you move toward the base, creating the fade without any deliberate blending.
Build up intensity at the tip with a second pass if you want more drama. Glitter obscures the join between colours, so there is no visible line to worry about. Seal with two coats of a thick top coat. Glitter needs generous coverage to feel smooth.
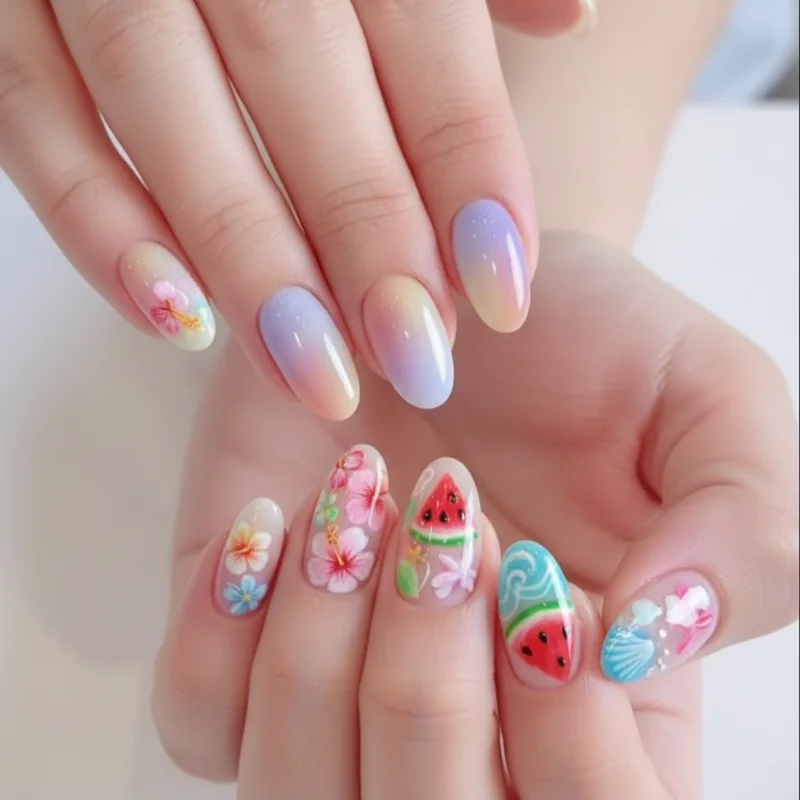
The Best Summer 2026 Colour Combinations for Each Technique
Summer palettes this year favour warmth over shock. Three combinations worth building around:
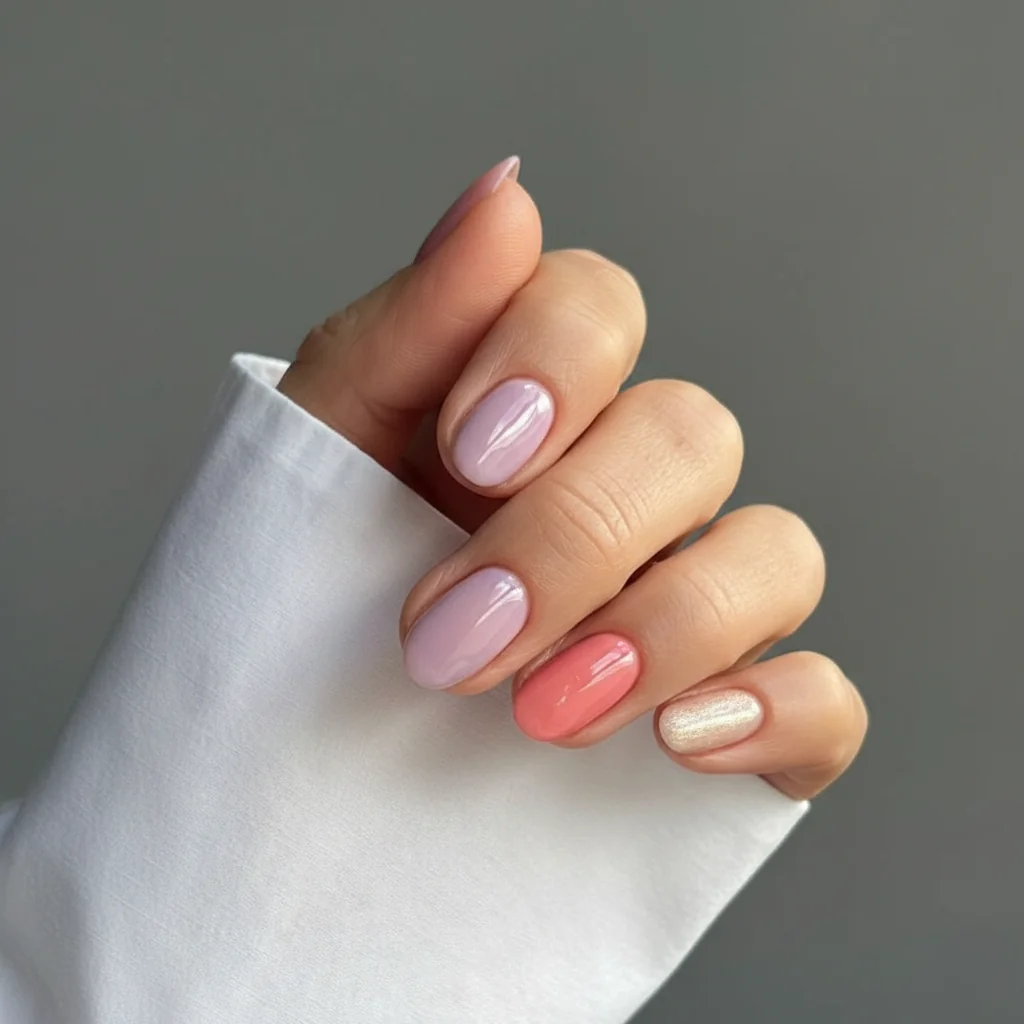
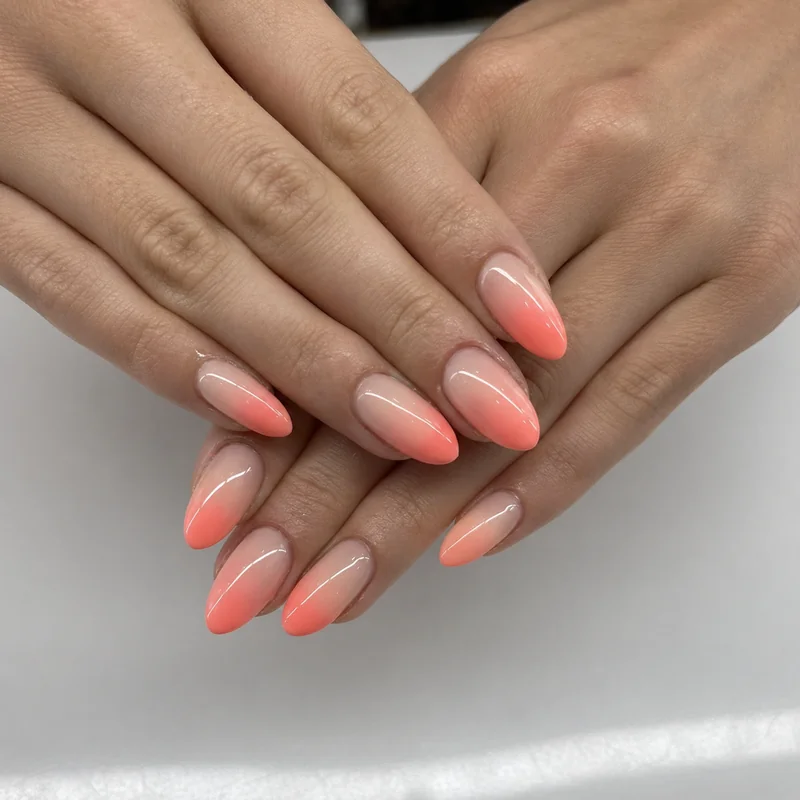
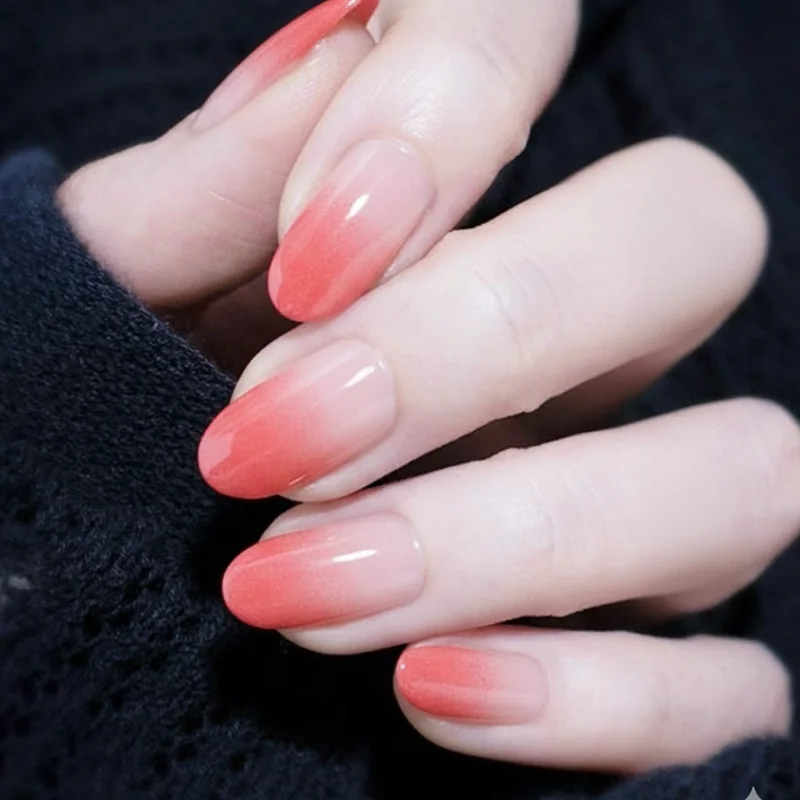
Coral-to-nude is the most versatile option. Works with every technique, flatters most skin tones. The coral sits at the tip and melts into a warm nude at the base. For palette ideas matched to your skin tone, the guide to the best summer nail colours by skin tone is worth a look.
Sage-to-clear is a sheer, barely-there ombre that reads as expensive in person. Best with the brush method using gel; works especially well on longer shapes.
Hot pink-to-nude delivers the highest contrast of the three, best if you want something that photographs well. The sponge method handles this one beautifully because the opacity builds gradually.