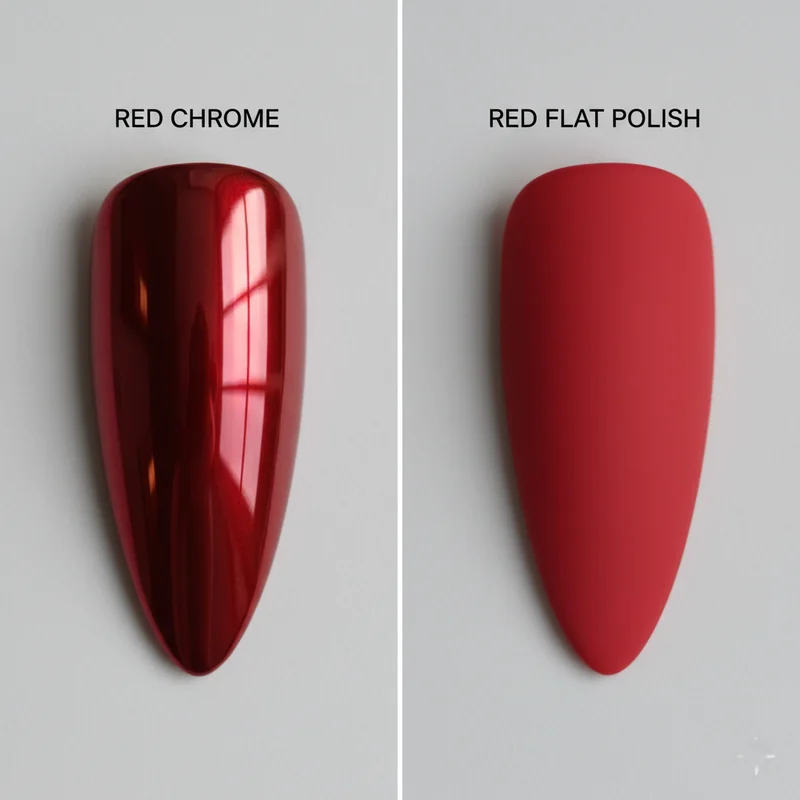
Red chrome Valentine nails refract light like liquid garnet. The effect transcends traditional Valentine red flat pigment replaced by dimensional metallic depth. This is light architecture applied to nails. Red chrome Valentine nails demand precision. The technique: burnish chrome powder onto cured gel creating specular reflection that mimics molten metal surface. Red chrome Valentine nails succeed when application achieves true mirror finish rather than sparkly appearance distinguishing amateur from refined execution.
The appeal lies in chromatic depth. Standard red polish absorbs light producing matte or glossy finish. Chrome powder creates reflective surface that bounces light at multiple angles. Valentine nail designs expand beyond color into light manipulation territory. Metallic finishes gained momentum through celebrity adoption Lizzo's mirror nails and Beyoncé's chrome moments validated the technique as sophisticated rather than novelty.
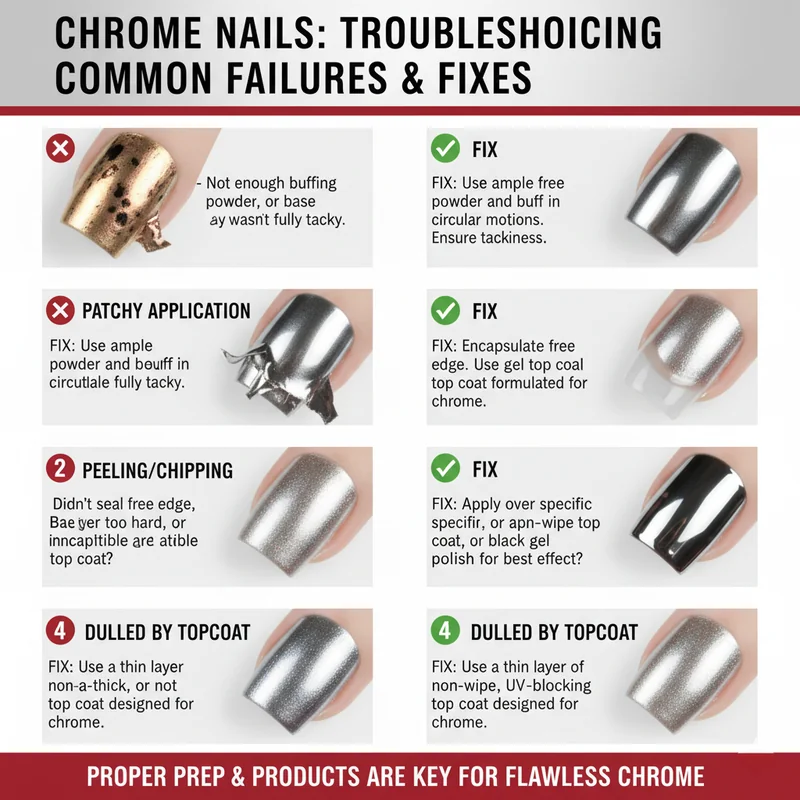
Technical mastery determines success. Common failures sparkly instead of mirror-like, premature chipping, patchy adhesion stem from specific application errors. The framework: select proper materials, execute burnishing with minimal powder, seal free edges deliberately. Master these principles. The molten red chrome nails follow naturally.
The Allure of Red Chrome
Metallic red Valentine nails transform through light interaction. Chrome powder contains microscopic metallic particles creating specular reflection light bounces off surface at precise angles producing mirror effect. This differs fundamentally from glitter or shimmer which scatter light randomly creating sparkle. Chrome achieves unified reflective surface reading as liquid metal.
The visual impact registers immediately. Standard red polish presents single-dimensional color. Chrome introduces depth through light refraction appearance shifts based on viewing angle and light source position. Movement creates dynamic visual interest impossible with flat pigment application. The effect reads as luxurious without requiring embellishment.
Chrome Valentine nail designs suit modern romantic aesthetics. Traditional Valentine red communicates through color alone. Chrome adds dimension sophisticated metallics replacing saccharine sweetness with elegant edge. The technique appeals to individuals seeking Valentine expression without conventional presentation. Celebrity validation reinforces chrome as current rather than trendy established technique continuing through multiple seasons.
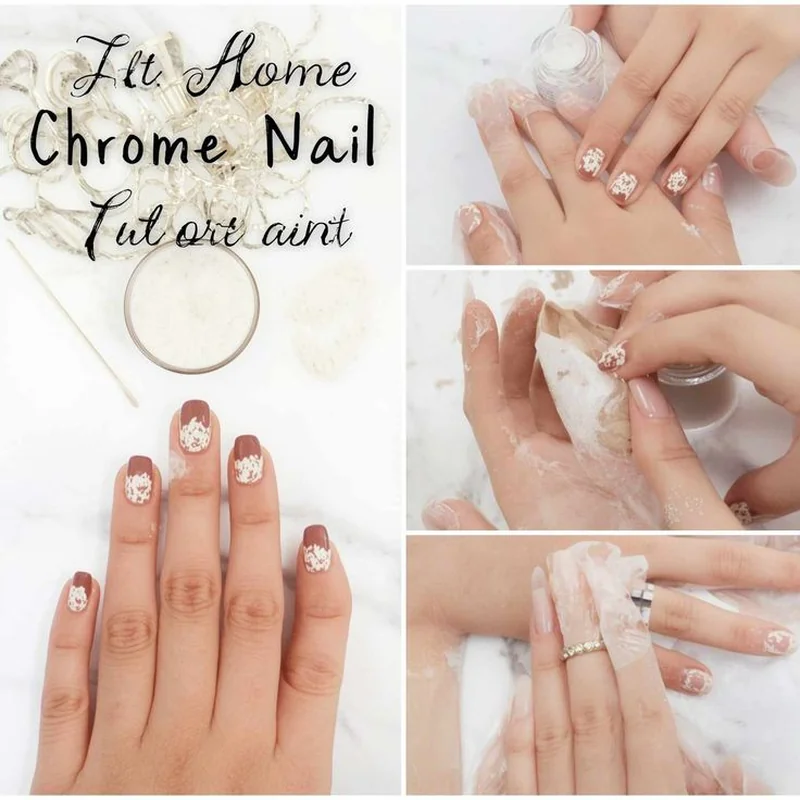
Cultural positioning matters. Chrome nails originated in professional salon context requiring specialized products and expertise. Technology advancement democratized access through affordable chrome powders and LED lamps. DIY execution now achieves salon-quality results with proper technique understanding. This accessibility drives chrome's sustained popularity across Valentine seasons.
Essential Materials
Chrome powder selection affects final appearance. Micron size determines reflective quality smaller particles create smoother mirror finish. Professional-grade chrome powders specify particle size. Avoid craft glitters marketed as chrome these produce sparkly rather than reflective results. Red chrome powder varies in undertone: crimson leans cool, scarlet maintains neutral temperature, molten red introduces warmth.
No-wipe gel top coat serves critical function. Chrome powder requires tacky surface for adhesion. Standard gel top coats cure to glossy finish eliminating tackiness. No-wipe formulas maintain adhesive layer after curing allowing chrome burnishing. Not all no-wipe top coats work equally test adhesion on practice nail before full manicure application.
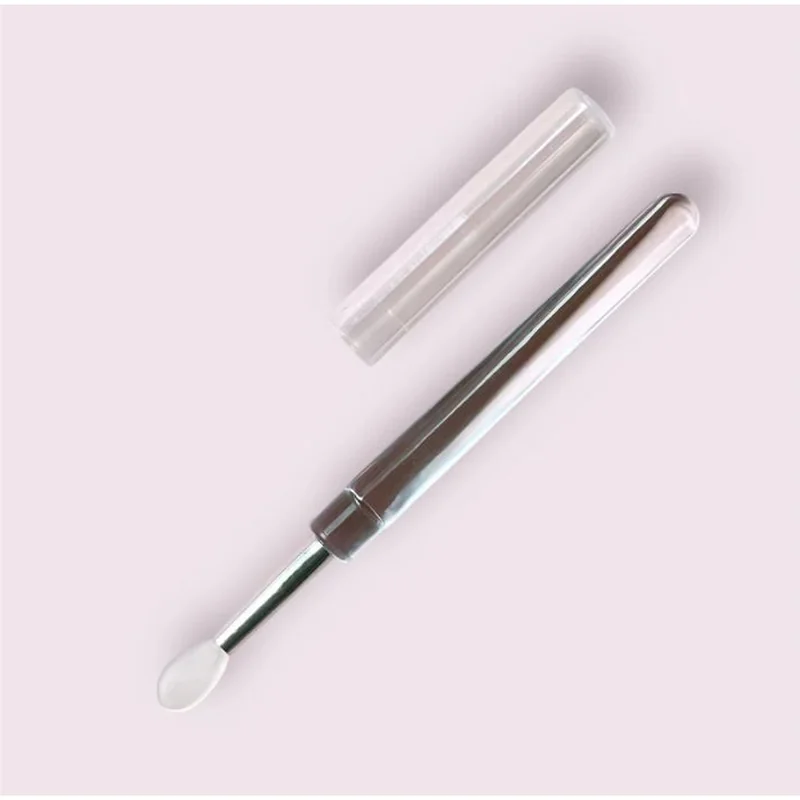
Silicone applicators produce superior results compared to eyeshadow brushes. The firm, smooth surface allows precise powder pickup and controlled burnishing pressure. Silicone cleans easily between applications preventing powder contamination. Eyeshadow brushes hold excess powder creating thick application that appears sparkly rather than mirror-like.
LED lamp specifications influence cure timing. Chrome application requires flash cure twenty to thirty seconds for optimal powder adhesion. Full sixty-second cure creates completely hardened surface preventing chrome powder from bonding properly. Invest in lamp with adjustable timer settings enabling precise cure control. This single specification prevents majority of adhesion failures.
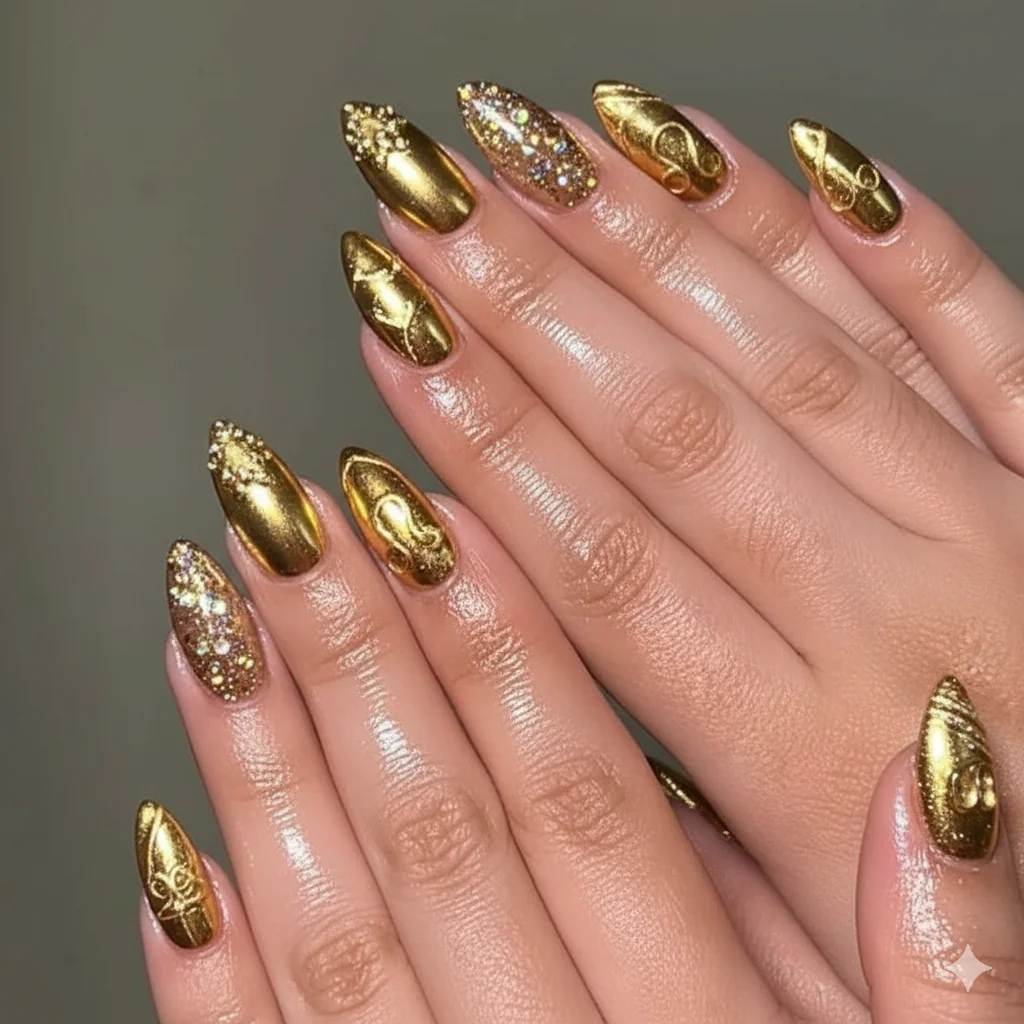
Base gel polish color amplifies chrome intensity. Dark bases black, burgundy, deep red create richest chrome appearance. Light bases produce softer metallic effect with less dramatic contrast. For maximum red mirror nails Valentine impact, begin with black gel base. The dark foundation enhances light reflection creating deepest chromatic depth.
Precision Application Technique
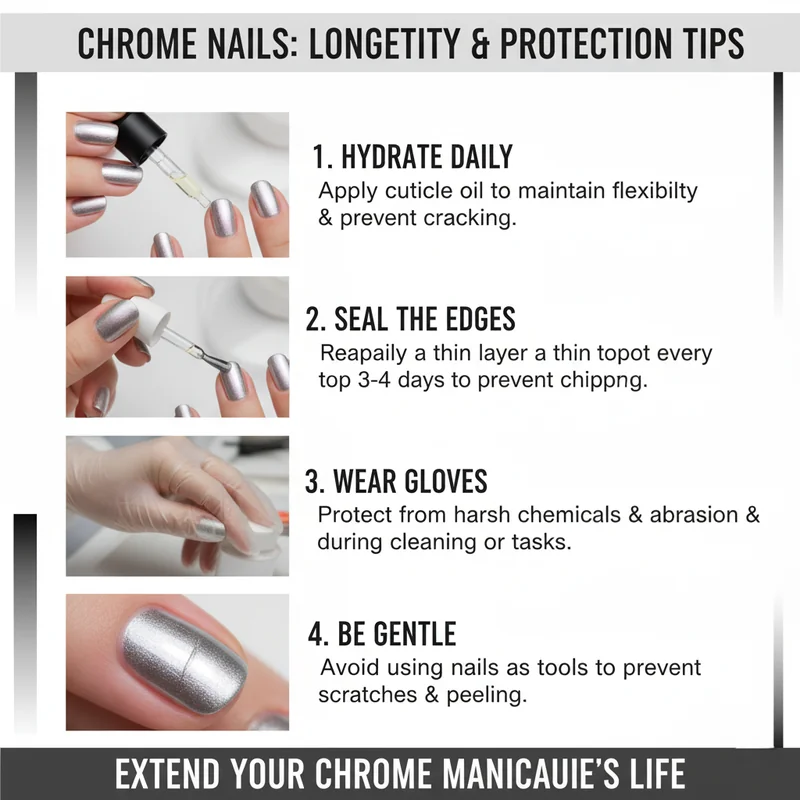
Nail preparation establishes foundation. Buff natural nail surface to smooth canvas removing ridges that telegraph through chrome finish. Apply cuticle oil then wipe thoroughly with alcohol natural oils prevent gel adhesion causing premature lifting. Push cuticles back gently creating clean application area extending chrome coverage to nail boundaries.
Base color application requires two thin coats. First coat establishes color foundation. Second coat achieves opacity eliminating streaking. Cure each coat thirty seconds full cure hardens surface excessively. Flash cure maintains slight flexibility improving chrome powder adhesion. Dark bases demand opacity any visible nail line diminishes final chrome appearance.
Apply no-wipe top coat in thin, even layer. Thick application creates uneven tacky surface causing patchy chrome adhesion. Cap free edges during top coat application preventing premature edge lifting. Flash cure twenty seconds only. Surface should feel tacky when touched lightly this indicates readiness for chrome application. Over-cured top coat rejects chrome powder entirely.
Chrome powder burnishing demands deliberate technique. Pick minimal powder on silicone applicator less produces mirror finish, excess creates sparkle. Apply to nail using firm circular motion. Pressure matters insufficient creates incomplete coverage, excessive removes powder faster than it adheres. The motion burnishes powder into gel surface rather than layering on top.
Light reflection checkpoint determines completion. Hold nail at angle under direct light. True mirror finish reflects light source as defined image you should see light fixture reflected in nail surface. Matte or hazy appearance indicates incomplete burnishing requiring additional buffing. Sparkly appearance suggests excess powder application remove with soft brush and continue burnishing remaining powder.
Excess powder removal prevents contamination. Use soft dusting brush sweeping away loose particles before proceeding to sealing phase. Chrome powder contaminating top coat brush creates bumpy, pitted finish ruining hours of work. Dust thoroughly around cuticles and sidewalls where powder accumulates. Professional technique emphasizes cleanliness preventing avoidable application failures.
The Critical Sealing Phase
Free edge preparation prevents premature chipping. File nail tips gently at forty-five degree angle removing chrome powder from edge surface. This exposed gel allows top coat to grip creating encapsulation. Chrome powder at edges prevents proper sealing top coat slides over powder rather than bonding to gel underneath. This single step eliminates ninety percent of chipping complaints.
Apply gel bonder to filed free edges before top coat. Bonder creates chemical bridge between chrome layer and sealing top coat. Paint thin line along nail tip edge only excess bonder on chrome surface dulls mirror finish. Allow bonder to air dry thirty seconds before top coat application. This preparation dramatically extends red chrome Valentine nails longevity.
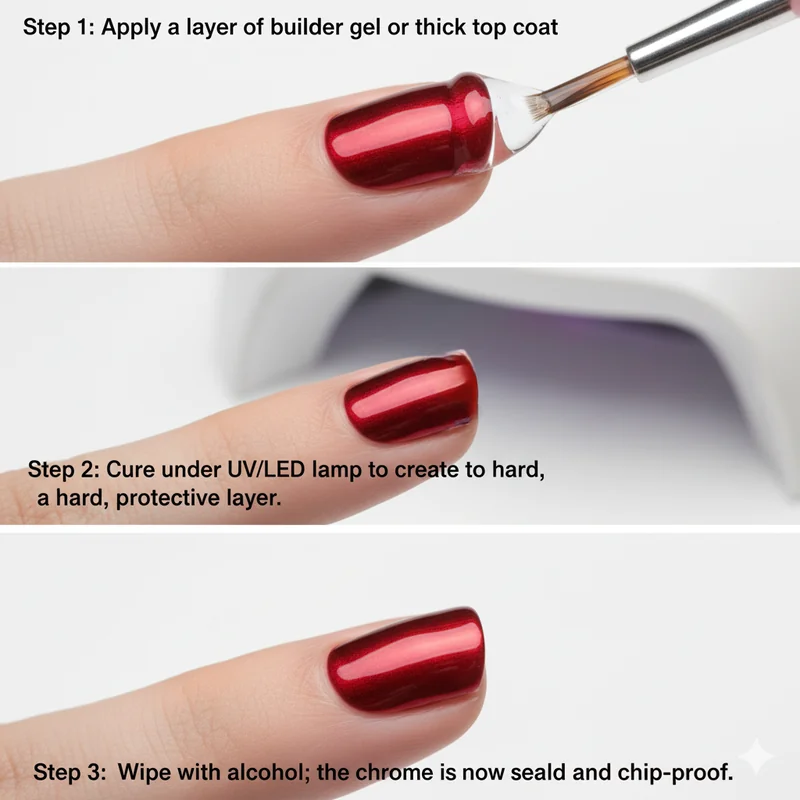
Top coat layering requires precision. First coat seals chrome powder preventing oxidation and physical damage. Apply thin layer avoiding flooding cuticles or sidewalls. Cap free edges deliberately brush should wrap slightly under nail tip edge. Cure sixty seconds full time. This complete cure hardens sealing layer preparing surface for second protective coat.
Second top coat adds dimensional depth and additional protection. Apply slightly thicker than first coat but maintain even distribution. Brush strokes should flow from cuticle to free edge in single motion minimizing texture ridges. Cap edges again ensuring complete encapsulation. Final cure sixty seconds creates hardened protective shell preserving chrome mirror finish.
Curing protocol affects durability. Under-cured top coat remains soft allowing chrome powder to shift creating cloudy appearance. Over-cured top coat becomes brittle cracking easily. LED lamps produce consistent results sixty seconds creates optimal hardness balancing protection with flexibility. Allow nails to cool completely before contact with water or chemicals immediate exposure causes premature lifting.
Design Variations for Valentine's
Full chrome coverage produces molten elegance. Apply chrome across entire nail surface creating unified reflective field. This maximalist approach suits longer nails where chrome expanse creates dramatic impact. Pair with simple outfit allowing nails to dominate visual presentation. The technique works for formal Valentine occasions where statement nails replace jewelry.
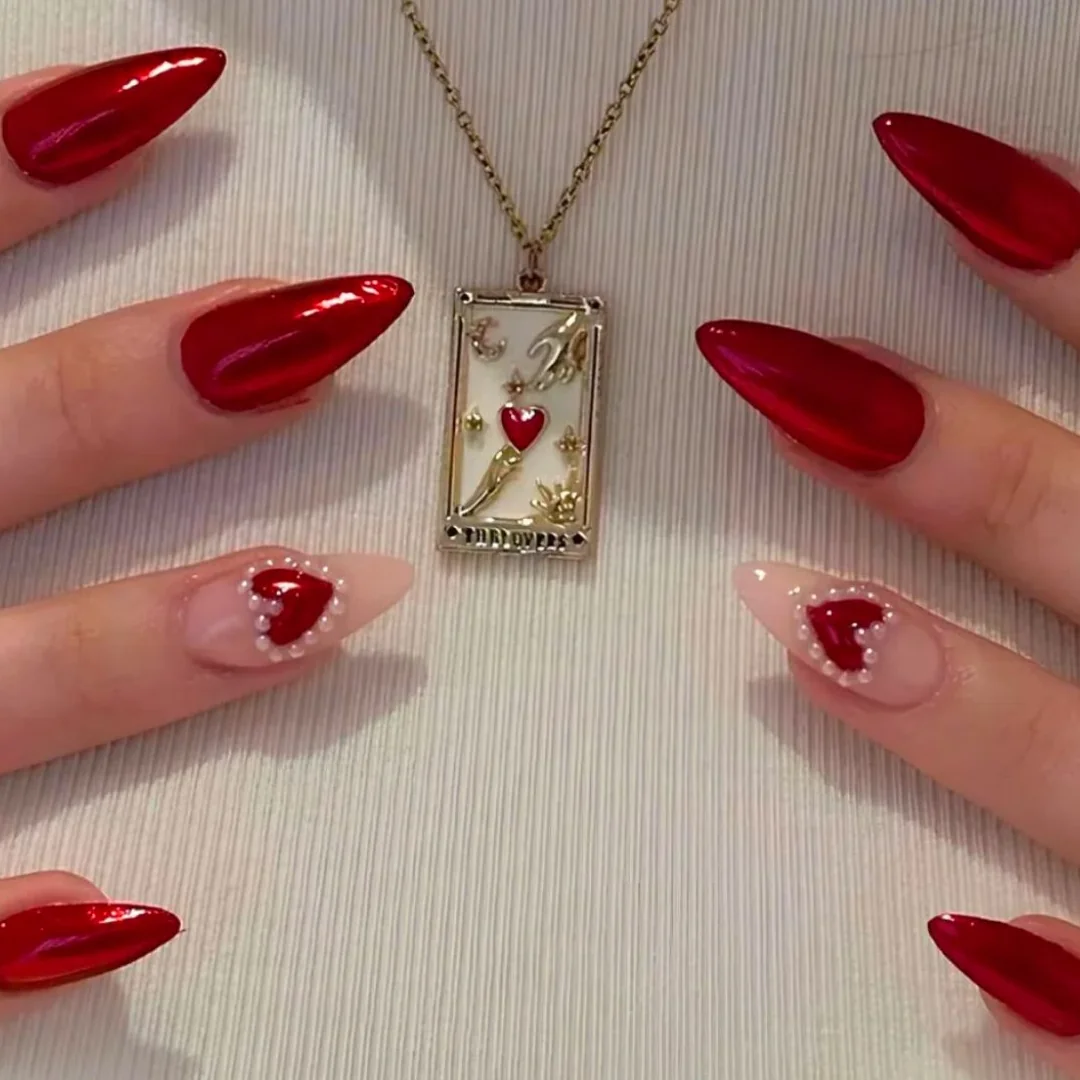
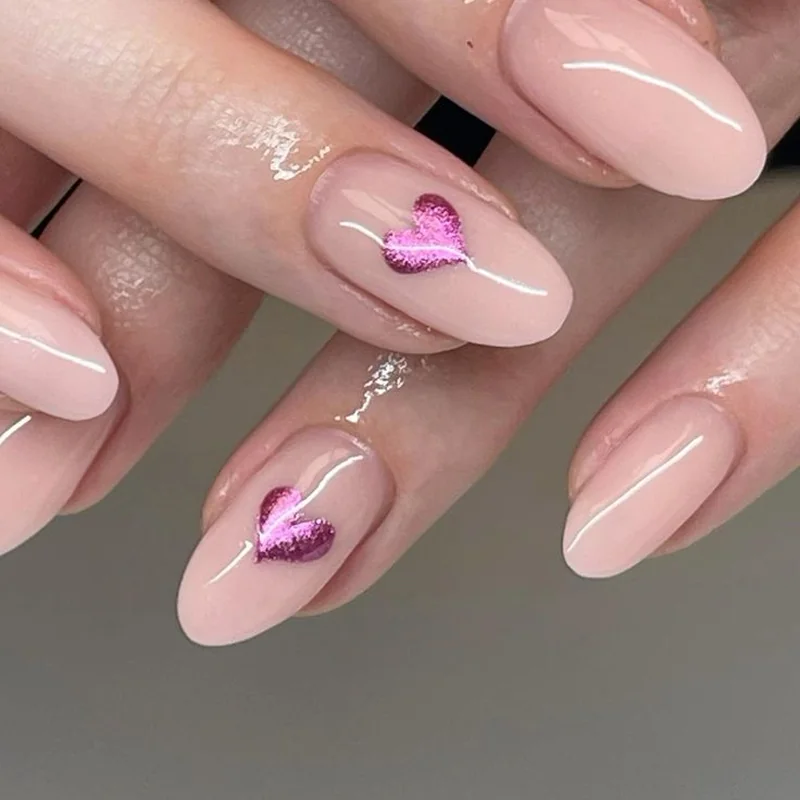
Chrome heart accents balance subtlety with Valentine symbolism. Apply nude or sheer pink base to all nails. Using heart stencils, create chrome heart shapes on accent nails typically ring fingers. This approach suits conservative environments where full chrome appears excessive. The hearts provide Valentine context while chrome adds sophisticated metallics.
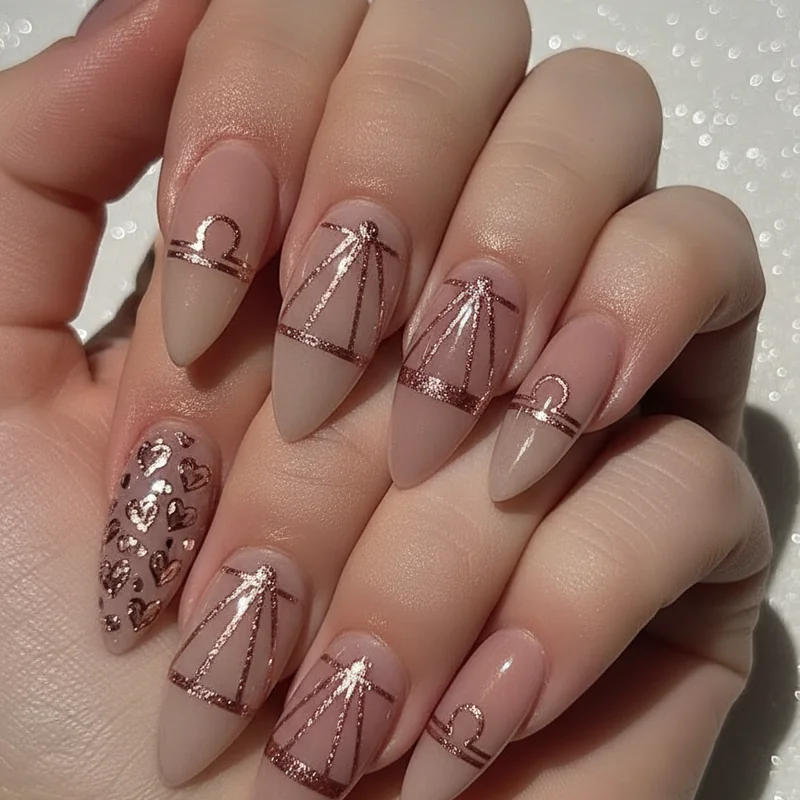
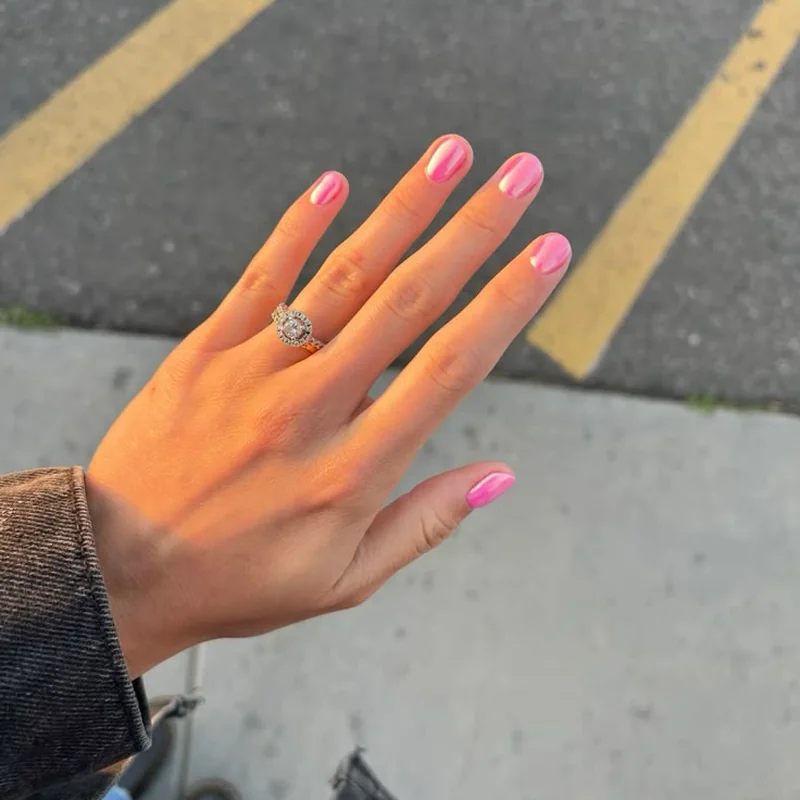
Red chrome French tips modernize classic technique. Apply nude base across all nails. Create smile line using chrome powder application only at tips. The contrast between matte nude and reflective chrome produces contemporary Valentine aesthetic. This variation suits shorter nails where full chrome overwhelms proportions. Consider combining with traditional French variations for layered approach.
Negative space designs introduce airiness. Apply chrome to strategic nail sections leaving base color visible through gaps. Geometric patterns stripes, chevrons, half-moon shapes create modern composition. The negative space prevents visual heaviness particularly relevant for longer nails where complete chrome coverage risks appearing costume-like rather than refined.
Ombré chrome fade creates gradient metallics. Apply chrome powder with varying intensity across nail length dense at tips, sparse at cuticles. This graduated effect produces dimensional depth beyond flat chrome application. The technique demands advanced burnishing control but achieves editorial sophistication when executed properly. Suitable for users seeking unique Valentine presentation beyond standard chrome execution.
Troubleshooting Precision
Sparkly instead of mirror-like indicates excess powder application. Solution: use less powder on applicator, increase burnishing pressure and duration. True mirror finish requires minimal powder thoroughly worked into gel surface. If sparkly appearance persists, remove chrome completely with alcohol wipe and restart application using sparse powder technique. The phrase less is more applies literally to chrome application.
Patchy adhesion stems from multiple potential causes. Over-cured no-wipe top coat creates non-tacky surface rejecting chrome powder. Solution: reduce flash cure time to twenty seconds ensuring sticky surface remains. Natural oils on nail surface prevent uniform adhesion. Solution: wipe nails with alcohol immediately before chrome application. Uneven burnishing leaves gaps. Solution: maintain consistent circular motion across entire nail surface.
Wrinkled or pitted top coat results from chrome powder contaminating brush. Solution: dust excess powder thoroughly before top coat application. Wipe top coat brush on paper towel between nails removing accumulated powder particles. Use separate top coat bottle for chrome nails preventing contamination of main supply. This precaution preserves brush quality and finish smoothness.
Chips within days trace to improper edge sealing. Solution: file free edges removing chrome powder before top coat. Apply gel bonder to filed edges. Cap nail tips deliberately during each top coat layer. This encapsulation technique creates protective barrier preventing moisture penetration and mechanical damage at vulnerable edge areas.
Chrome won't adhere anywhere indicates top coat cure timing error. If surface feels completely dry when touched, no-wipe top coat over-cured. Solution: reduce flash cure time allowing tacky layer to remain. Test tackiness before chrome application slight stickiness when touched lightly confirms readiness. If top coat feels wet, under-cured. Solution: increase flash cure by five-second increments until proper tackiness achieved.