The biggest lie in nail art content is that you need talent. You do not. What you need is the right prep, the right tool for the right design, and permission to start with imperfect results and improve from there. Spring nail art at home in 2026 is genuinely more accessible than it has ever been. Not because the techniques changed, but because the designs trending right now are built for irregular, human-made marks. Polka dots that wobble slightly. Daisies whose petals are not perfectly even. Swirls that meander. That is the aesthetic.
Before picking your first design, go through the Spring Nail Ideas 2026 guide if you want to match what you learn here to current colour directions. It will save you from choosing a technique and then realising the colour palette you love needs a different approach.
Why Spring 2026 Is the Right Season to Start
Polka dot nail searches are up over 2,100% since early 2025, according to Fresha's spring 2026 nail trend data. The minimal manicure (soft base with one deliberate accent element) is up 250%. Both of these dominant trends are things a beginner with a toothpick can actually do.
The point is: you are not learning to replicate nail looks that require three years of practice. You are learning the looks that are trending because they suit imperfect technique. The timing has never been better.
The Only Tools You Actually Need
Most nail art tool lists are written by people who want to sell you nail art tools. Here is what actually matters:
A toothpick handles dots, fine lines, and petal details. A bobby pin makes larger, rounder dots than a toothpick tip. A makeup sponge , the dense triangular kind from any drugstore, creates ombre gradients. A thin liner brush (one narrow brush, £3-£5 from any beauty supply) handles swirls and fine details. Everything else is a nice-to-have.
The one purchase worth making if you do not already own it: a dedicated acetone cleanup brush. A small, flat synthetic brush dipped in pure acetone and run along the skin edge is what separates salon-looking results from ones that look done at home. It takes 30 seconds per nail and the difference is not subtle.
For polish picks that work well with these techniques, the Best Spring Nail Polish 2026 guide has gel, drugstore, and press-on options ranked by consistency and dry time.
Nail Prep: The Step Everyone Skips
Five minutes before you start any design. That is all this takes, and it is the single most effective thing you can do to extend wear and improve how the design looks.
Push back cuticles with an orange stick or cuticle pusher. Buff the nail surface lightly with a four-way buffer . You are removing shine, not filing down the nail. Wipe each nail with a lint-free pad and a little polish remover to lift any oils. Apply a base coat and let it dry completely. Completely. Not mostly dry. Not dry enough to touch. Dry.
Polish sticks to prep. It slides off oil. That is the entire reason home manicures chip in 24 hours when salon ones last two weeks. Not the polish brand, not the top coat, not artistic skill. OPI's at-home manicure prep guide goes into the full sequence if you want the detail behind each step. The short version: prep is not optional.
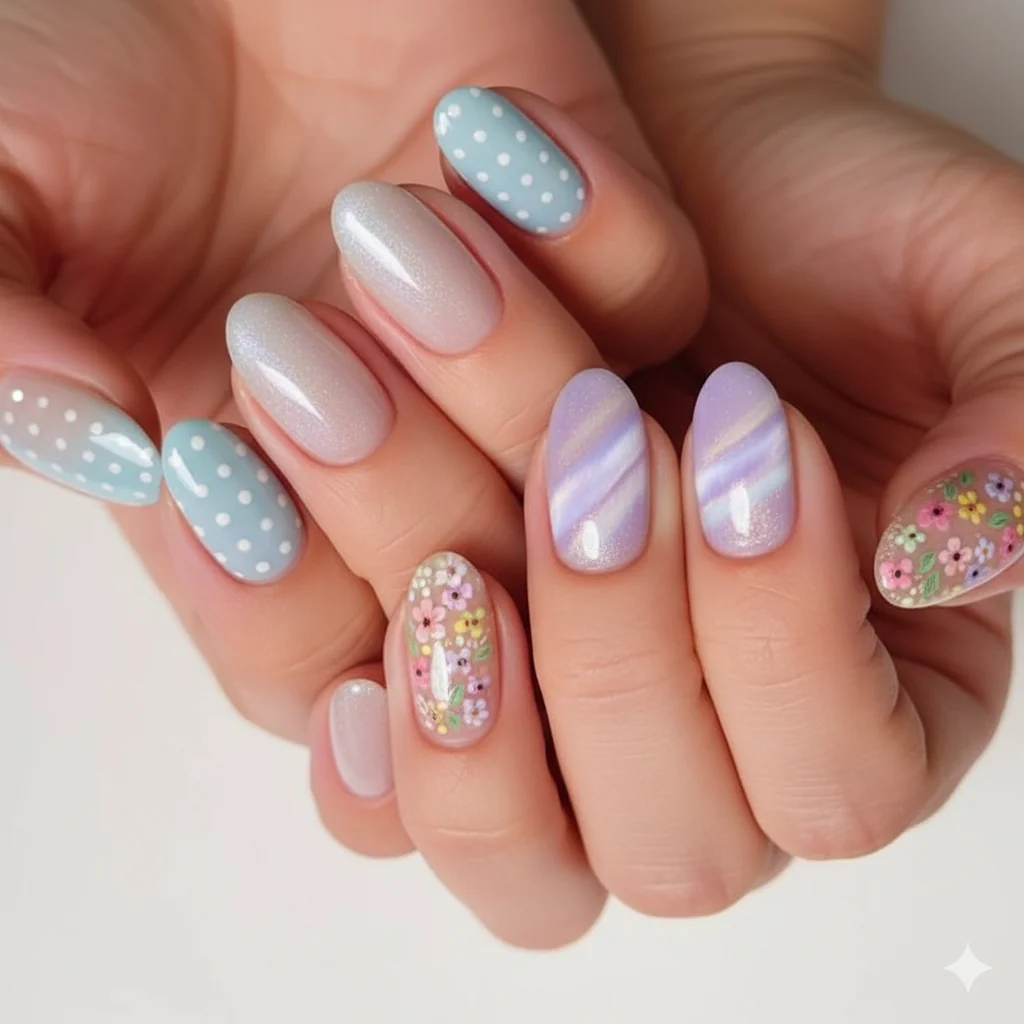
Design 1: Daisy Dot Nails, Beginner, Under 20 Minutes
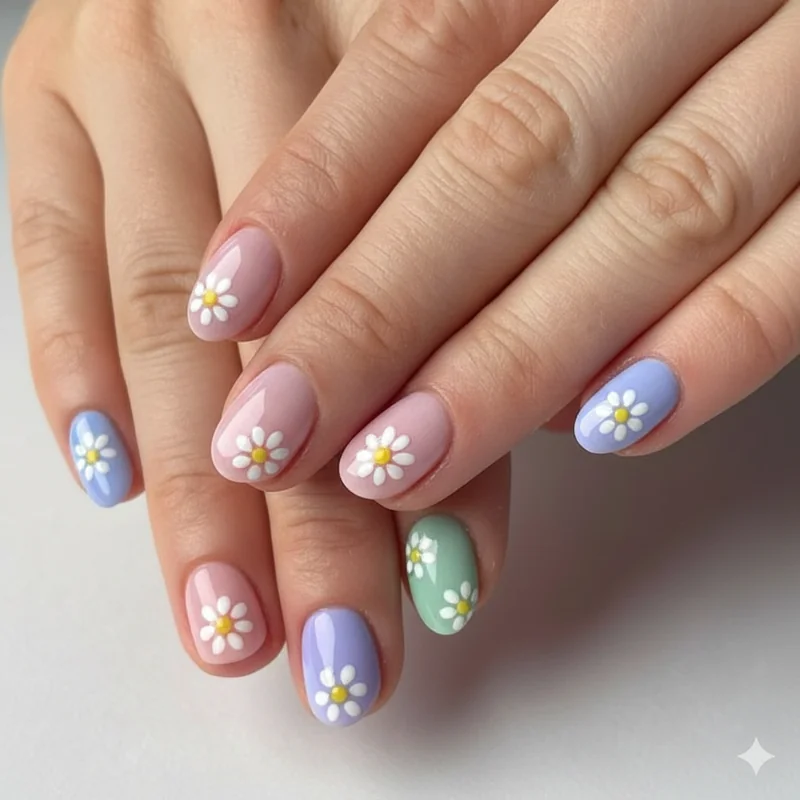
A single daisy on an accent nail is as achievable as it gets. The technique is simple enough that your non-dominant hand will produce something recognisable on the first try.
Skill level: Beginner. Time: 15–20 minutes including dry time.
Apply your base colour and let it dry fully. Dip the very tip of a toothpick into white polish and press one small dot in the centre-ish area of the nail . It does not need to be mathematically centred, and it will look more natural if it is not. Wipe the toothpick clean, reload with yellow, and press one tiny dot on top of the white one. This is your flower centre.
Now the petals. Reload the toothpick with white, press the tip near the yellow centre, and pull very slightly outward in one direction. Do this five times in a loose circle. The petals do not need to be the same size or perfectly even. Real daisies are not, either.
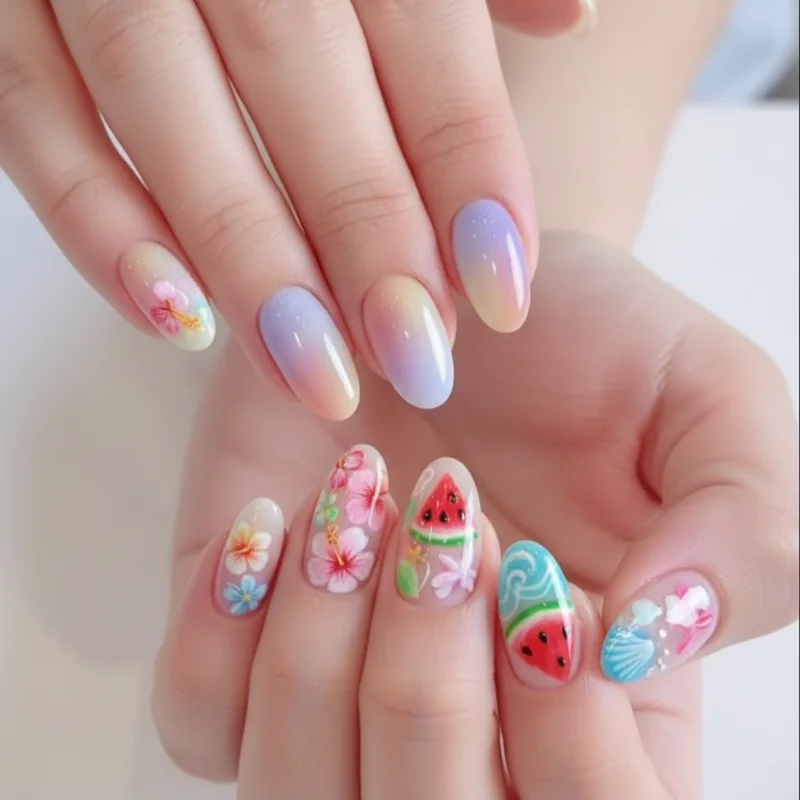
For the full daisy gallery and floral variations worth layering in once you have the basics, Spring Floral Nails covers everything from micro daisies to 3D blooms.
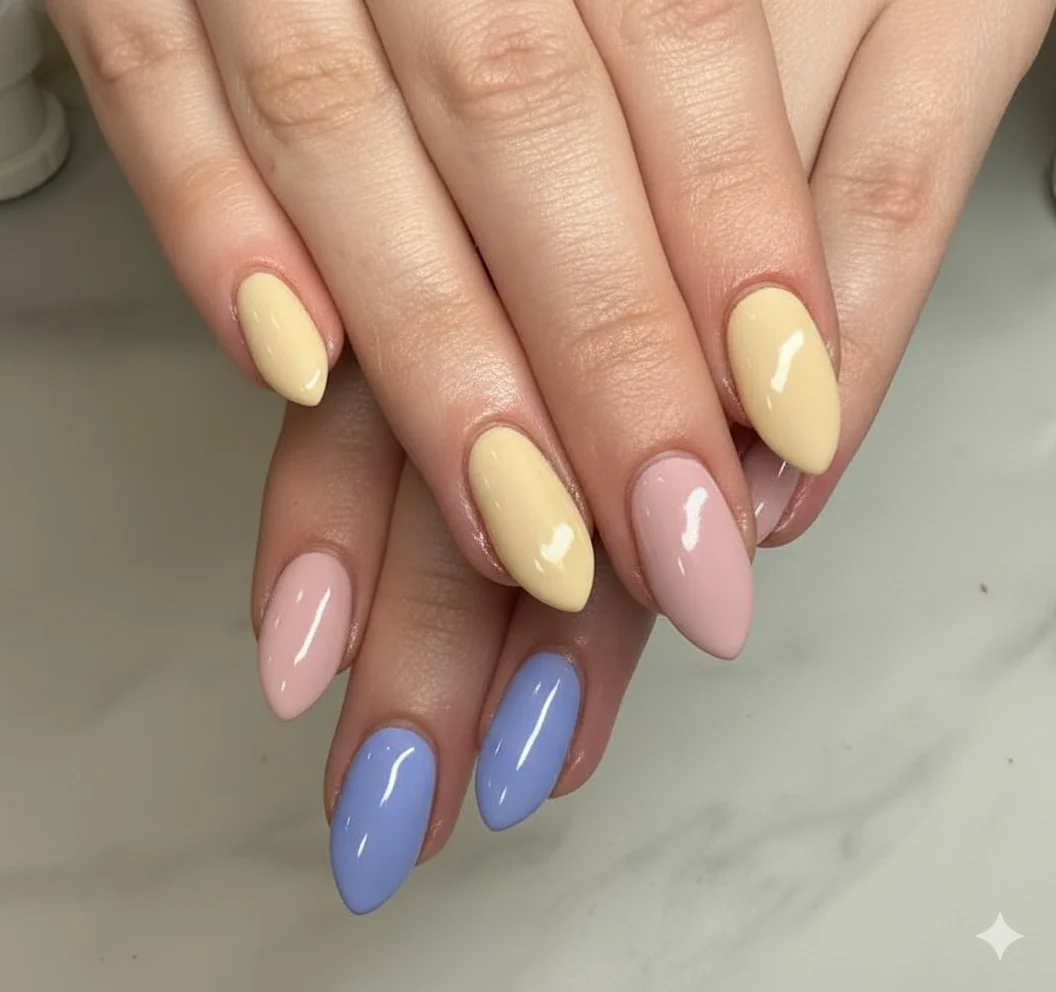
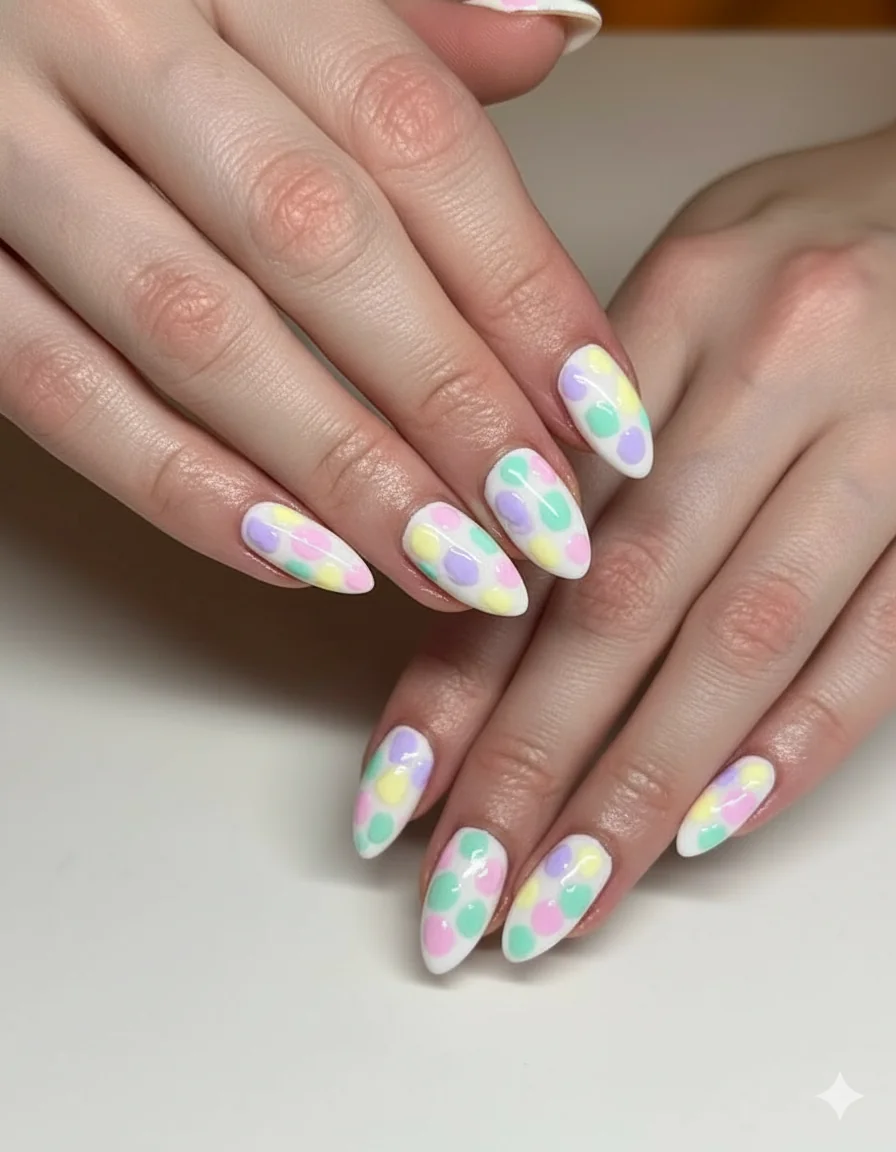
Design 2: Pastel Polka Dots, Zero Skill Required
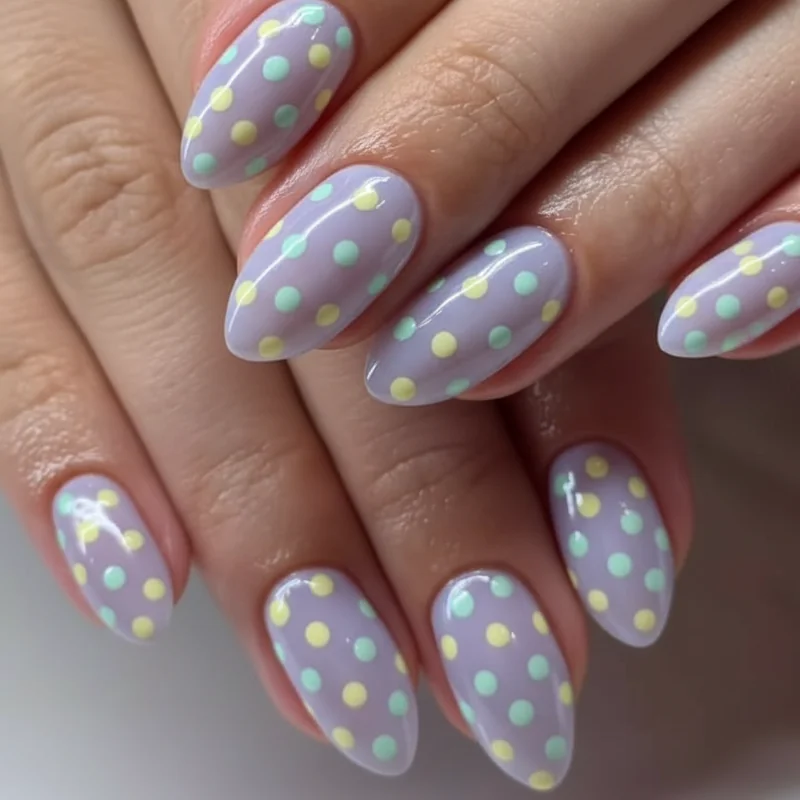
Polka dots are the most forgiving nail art design that exists. Imperfect placement reads as design intent. Variation in dot size adds visual texture. The more "hand-done" they look, the more editorial they read in 2026.
Skill level: Complete beginner. Time: 10 minutes.
Apply a solid pastel base: mint, lavender, or soft yellow all work. Let it dry. Open a second, contrasting pastel and dip the rounded end of a closed bobby pin into the polish so it picks up a small, even amount. Press straight down onto the nail and lift cleanly. Do not swipe or twist. Press and lift. Space dots loosely, angling them so they feel scattered rather than grid-aligned. Three to six dots per nail is enough.
The secret: slightly varying the amount of polish on the bobby pin tip between each dot means no two dots are identical, which is exactly what you want.
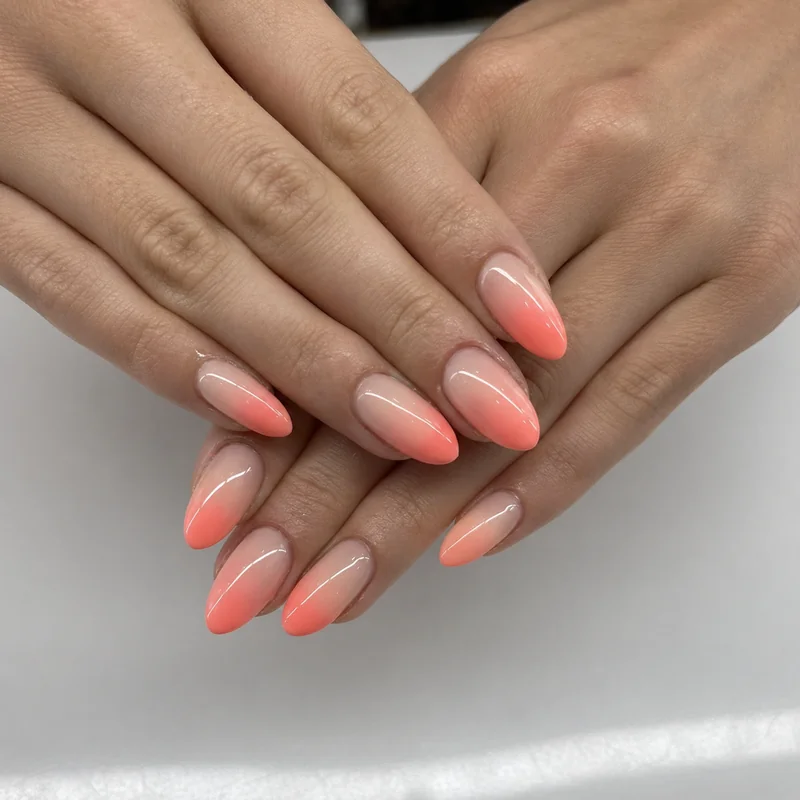
Design 3: Sponge Ombré, Gradient Nails at Home
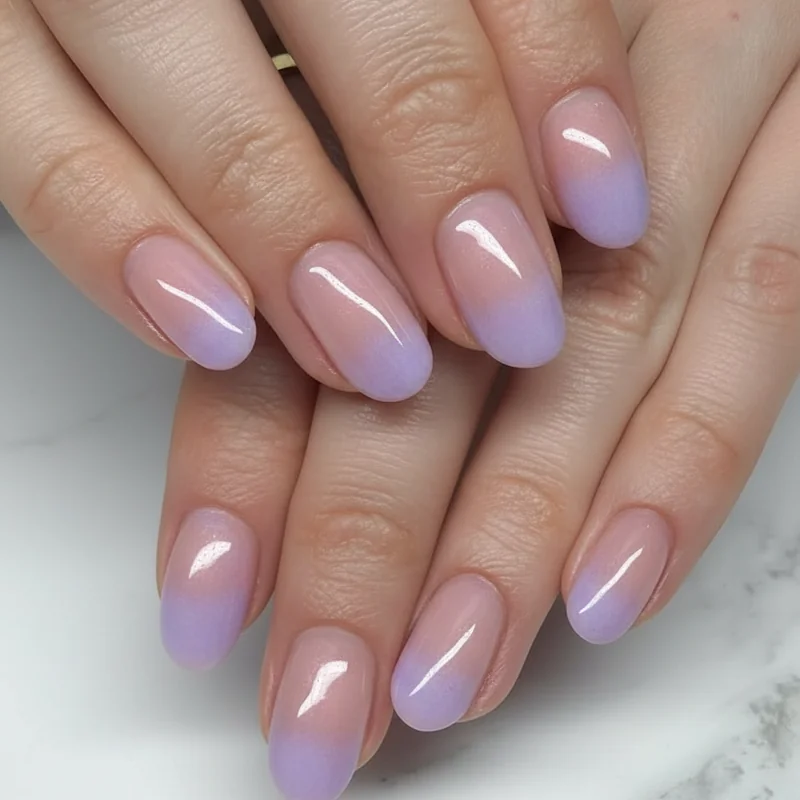
The sponge ombre looks harder than it is. The technique takes about three minutes once you have done it once . The extra time is cleanup and dry time between layers.
Skill level: Beginner. Time: 25–30 minutes including dry time.
Apply a sheer or white base and let it dry. On a piece of foil or a plastic surface, paint two thin strips of polish side by side, the two colours you want to blend, so they touch and slightly overlap in the middle. Press the dense end of a makeup sponge onto the wet strips to pick up both colours, then press the sponge gently onto your nail. Do not rub or drag. Dab, lift, repeat two to three times.
The key technique detail: press the sponge so the gradient runs vertically on your nail (one colour at the cuticle end, the other at the tip). After each application, clean skin edges with an acetone brush. Two to three layers of sponge application give you a gradual, seamless blend. Top coat pulls the colours together and adds the glassy finish that makes ombre look intentional.
For technique detail on polish application itself, CND's professional application step-by-steps are a reliable reference point.
Design 4: Abstract Swirl Nails, Intentionally Imperfect
This is the design that looks like it requires an artist and actually requires only a thin brush and the confidence to not correct yourself mid-stroke.
Skill level: Beginner to intermediate. Time: 20 minutes.
Apply a white or cream base and let it dry. Thin your coloured polish very slightly by rolling the bottle between your palms to warm it . Thicker polish drags, thinner polish flows. Load your liner brush sparingly: less polish than you think you need. Place the brush at one edge of the nail and draw a continuous curved line across the nail in one motion, letting your hand do the curving naturally. Do not plan the curve. Do not correct it.
The design is made of three to four of these loose lines, some starting from different edges, occasionally crossing. The imperfection is not something to overcome. It is the point. Abstract swirl nails look machine-made when they are too even; what makes them feel editorial is that they look like someone's hand moved across the nail and left a mark.
Design 5: Confetti Nails, Fast, Maximalist, and Forgiving

Confetti nails are the most forgiving design in this list. The entire aesthetic is controlled chaos . There is no placement that looks wrong.
Skill level: Complete beginner. Time: 15 minutes.
Apply a sheer or nude base and let it dry. Tear a small piece from the edge of a makeup sponge so it has an irregular, rough edge rather than a clean one. Load this torn piece with a bright colour and dab it in a small patch somewhere on the nail. Repeat with two to three other colours, overlapping slightly in places and leaving gaps of nude base visible between patches. The torn sponge edge is what gives each colour patch that intentionally rough, non-geometric outline.
Three to five colours works best: enough to feel maximalist, few enough that it reads as intentional rather than messy.