Most jelly nail tutorials show you the steps. What they skip is why each one matters — and that gap is exactly why your last attempt peeled by Thursday. How to do jelly nails at home is not complicated, but it is specific. The prep, the coat count, the way you finish the tip of each nail: these are not optional extras. They are what the jelly finish actually depends on.
This tutorial covers both routes — gel polish with a lamp, and regular lacquer without one. It gives you the exact coat count for every translucency level, the 2:1 mixing ratio for making your own jelly shade, and the finish technique that keeps everything intact. If you want the full picture on jelly nails as a trend before you start, the complete jelly nails guide has you covered. And if you're doing this for summer, you're in exactly the right moment: jelly nails are one of summer 2026's standout manicure trends.
How to do jelly nails well comes down to four things: prep, route, coat control, and finish. All four are in here.
What You Need Before You Start: Gel Route vs No-Lamp Route
Two routes. Two product sets. Your choice depends entirely on whether you own an LED or UV lamp.
The gel route (with lamp):
- Rubber base coat or sticky base coat
- Jelly gel polish (or any sheer gel polish) — the best jelly nail polishes right now covers exactly what to buy
- No-wipe gel top coat
- LED or UV nail lamp
- Isopropyl alcohol (IPA) for nail prep and cleanup
The no-lamp route (regular polish):
- Clear base coat
- Jelly polish or a sheer regular lacquer (or your DIY mix — see H2 #6)
- High-shine glossy top coat (not fast-dry — fast-dry formulas dull translucency)
- Isopropyl alcohol or nail polish remover for prep
Neither route produces a lesser result. The gel route lasts longer. The no-lamp route is quicker to remove and requires less equipment. Both can give you that candy-glass finish if you follow the steps.

Why Nail Prep Is the Step Most People Skip — and Why Their Jelly Nails Peel
Skipping prep is not laziness. It is usually just not knowing what prep actually does.
Natural oils on the nail plate prevent any polish — gel or regular — from bonding properly to the surface. Even clean-looking nails carry residual oil. Water in the nail plate (from washing hands, showering, or even humidity) creates a barrier between your base coat and the nail. Prep removes both.
Here is the prep sequence that stops jelly nails from peeling:
- Shape and buff lightly. File to your desired shape. Gently buff the surface with a soft buffer — this creates microscopic texture for the base coat to grip. Do not over-buff; you are creating surface texture, not thinning the nail.
- Push back cuticles. Any cuticle tissue left on the nail plate will cause lifting at the base. Push back thoroughly. Gel that touches skin will always peel.
- Wipe with IPA. Saturate a lint-free pad with isopropyl alcohol and wipe each nail. This removes oils, dust, and any remaining moisture. Let it evaporate fully — about 30 seconds — before touching the nail.
- Do not moisturise beforehand. Cuticle oil and hand cream are for after. Oils applied before or during application are the most common cause of peeling within 24 hours.
That last one is where most failed attempts start. "Why do my jelly nails keep peeling" almost always traces back to oil on the nail — either from natural production, leftover product, or pre-manicure moisturising. The IPA wipe is not optional.
The complete nail care guide goes deeper on nail plate health if you are working with thin or damaged nails that need extra prep consideration.
How to Do Jelly Nails Step by Step: The Gel Method
If you have an LED or UV lamp, this route gives you the most durable and glossy jelly finish. The key is thin coats and full cures — thick coats trap air, cure unevenly, and produce a lumpy surface that kills the glass effect.
Step 1: Apply rubber base coat. Use a rubber base coat rather than a standard gel base — it flexes with the natural nail, which is exactly what prevents lifting on flexible or thinner nails. Apply a thin layer. Cap the free edge by running the brush lightly across the very tip of the nail. Cure for the time specified by your brand (usually 30–60 seconds under LED).
Step 2: Apply your first colour coat. Load the brush lightly. Work from base to tip in three strokes — one down the centre, one each side. Keep 0.5mm away from the cuticle and skin at all sides. Cap the free edge again. Cure fully.
Step 3: Apply your second colour coat. Same technique. This is where the jelly depth starts to build. Cure fully. A third coat is optional — see the coat count section below for translucency guidance.
Step 4: Apply no-wipe top coat. Apply a generous but even layer. Cap the free edge one final time. Cure. No-wipe means no finishing wipe needed — the glossy surface is the cured result.
That is your jelly finish. The glass-nail depth the Korean jelly nail method is known for comes from the same logic — thin layers, full cures, and a structured base that gives the translucent colour something to sit against.
For adjacent gel techniques, the blooming gel nail tutorial uses the same curing process and is a natural next skill to pick up once you have the jelly application down.

How to Do Jelly Nails Without a Lamp: The Regular Polish Method
Not owning a UV lamp does not mean settling for a lesser result. Regular lacquer can give you a genuine jelly finish — the technique is just slightly different.
Most tutorials that suggest a lamp is required are written around gel-only products. The jelly look is about translucency and high gloss, not about gel chemistry. Regular polish can deliver both.
Step 1: Apply a clear base coat. Thin layer, cap the free edge, let it dry fully. Do not rush this step — applying colour over a tacky base is one of the main causes of bubbling in regular polish.
Step 2: Apply your first colour coat. Thin coats are even more important here than with gel. A thick regular polish coat will take far too long to dry and may wrinkle the layer beneath it. One thin coat, dry completely — use a fan to speed this up if you are impatient.
Step 3: Add a second coat. By now you should have a visible jelly tone building. Let it dry.
Step 4: Apply a high-shine glossy top coat. Not a fast-dry formula. Fast-dry top coats contain solvents that can slightly cloud translucent polishes and reduce the gloss intensity. A standard high-gloss top coat is what gives regular jelly nails that wet, glass-like surface.
The no-lamp route typically lasts four to seven days. With good prep and free edge capping on every layer, you will consistently hit the longer end of that range.
How Many Coats? The Coat Count Guide for Every Translucency Level
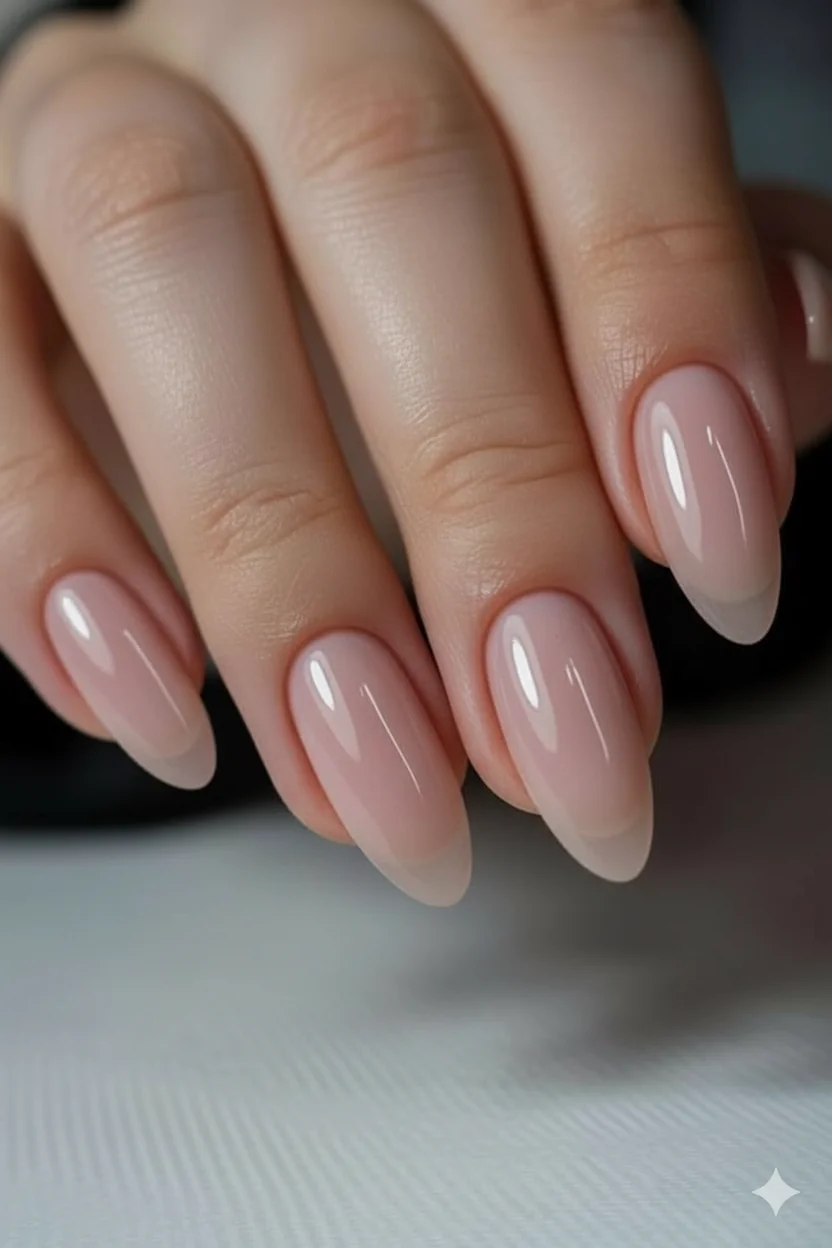
Three coats is the number at which a jelly polish stops being translucent and starts being a finish. That is the exact boundary — and knowing it lets you control the result deliberately.
Here is what each coat count actually looks like:
- 1 coat: Barely-there. A wash of colour with the natural nail clearly visible. Works beautifully on short nails for a clean, understated look. Not quite "jelly" yet — more of a tinted gloss.
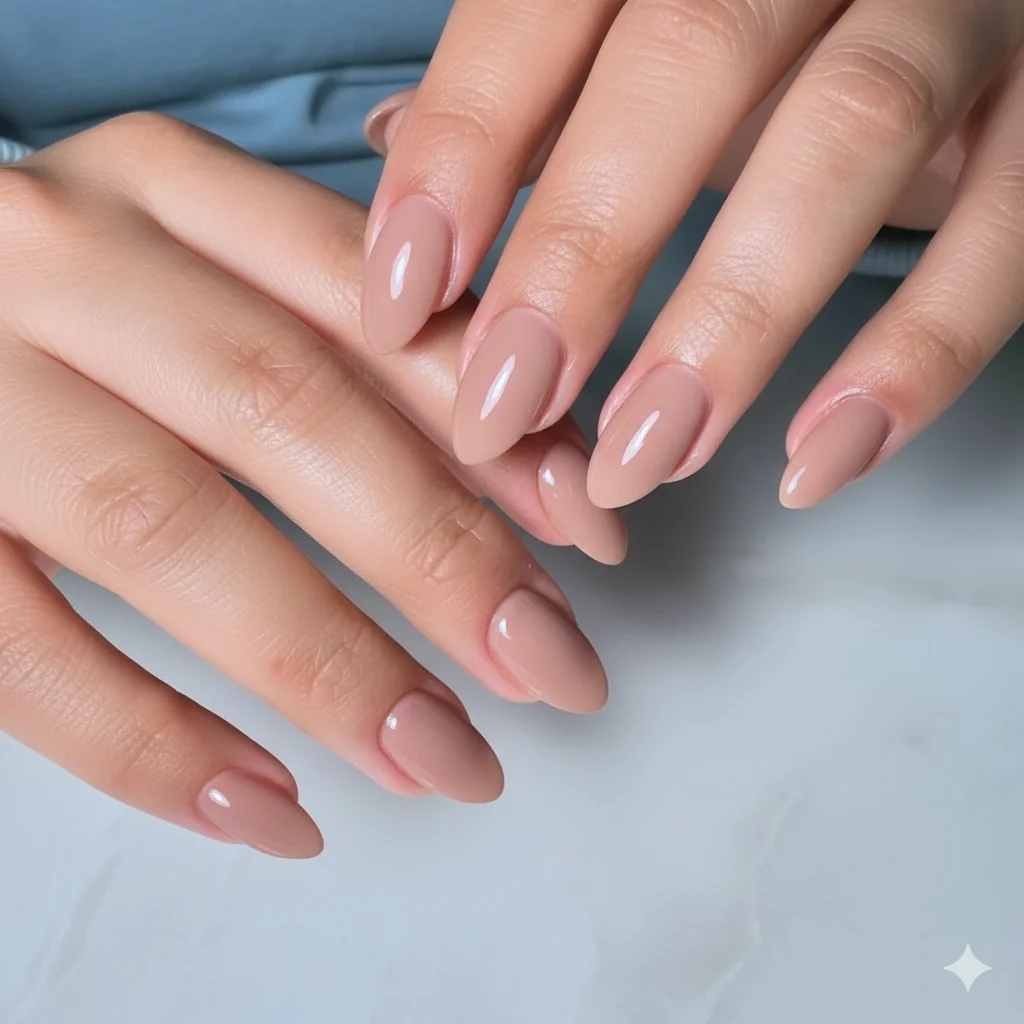
- 2 coats: The classic jelly nail. Translucent enough to read as sheer, pigmented enough to have real presence. The candy-glass effect most people are trying to achieve lives here.
- 3 coats: Deep jelly. The colour is rich and dimensional. You can still see the nail structure beneath it, which is what separates three-coat jelly from a solid opaque finish. This is the look that photographs as the "juicy nail" or "glossy jelly effect."
The answer to "how many coats for jelly nails" is always: it depends what you want. Two is the default. Three if you want depth. One if you want sheer.
How to Mix Your Own Jelly Polish at Home
The ratio is 2:1. Two parts clear top coat to one part coloured polish.
That is it. That is the formula that turns any regular lacquer into a translucent jelly shade — and how to mix your own jelly polish confirms the same ratio that nail artists use. The reason it works is that the top coat dilutes the pigment in the colour while keeping the gloss — which is exactly what a purpose-made jelly formula does.
A few things to know before you mix:
- Use a non-fast-dry top coat for mixing. Fast-dry formulas have a different consistency that can create a stringy, uneven mixture.
- Mix in a small dish or directly on a disposable palette — not inside the polish bottle.
- Stir gently. Vigorous mixing introduces air bubbles into the mixture that show up on the nail.
- Use the same brand for both the colour and the top coat where possible — different brand chemistries occasionally separate.
Want pink or a bolder summer shade? The pink jelly nails guide covers the best pink shades to work with, and neon jelly nails is where to go for a brighter, summer-forward option.

How to Get the Glass Finish: Top Coat, Free Edge Capping, and Glossing Technique
Capping the free edge is like sealing a letter — it keeps everything in. Most people apply polish to the flat surface of the nail and consider the job done. The free edge (the very tip you see from the side) is left open, which means moisture and daily friction work their way under the product from the tip inward. This is why jelly nails that look perfect on day one are chipping by day three.
The technique: on every single layer — base coat, each colour coat, top coat — run the brush lightly across the tip of the nail to seal it. It takes two extra seconds per nail. It makes a significant difference to how long the finish holds.
For the top coat specifically:
- Apply it in slow, even strokes. Rushing creates streaks in a high-gloss formula.
- Do not let the brush drag or go back over an area that is already tacky — this pulls the surface and dulls the finish.
- For gel: cure fully. Under-cured top coat stays slightly soft and scratches easily, which kills the glass effect within hours of normal use.
- For regular polish: let it dry completely before touching anything. The gloss is still curing for several minutes after it feels dry to the touch.
Do Jelly Nails Work on Short Nails?
Translucency is more flattering on short nails than long ones, not less. That is the opposite of what most people assume.
On a longer nail, a sheer polish can look unfinished. On a short nail, the translucency reads as deliberate — a clean, high-gloss look that makes the nail appear healthy, smooth, and well-kept. The "see-through nails" quality that sometimes reads as sparse on length works entirely in your favour when the nail is short. The colour concentrates and the gloss does more of the visual work.
So yes. Jelly nails work on short nails. In many cases, that is exactly where they look best.
Jelly Nail Variations to Try Once You've Mastered the Base
Once you have the two-coat jelly finish down, there are four clean directions to take it.
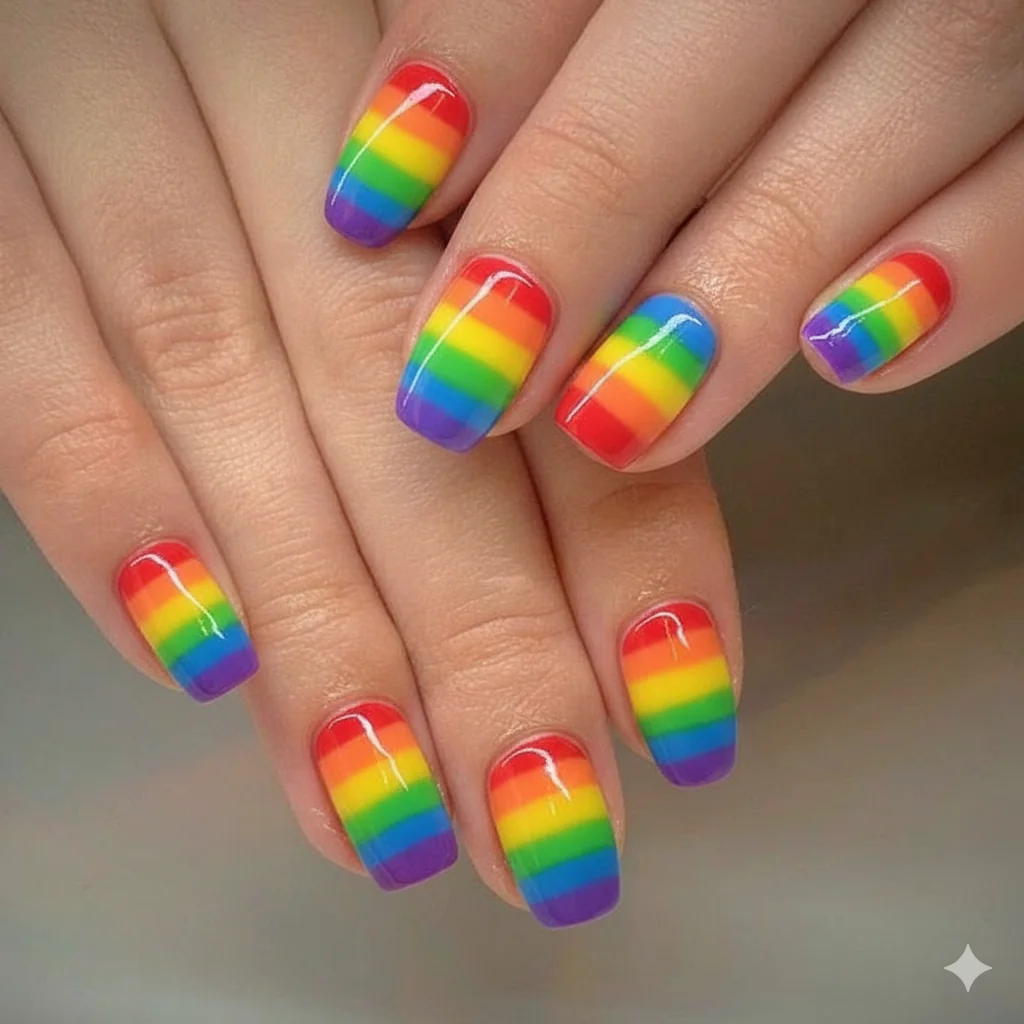
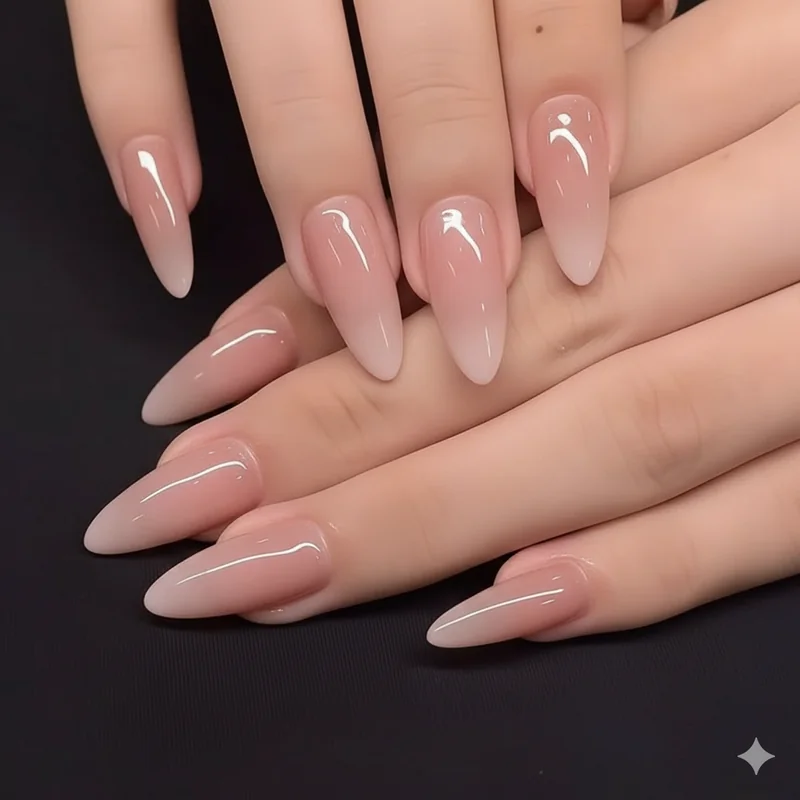
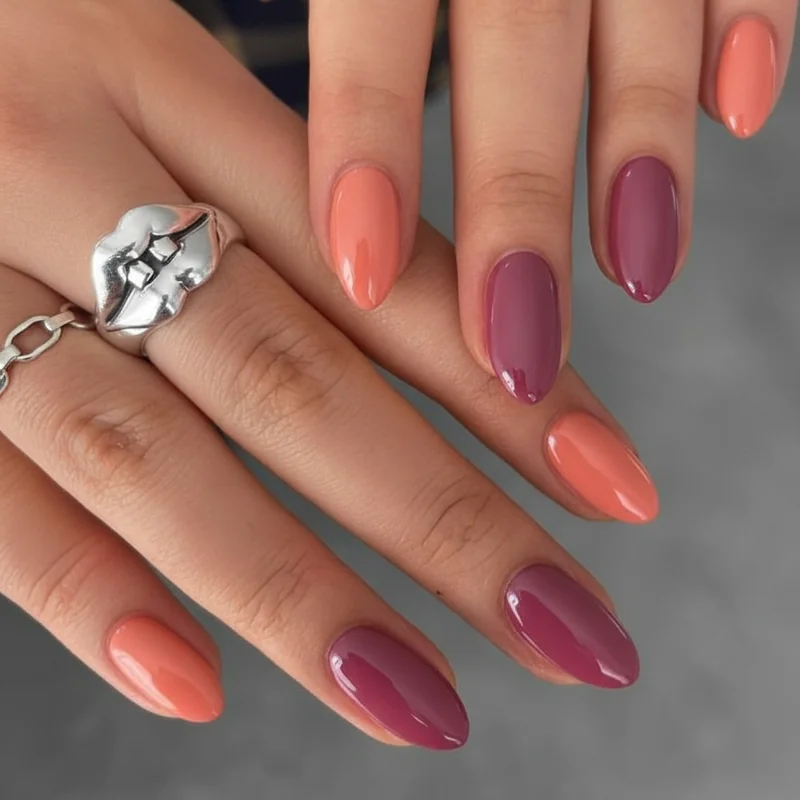
Ombré / gradient jelly: Apply two different jelly shades — one on the lower half of the nail, one on the upper — and blend at the centre with a small brush or sponge before curing. Works best with shades in the same colour family.
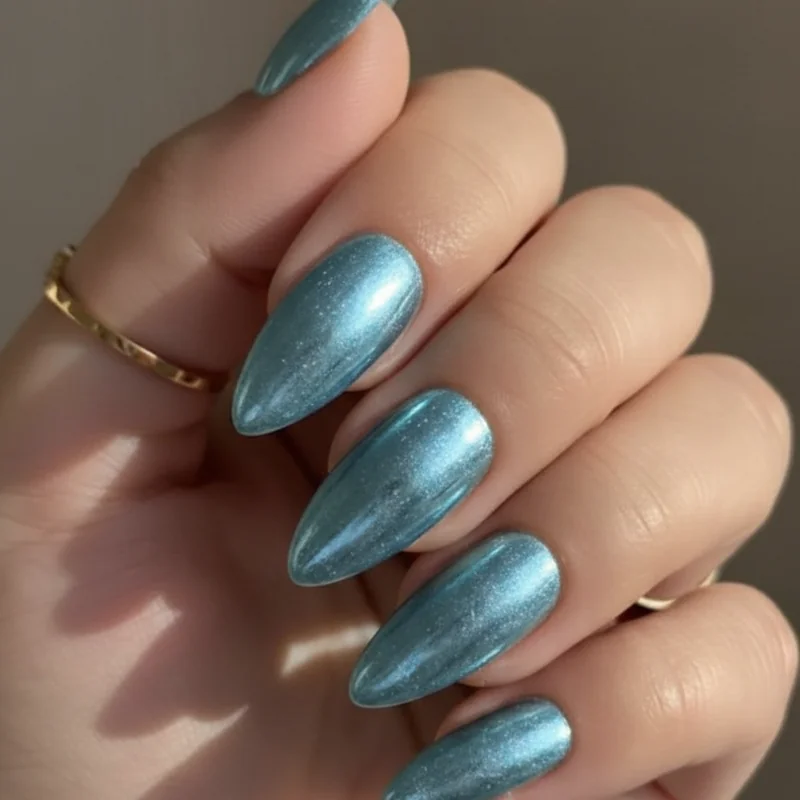
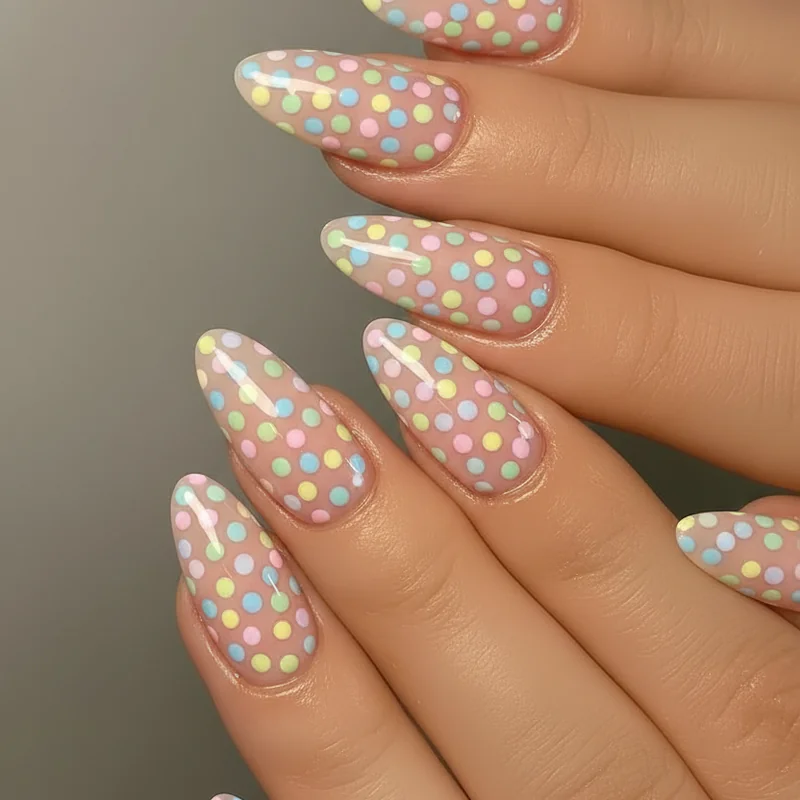
Glitter encapsulation: Apply one coat of jelly colour, cure, then press fine holographic or iridescent glitter into the tacky layer. Apply a second jelly coat over the top, cure, then finish with top coat. The glitter sits suspended inside the translucency — visible but not raised.
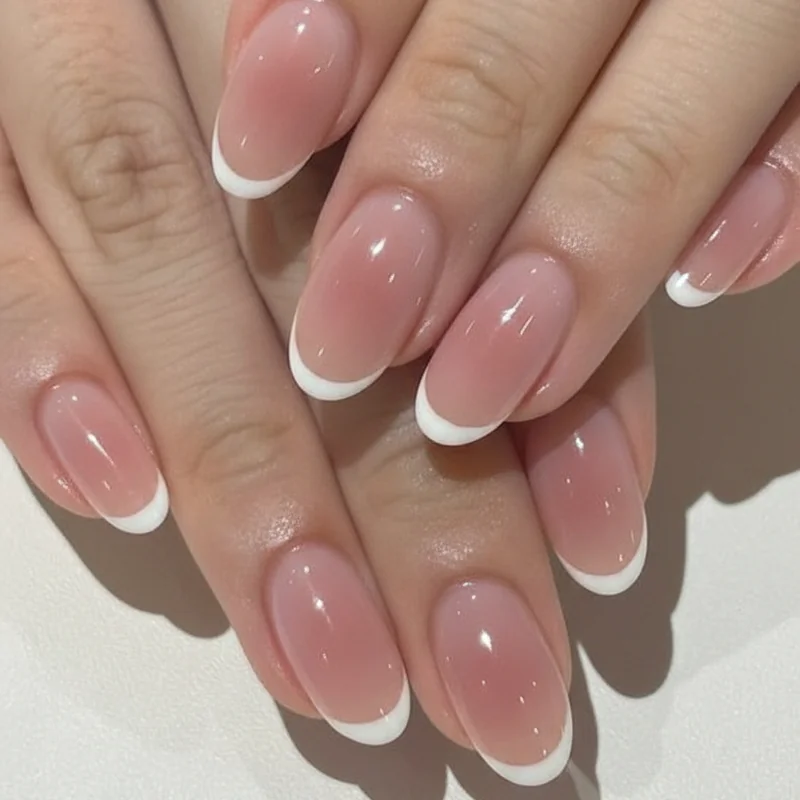
Jelly French tip: Apply a sheer jelly base over the full nail, then paint the free edge in white or a contrasting sheer. The jelly French tip nail ideas guide has the full technique and inspo if you want to take this further.
Builder gel jelly: Apply a thin sheer layer of builder gel over your rubber base, cure, then add your jelly colour on top. The structured base makes the translucent colour look three-dimensional — this is the finish closest to what you see on the blooming gel nail side of gel technique.