Gel nail colors for skin tone require a different decision framework than regular polish — and most guides skip the part that actually matters.
Regular polish sits on the nail as a thin film with a slight sheen. Gel cures into the nail plate under UV or LED light, transforming in texture, depth, and finish. The colour you chose from the bottle or swatch book is not always the colour you end up with. Add in gel's inherent high-gloss topcoat, which amplifies every shade and changes how it reads against your skin, and you have a medium that behaves by its own rules. This tutorial is built around those rules. If you have ever picked a gel that looked beautiful in the salon and returned home to something you didn't recognise, this is why — and this is how you fix it. Before diving in, the complete guide to nail colors for every skin tone gives you the full colour landscape this tutorial builds on.
Why Choosing Gel Colors Is Different from Choosing Regular Polish
Gel polish behaves like a different material once it's cured.
The UV LED curing process does more than dry the polish — it polymerises it, changing its refractive index and how light passes through the colour layer. This is why a nude that looked peachy in the bottle reads more golden on your nail. It's also why a sheer pink can deepen by half a shade once cured, and why a milky white can pull warmer than you expected. The gel topcoat dispersion layer then sits over all of this, adding a gloss that amplifies the shade's pigmentation and depth. Against your skin, that amplified finish is what you're actually looking at.
Regular polish evaporates solvent as it dries, which simply sets the pigment in place. Gel undergoes a chemical reaction. The two processes produce different final colours from the same starting pigment, which is why every piece of generic nail colour advice — including "wear warm tones for warm skin" — applies to gel only when you account for what curing does to the shade first. This guide covers how to do exactly that.
Step 1: Find Your Undertone (The Method That Works Every Time)
Your skin tone and your undertone are not the same thing. Skin tone is how light or deep your complexion is. Undertone is the colour cast beneath it — warm, cool, or neutral — and it doesn't change with a tan or in different lighting. Getting this right is the foundation of every decision that follows.
The vein test is the fastest. Look at the inside of your wrist in natural daylight. Blue or purple veins read as a cool undertone. Green veins (which are actually blue veins seen through yellow skin) indicate warm. A mix of both is neutral. The dedicated undertone guide walks through the full method for identifying your undertone with confidence, including the jewellery test and the white paper test, which together eliminate guesswork. For supplementary reading on undertone identification, Mirellé's skin tone matching guide covers the complete undertone-to-colour framework.
The reason undertone matters more in gel than in regular polish is the glossy finish. A cool-toned nude on a warm-undertone hand will look grey under the amplification of gel's high-shine topcoat — noticeably more so than it would as a matte regular polish.
Step 2: Understand How Gel Opacity Changes Everything
Three coats of a sheer gel formula and two coats of an opaque one can produce very different interactions with your skin, even if the colour on the bottle looks identical.
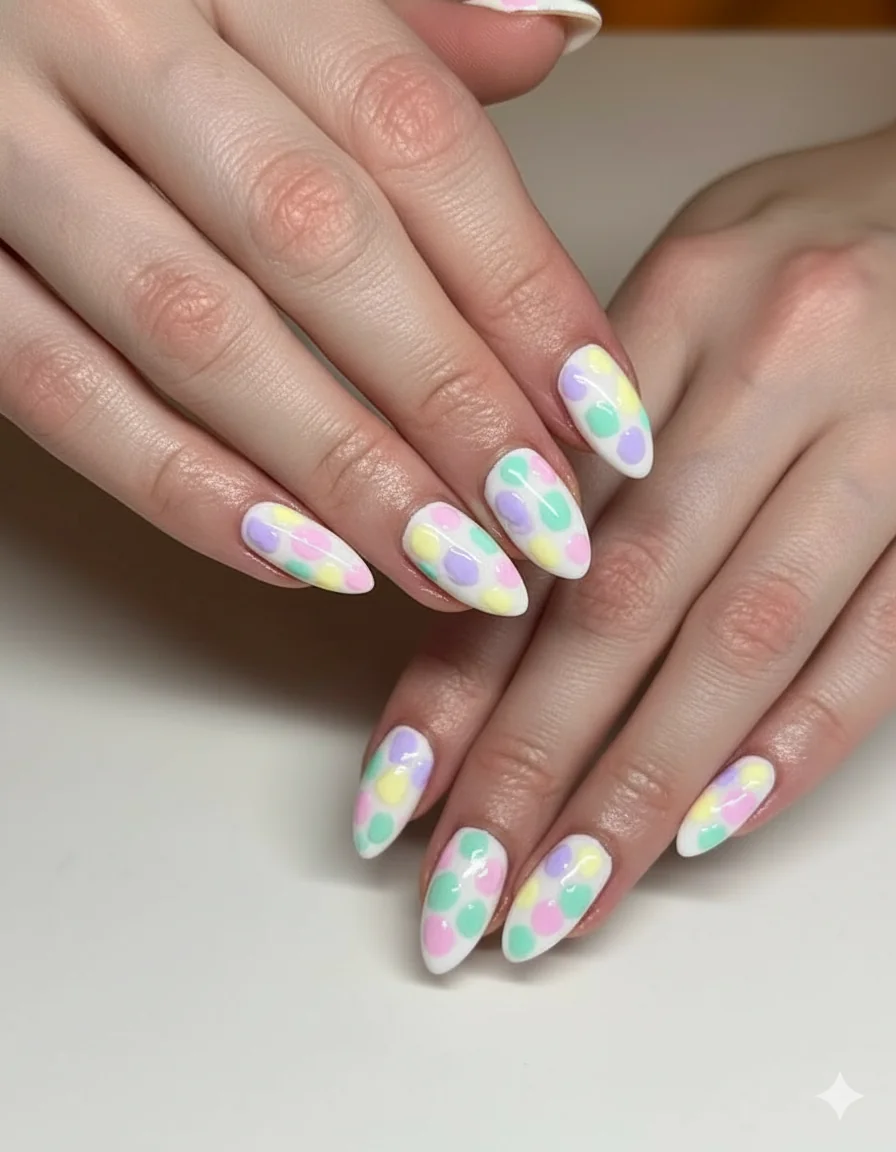
A sheer or jelly gel formula lets your natural skin colour show through. On fair skin, a sheer pink will appear lighter and more translucent — the skin beneath brightens it. On deeper skin, the same sheer pink may read as a cool, faintly tinted gloss rather than a definable colour. Neither result is wrong, but they're not the same manicure. The number of coats you apply directly affects the result: one coat of sheer gel reads as a stain, two reads as a buildable tint, three reads as a colour. Understanding this is how you take control.
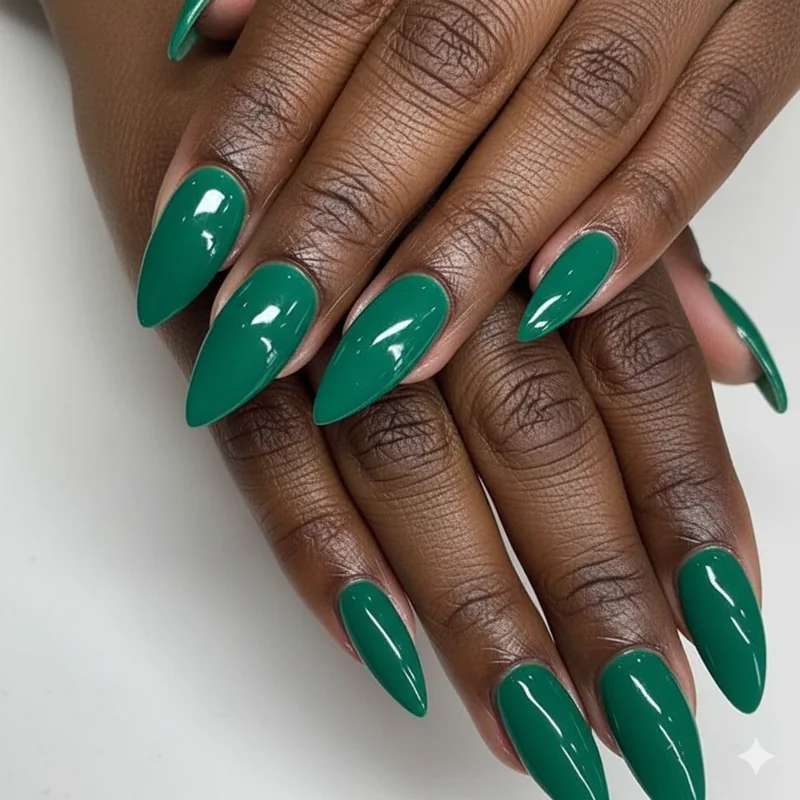
Opaque gel formulas are fully pigmented from the first coat. They sit on the nail independently of your skin tone and read as a solid colour. For deeper skin tones, opaque formulas are generally the stronger choice because they deliver the full pigment pay-off — saturated shades like cobalt, cherry, and warm amber look exactly as intended. Sheer formulas on very deep skin can disappear, which is frustrating when you've committed to two weeks of wear. For a thorough breakdown of how sheer and opaque formulas differ in behaviour, Londontown's guide to sheer vs opaque is a useful reference point.
Step 3: Match Your Undertone to the Right Gel Colour Families
This is where the logic gets specific — and specificity is what makes the difference between a nude that flatters and one that makes your hands look grey.
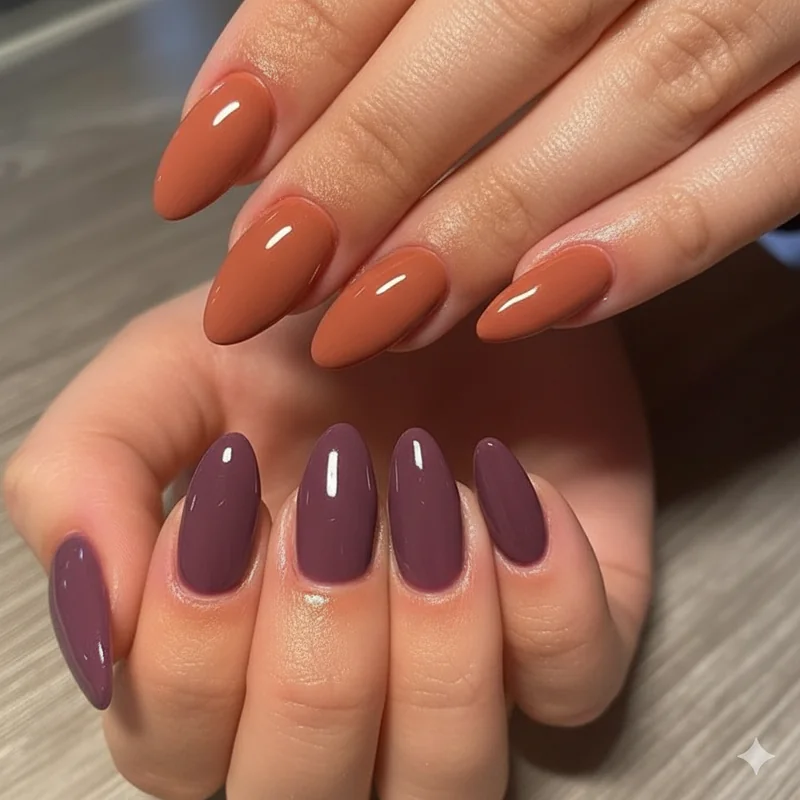
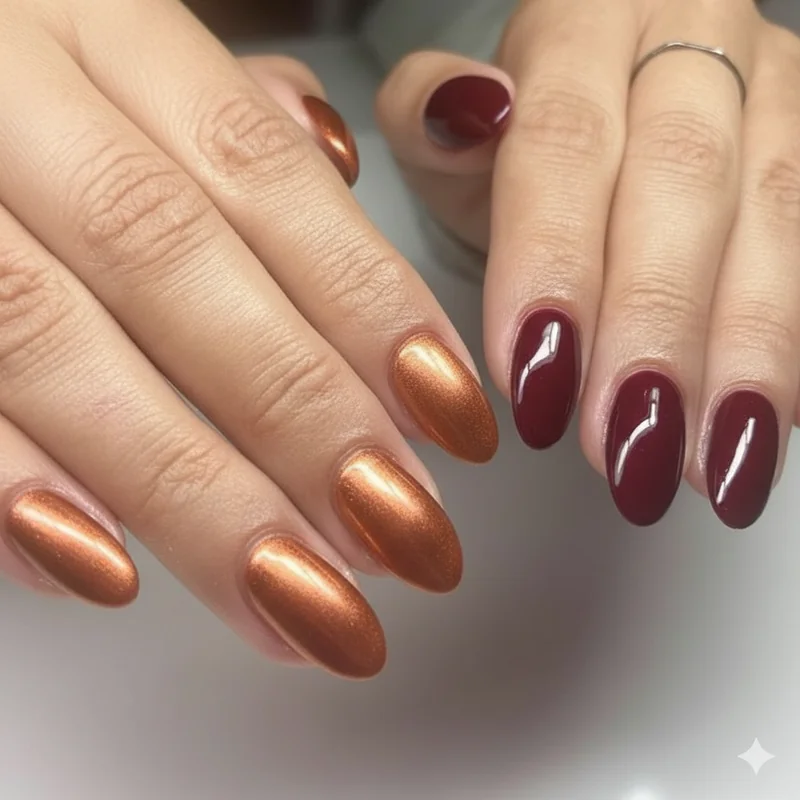
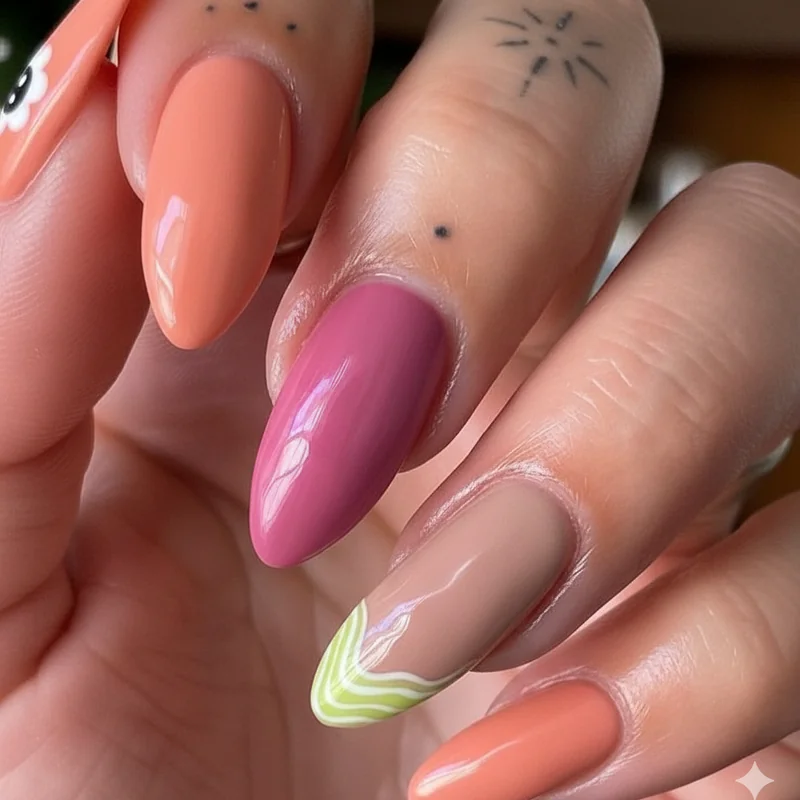
Warm undertones (yellow, golden, peachy base) look best in shades that echo that warmth back: coral, terracotta, warm peach, amber, caramel, rich burgundy, warm red with an orange pull, and earthy browns. In the nude range, reach for shades described as beige-nude, honey nude, or sand, rather than anything listed as "blush" or "dusty rose," which will lean cool. Pink Gellac's gel colour guide offers a practical undertone-to-shade tool worth bookmarking.
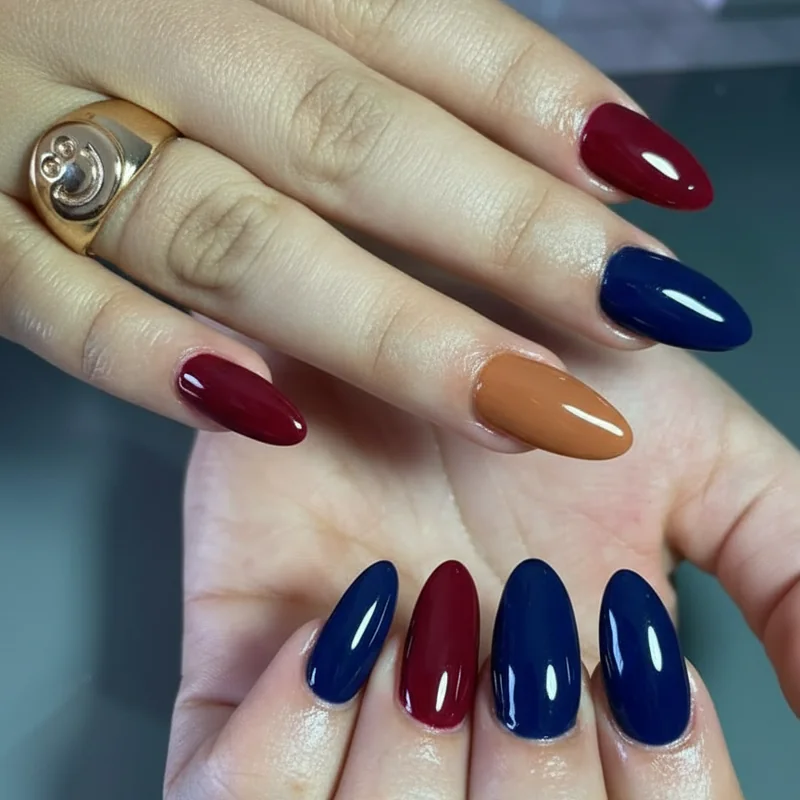
Cool undertones (pink, blue, or red base) are complemented by shades that echo that clarity: berry, raspberry, plum, cool red, lavender, soft grey, and blue-based nudes. The colour theory behind this is straightforward — analogous shades (those close in hue to your undertone) create harmony, while complementary shades create contrast. Manucurist's colour theory guide explains the complementary and analogous nail colour principles in detail if you want the full framework.
Neutral undertones have the most flexibility. The key here is contrast rather than match — a shade that is notably lighter or deeper than your skin creates definition and reads as intentional. Both warm terracottas and cool mauves work because neither undertone is strong enough to create a clash.
Step 4: Choose Your Finish Based on Your Skin Tone
The finish is not cosmetic. It changes how much light the colour reflects, how saturated it appears, and whether it visually lengthens or shortens the nail against your skin.
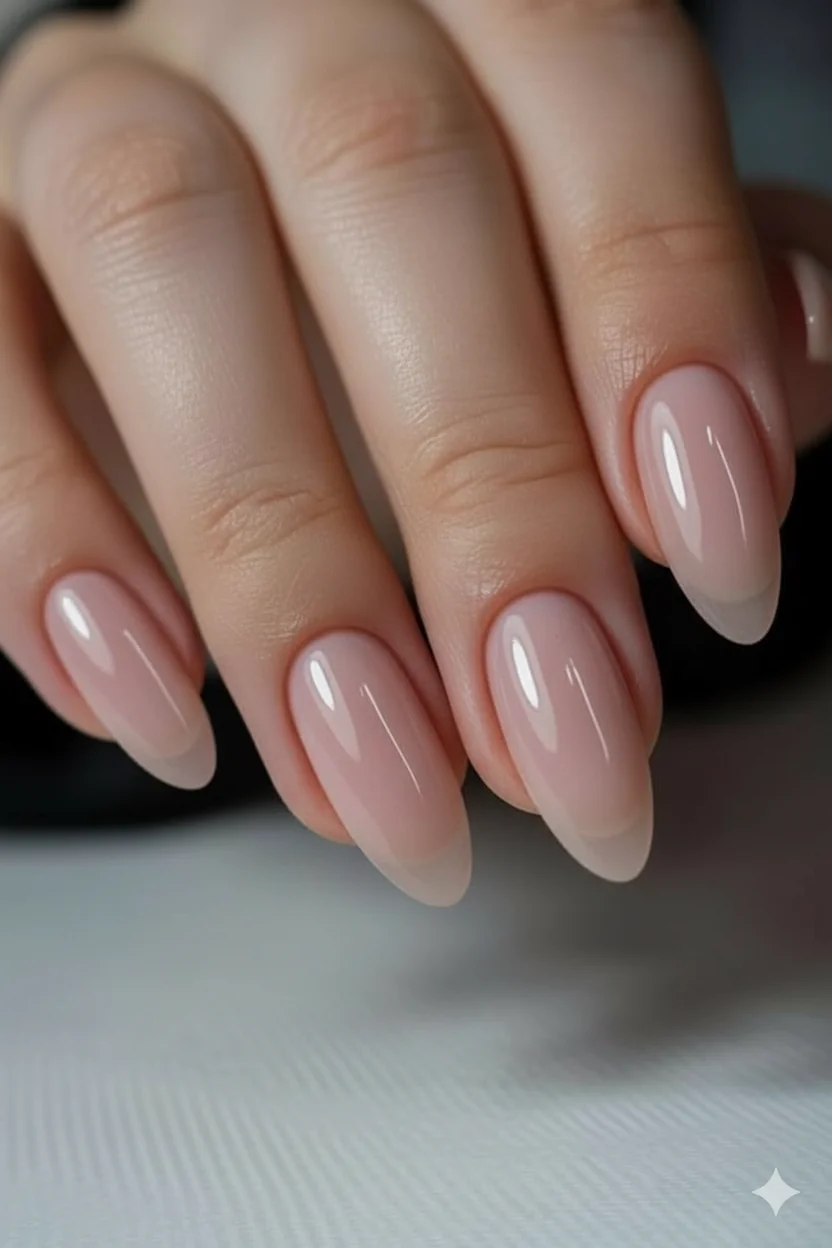
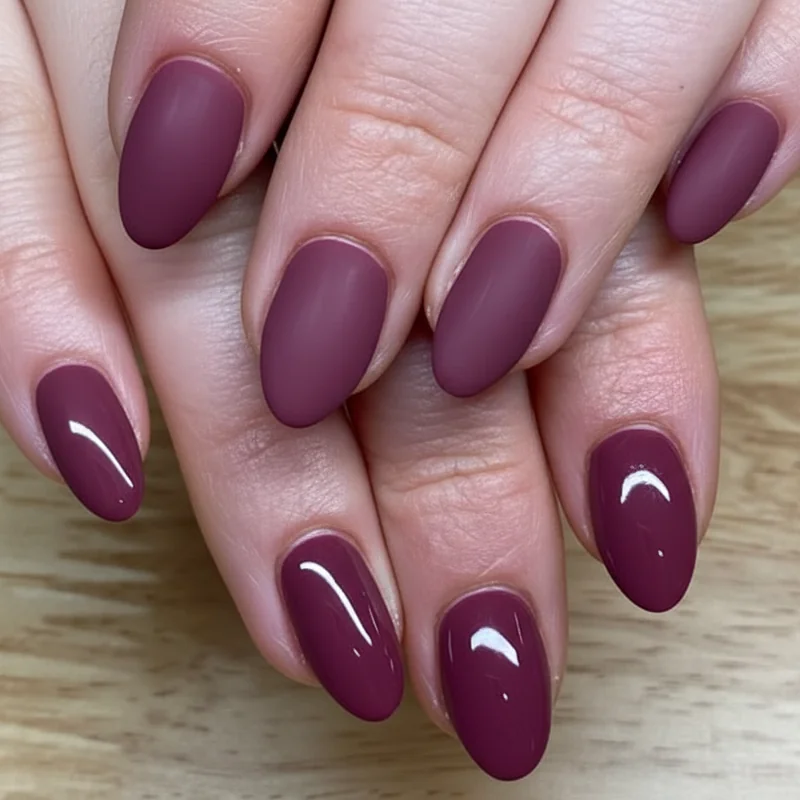
Glossy gel — the default topcoat finish — adds radiance and depth to every shade. On fair skin, high-gloss amplifies contrast so pale nudes and sheer pinks can appear lighter than intended. Warm peachy or blush nudes with a glossy finish sit more harmoniously against fair skin than stark white or very pale pink. On deeper skin, the gloss finish works in your favour: it makes saturated shades pop and gives warm nudes the luminosity to show up cleanly.
Matte gel absorbs light rather than reflecting it. It softens the visual weight of a colour and works particularly well on medium to deep skin with earthy, terracotta, or wine shades. On very fair skin, matte can flatten a shade and make it look chalky — gloss is almost always the more flattering finish at the lighter end of the spectrum.
Chrome and metallic finishes are the most skin-tone-dependent of all. Chrome reflects the colour of its surroundings, so the result on the nail changes depending on the warmth or coolness of the skin beneath. Rose gold chrome on a warm skin tone looks seamlessly integrated; the same chrome on a very cool undertone can appear slightly disconnected. Silver chrome, by contrast, is most flattering on cool undertones where it matches the skin's natural undertone direction. For a deep look at how finish behaviour changes across skin tones, Mirellé's guide to almond nail colours by skin tone covers finish interaction in detail. To pair your technique with what's currently trending, see nail colour trends 2026 for every skin tone.
Step 5: How to Test a Gel Color Before You Commit to Two Weeks
The swatch book in the salon is not a reliable colour reference. It was likely cured under a professional lamp, has aged under display lighting, and is being read in artificial light. None of these conditions replicate your skin, your lamp, or daylight.
The most reliable testing method is the clear tip test: ask your nail technician to cure a small amount of your chosen gel onto a clear nail tip, then hold it against your finger in daylight or near a window. This takes less than two minutes and removes every variable except your actual skin tone. At home, the same principle applies — cure a thin layer onto a tip before committing to the full manicure.
If you're choosing from a swatch book in artificial salon lighting, step outside or move close to a window before confirming. Salon lighting, which tends towards warm yellow tones, makes every colour look more flattering. Daylight is honest. A nude that looks like skin in the salon may look grey or pink in daylight, depending on your undertone. That two-minute daylight check has saved more manicures than any other single step in this guide.
Why Your Gel Color Looks Different After Curing — and What to Do About It
This is the question every gel user asks at least once, and the answer is less mysterious than it seems.
UV LED curing initiates a photochemical reaction that changes the refractive index of the gel binder — the material that holds the pigment in suspension. As the binder cures, it can shift the perceived lightness and saturation of the pigment within it. The practical result: colours can deepen, warm, or occasionally cool slightly after curing. Sheer formulas are most susceptible because their translucency means the cured binder's slight shift in opacity is proportionally more visible. Deeper, fully opaque pigments are more stable. Luxapolish on gel colour shifts covers the mechanics of this in full.
What to do about it: when testing a shade using the clear tip method, always cure the tip before assessing the colour. Looking at uncured gel and using it as your reference is the single biggest source of post-manicure disappointment. Cured is what counts.
The Best Gel Nail Colors for Fair Skin
Fair skin with a cool undertone reads as porcelain to light beige with pink or blue-based tones beneath. Fair skin with a warm undertone reads as ivory or cream with yellow or golden tones.
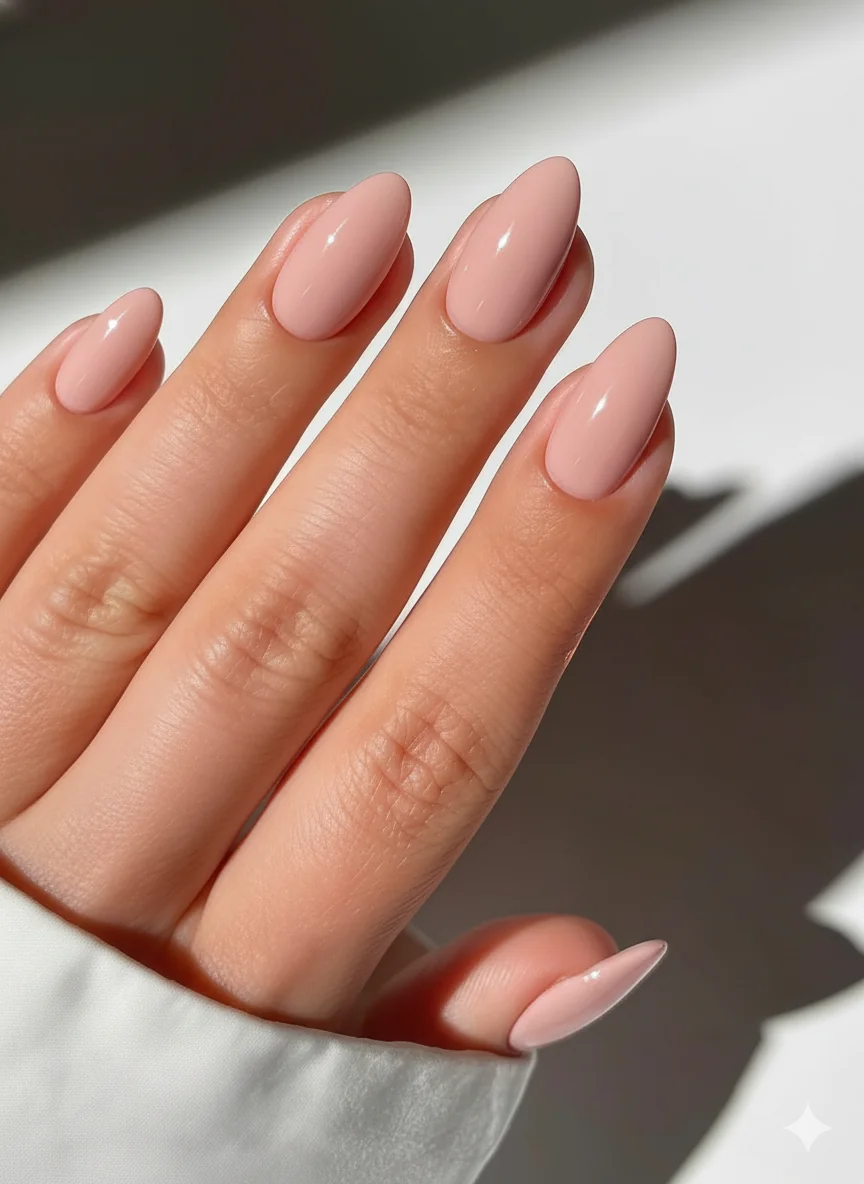
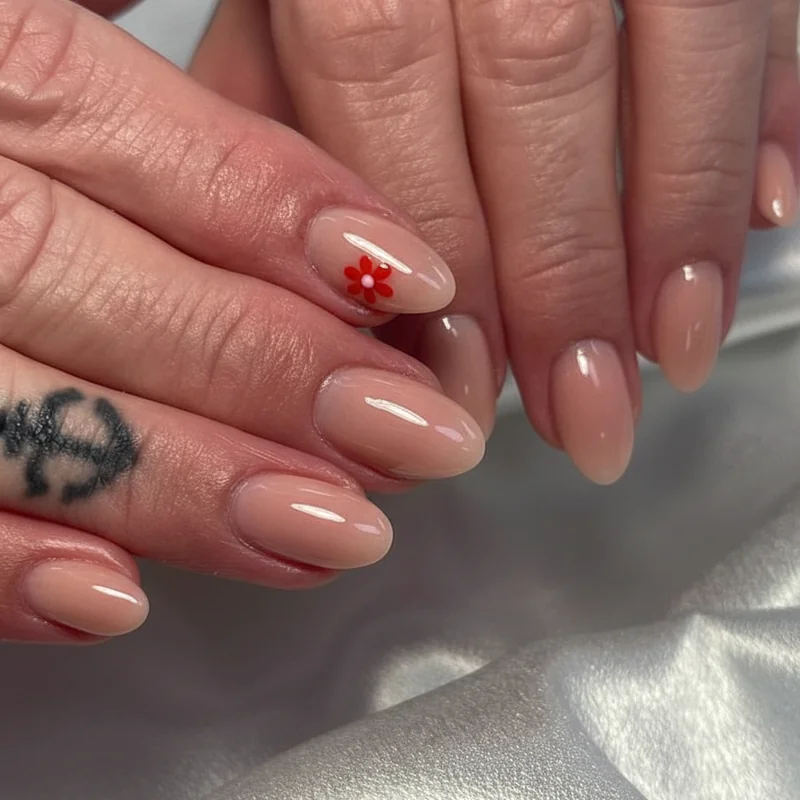
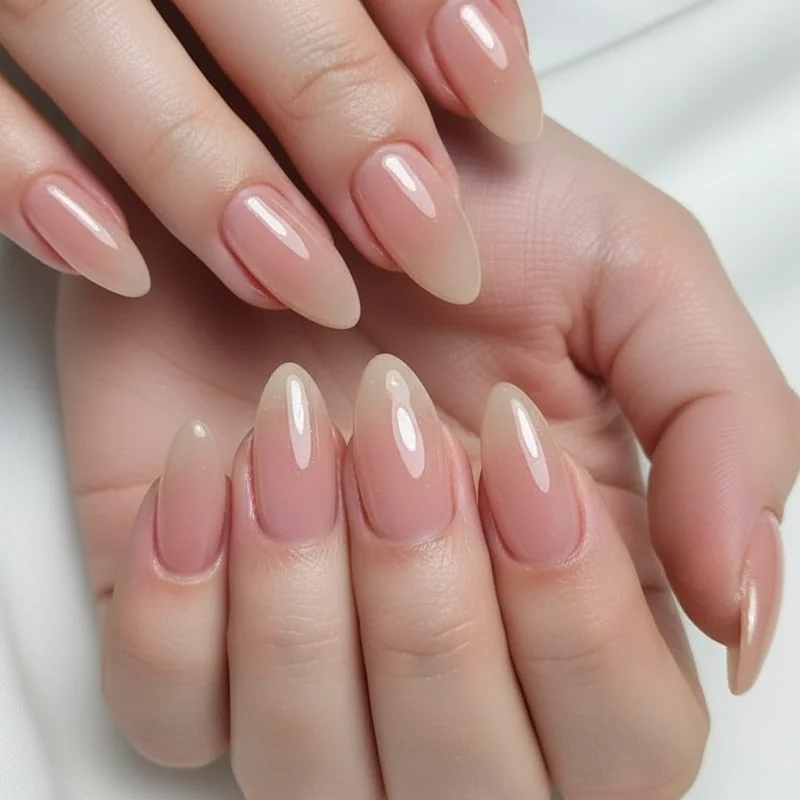
For cool fair skin: soft lavender, sheer baby pink (one to two coats for a translucent finish), berry, cherry red with a blue base, and pale grey-nude. These shades don't fight the skin's natural undertone, they align with it. The sheer pink formula works exceptionally well here because the fair skin beneath brightens it further. For gel colours that don't wash out fair skin specifically, avoid shades in the "blush champagne" range — they tend to disappear against light skin and read as washed out rather than subtle.
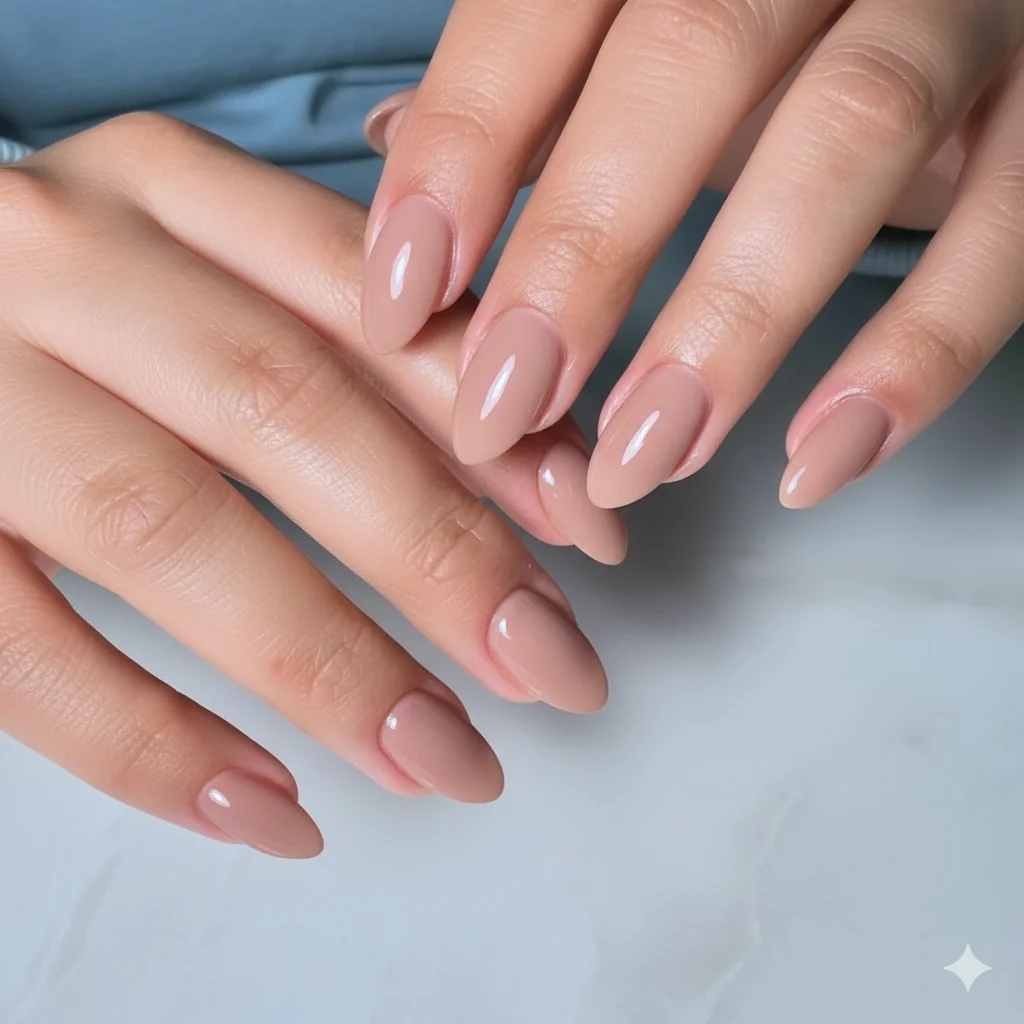
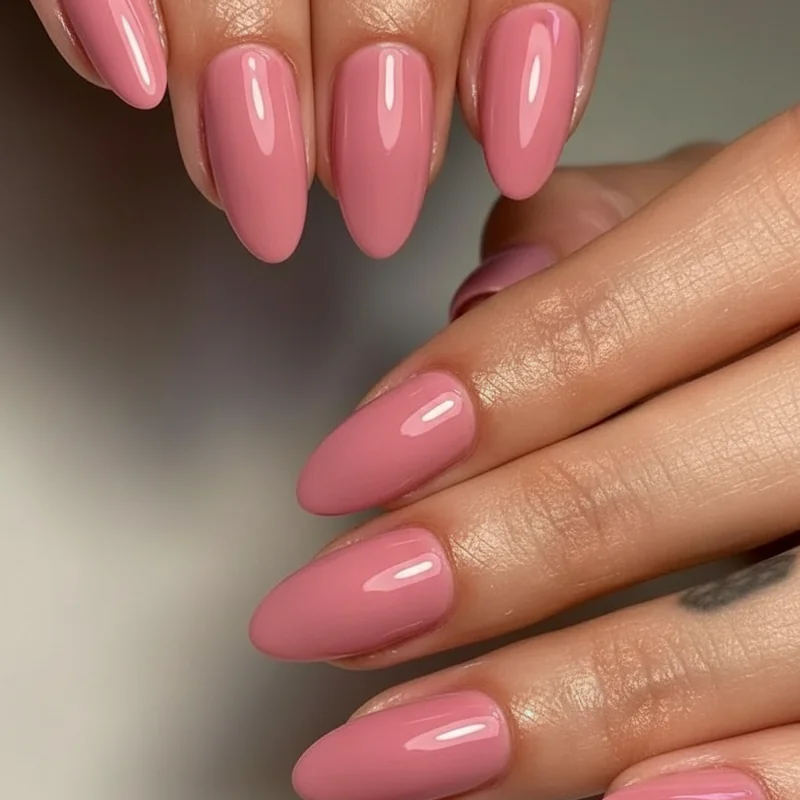
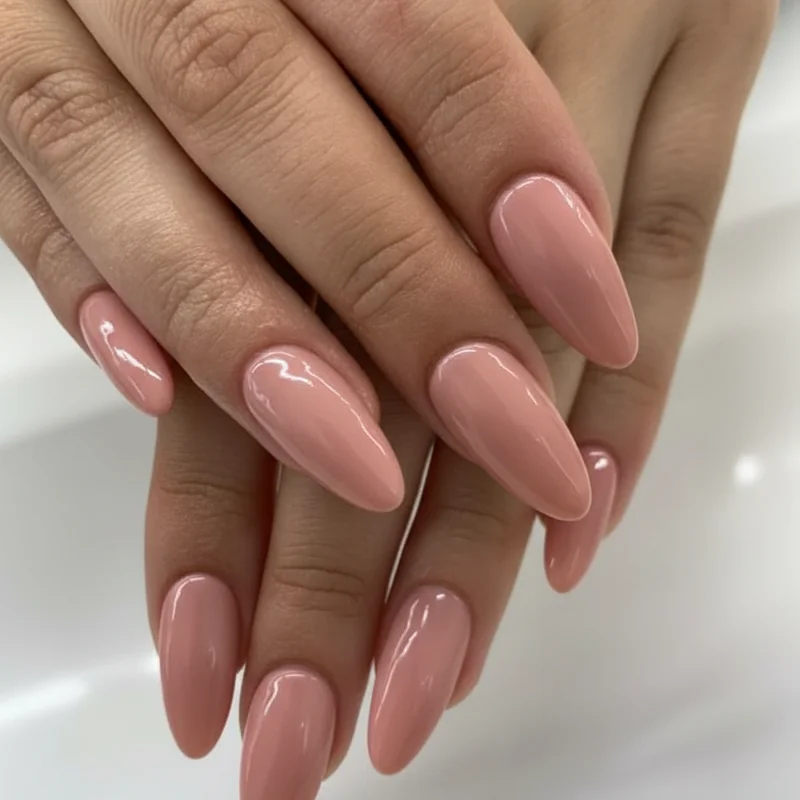
For warm fair skin: peach nude, warm rose, soft coral, and light caramel. These shades echo the warmth in the skin without overwhelming it. A warm beige-nude, rather than a cool pink-nude, will read as a genuine skin tone complement. For the full fair skin colour world beyond gel-specific picks, the best nail colors for fair skin guide covers every finish and formula.
The Best Gel Nail Colors for Medium and Tan Skin
Medium and tan skin tones have the widest range of flattering gel shades, because their depth creates natural contrast with both light and saturated colours.
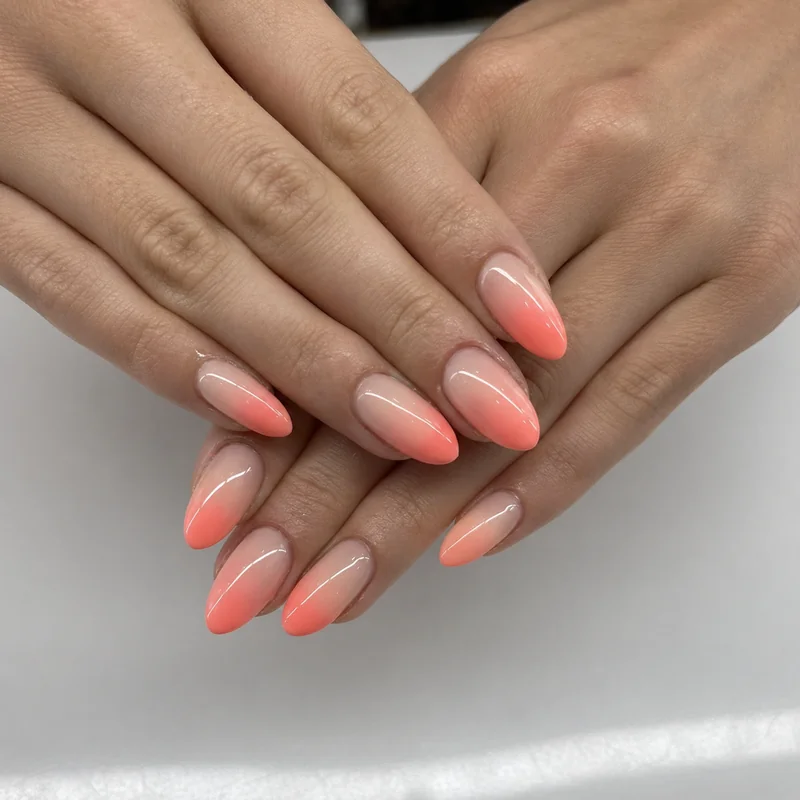
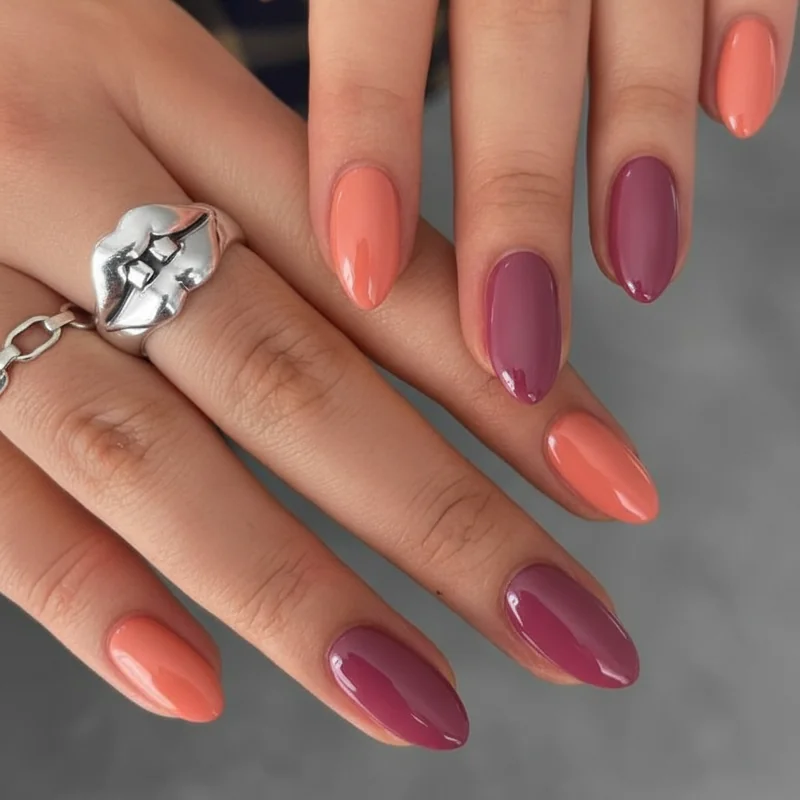
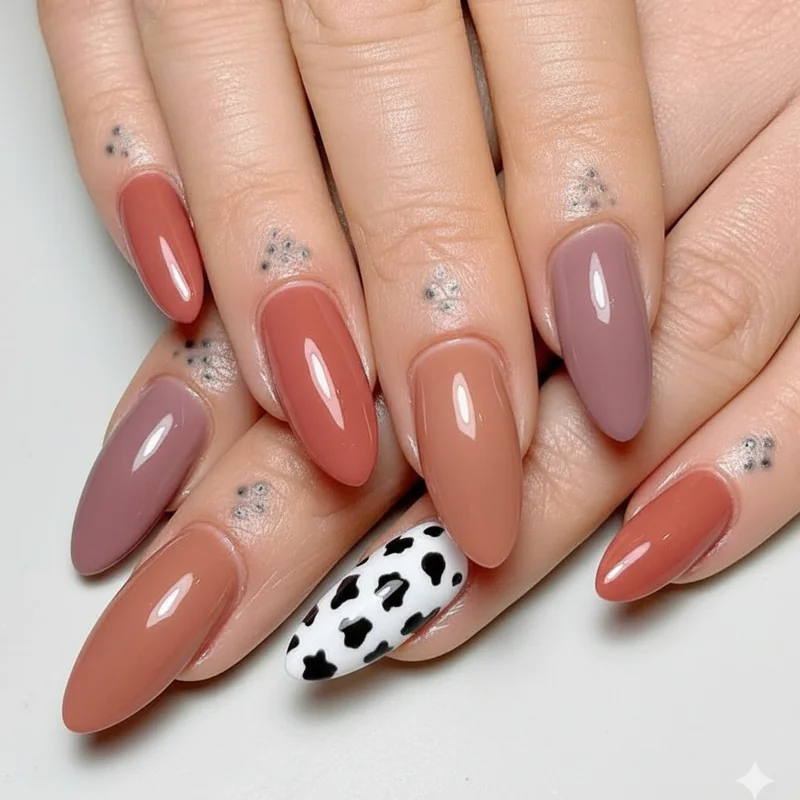
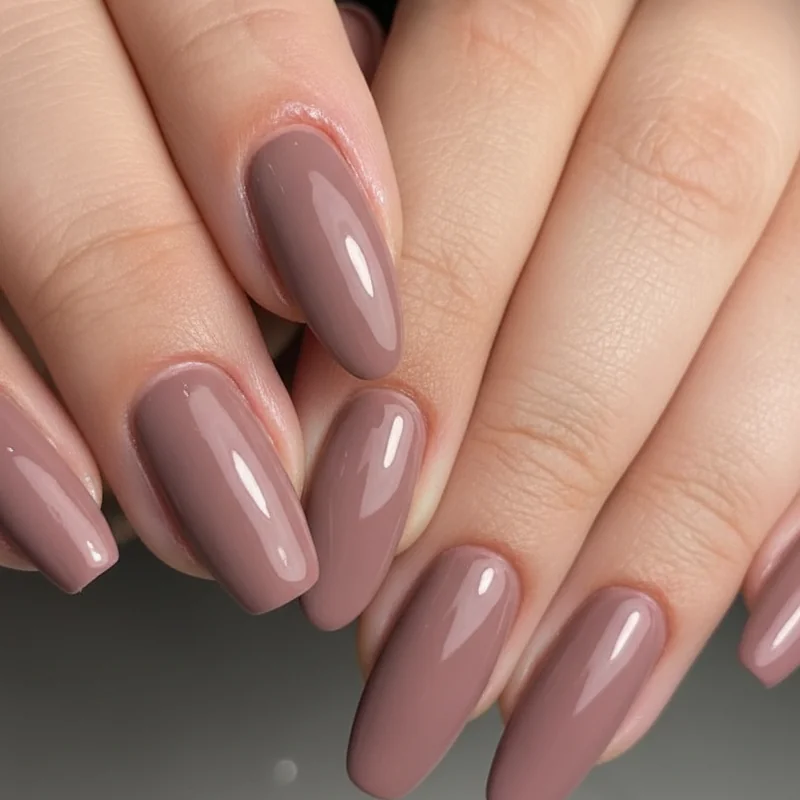
Warm medium skin — the most common combination — responds beautifully to terracotta, warm brick red, rust, caramel, amber, and rich earthy browns. In the nude range, a medium warm-nude or "your skin but better" shade works best when it's one shade warmer than your actual skin tone, which creates definition without looking flat. Dusty mauves and warm purples also work well as a mid-depth option when you want more colour than a nude but without the intensity of a full berry or red.
Cool medium and tan skin — which has more pink or ash in its base — flatters under cool jewel tones: teal, cobalt, cool raspberry, plum, and grey-nude. Avoid shades that sit in the orange-red-coral family without any blue in their base; against cool-medium skin they can look muddy rather than warm.