The number one complaint from anyone who has tried to shape their own almond nails is not about the tools or the technique. It is this: "I always end up with one nail looking completely different from the others." That asymmetry anxiety is real, it is specific, and it is the reason most tutorials fail — they hand you a step list without ever diagnosing why things go wrong first.
How to shape almond nails at home is genuinely learnable. The shape requires precision, yes, but it rewards a system more than it rewards talent. What follows is that system: a nail health check before you even pick up a file, a proper gear guide, and a filing method that builds symmetry into every stroke rather than hoping for it at the end.
If you want to understand the shape itself before jumping into filing — what makes it almond rather than oval, why the proportions matter — Almond Nails: The Complete Shape Guide covers the theory in full. This post is about execution.
What Exactly Is the Almond Shape (and How Is It Different From Oval)?
Both shapes taper. That is where the similarity ends.
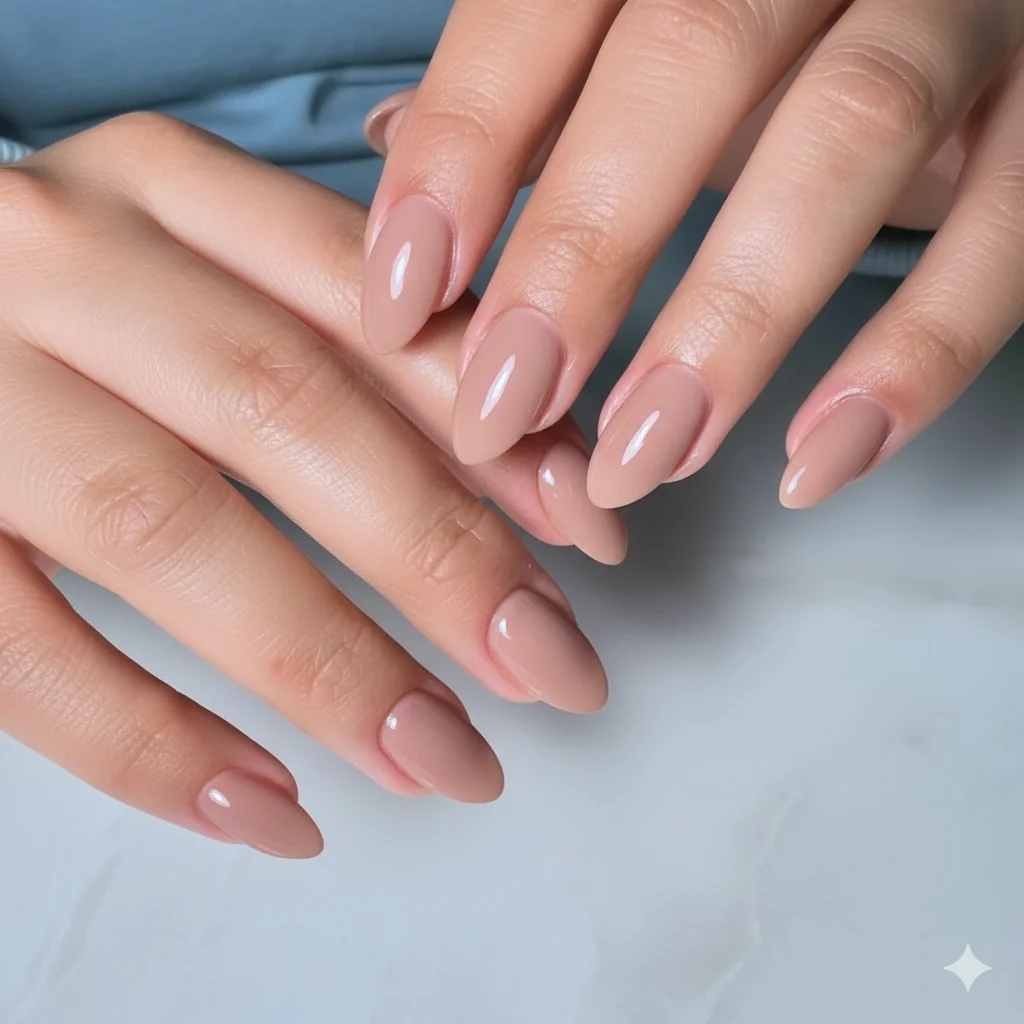
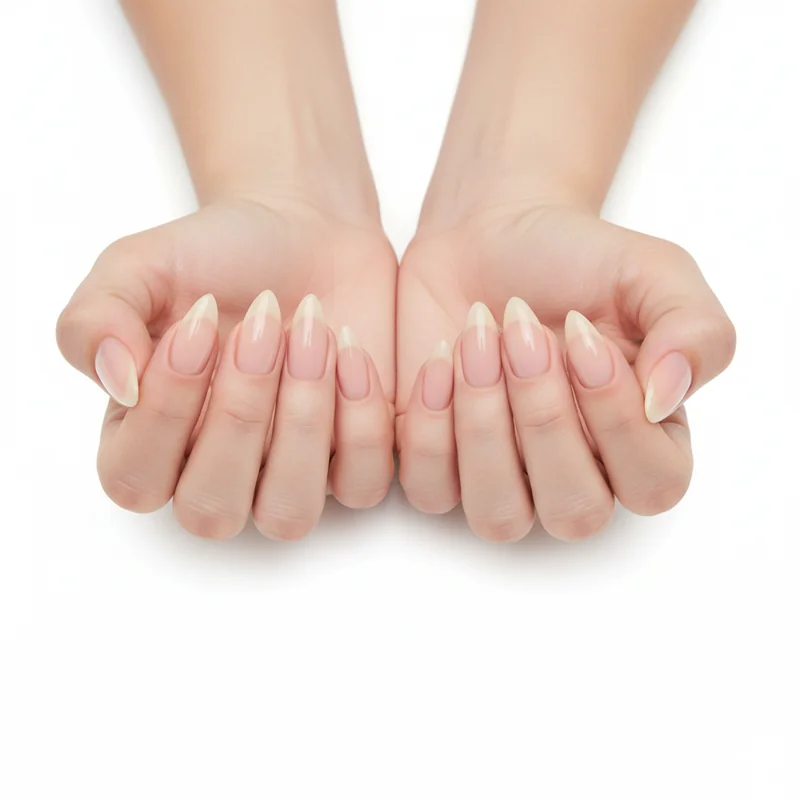
An oval nail is symmetrically rounded at the tip — think of a gentle dome that mirrors the shape of your cuticle line. An almond narrows more dramatically toward the tip, creating a pointed-but-not-sharp apex. The sides file inward at an angle before the tip curves gently to close. It is slimmer, more elongated, and distinctly more tapered than oval — but it should never cross into stiletto territory.
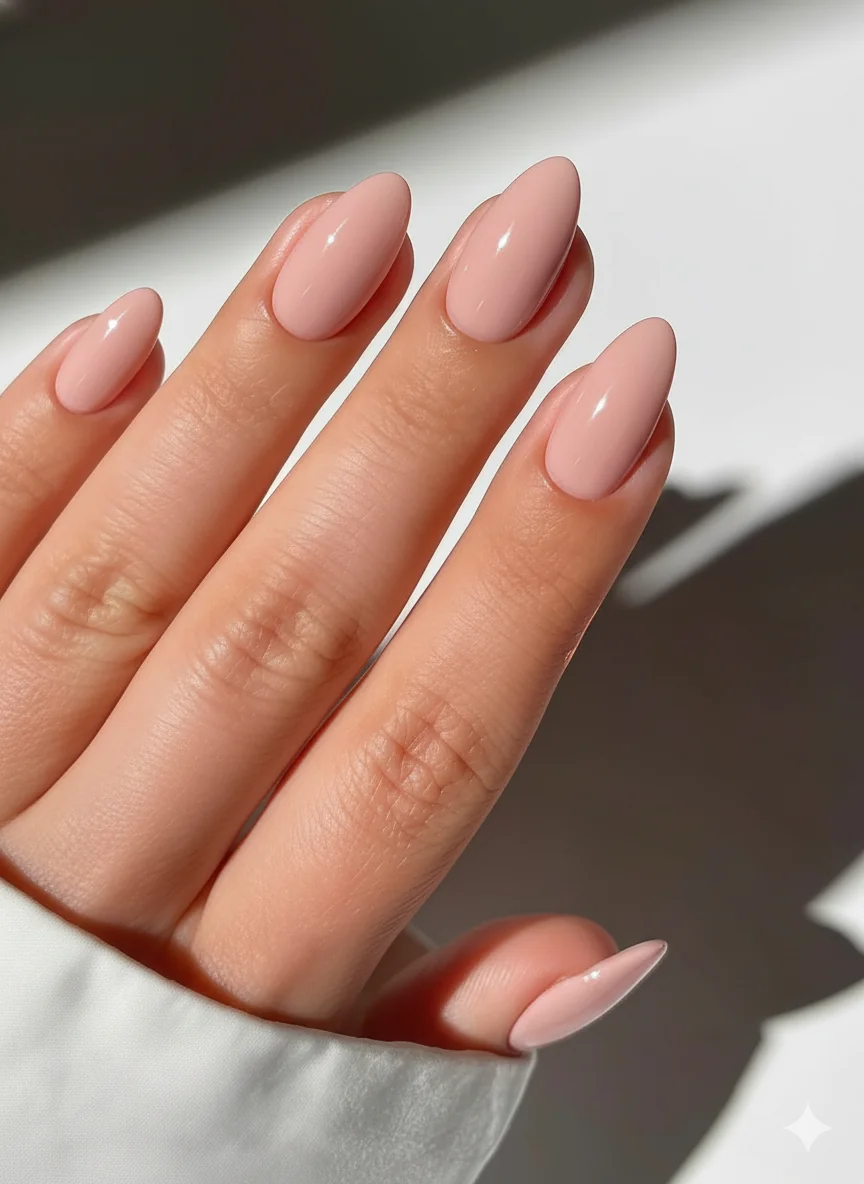
The clearest test: hold your hand flat and look at the tip of one nail. Oval tips look rounded and wide. Almond tips look narrow with a defined point that is soft, not spiky. If you keep confusing the two, Almond vs Oval Nails: The Differences, Pros & Cons, and How to Choose breaks down the distinction with more detail than most guides bother to give.
One practical rule to lock in: the almond tip should mirror your cuticle line. If your cuticle curves in a gentle arc, your tip should echo it. That mirroring is what makes the shape look intentional rather than accidental.
Are Your Nails Ready? The Quick Health Check Before You File
This section does not exist in most tutorials. It should.
Filing weak or damaged nails into almond is one of the fastest ways to cause breakage — and breakage mid-shape is what leaves you with an uneven set, or worse, a painful split at the nail bed. Two minutes here before touching a file will save you considerably more time later.
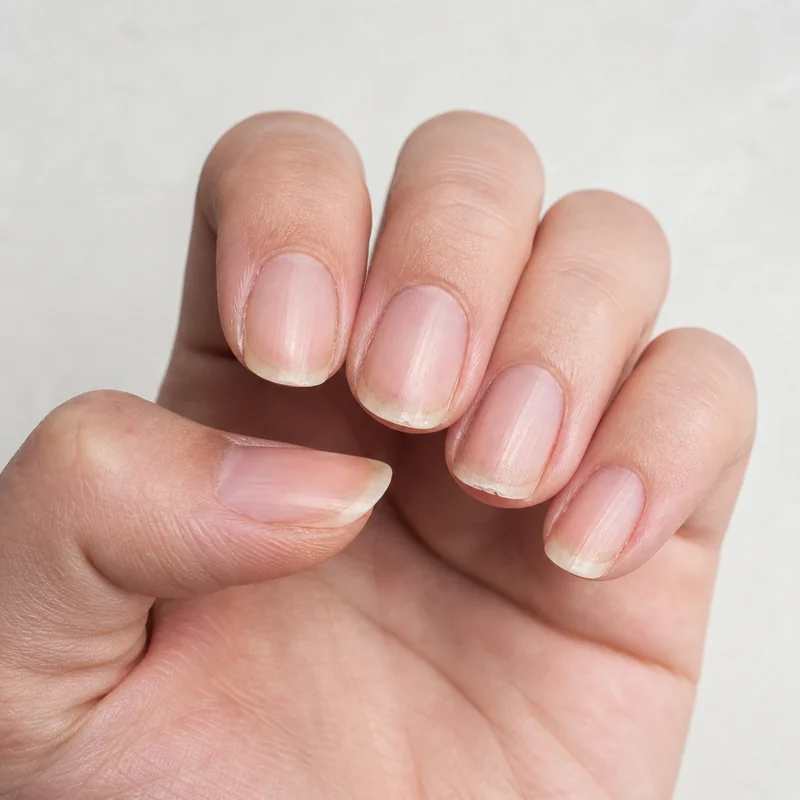
Free edge length. You need at least 3–4mm of free edge (the nail extending past your fingertip) for a proper almond tip. Less than that and the shape will collapse into oval or round under file pressure. If you are working with shorter nails, Short Almond Nails: The Practical Shape That's Having a Major Moment covers what is actually achievable at shorter lengths.
Brittleness check. Press gently on the free edge of your longest nail. Does it flex slightly, or does it feel stiff and dry? Stiff, brittle nails are prone to splitting during filing. If that is what you are dealing with, apply cuticle oil and a strengthening base coat for a few days first. Per how to strengthen nails before filing, biotin supplementation and consistent moisture are the most evidence-backed approaches for brittle nails before any shaping work.
Damage assessment. Peeling layers at the free edge, visible white stress marks, or nails that have recently come off gel or acrylic all signal the same thing: the nail plate is compromised. Use a fine grit only, keep the session short, and be gentle. If your nails are genuinely too short or too damaged to shape naturally right now, Best Press-On Almond Nails: Tried & Tested Picks for 2026 is worth a look.
The Only Tools You Actually Need to Shape Almond Nails at Home
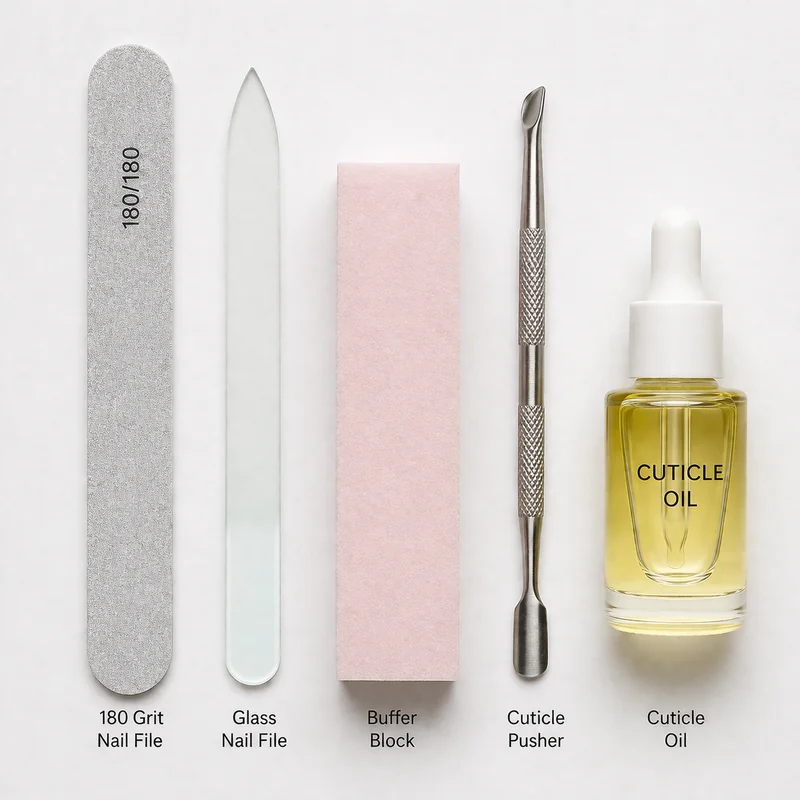
The nail tool market thrives on overcomplication. For almond shaping at home, you need four things.
A 180-grit file. This is the correct grit for natural nails. A 100-grit file is too coarse — it removes material too aggressively and creates micro-tears in the nail layers. A 240-grit is fine for final smoothing but too gentle for actual shaping work. Start with 180, full stop.
Glass file vs emery board. A glass nail file is worth the investment if you file regularly. The surface is uniform and seals the nail edge as it files, rather than roughing it up the way a cheap emery board does. An emery board works fine if that is what you have — just replace it when the grit starts to feel smooth.
A buffing block. For finishing only. After shaping, a buffing block smooths the tip edge and removes any micro-roughness that could catch on fabric and begin a split later.
Cuticle pusher and cuticle oil. The pusher (an orange stick works perfectly) tidies the nail base before you start, which matters for accurate symmetry checking. The oil is your maintenance tool — use it after every filing session without exception.
How to Prep Your Nails Before Shaping (Do Not Skip This)
Polish off, hands washed and dried. That is the non-negotiable starting point. The dermatologist nail care tips from the American Academy of Dermatology are clear: nails should be clean and dry before any filing work. Filing over old polish creates uneven pressure. Filing damp nails — straight out of the shower — causes softened nail layers to tear rather than file cleanly.
Push back your cuticles lightly with your orange stick. This is not about removing them — it is about seeing the full nail plate and cuticle line clearly, which is essential for the next step.
The centre mark trick. This is the single most useful preparation you can do for symmetry. Identify the exact midpoint of your nail tip — the centre of the free edge. Mark it mentally (or with a light pencil mark on the underside of the nail if you tend to drift). Every filing stroke will work toward that centre point. It anchors the entire shape and is the reason the alternating-strokes method works as well as it does.
Step-by-Step: How to Shape Almond Nails (The Right Filing Technique)
With your centre mark set and your 180-grit file in hand, here is the process.
Step 1 — File the left sidewall inward. Hold the file at roughly a 45-degree angle to the nail sidewall and file in one direction only — from the side toward the centre tip. Never saw back and forth. Per American Academy of Dermatology nail trimming guidance, filing in one direction prevents nail layers from separating and weakening at the tip. Three to four strokes, then stop.
Step 2 — Switch to the right sidewall. Mirror the same motion on the other side. Three to four strokes, same angle, same pressure. This is the alternating-strokes method — it prevents you from over-filing one side while neglecting the other, which is the root cause of most asymmetry problems.
Step 3 — Check from the front. Hold your hand up and look at the nail straight on. Are both sides tapering evenly toward the centre? If one side is more aggressive, do one additional stroke on the flatter side only. Resist the urge to file both.
Step 4 — Round the tip. Once the sides are symmetrical, soften the tip with a few gentle strokes across the apex — curving the file slightly as you go to maintain a soft point rather than a flat or sharp one. The "egg shape" mental model helps here: imagine the top half of an egg. The tip curves, it does not angle.
Step 5 — Bevel the edge. Hold the file vertically at the tip and run it lightly upward along the underside of the free edge. This seals the nail layers at the tip and significantly reduces the chance of splitting later. It is a thirty-second step that matters more than most people realise.
Step 6 — Buff. Finish with your buffing block on the tip edge. Light, smooth strokes only.
How to Shape Almond Nails on Short Natural Nails
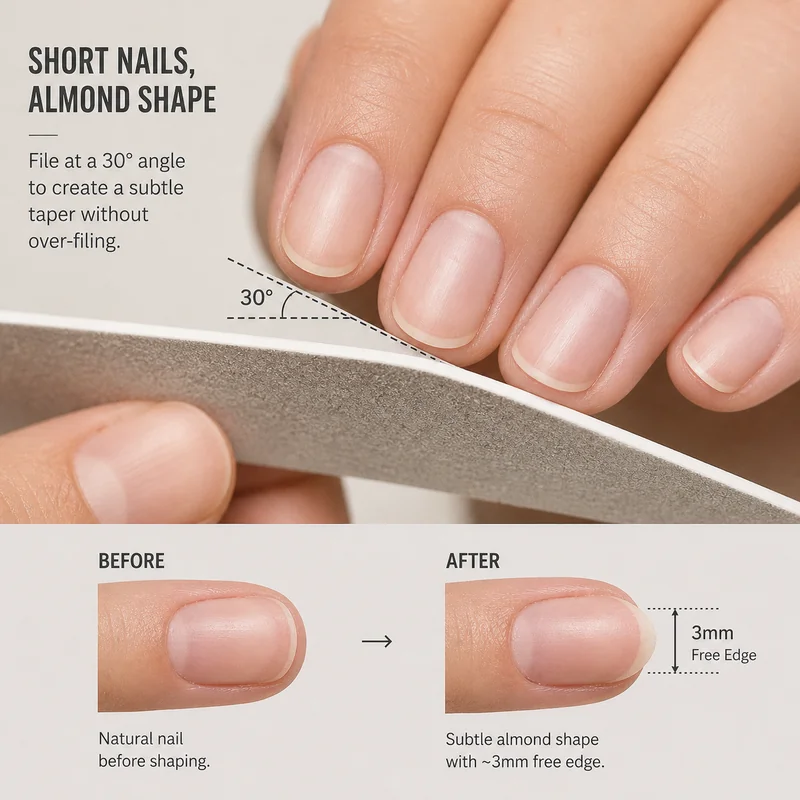
Short nails can be shaped into almond — with one honest caveat: the shape will be subtler. Less free edge means less room to taper, so the result leans closer to an elongated oval-almond than a dramatically pointed shape. That is not a failure. It is still clearly almond, still elongating, and considerably more practical for daily life.
The minimum free edge for any visible almond shaping is around 3mm. Below that, the sidewalls do not have enough material to taper before you reach the fingertip, and you risk filing into the skin at the sides.
On shorter nails, use a lighter touch and a slightly less aggressive angle — closer to 30 degrees on the sidewalls rather than 45. The centre mark trick becomes even more important here because there is less room for error. Short Almond Nails: The Practical Shape That's Having a Major Moment goes deep on managing the shape as your nails grow out and what to expect at each stage.
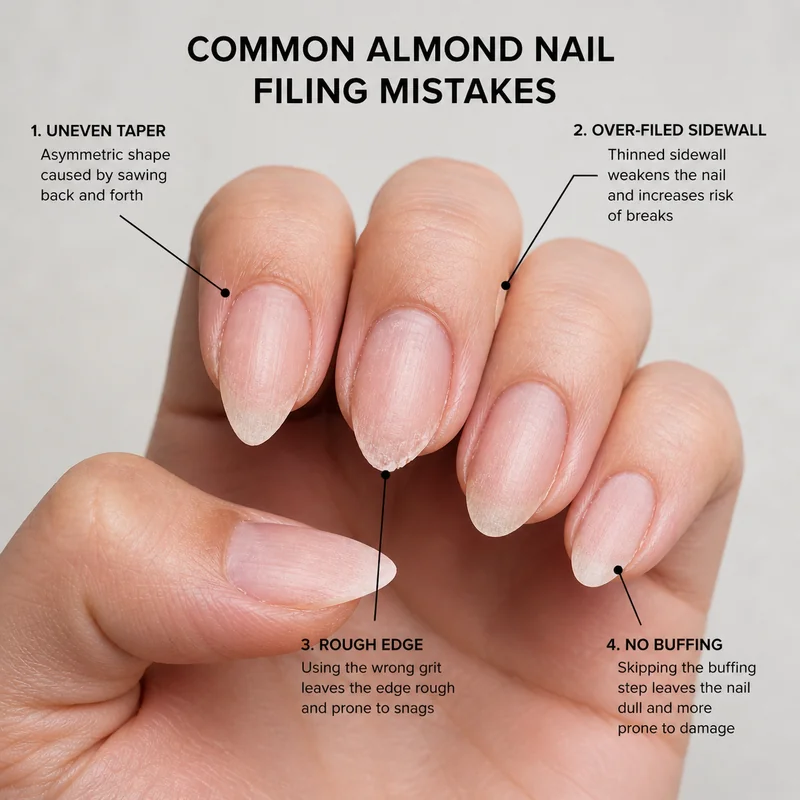
The 5 Most Common Almond Nail Shaping Mistakes (and How to Fix Them)
1. Sawing back and forth. The most common error and the most damaging. Back-and-forth filing separates the nail layers at the tip, causing fraying and long-term weakness. Fix: one direction only, always toward the centre tip.
2. Over-filing one side. This happens when you file one side until it looks right before touching the other. By the time you switch, you have already taken off too much. Fix: alternate sides every three to four strokes and compare constantly rather than completing one side at a time.
3. Skipping the symmetry check. Filing without stepping back to look from the front means you notice the asymmetry only after painting — when it is too late to correct without losing length. Fix: check after every two rounds of alternating strokes, not just at the end.
4. Using the wrong grit. A 100-grit file on natural nails removes too much material too fast and leaves a rough edge. A 240-grit alone takes forever and still needs a coarser file to do the actual shaping first. Fix: 180-grit for shaping, 240 for smoothing, buffer for finishing.
5. Skipping the buff. The tip edge after filing carries micro-roughness that catches on fabric and can begin a split. Two minutes with a buffing block eliminates this entirely.