How to Do Your Own Wedding Nails at Home (And Get Them Right First Time)
The fear is not about the nails. It is about the photographs. DIY wedding nails are completely achievable for most brides — the process just needs to start earlier, and be more deliberate, than a regular at-home manicure. This guide walks you through everything: the six-week conditioning timeline, the exact prep steps that prevent gel from peeling, which designs are genuinely manageable at home, how to run a proper trial, and what to do if something goes wrong on the day. Whether you are doing your own wedding nail designs for the first time or you do your own nails regularly, this is the process that gets it right.
Can You Really DIY Your Wedding Nails? (Honest Answer)
Most brides can. What determines success is not talent — it is preparation.
If you do your own nails at home regularly, you already have the fundamental skill. What you are adding for the wedding is process: a longer conditioning lead-up, a proper practice run, and a more deliberate application day. If you have never done gel at home before, you can still learn in time — but plan for at least two practice sessions before the real thing. One attempt will not tell you enough. Two will show you where you need to adjust.
The honest exception: if you have your heart set on a complex nail art design — hand-painted florals, 3D embellishments, very precise geometric lines — that is genuinely difficult to execute on your own nails without professional training. For those looks, a salon is the right call. For everything else covered in this guide, including gel, French tip, and sheer finishes, you have a clear path to doing it yourself.
The Bridal Nail Timeline: What to Do 6 Weeks, 2 Weeks, and 3 Days Before
Six weeks is not too early. It is exactly right.
6 weeks out: Start your nail conditioning routine now. Apply cuticle oil every single evening — this is not optional. Use a nail strengthener or hardener three times a week. Stop picking at your cuticles. Give your nails a full break from gel if they have been in constant rotation; they need recovery time to adhere properly to a new application. This phase is about building the nail plate health that makes everything else work. According to professional bridal nail prep guidance from Gelish, brides who begin conditioning six to eight weeks out see significantly less peeling and breakage at application.
4 weeks out: Do your trial run (full details in a later section). This is where you test your chosen formula, design, and colour — not on the wedding morning.
2 weeks out: File your nails to your chosen shape and length. Do not change shape or length within the final two weeks. Last-minute filing creates stress fractures in the nail plate that make gel lift.
3 days before: Apply your DIY bridal manicure. Not the night before. Not the morning of. Three days gives the gel time to fully cure and settle, and gives you a buffer if anything goes wrong.
What Tools and Products Do You Actually Need?
If you are still deciding between gel, regular polish, or dip, read the full breakdown on gel vs acrylic vs dip for wedding nails first — the choice affects everything else in this list.
Assuming gel: here is what you actually need, with nothing unnecessary added.
The non-negotiables:
- A 48W UV/LED lamp (lower wattage means longer cure times and higher risk of undercuring)
- A soak-off gel system: base coat, colour, top coat — all from the same brand where possible
- Nail dehydrator and pH bonder (these two steps are where most at-home gel fails — more on this below)
- A glass nail file for shaping (less harsh than metal on the nail plate edge)
- A buffer block, 220-grit minimum
- Cuticle pusher and cuticle softener
- Lint-free nail wipes and 99% isopropyl alcohol
Worth having:
- HEMA-free gel formula if you have sensitive skin or have never used gel before. First-time gel users occasionally develop contact dermatitis from HEMA (a bonding agent in many gel polishes) — it is not common but the reaction, once it develops, is permanent. HEMA-free formulas perform as well as standard ones for most wearers. The gel nail polish guide for work covers the best HEMA-free formulas in detail.
- A nail primer (adds adhesion on very smooth or oily nail plates)
- A cleanup brush with pure acetone for tidying edges
Once you have picked your formula, see the guide to bridal nail colours that photograph beautifully — shade matters as much as formula under flash and natural light.
The Prep Steps Most Brides Skip (And Why Gel Peels Without Them)
Prep is not the step before the manicure. Prep is the manicure.
The industry consensus — reinforced by nail educators and gel polish troubleshooting guidance from Professional Beauty — is that inadequate nail preparation is the number one cause of gel lifting and peeling, not product quality. The same formula that peels in two days with poor prep will last three weeks with proper prep. Here is the sequence:
Step 1 — Shape and length. File to your chosen shape with a glass file. Do not use a back-and-forth sawing motion; file in one direction only. This prevents micro-tears at the nail edge that let moisture under the gel.
Step 2 — Push back cuticles. Use a cuticle softener and a wooden or rubber-tipped pusher. Do not cut live tissue — only push back the non-living cuticle. Gel applied over cuticle will lift at that point within days.
Step 3 — Buff the nail plate. Lightly buff the shine off the entire surface, including the edges, with a 220-grit buffer. You are creating a texture for the base coat to grip — not removing layers of nail. Light pressure, full coverage.
Step 4 — Dehydrate. Apply nail dehydrator to every nail and let it dry completely. This removes the natural oils and moisture from the nail surface that prevent gel from bonding.
Step 5 — pH bonder. Apply a thin layer of pH bonder and allow it to dry to a tacky state. Do not cure it. Do not wipe it. This step is what most at-home gel users skip — and it is the single most effective thing you can do to stop gel peeling.
How to Apply Your Bridal Manicure at Home, Step by Step
The application itself is simpler than most brides expect. The prep above is where the work happens — application is just accuracy and patience.
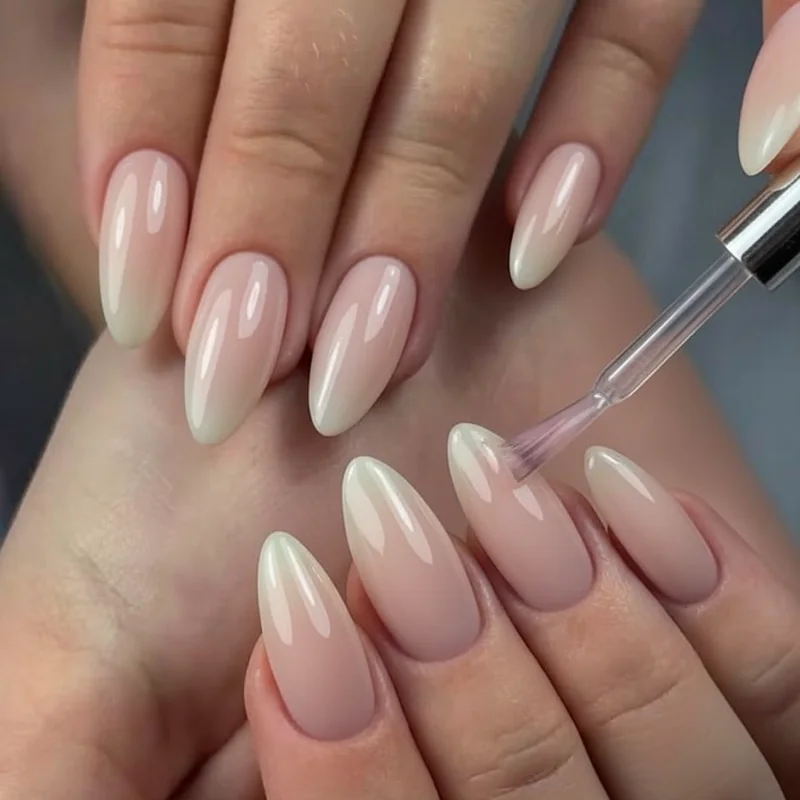
Step 1 — Base coat. Apply a thin, even layer of gel base coat. Thin is the key word here. A thick base coat traps air bubbles and creates an uneven surface. Cap the free edge — drag the brush along the very tip of your nail to seal the edge. Cure for 30–60 seconds under your LED lamp.
Step 2 — First colour coat. Again: thin. One thin coat will look streaky and underdone — that is normal and expected. Do not try to correct streakiness with a thick second application. Cap the free edge. Cure fully.
Step 3 — Second colour coat. This is where the colour builds to its full opacity. Keep the application even and thin. Cap the free edge again. Cure fully.
Step 4 — Top coat. Apply your gel top coat in one smooth, even layer. Cap the free edge a final time — this step is what stops the gel lifting from the tip outwards, which is the most common place DIY gel fails. Cure for 60 seconds. Wipe the inhibition layer with an isopropyl-soaked lint-free wipe to reveal the final shine.
Throughout application: keep gel off your skin and cuticle. If any gel touches the skin before curing, clean it off with a brush dipped in alcohol. Gel cured onto skin is the fastest route to lifting.
Which Designs Are Actually DIY-Friendly (And Which Ones Aren't)
Some designs are forgiving. Some are not. Knowing which is which before your trial run saves a significant amount of stress.
Beginner-friendly (achievable on first or second attempt):
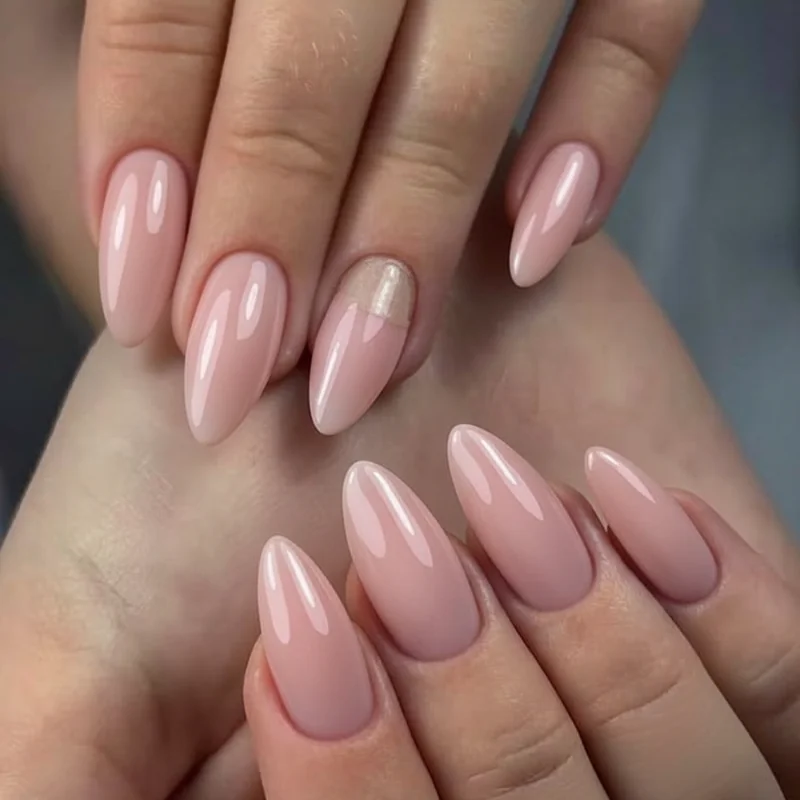
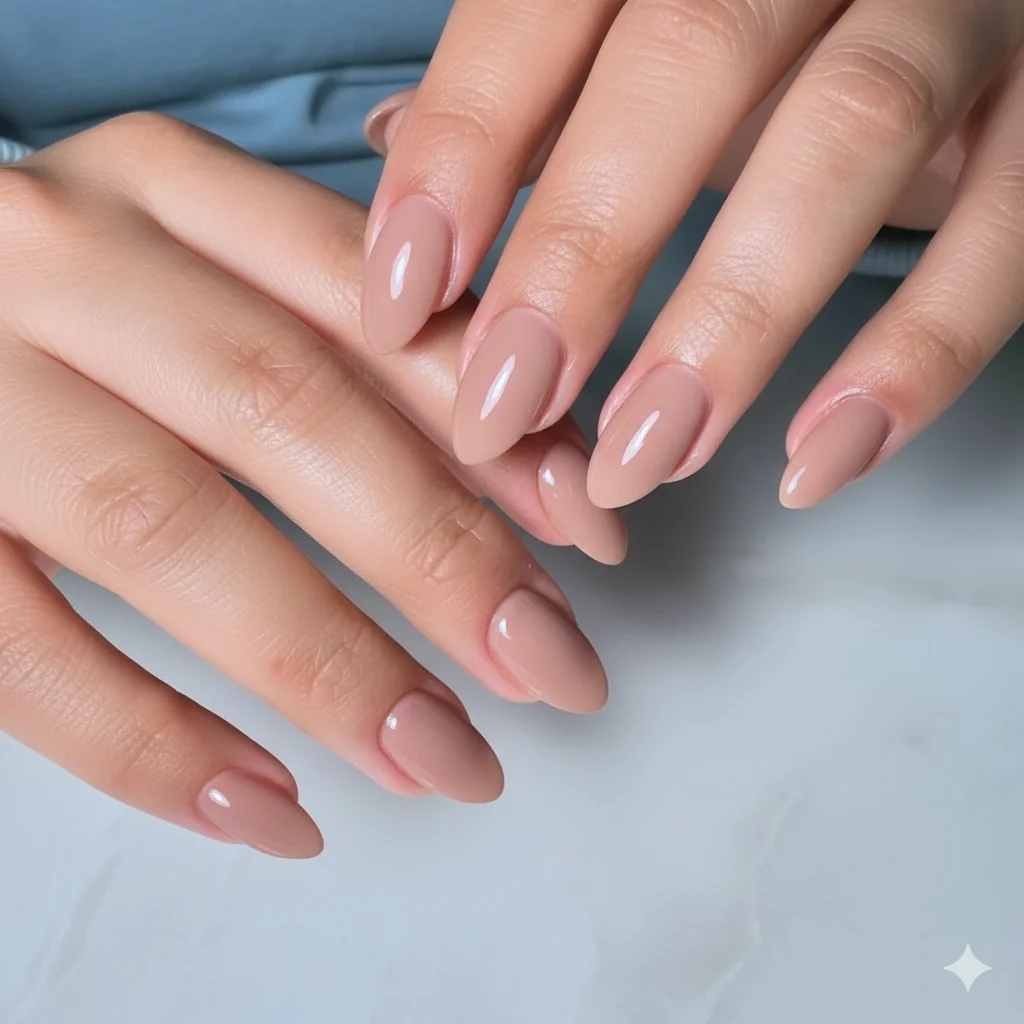
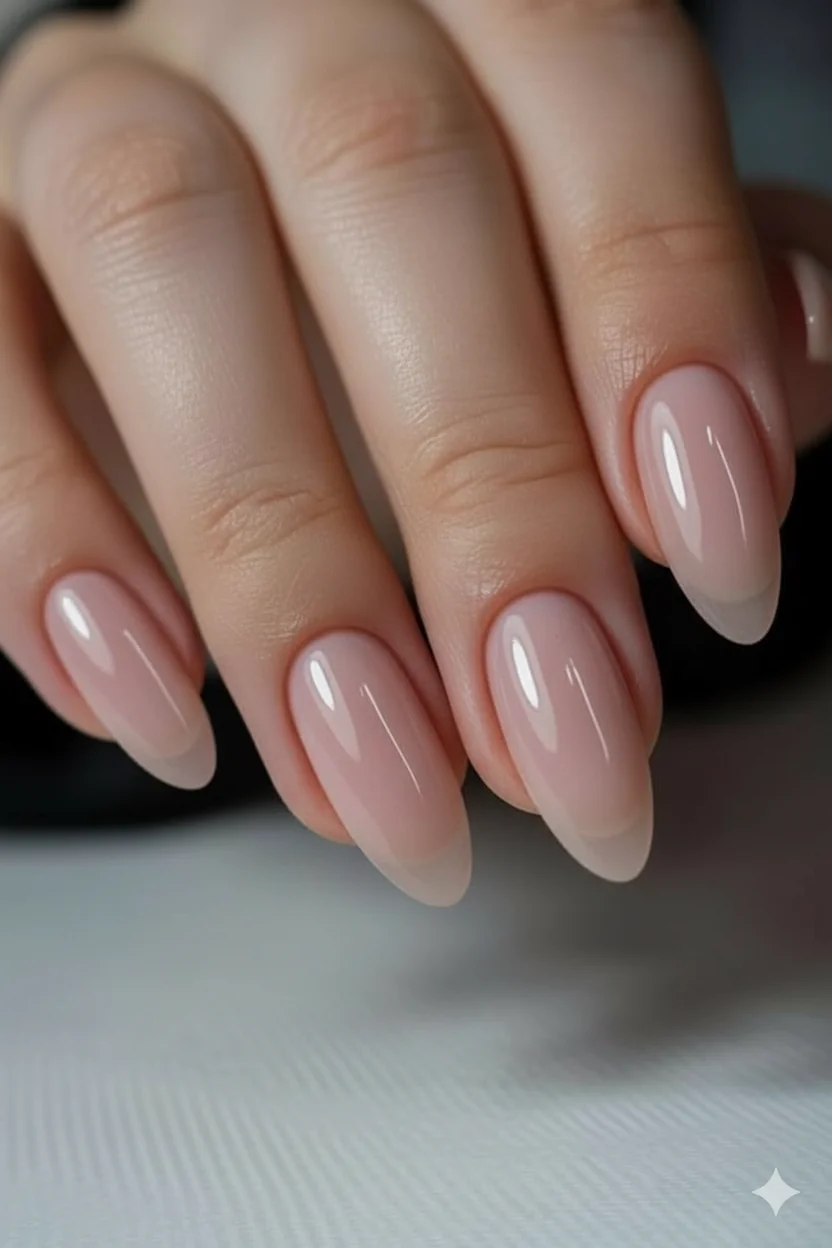
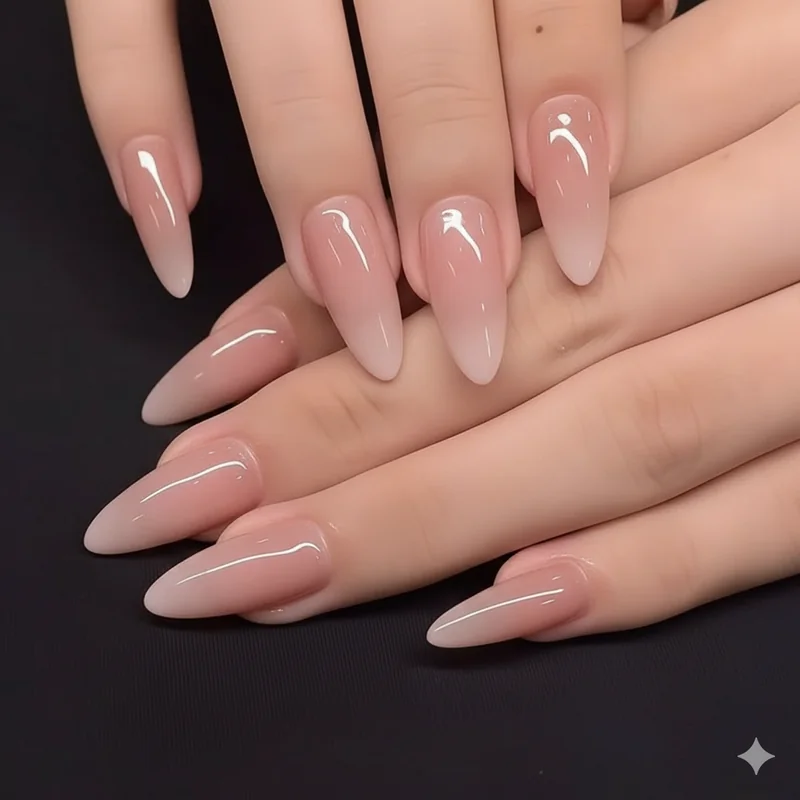
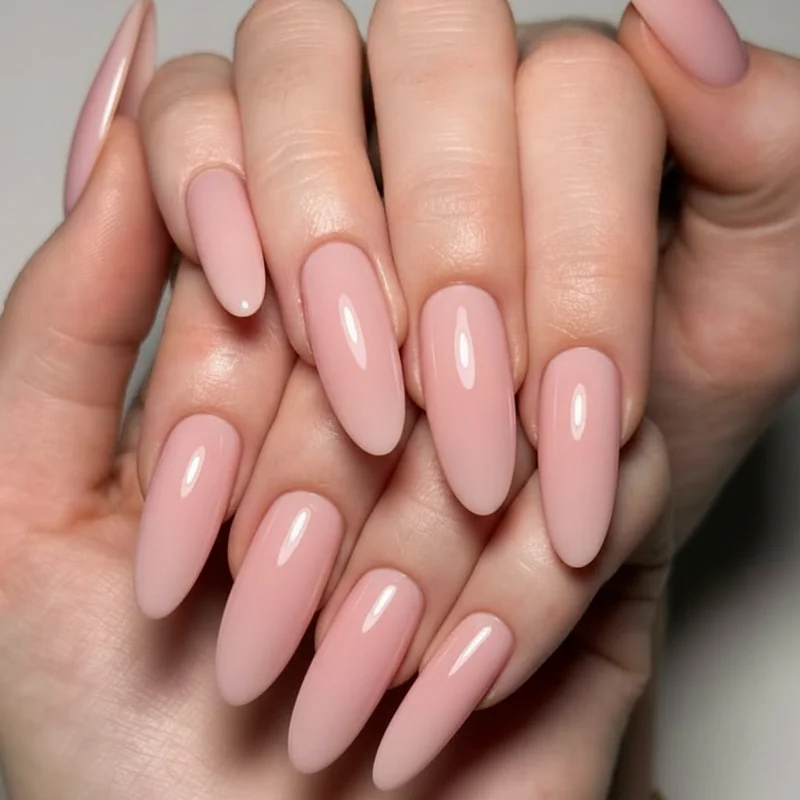
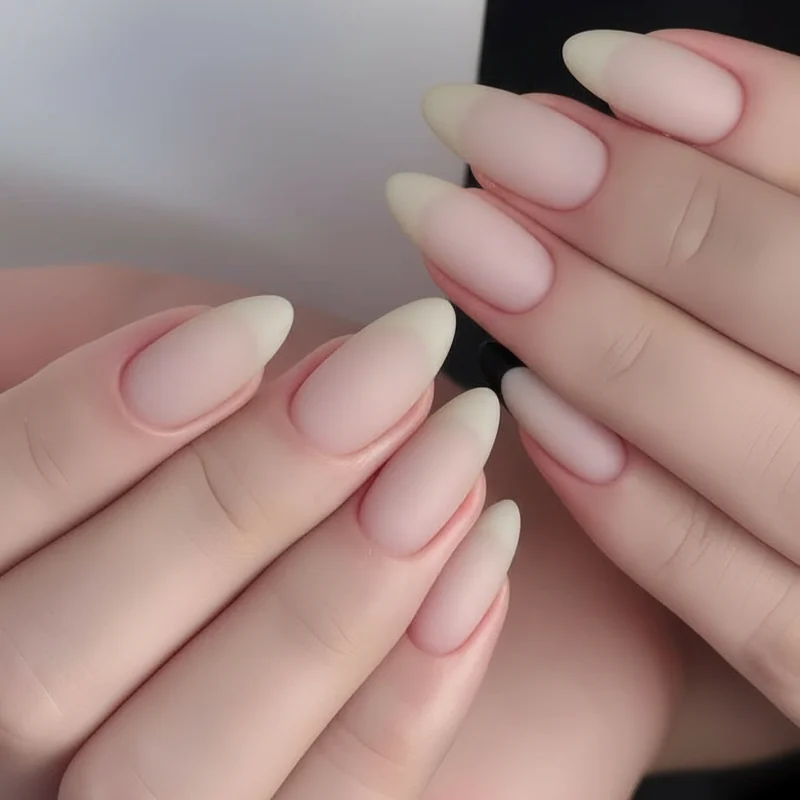
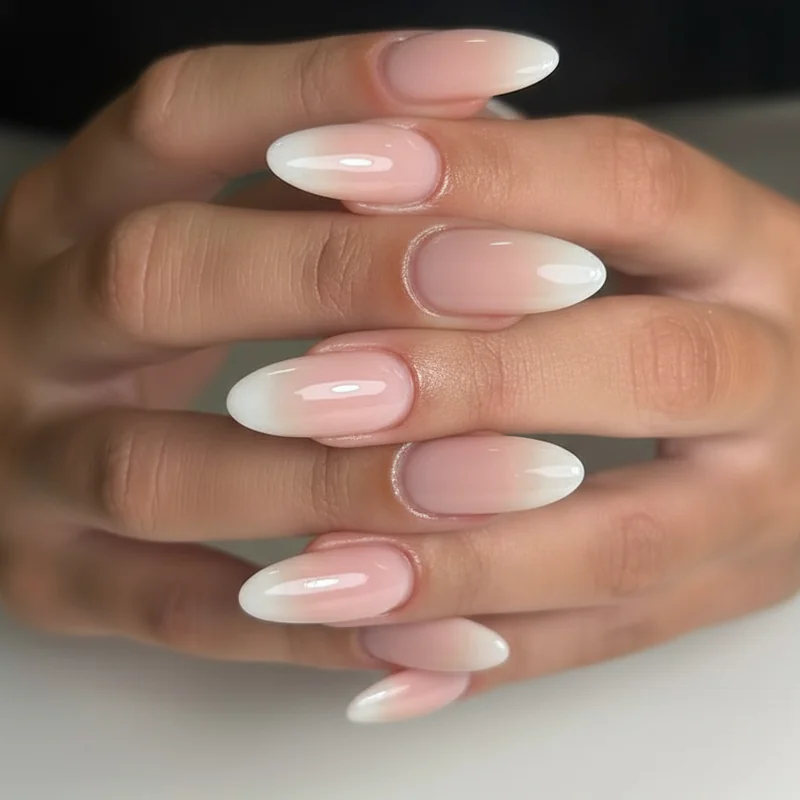
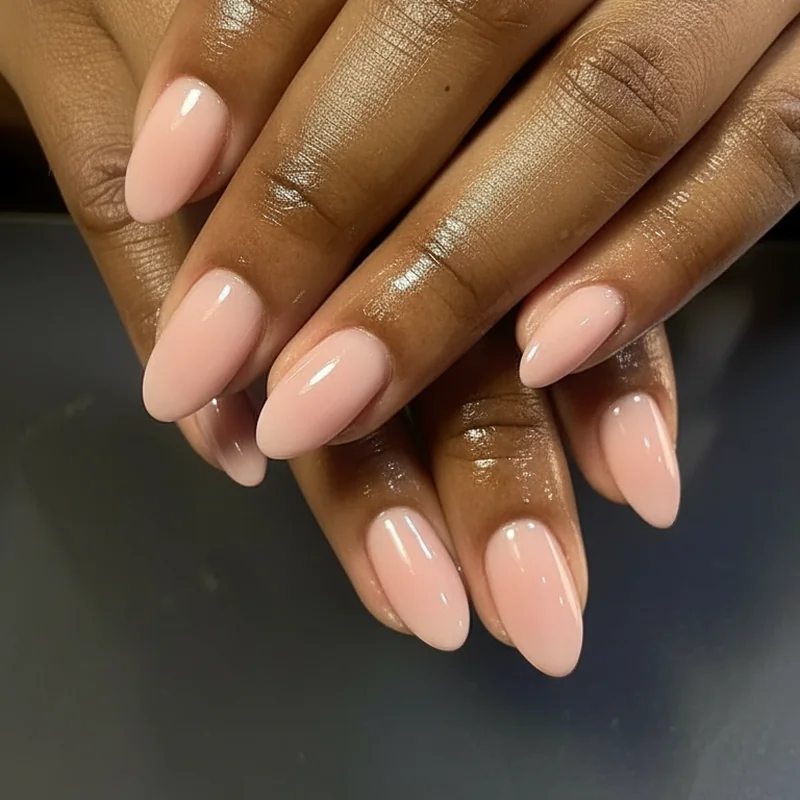
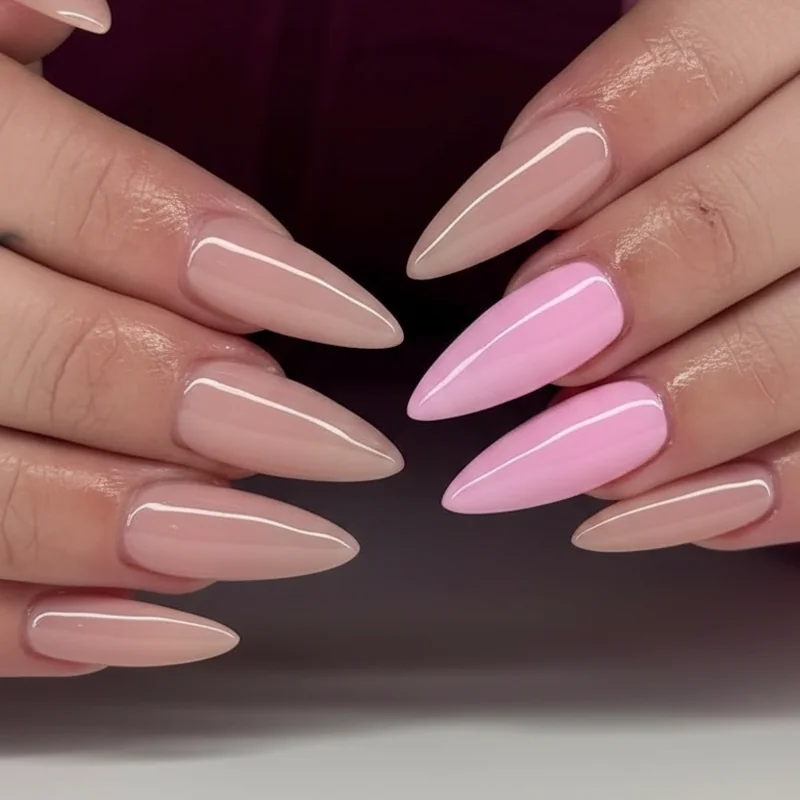
- Sheer solid colour — a single sheer or nude gel in two thin coats. No precision required. Extremely forgiving of slight unevenness because the finish itself is translucent. This is the number one recommended DIY-friendly bridal look.
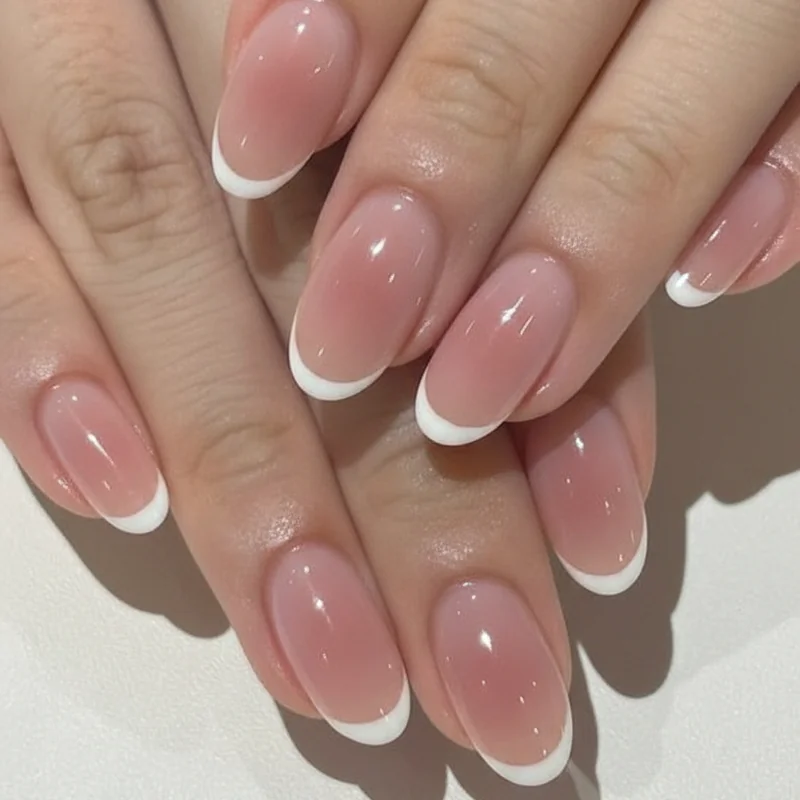
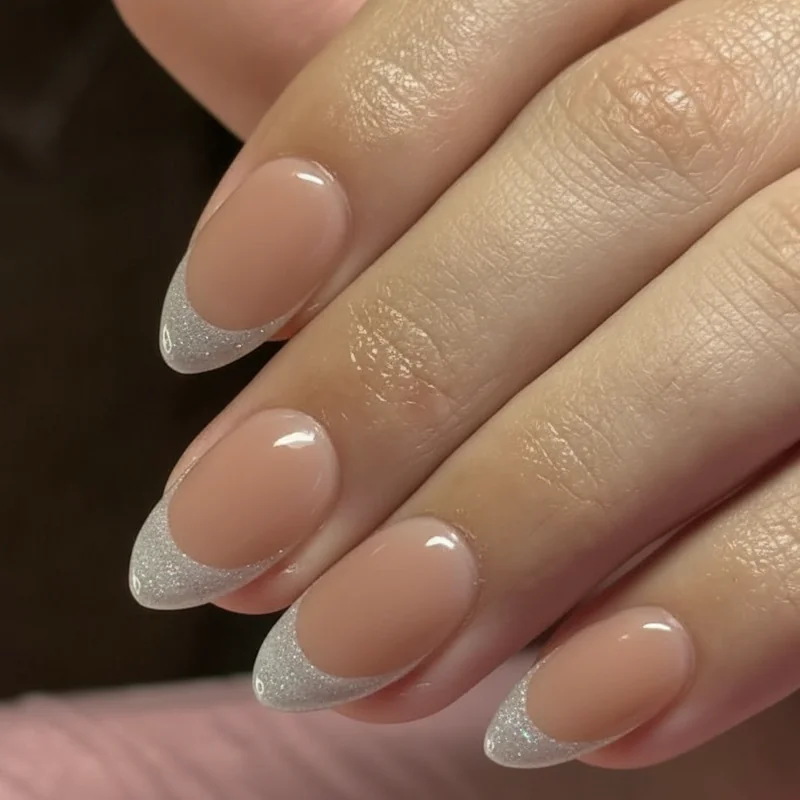
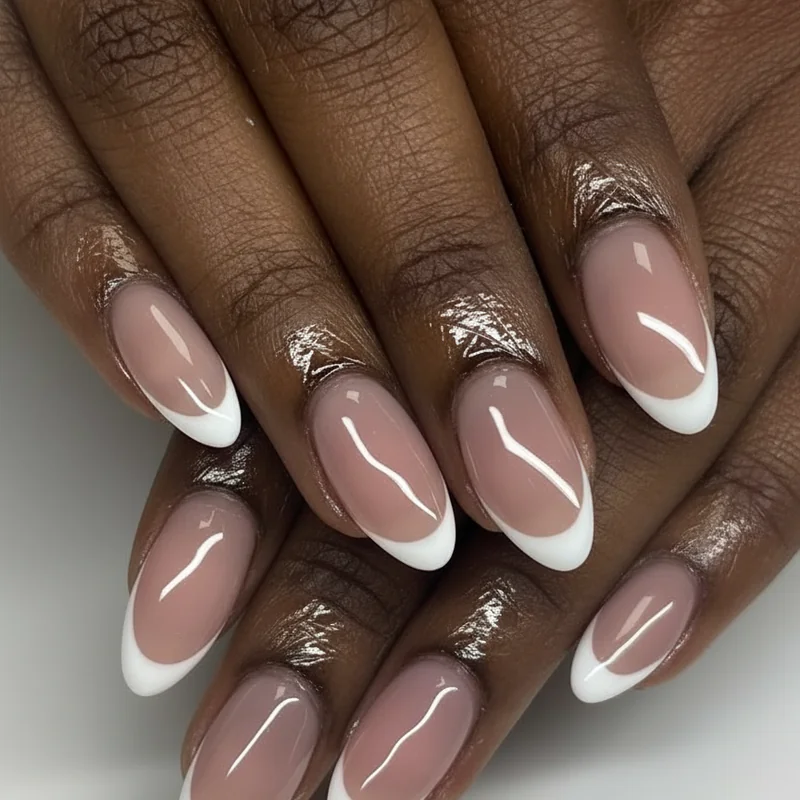
- French tip — a classic white tip over a sheer base. Achievable at home using French tip guides (adhesive strips that create the smile line). It takes practice to get the arc even, which is exactly why you do a trial run. For full inspiration and variations, see French tip wedding nail ideas for brides.
- Negative space — a design built on bare nail with minimal polish. Counterintuitively, this is more forgiving than a full-coverage look because any slight imprecision reads as intentional.
For a full gallery of bridal looks across every style and skill level, the complete wedding nail ideas guide is the place to start. The blooming gel nail tutorial is also worth bookmarking for confident DIYers who want something more painterly than a solid colour.
Intermediate (achievable with practice):
- Ombré / gradient — requires a sponge technique and blending speed. Not impossible, but needs at least two practice sessions.
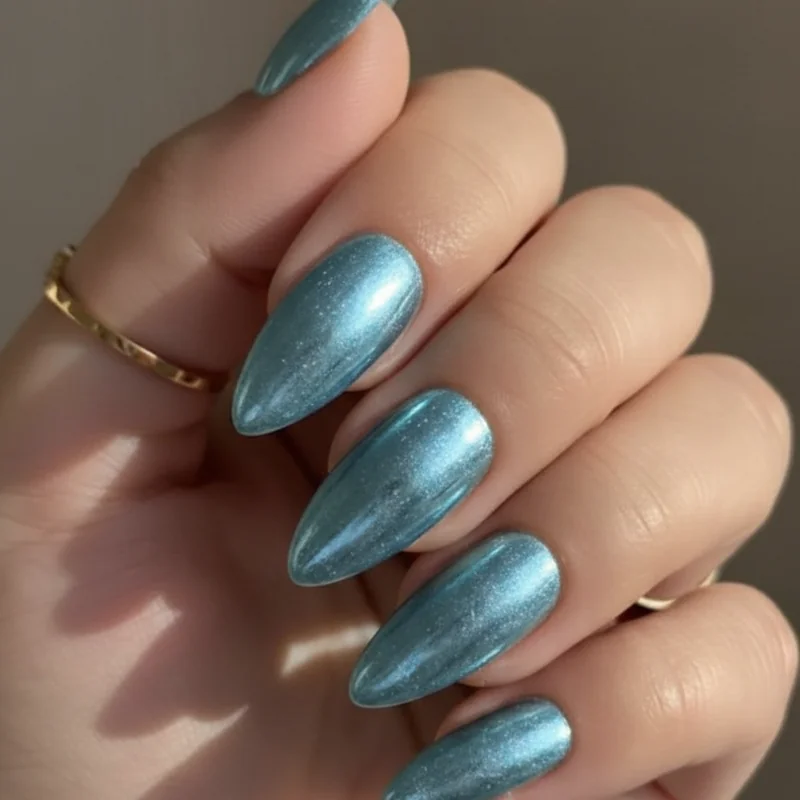
- Chrome or mirror finish — the powder application is straightforward; getting it even across all ten nails takes patience.
Leave to a professional:
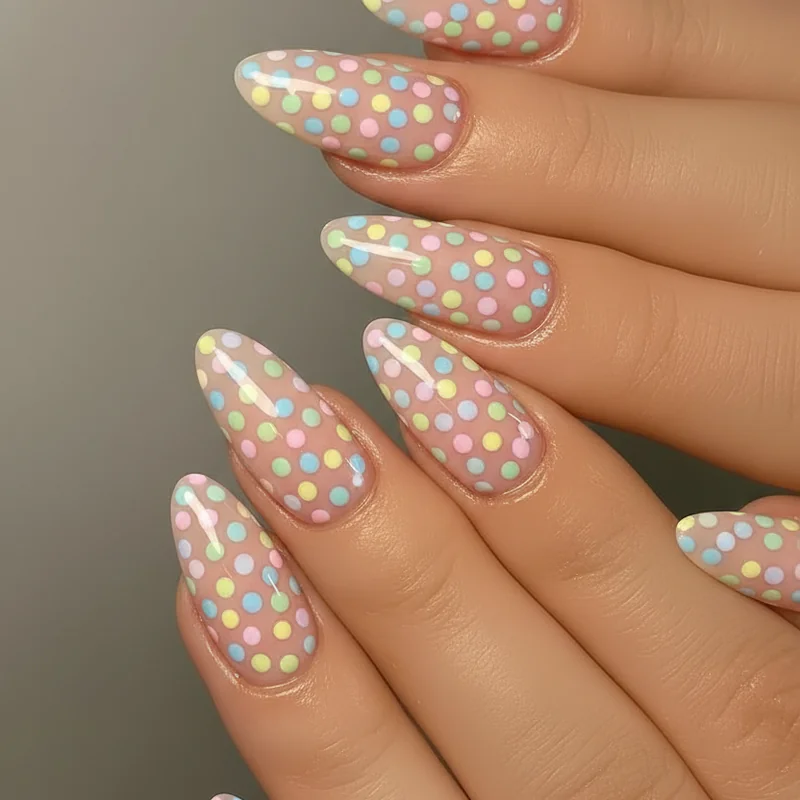
- Hand-painted florals, micro-art, complex geometric lines, 3D embellishments. These take a steady hand and tools (fine-liner brushes, dotting tools, nail art pens) that take time to master.
How to Do a Nail Trial Run — and What to Check For
Your trial run is the most important nail appointment you will make. The fact that it happens at home does not make it optional.
Schedule it four to six weeks before the wedding. Do the full process from scratch — prep, dehydrate, bonder, base, colour, top coat — exactly as you plan to do it on the real day. Wear the result for five to seven days before assessing. One day is not enough information; you need to see how the gel holds through daily life: showering, washing up, getting dressed, typing.
What to look for at the end of the trial period:
- Lifting at the cuticle — means your prep needs more attention. Buff more thoroughly, dehydrate longer, and check that no gel touched the skin during application.
- Chipping or peeling at the free edge — means you need to cap the edge more deliberately at every coat.
- Colour or formula problems — this is the moment to switch shades or brands, not the week of the wedding.
- Drying time — note how long the full process actually takes you, including cleanup. Add 20 minutes to that estimate for the real day.
The Morning of Your Wedding: Nail Timing and Order
Two hours before you need to leave. That is the outer limit for any nail-related tasks on the morning of your wedding.
If you applied your gel three days before (as recommended), the morning of requires almost nothing. Apply one drop of cuticle oil to each nail, press it in, and wipe the surface gently with a lint-free cloth. Your nails should be ring-shot ready.
If something happened overnight — a small lift, a tiny chip — do not attempt a full removal and reapplication on the morning of your wedding. Apply a thin layer of clear gel or regular top coat over the affected area and cure or air-dry. Imperfect and intact beats perfect and freshly done under pressure.
Nail care timing relative to hair and makeup: nails come last in the getting-ready sequence. Nail timing guidance from The Knot confirms this — hairspray, setting spray, and dry shampoo all coat gel surfaces and dull the finish. Get your nails done after your hair is fully set, not before.