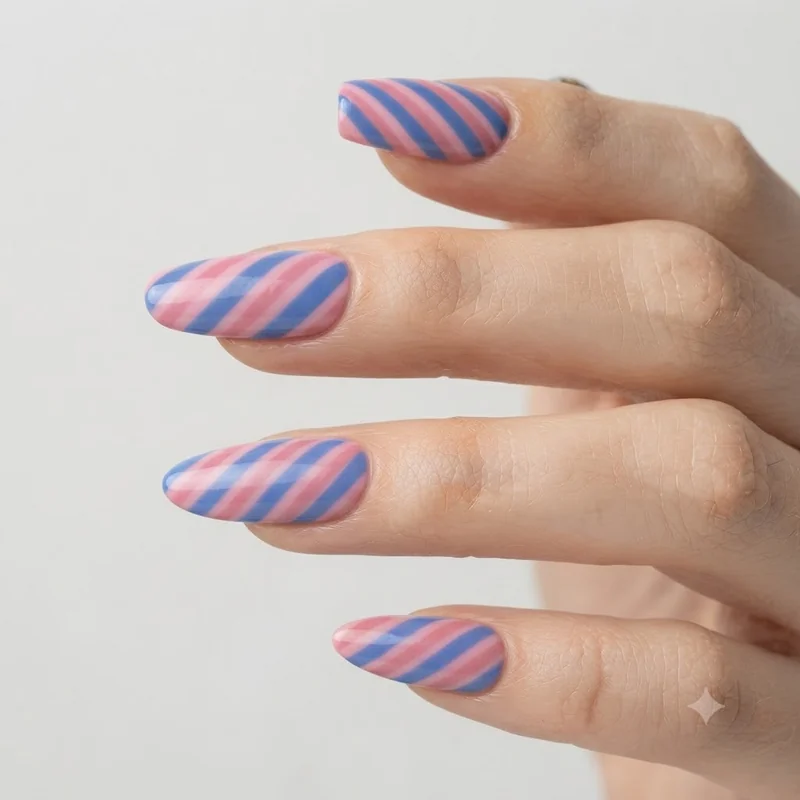
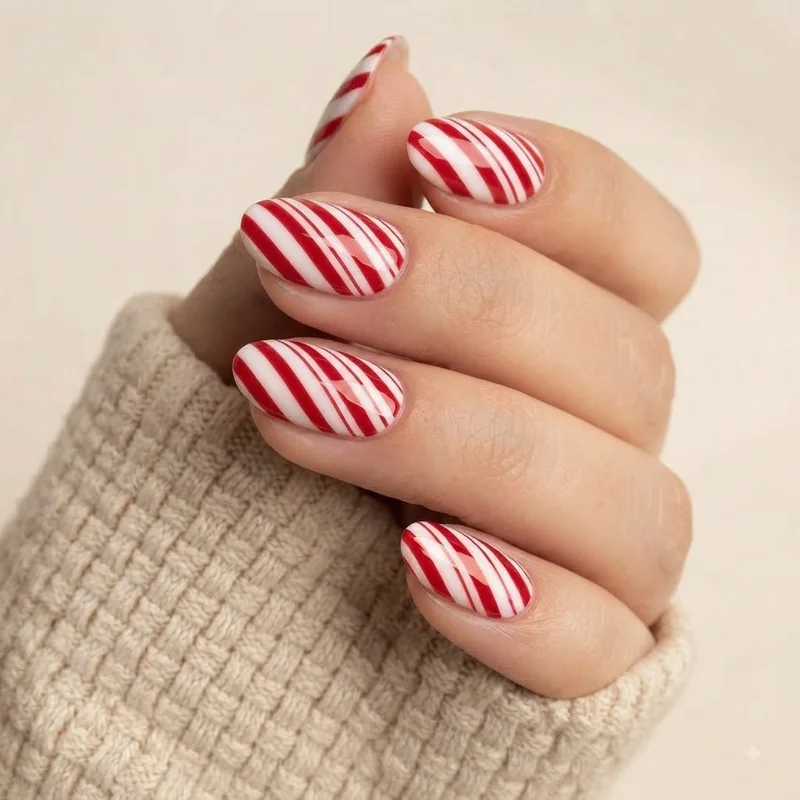
Candy Cane Accent Nails and Negative Space Looks
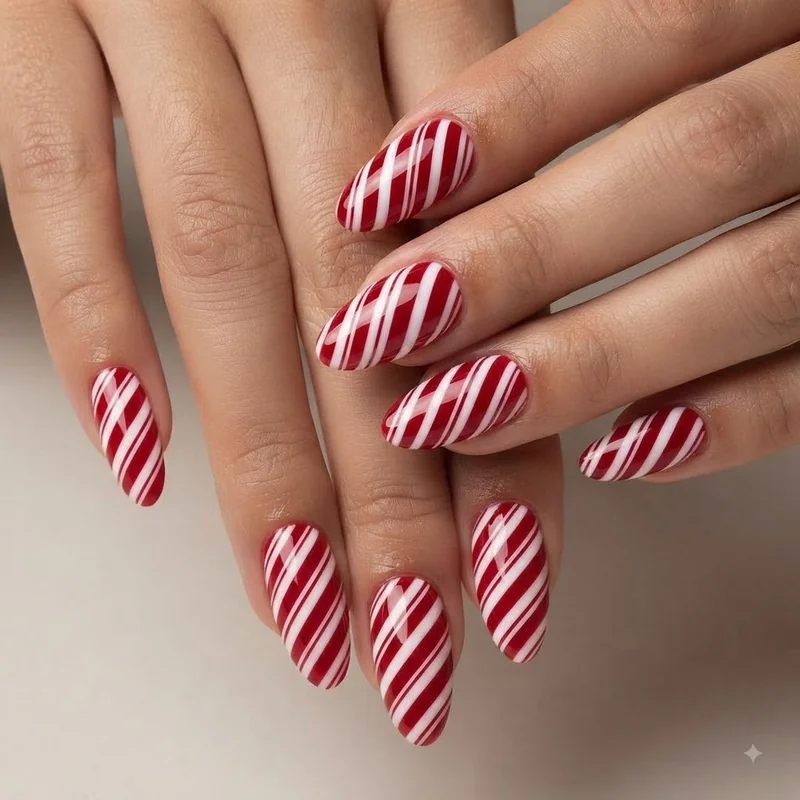
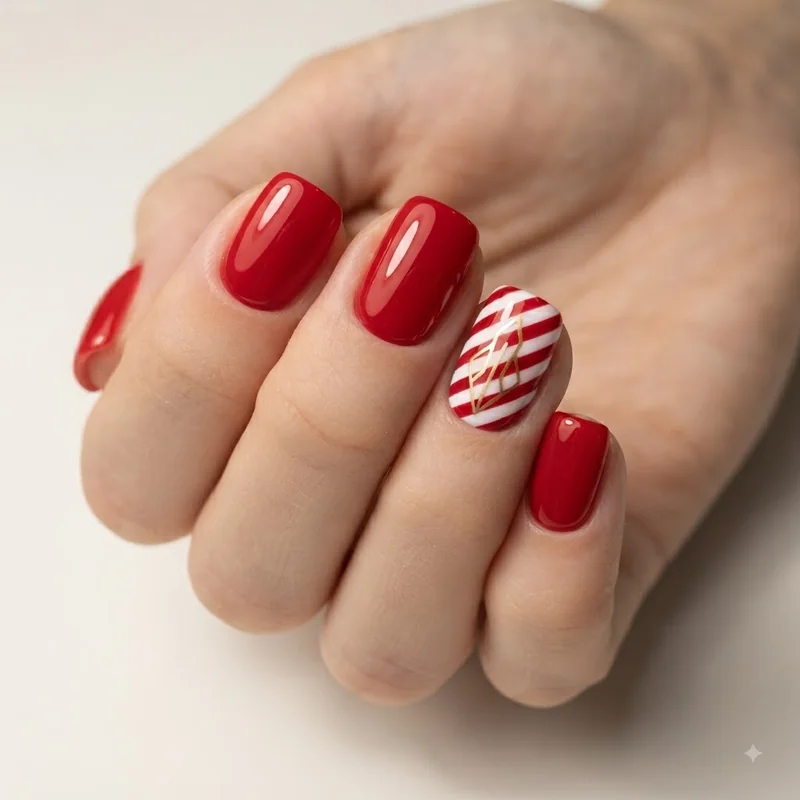
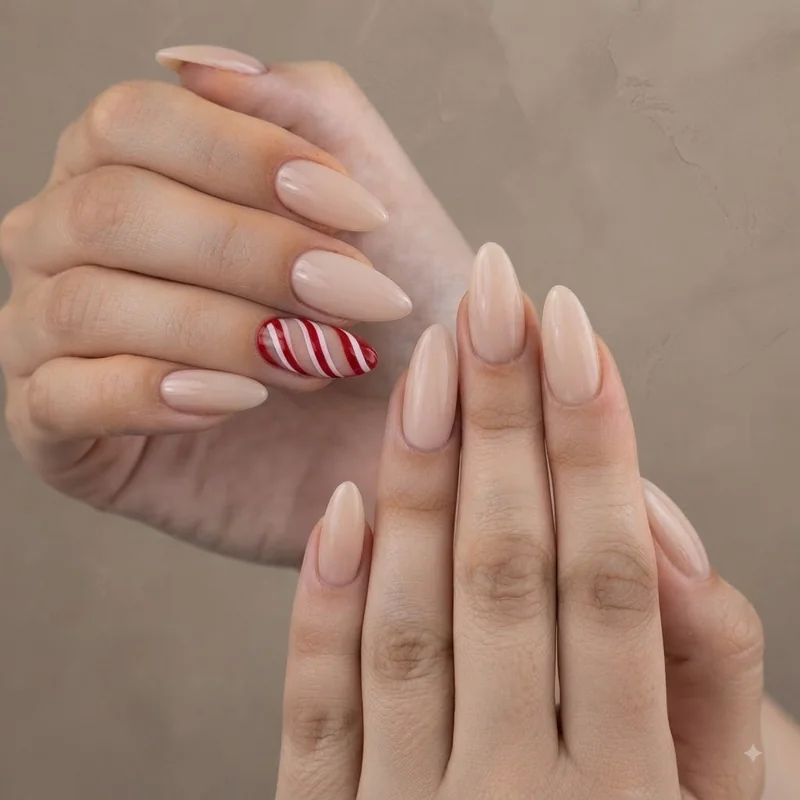
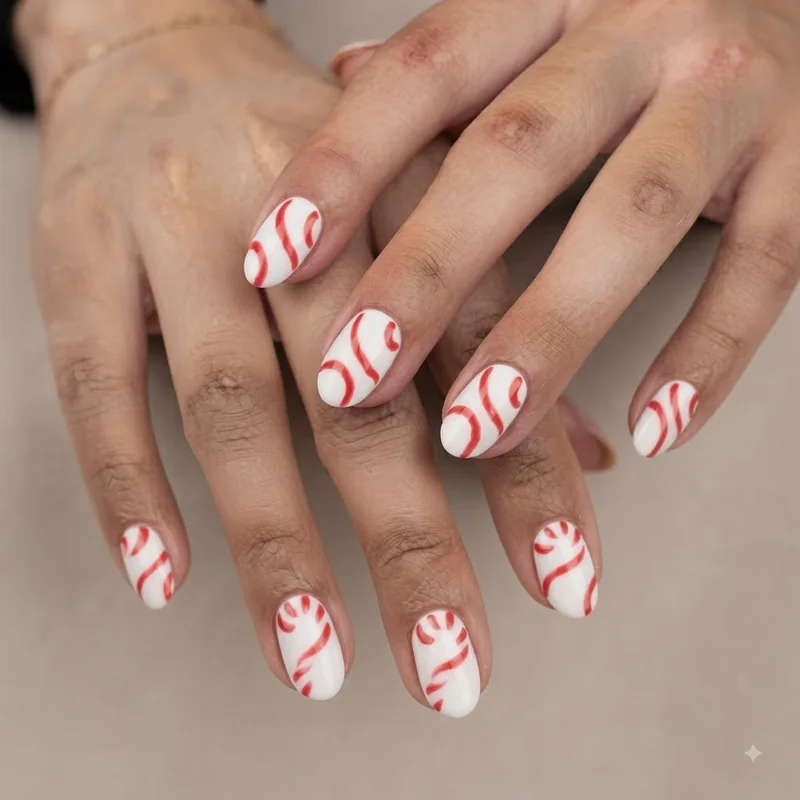
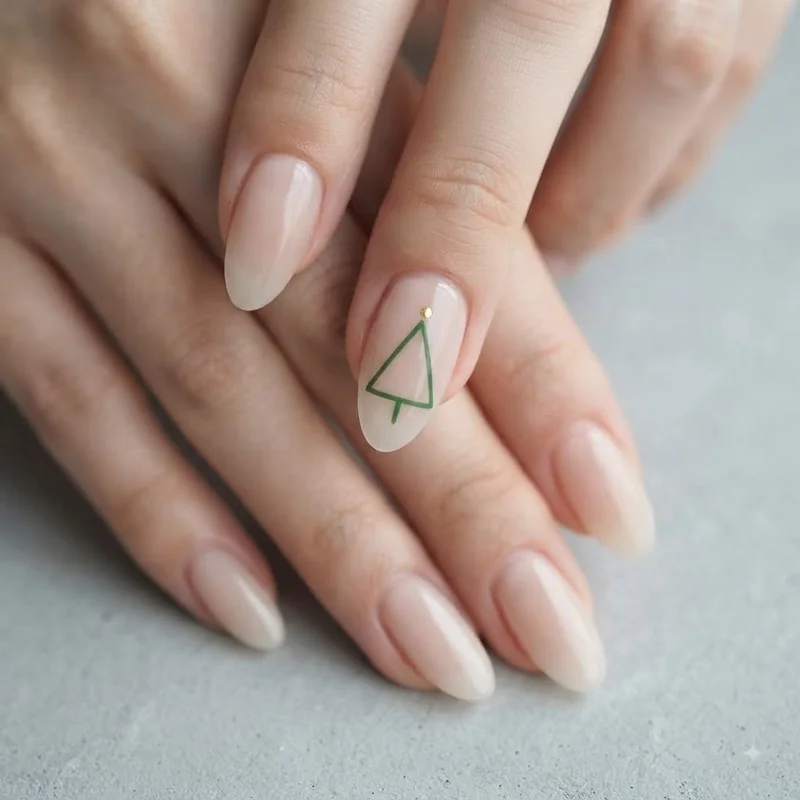
Not every nail needs the stripe. Limiting the pattern to one or two accent nails, with the rest of the set left a solid base color, gives the design room to actually register instead of competing against itself finger to finger. This is also the fastest fix for the "too busy" complaint that comes up around this design more than almost any other holiday look.
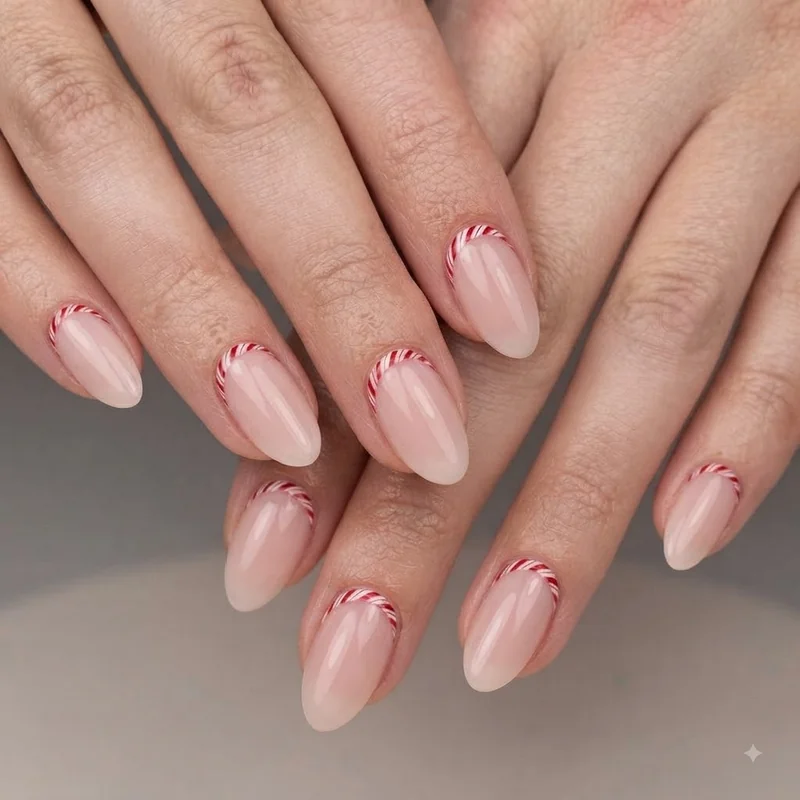
Negative space takes it further, leaving bare or sheer nail visible between the stripes rather than filling the whole surface. The result reads more like a nail art detail than a full costume-y pattern, which matters for anyone who wants the design to feel festive without tipping into literal candy shapes. Both approaches solve the same problem: too much stripe reads busy, and a little goes a long way.
How to Do Candy Cane Nails at Home (Step by Step)
You can do candy cane nails at home with striping tape, a base color, and a top coat, no freehand painting required. The tape creates the diagonal line for you, so the technique comes down to placement and timing rather than a steady hand. A single accent nail takes under 10 minutes once your base coat has cured.
Start with a fully cured white or red base coat, since striping tape only sits cleanly on a dry, tack-free surface. Striping tape is a thin, flexible adhesive strip used to mask off clean lines on the nail, and it works because it lifts away before the top coat sets, leaving a sharp edge where hand-painted lines usually blur. Press strips across the nail at a diagonal, spacing them evenly, then paint the exposed sections in your second color. Peel each strip while the polish is still slightly wet, not fully dry, or the tape pulls up polish along with it. Seal with top coat once every stripe is placed.
Gel polish holds a straighter, longer-lasting line for this specific technique than regular polish, since gel doesn't shift or self-level the way lacquer can while curing under the tape's edge. Regular polish still works, it just asks for a steadier hand with the peel timing. Dip powder needs a different approach entirely: build the base color first, then hand-paint or use a fine striping brush for the stripe pattern on top, sealed under the final topcoat layer, since dip isn't applied wet the way tape technique assumes.
How to Ask for Candy Cane Nails at the Salon
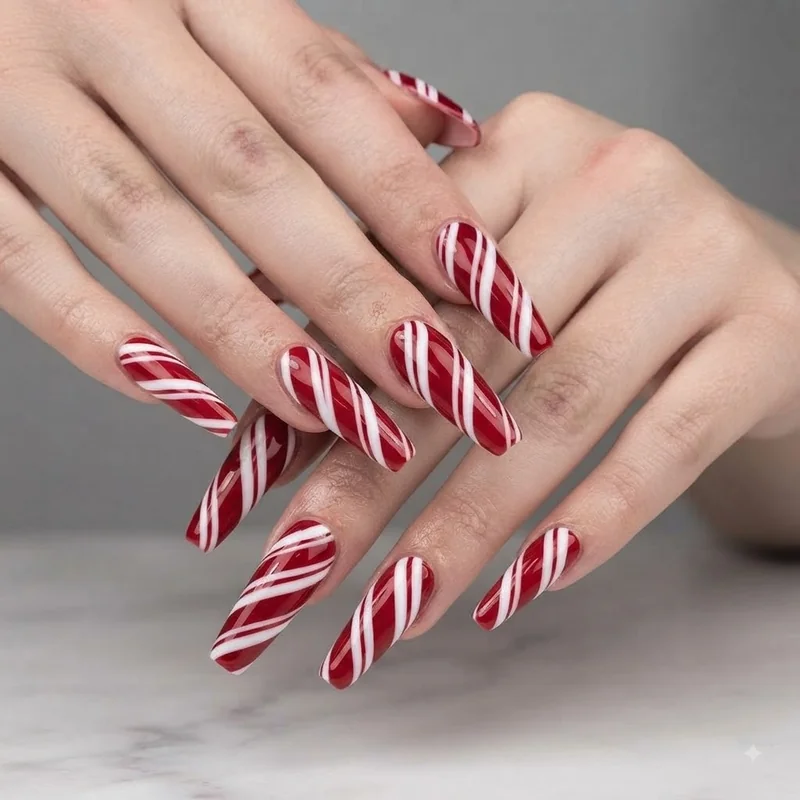
Show your nail tech a reference photo and say: "I want a diagonal red-and-white stripe, like a candy cane, on [all nails / just an accent nail], in gel." That single line covers pattern, placement, color, and formula, which is the exact information a tech needs and more specific than most walk-in requests they get this time of year.
Screenshot your chosen design before your appointment rather than describing it from memory once you're in the chair. If you already know you want the shape scaled down or limited to one nail, say so upfront. Techs default to a full set unless told otherwise, and that one sentence saves a mid-appointment change of plans.
This design earned its reputation for a reason, and the fatigue is with the repetition, not the pattern itself. What holds up season after season is specificity: the right stripe width for your shape, the right color for your taste, the right technique for your patience level. Skip the generic 20-photo scroll and pick the version built for your actual nails. The look's recent surge in popularity isn't slowing down this year, and now you know exactly how to get it, tape in hand or script ready for your next appointment. For more shape-by-shape and color-by-color inspiration beyond what's covered here, the christmas nails inspiration gallery has the full visual range.