How to Fix the Most Common Mistletoe Nail Art Mistakes
A wobbly line or a blobby berry is not a sign you lack the hand for this mistletoe nail art tutorial. Both are fixable technique, not talent.
Wobbly stems almost always trace back to speed. Moving too fast introduces the waver; a slower stroke gives you time to correct the angle mid-line. If a line goes wrong while wet, dip a small brush in acetone, wipe just that stroke away, and redraw it slower.
Blobby berries happen for the opposite reason: too much polish loaded onto the tool at once. Wipe your dotting tool or toothpick down to a thin film before each dot, and add more dots rather than bigger ones for coverage. Three small dots read as intentional. One large one reads as an accident.
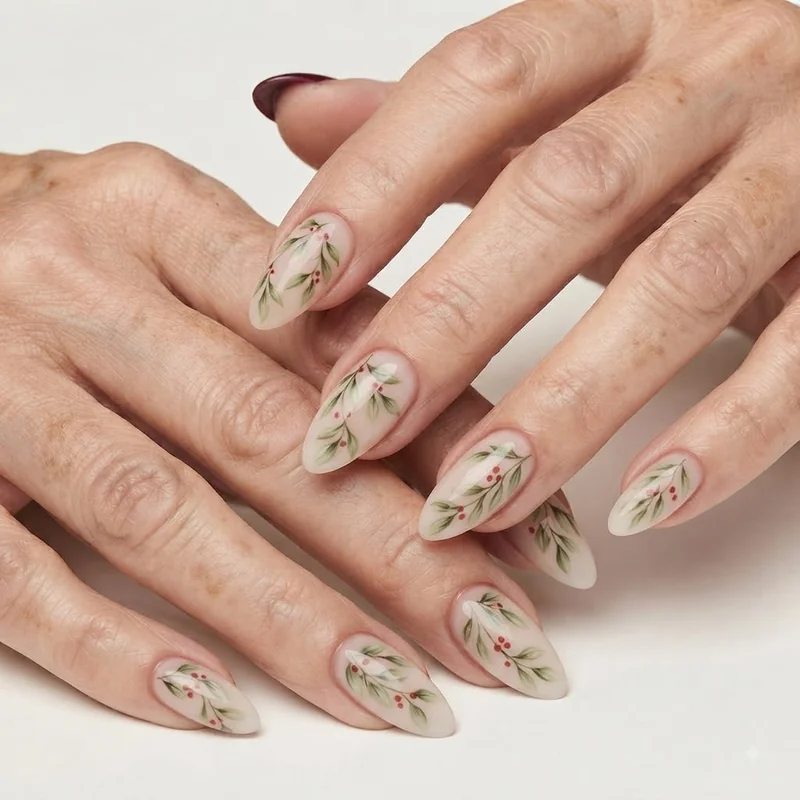
Leaves that come out as a shapeless smudge usually mean the angle was too vertical. Angling each tip outward from the stem is what turns a blob into a leaf, and it's worth a practice run on a paper towel first.
Mistletoe Nail Art for Short Nails and French Tips
Yes, this mistletoe nail art tutorial design works on short nails, and it often looks cleaner there than on long ones. Scale the leaf cluster down by roughly a third and limit it to two or three nails rather than the full set, since a smaller surface reads best with less competing on it.
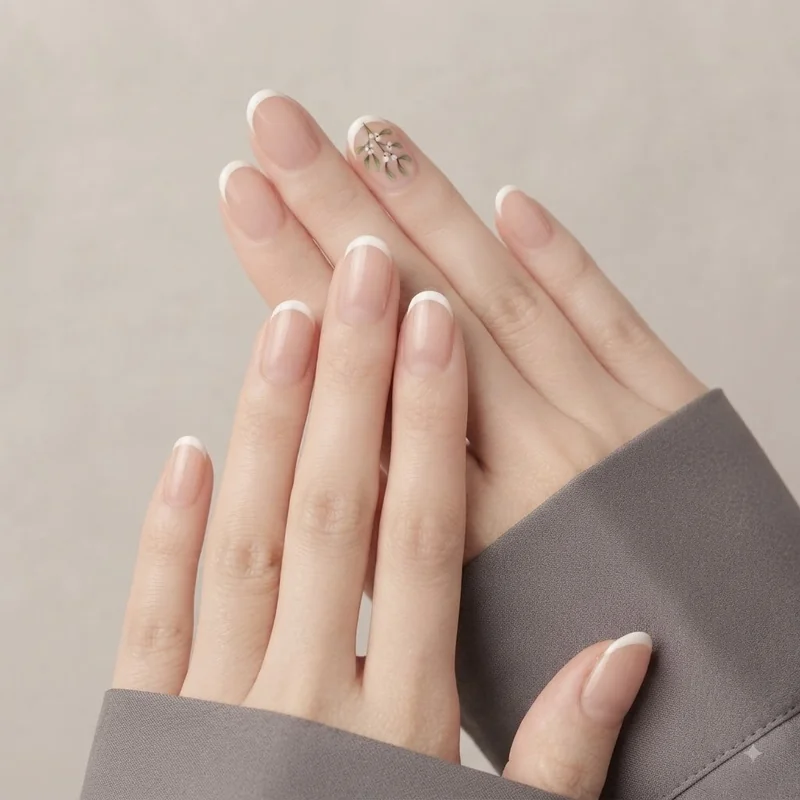
French tips take the design differently, and benefit from negative space technique as an option alongside the fully painted version. Negative space nail art uses the bare, unpolished nail as part of the design itself rather than covering the whole surface in color, letting the natural nail show through as a deliberate part of the shape. Applied to mistletoe on a french tip, that means outlining the leaves instead of filling them, so the white tip line does double duty as part of the design.
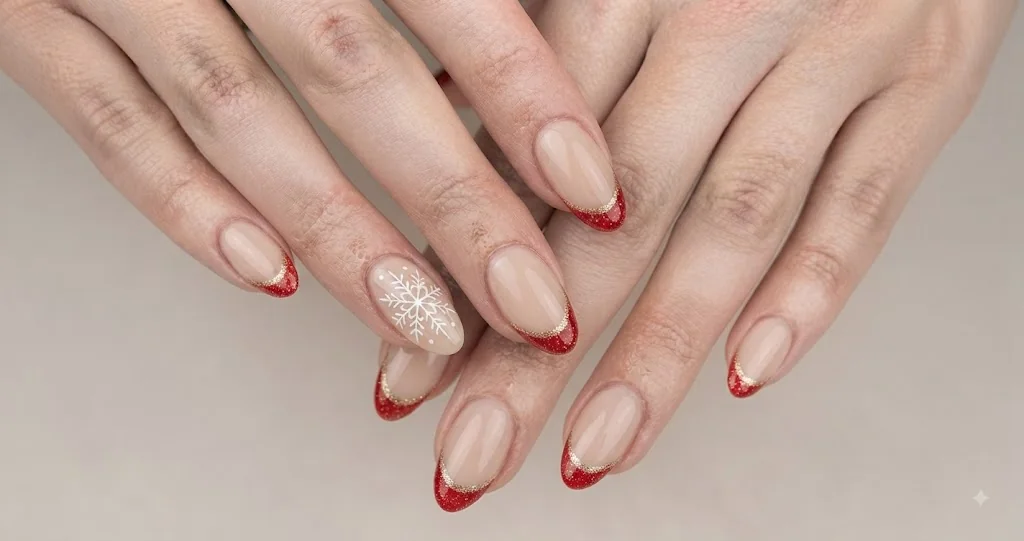
Place the motif right where the white tip meets the natural nail, kept compact so it doesn't compete with the tip line. If red is your direction for the berries, red christmas nails has a wider shade range worth a look first.
Mistletoe Nail Art FAQ
Is mistletoe nail art hard to do at home? No. It is one of the more forgiving designs to attempt without professional experience, since the whole motif breaks into three small, repeatable shapes rather than one continuous image. The two most common mistakes, wobbly lines and blobby dots, both trace back to fixable technique.
What nail polish colors do I need for mistletoe nail art?
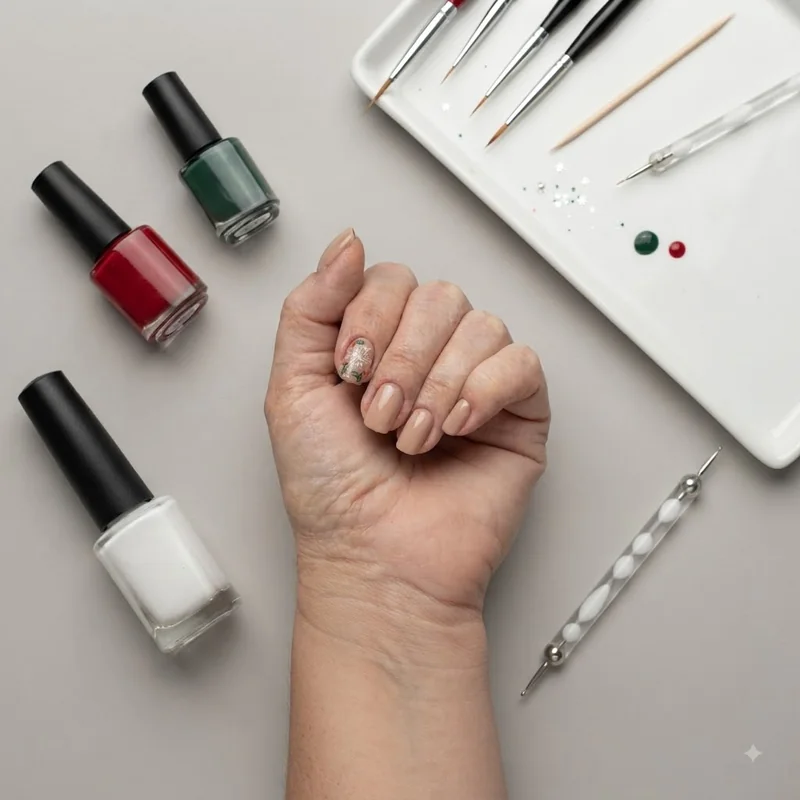
A base color of your choice, green for the leaves, red for the berries, and white for one highlight dot. That's the full list, sealed with top coat.
How do you make the mistletoe leaves look even?
Angle both tips outward from the central stem at a matching angle, and keep the stroke slow. Mirroring the second leaf off the first, rather than freehanding it separately, keeps the pair looking intentional.
How do you paint mistletoe berries so they don't look blobby?
Wipe your tool down to a thin film before each dot rather than loading it heavily, and press rather than drag onto the nail. Uneven spacing between dots reads as more natural than perfectly even spacing.
What's the easiest mistletoe nail design for beginners?
A single accent nail using the toothpick method, with one leaf cluster and three berries. Limiting it to one nail removes the pressure of repeating the motif ten times while still learning the shape.
Nothing about a mistletoe nail art tutorial requires equipment you don't already own or a hand steadier than the one you have. It only needed to exist written down, in order, instead of scattered across clips that move faster than any hand can follow. Pick one nail, load your brush or toothpick lightly, and draw the first stem tonight.