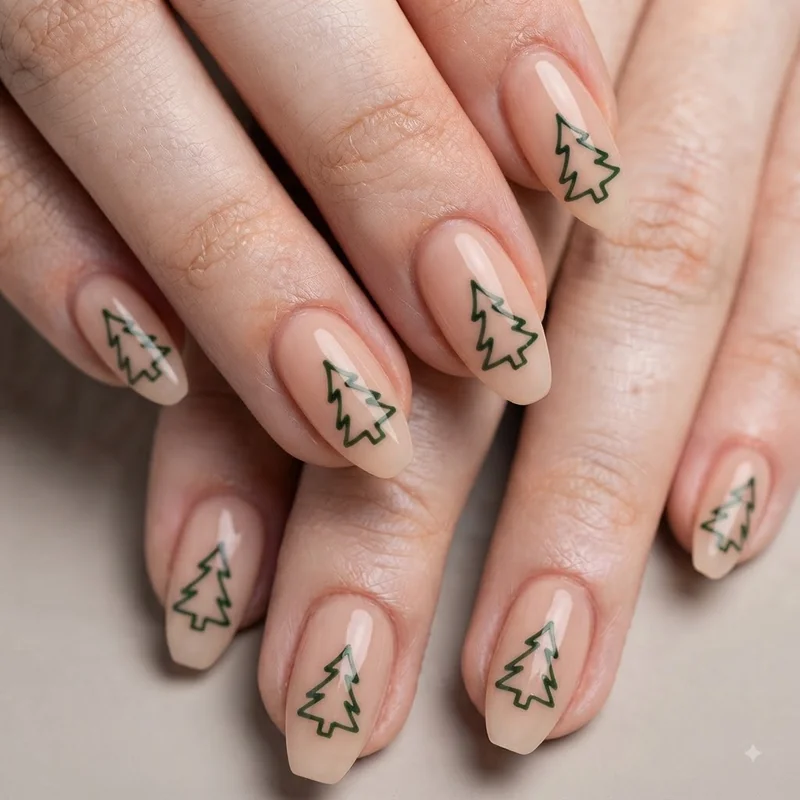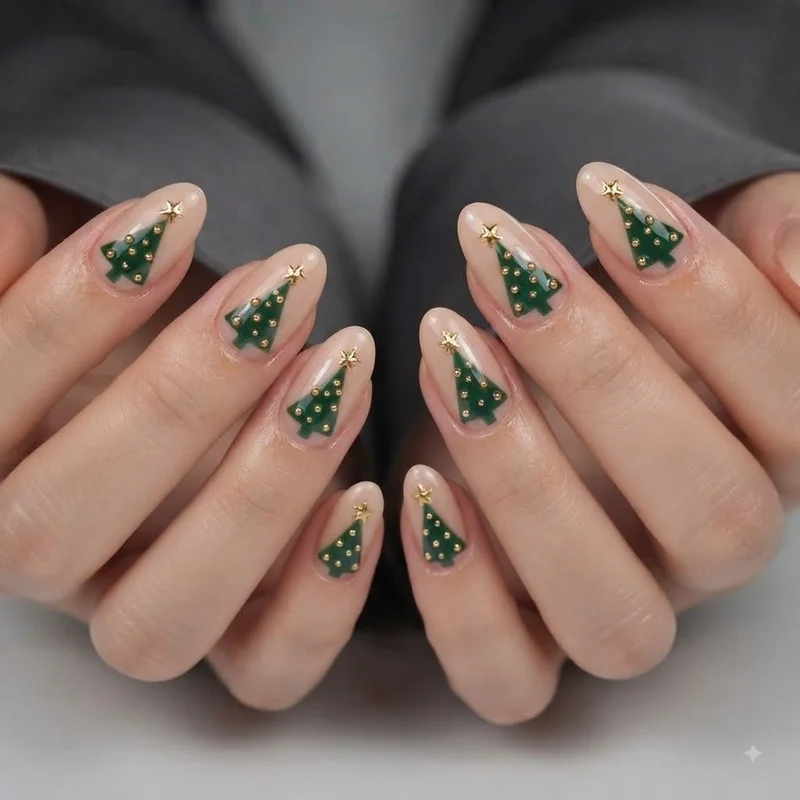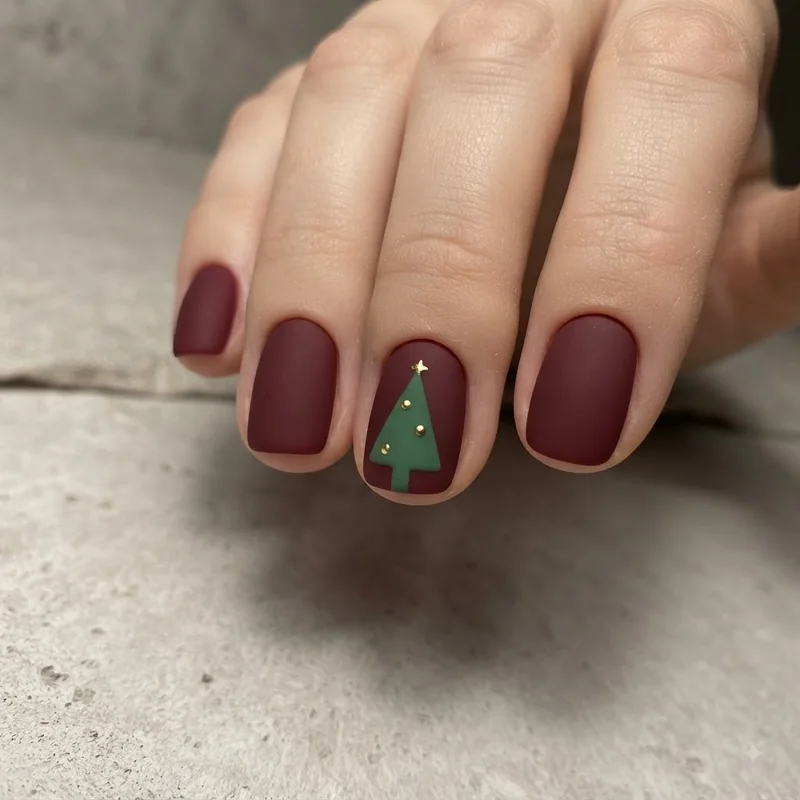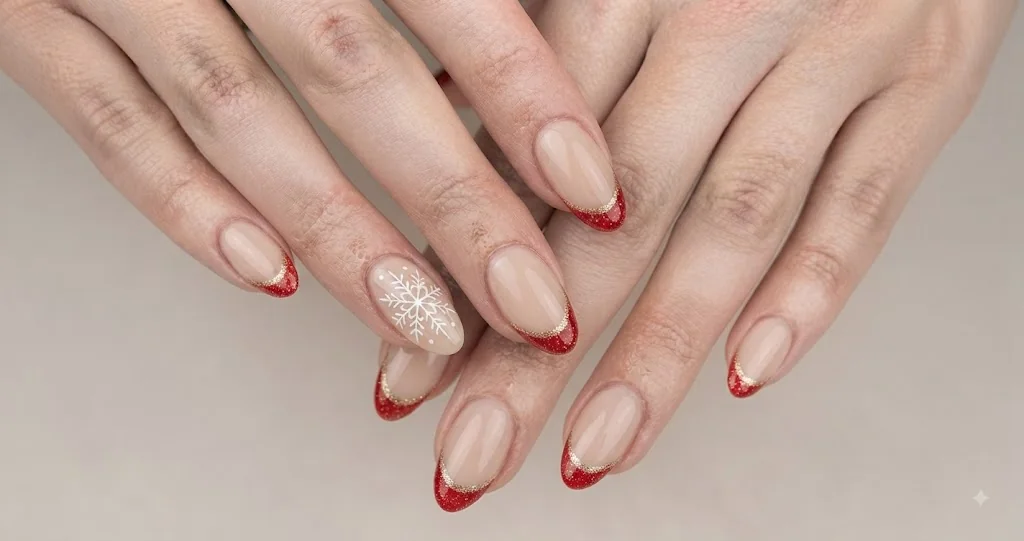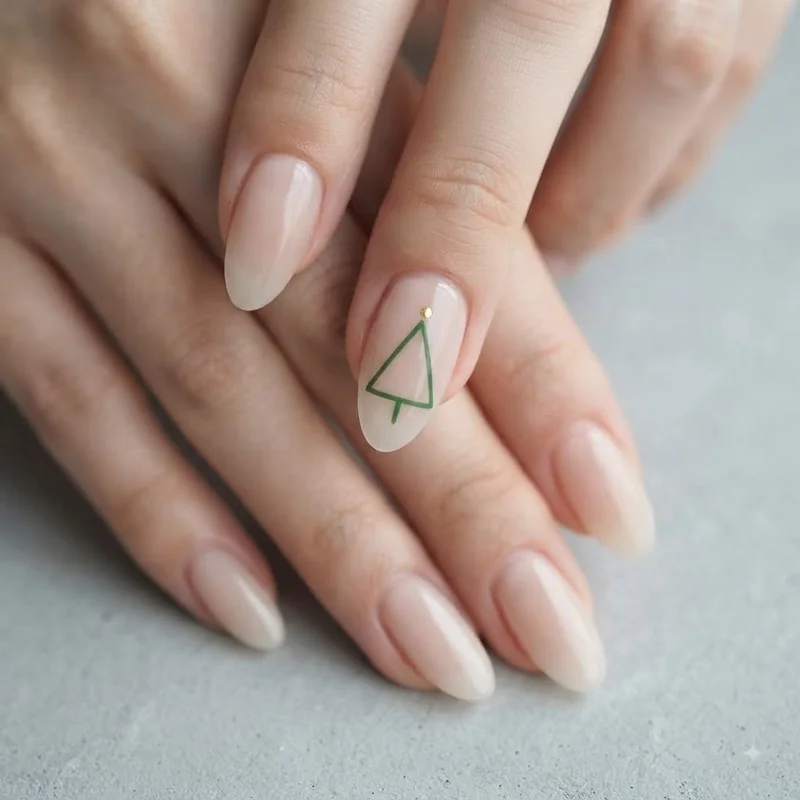
Christmas tree nail art tutorial content does not require a gel system or a fine liner brush to look intentional. You need a toothpick or a thin brush, two or three polish colors, and about half an hour. That is the entire barrier to entry, despite how most tutorials frame it. This christmas tree nail art tutorial walks through one accent nail from bare polish to finished star topper, using tools you likely already have in a drawer.
The anxiety usually shows up before the polish does. It's the assumption that anything beyond a solid color needs salon-level precision, or a gel kit with a lamp sitting on the counter. Neither is true here. This is a single accent nail, not a full set, and the tree shape is more forgiving than it looks once you see it broken into stages. christmas nail ideas has broader inspiration if you want to see where this fits into a full look first.
What You Need for Christmas Tree Nail Art (No Salon Kit Required)
You need a base polish, a green polish for the tree, a gold or yellow polish for ornaments, a toothpick or small dotting tool, and a top coat. That's the full list. A dotting tool is simply a small metal stick with a rounded ball tip, used to place even dots of polish, but a toothpick does the identical job for this design. Anything with a fine, sturdy point works.
No fine liner brush, no gel system, no UV lamp mandatory. If you already own basic polish, you own what this design needs. For general technique coverage beyond this one design, how to do christmas nail art at home covers the broader toolkit.
Step 1: Prep and Base Coat
Push back cuticles, wipe each nail with polish remover to strip oils, then apply one thin base coat. Let it dry fully before moving on. Skipping this step is the single most common reason polish lifts within a day.
Apply your nude or pale base color next, two thin coats rather than one thick one. Thin coats dry faster and layer more evenly, which matters once the tree goes on top.