Gingerbread Nail Designs You Can Actually Recreate
If this is your first character manicure, start here. Gingerbread nails ask the least of your hand and give back the most confidence, which makes them the natural entry point before moving on to anything with more linework.
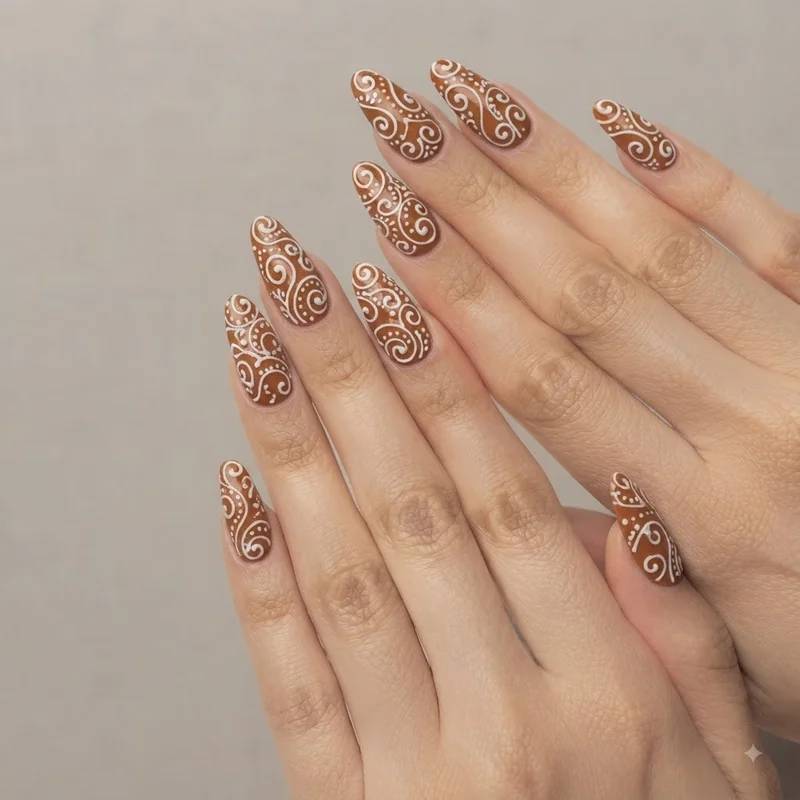
The core look is a warm brown base, either a matte cocoa or a soft caramel, finished with a piped white "icing" swirl using a dotting tool. Load the tool with white polish, drag it in a loose zigzag from the cuticle toward the tip, then dot in two or three small "candies" along the swirl. That is the entire technique. No brush control, no steady hand required, just a repeated wrist motion. Almond and square shapes hold the swirl best since the flatter surface gives the icing line room to read clearly.
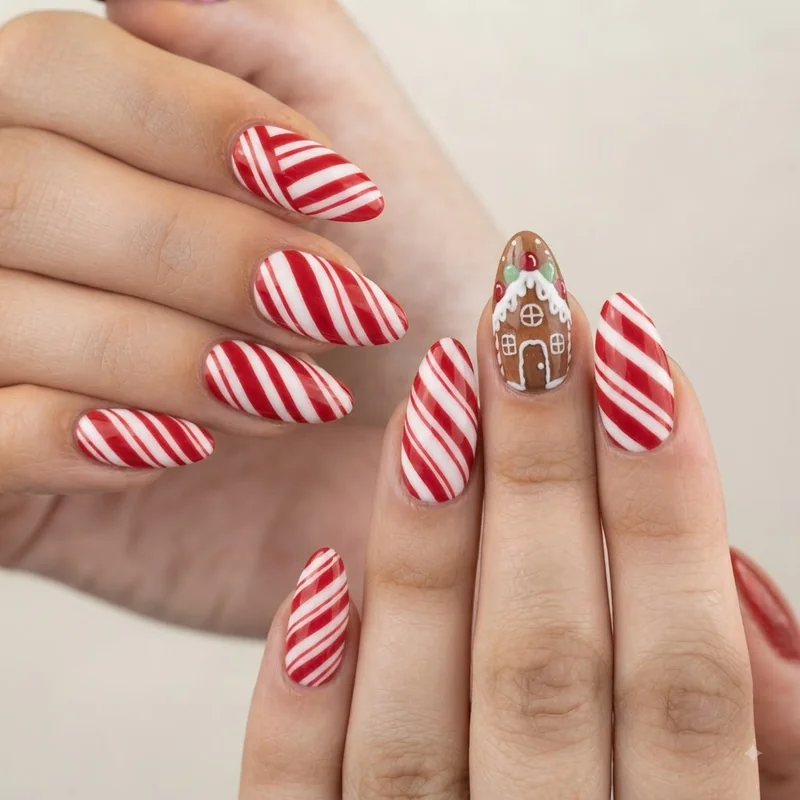
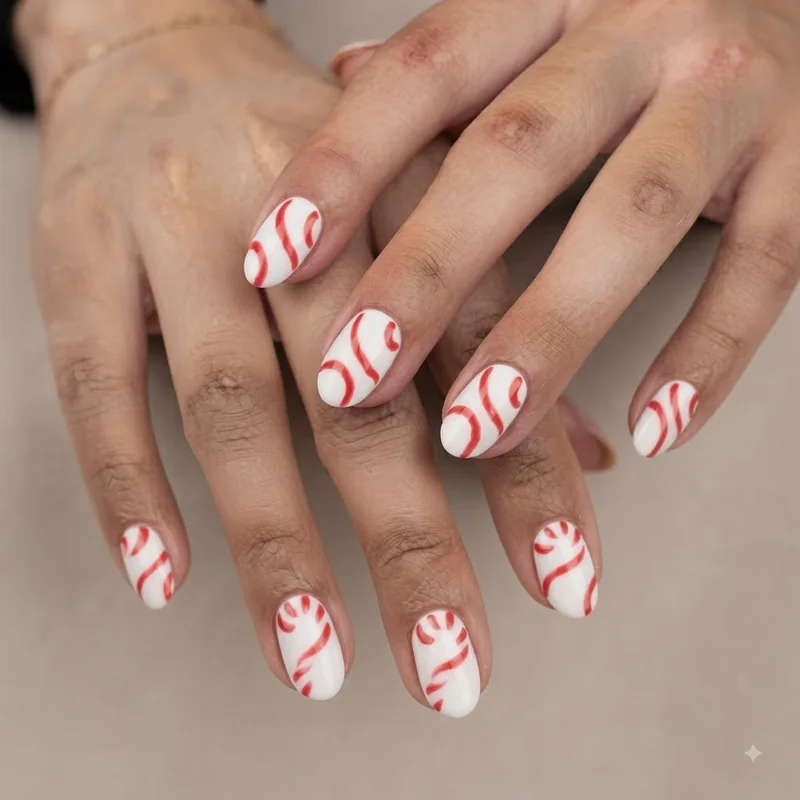
For a second finger in the same set, try a gingerbread house accent: a simple triangle roof in white over a brown square, or swap in candy cane stripes on the ring finger for contrast. Readers researching gingerbread santa gnome nails as a combined idea often start their set here specifically because it is the fastest to get comfortable with before layering in santa or gnome elsewhere on the hand.
The main thing to watch: too much white icing turns the design muddy fast. Two or three swirl lines per nail, not five. Less icing, cleaner gingerbread. Full step-by-step brush angles and timing live in the dedicated gingerbread man nail art tutorial, if you want to go deeper than this overview.
Santa Nail Ideas (Including the Santa Hat French Tip Everyone's Wearing)
You do not need to paint a face to do santa nails. The santa hat french tip and the santa belt accent are both shape-based techniques, built from angles and lines rather than freehand features, so there is genuinely nothing here that requires drawing skill.
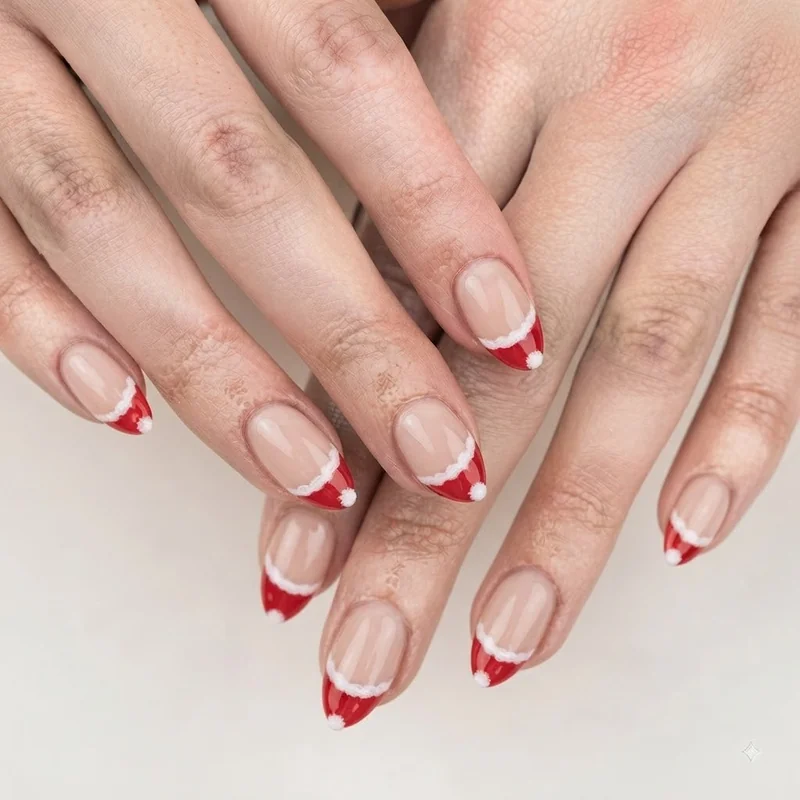
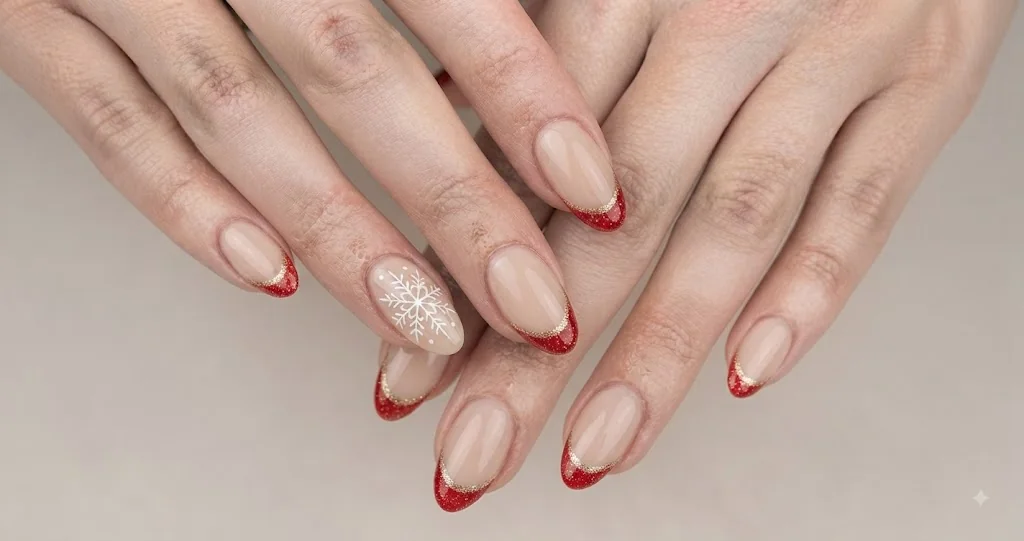
The santa hat french tip takes the standard french manicure and reshapes the white tip into a soft red triangle, capped with a small white pom-pom dot at the peak. It reads instantly as "santa" without a single facial detail. This is the single most-searched santa nail technique this season, and for good reason: it works on almond and stiletto shapes especially well, since the longer tip gives the triangle enough room to sit properly instead of looking cramped.
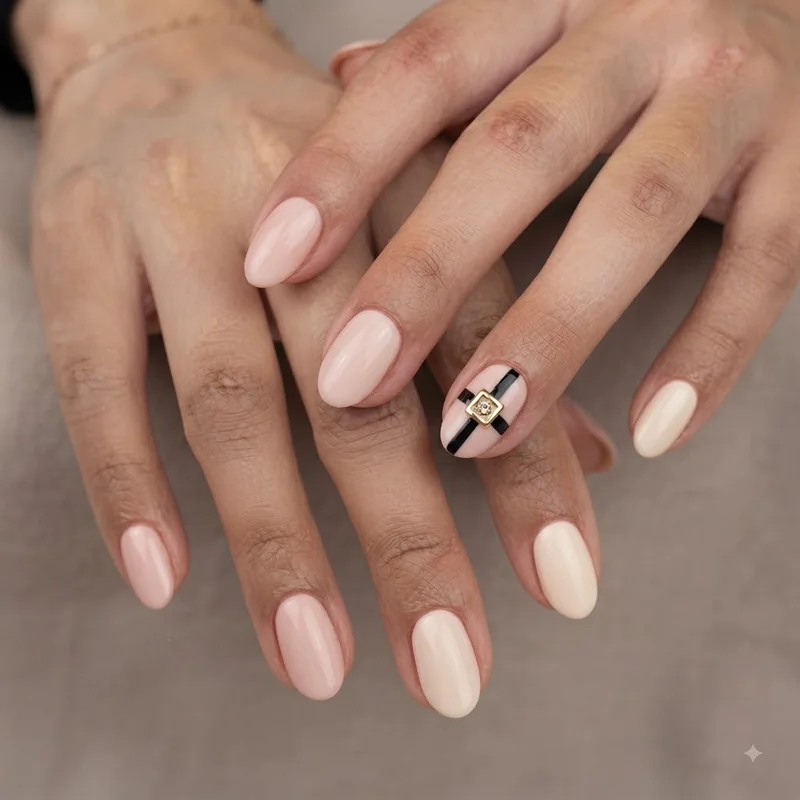
For a second design in the set, the santa belt accent swaps the tip technique for a horizontal black stripe near the cuticle with a small gold square "buckle" painted or stamped in the center, over a solid red base. It is graphic, fast, and reads as clearly as the hat without needing symmetry across all ten nails, so it is forgiving if your dominant-hand nails come out slightly different from your other hand.
Also worth knowing before you commit to a full red-and-white set: pinkmas is a pastel-toned take on the same santa motifs, swapping traditional red for blush pink and cream while keeping the hat and belt shapes intact. It is the softer, quieter version of santa nails, and it pairs especially well if the rest of your set leans toward the muted gnome tones covered next, rather than clashing with gingerbread's warm browns.
For readers who want the full walkthrough beyond this overview, including exact polish ratios and brush angles, the santa nail art tutorial covers it step by step.
Gnome Nail Art for a Trendier, Understated Character Look
Gnome is the character pick for anyone who wants the holiday reference without the holiday costume feeling. It is the most visually restrained of the three, which is exactly why it is trending harder than the other two right now.
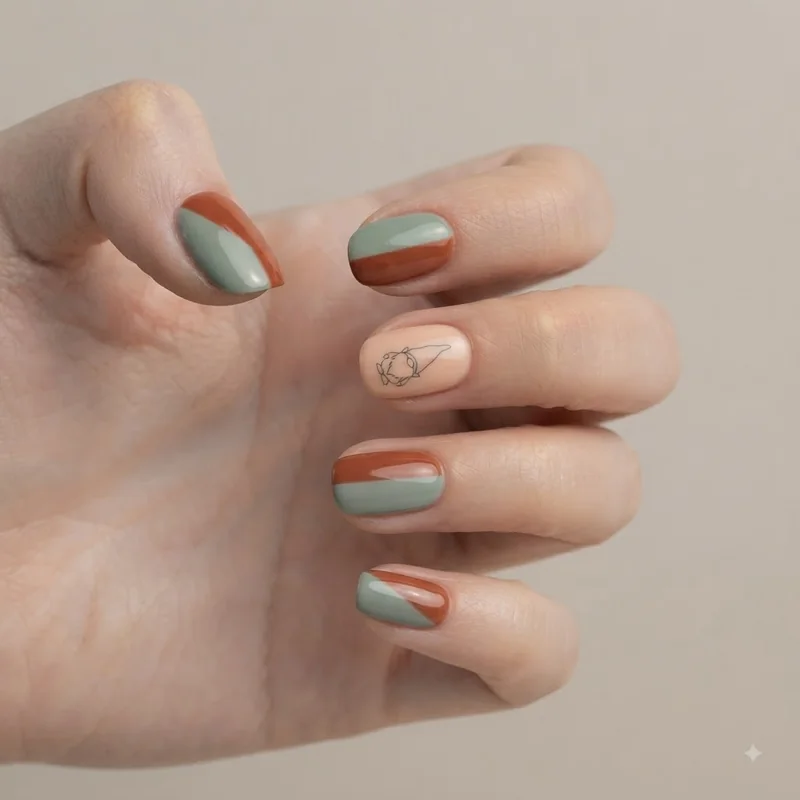
Gnome silhouette nail art is a technique where the gnome's shape, typically a pointed hat over a round beard, is rendered as a single flat silhouette rather than a detailed, shaded illustration, most often using a stamping plate or negative-space painting instead of freehand work. Because it is one solid shape against a plain base, there is no shading, no facial detail, and no blending to get wrong. A stamping plate transfers the exact outline in seconds, or you can hand-paint it using a single loaded brush stroke for the hat and a rounder stroke for the beard.
The color palette is where gnome nails distinguish themselves from the other two characters. Instead of red and white, think sage green, cream, and a muted rust for the hat, sometimes with a single metallic gold star accent. That quieter palette is exactly what makes gnome the design that photographs as "trendy" rather than "themed," and it is the piece of the set most likely to get asked about off the nail app entirely.
One gnome accent nail against nine solid-color nails is a complete, wearable look on its own, no other character required. Full technique detail, including the negative-space version for anyone who wants to skip painting the beard shape entirely, is in the gnome nail art tutorial.
How to Mix Gingerbread, Santa, and Gnome on One Set
Yes, gnome and santa nails can be combined on one set, and gingerbread pairs into the same hand just as easily. The technique that makes it work is treating each character as a separate finger, not a separate style layered onto every nail at once.
The cleanest split is one character per finger, repeated with a plain accent color filling in the remaining nails. A common version: gingerbread on the thumb and pinky, santa hat french tip on the index and ring, gnome silhouette as the standout middle-finger accent, with the rest of both hands in a single solid shade that ties the palette together, cream, sage, or soft red depending on which two characters you leaned toward.
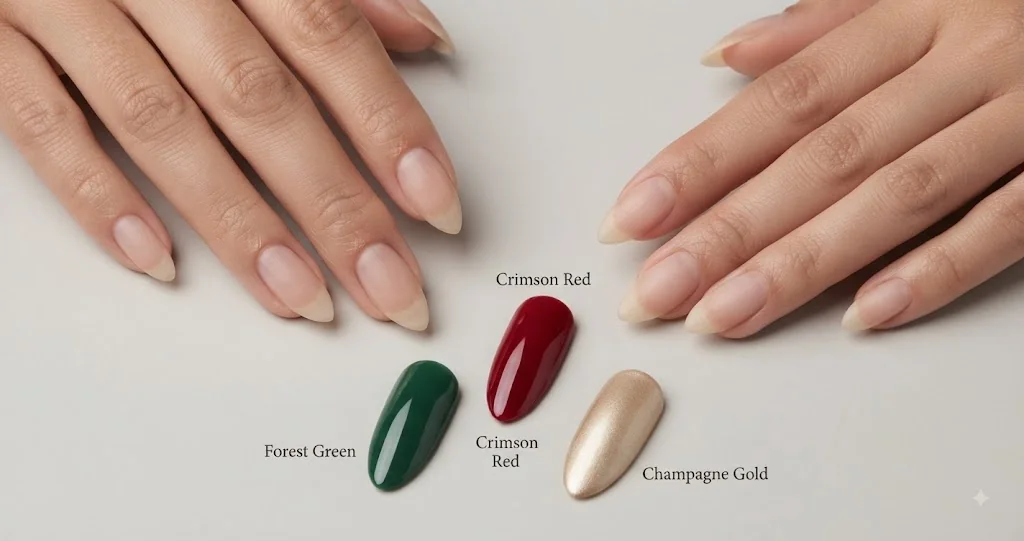
What keeps this from looking cluttered is picking one unifying color across all three characters instead of three unrelated palettes competing for attention. If gingerbread brings warm brown, let santa's belt buckle pick up the same gold tone, and let gnome's hat echo the rust instead of a clashing green. The characters change; the palette holds the set together.
Skip combining all three characters onto a single nail. That is the version that reads busy. Spreading them across the hand, one motif per finger, is what makes gingerbread santa gnome nails work as a cohesive manicure instead of a crowded one, and it is the version worth photographing at the end.