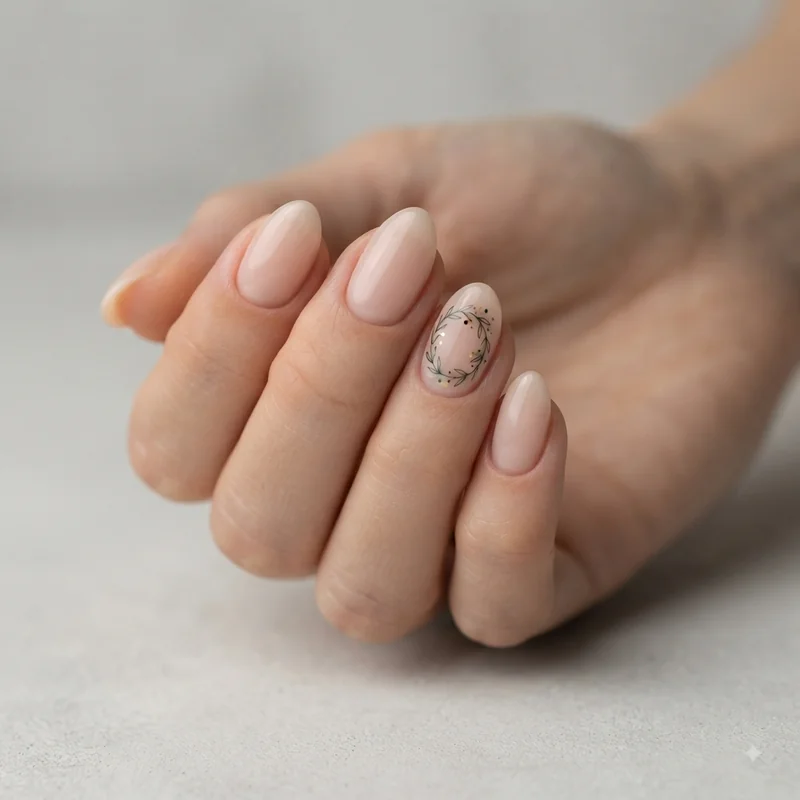
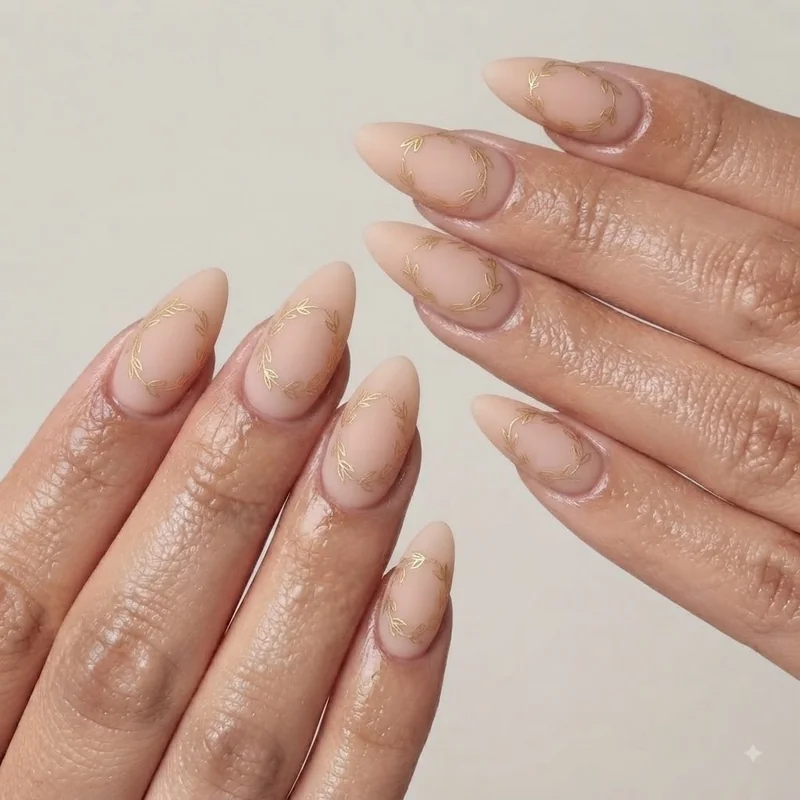
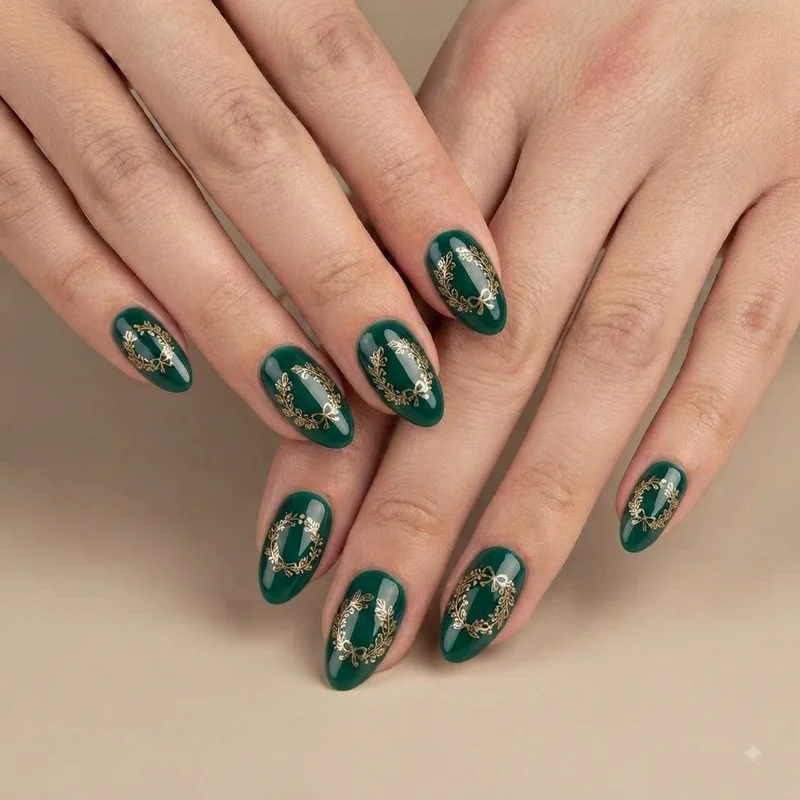
Christmas wreath nail art is everywhere in holiday roundups right now, and almost none of it is done right. It shows up as one photo buried in a list of fifty other ideas, or it's presented as easy DIY inspiration with zero explanation of how the greenery is actually painted. Competitors show the wreath. They never explain the wreath. This guide fixes both halves of that problem: the real christmas wreath nail art technique nobody bothers to walk through, plus a genuinely wide range of ways to wear it this season. If you've already decided a wreath is your motif, you're in the right place. No trees, no Santas, no candy canes here, just the one design done properly.
How to Actually Paint a Christmas Wreath on Your Nails
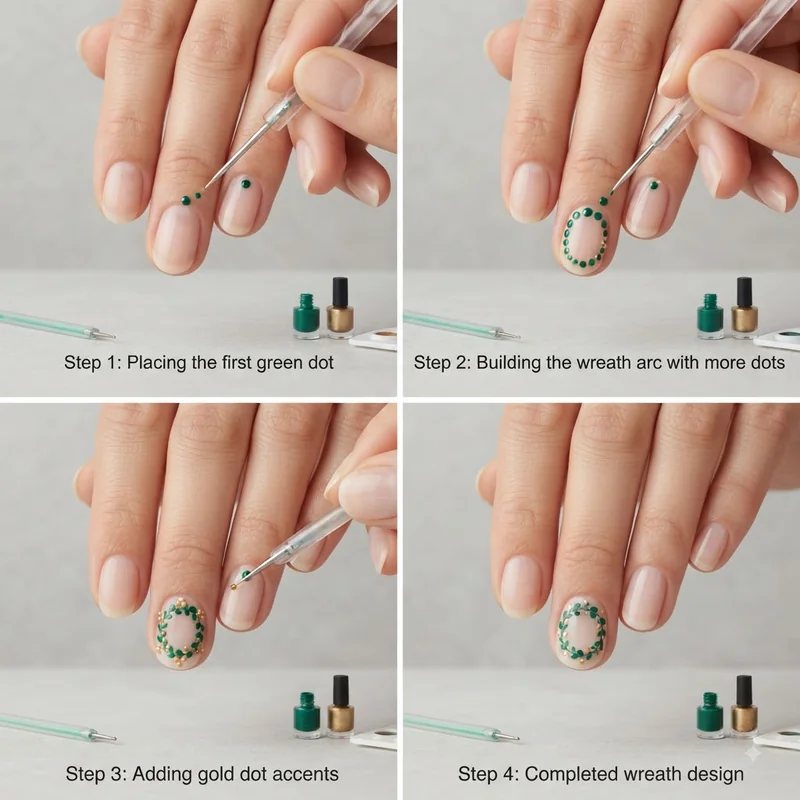
A wreath is painted using a dotting tool, not a brush. You load the tool with green polish, stamp a ring of small dots to form the wreath's outline, then layer a second shade or gold accents on top for depth. The whole thing takes ten to fifteen minutes per hand once you've practiced the motion once or twice.
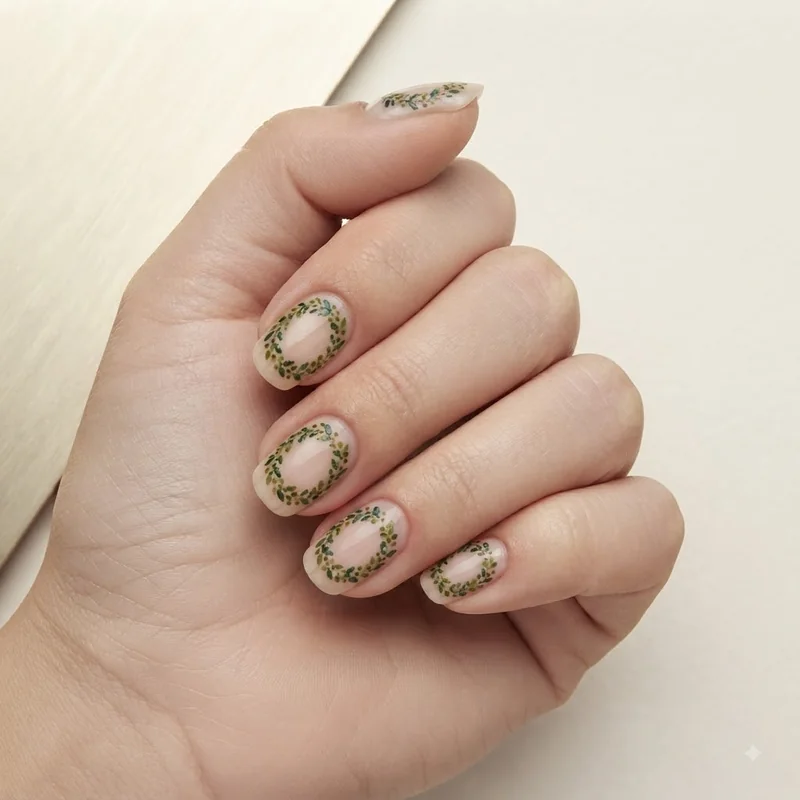
Start with your base color fully dry, ideally a neutral like nude, white, or soft blush so the green has contrast to sit against. Load a dotting tool with a small amount of deep or forest green polish and press it lightly against the nail in a loose circle, leaving gaps between dots rather than a solid line. A dotting tool is a small stylus with a rounded metal tip, used to stamp evenly sized circles of polish onto the nail, and it's what gives the wreath's boughs their soft, textured look instead of a flat painted ring. Nine to twelve dots per wreath is typical, depending on nail size. Once that layer sets, go back with a slightly lighter or olive green and add a second, sparser ring of dots overlapping the first for dimension, the same layering trick that makes real wreaths look full instead of flat.
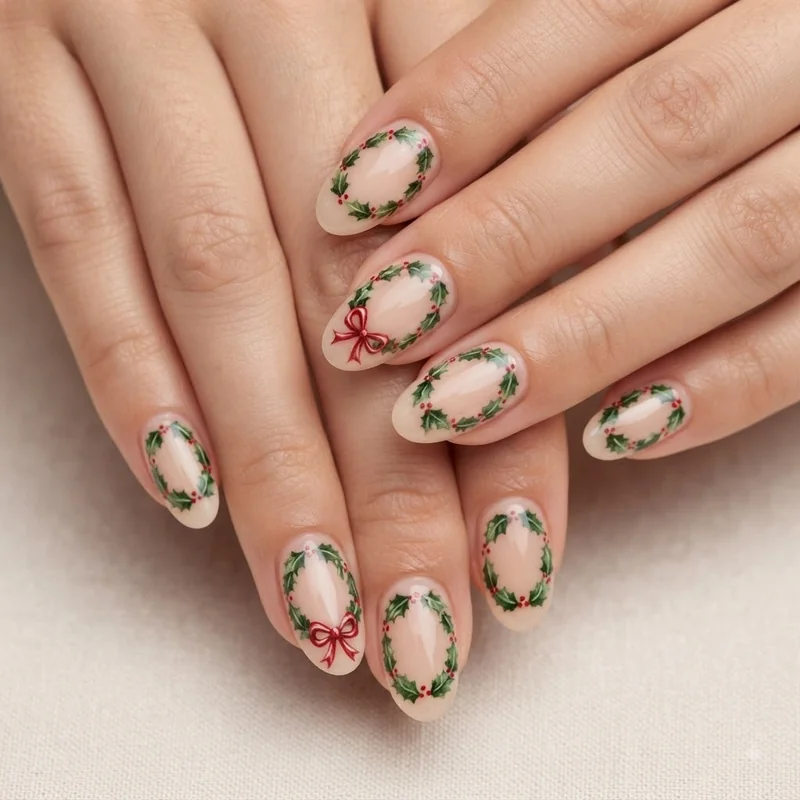
Finish with the smallest possible dots of gold or red at the base of the ring to suggest a bow or berries, then seal everything under a glossy top coat. You genuinely do not need salon-level hand skills for this. Christmas wreath nail art is one of the more forgiving holiday designs precisely because the dotting method hides small inconsistencies the way a freehand painted wreath never would, and it works equally well with regular polish or gel, so long as you cure each gel layer before adding the next.
Accent Nail or All Ten? How to Wear Wreath Nail Art
A single wreath accent nail is the lower-commitment, more editorial choice, while a full set of ten reads as more maximalist and immersive. Neither is more correct. The decision comes down to how much repetition you want to manage and how bold you want the final look to read.
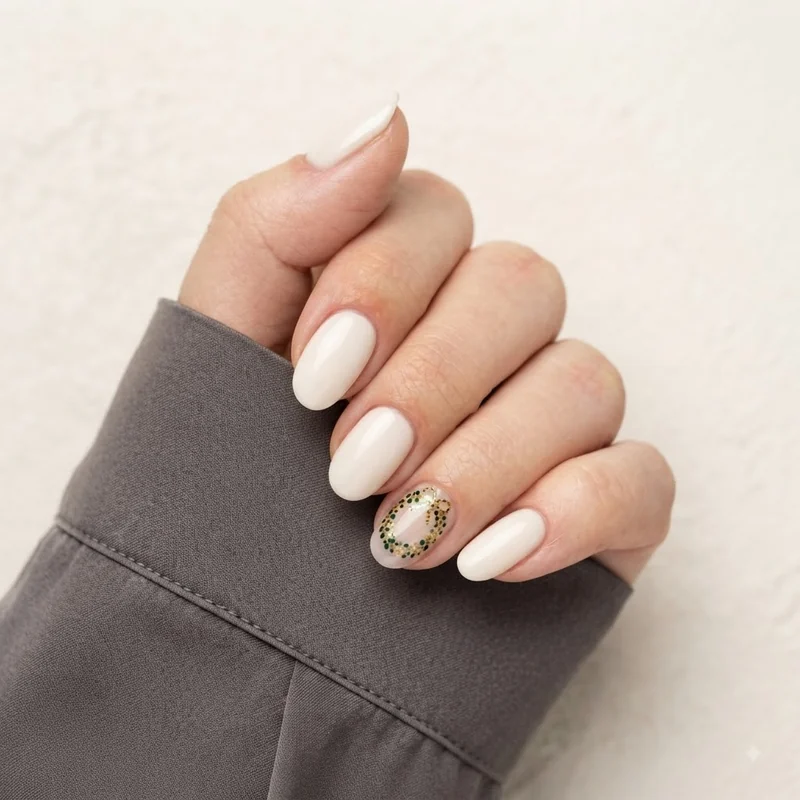
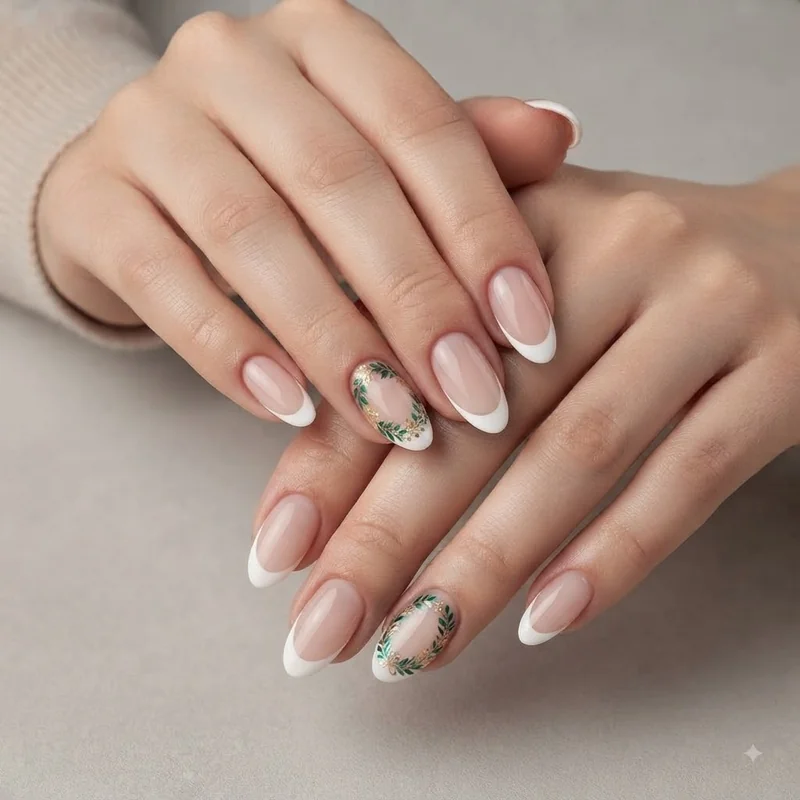
An accent nail is the one nail in a manicure styled differently from the rest, usually the ring finger, used to introduce a focal design without covering every nail in the same detail. Choosing the accent-only route means you paint one wreath, well, and keep the remaining nine nails in a clean, complementary solid or a simple French tip. It's the easier entry point for a first attempt, since one dotted ring is far less room for the design to drift off-center than ten separate attempts at consistency.
Going all ten nails is the move if you want the full immersive effect, the kind of manicure that reads as a complete look rather than a single detail. It takes longer and asks for more patience with matching dot size across every nail, but the payoff is a hand that looks fully committed to the season rather than accented by it. If you're newer to nail art or working with limited time, start with the accent nail. If wreath is genuinely your favorite motif of the season, the full set delivers more of what you came here for.