If you have already decided your hands "aren't steady enough" for DIY Halloween nails at home, that fear is exactly what this guide was written to dismantle. Salon training is not required. Neither is a drawer full of specialist brushes or a background in art. Two nail polish colours, a base coat, and about twenty minutes is the entire promise of DIY Halloween nails at home done properly, with no salon skills assumed anywhere in the process. Every design below was selected because it forgives shaky hands, uneven pressure, and a first attempt that does not look like the photo. Wasted polish and wasted time are the real fear here, not lack of talent, and neither happens when you know exactly what to buy and exactly where to start.
If you want more design inspiration once you've built confidence with these, our full Halloween nail designs collection has the fuller range, including looks that ask more of a steady hand. But start here first.
What You Need for DIY Halloween Nails at Home
A supply list is not a chore standing between you and the fun part. It is the thing that stops you from being three nails deep into a design before realising you don't own a top coat. Get this together first, and every design below becomes a five-minute decision instead of a scramble.
How do you do Halloween nails at home without any special tools? You need six things: a base coat, two polish colours (black and one accent shade), a thin detail brush or striping brush, a dotting tool, and a fast-drying top coat. Nothing on this list costs more than a few pounds, and most of it is reusable well past Halloween.
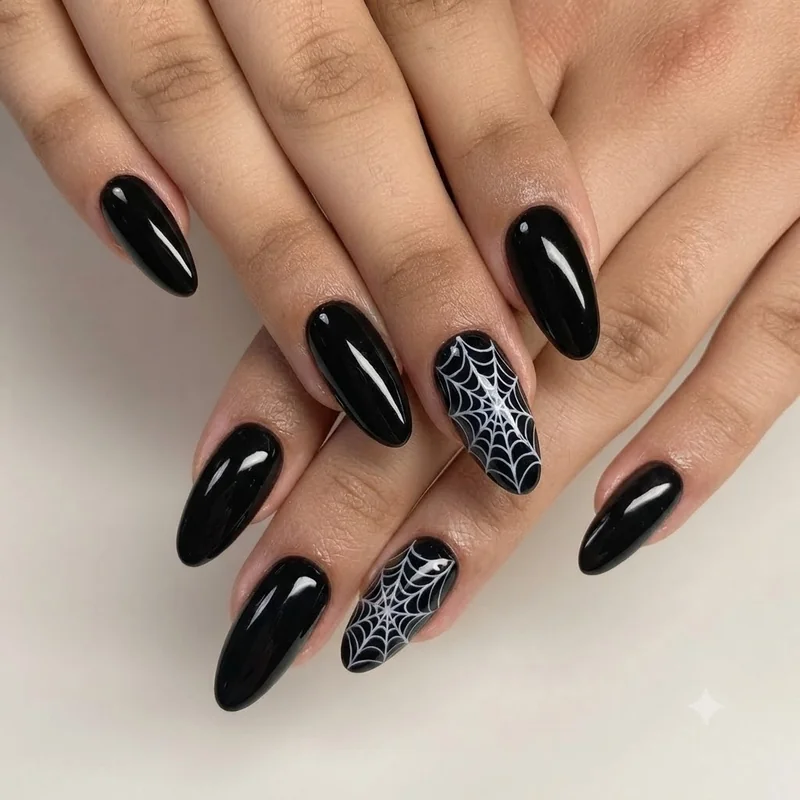
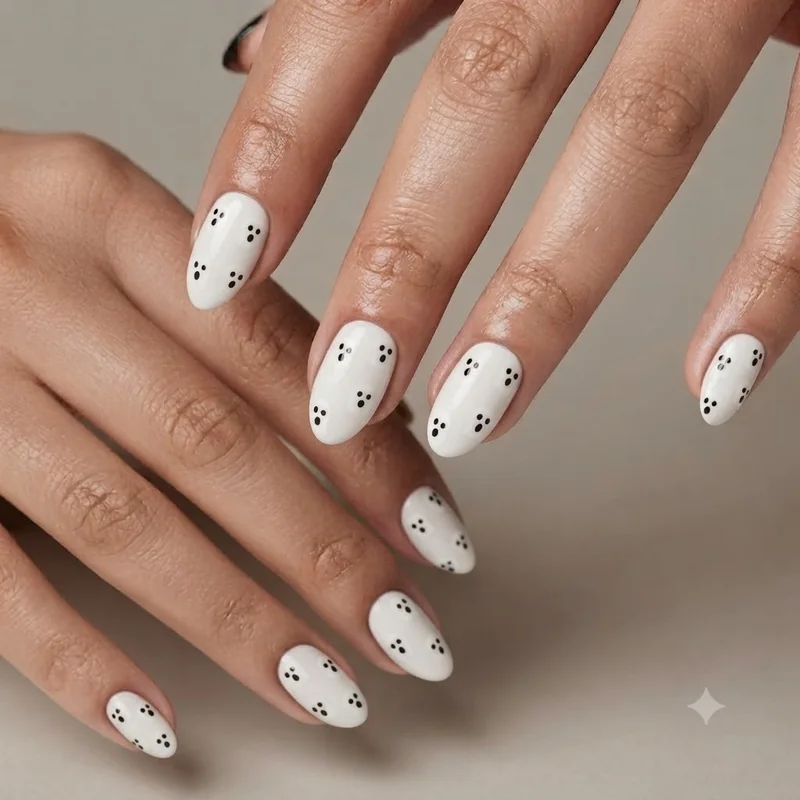
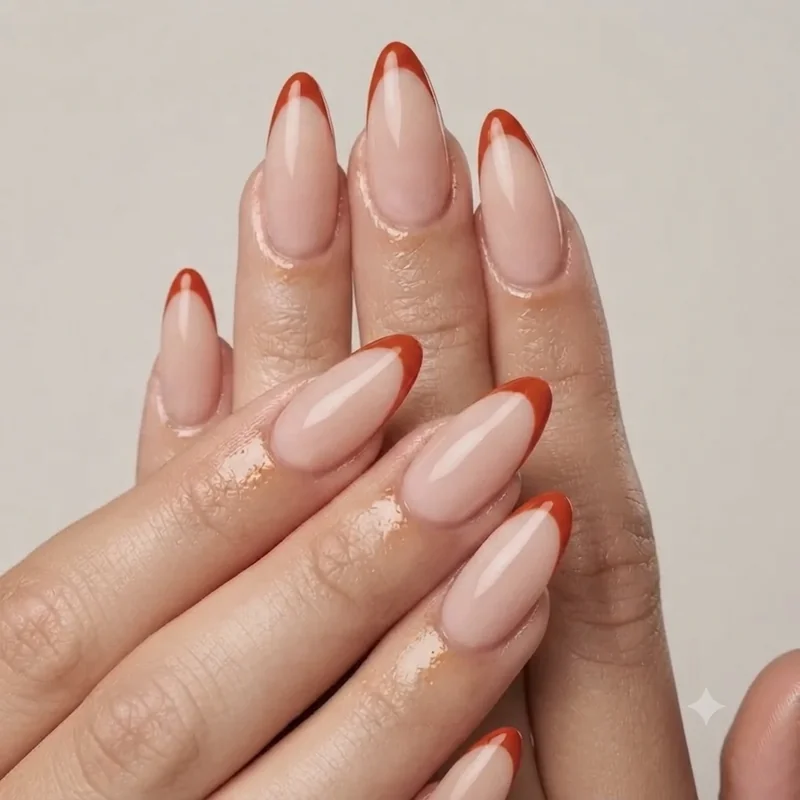
The base coat matters more than any of the designs themselves. It creates a barrier between pigment and nail, which is the entire reason dark polish stains some people's nails and not others. A dotting tool handles ghost eyes and small dots. A striping brush, or a cheap eyeliner brush from a pound shop, handles the thin lines in webs and French tips. If you genuinely own none of this yet, before painting anything, spend two minutes on how to prep your nails properly before any at-home gel look, since prep habits carry across every manicure style, not just this one.
Buy the accent colour based on which design pulls you first, not every shade "just in case." One black, one accent, one base, one top coat. That's the whole list.
Classic Black Halloween Nails (The Easiest Place to Start)
Picture the fastest possible route to a finished Halloween manicure: black polish, two coats, done. No line work, no small shapes, nothing that depends on a steady hand at all. This is where every beginner should start, not because it is boring, but because it proves the process works before anything harder gets attempted.
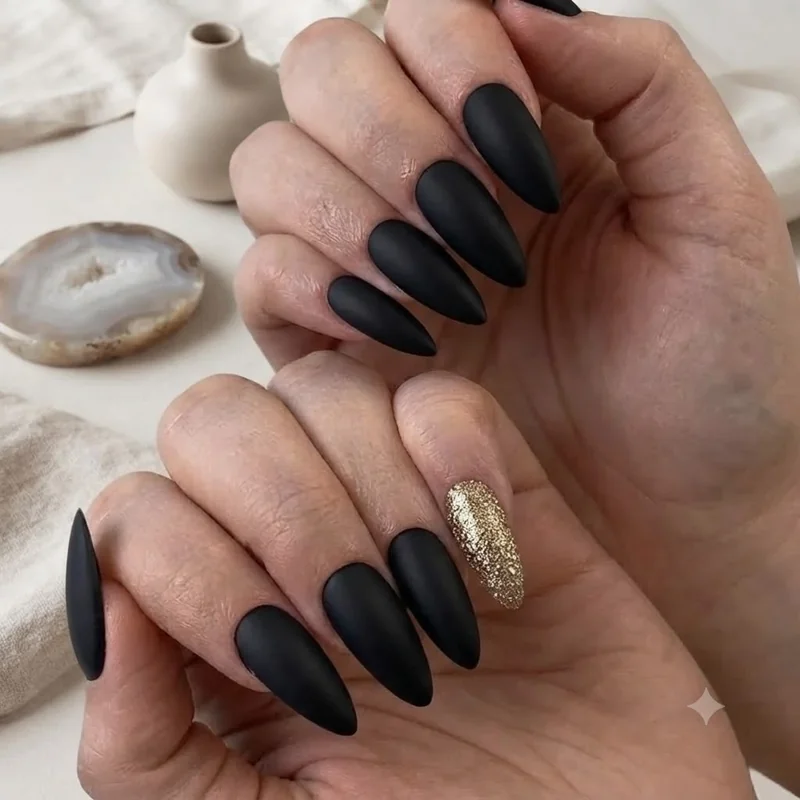
What's the easiest Halloween nail design to try first? Solid black nails with a single glitter or gold accent nail. Two coats of black polish on nine nails, one glitter or metallic coat on the tenth, sealed with top coat. There is no freehand element at all, which makes it the lowest-risk design in this entire guide.
Base coat first, always, since black is the shade most likely to stain unprotected nail. Two thin coats of black, waiting a full two minutes between them, gives full opacity without the streaking that comes from one thick coat. On the accent nail, swap the second black coat for a chunky glitter or gold polish instead. Seal everything with a fast-dry top coat and you are finished in under fifteen minutes.
If the coverage looks patchy under lamp light, that's a thin-coat problem, not a skill problem. A thin third coat fixes it every time. Once this feels comfortable, the horror movie Halloween nail designs collection is the natural next step for anyone who wants more advanced, scarier looks.