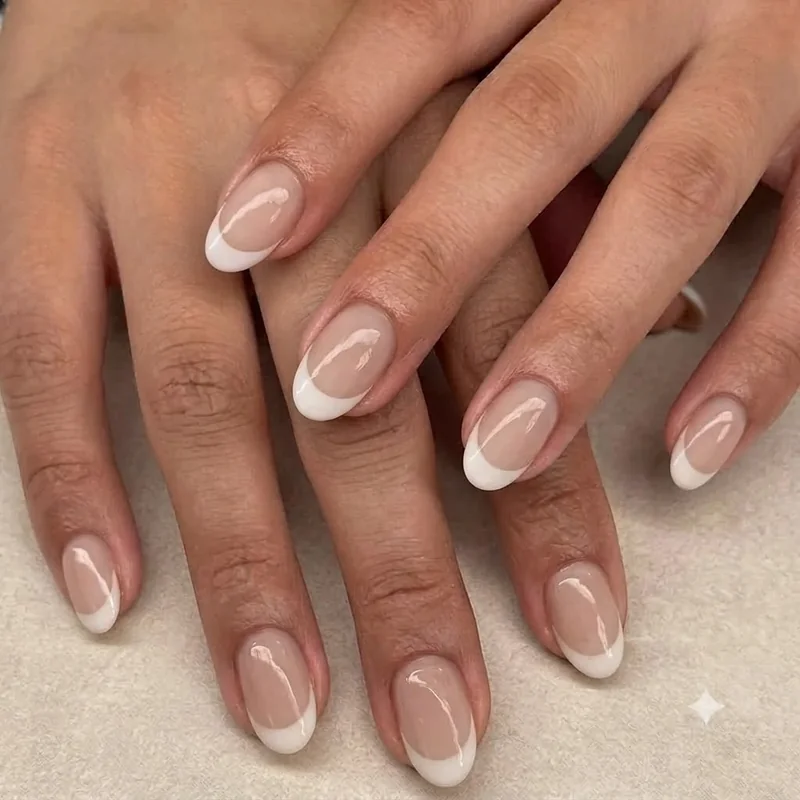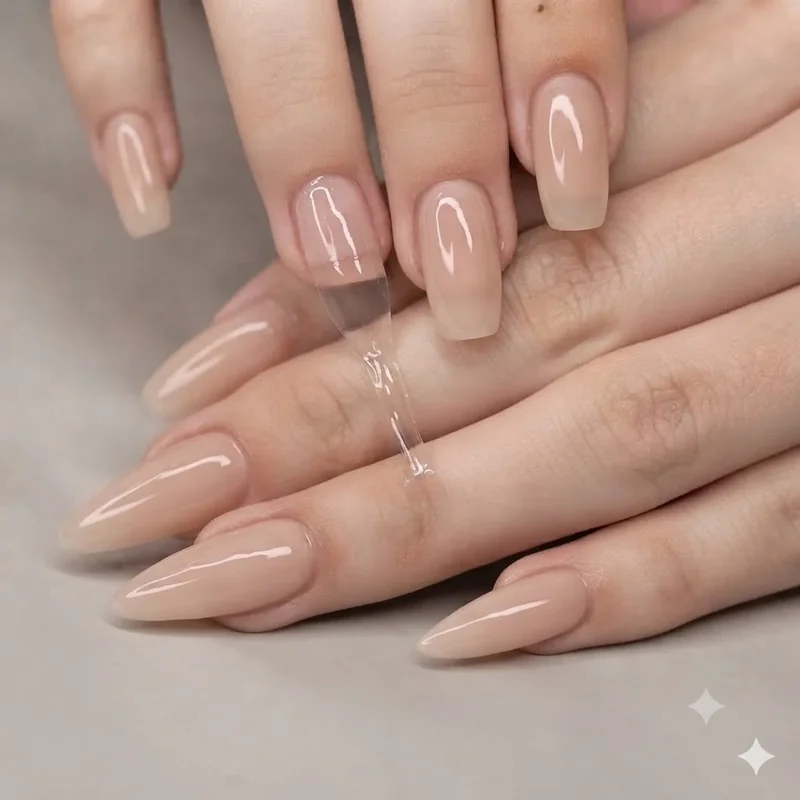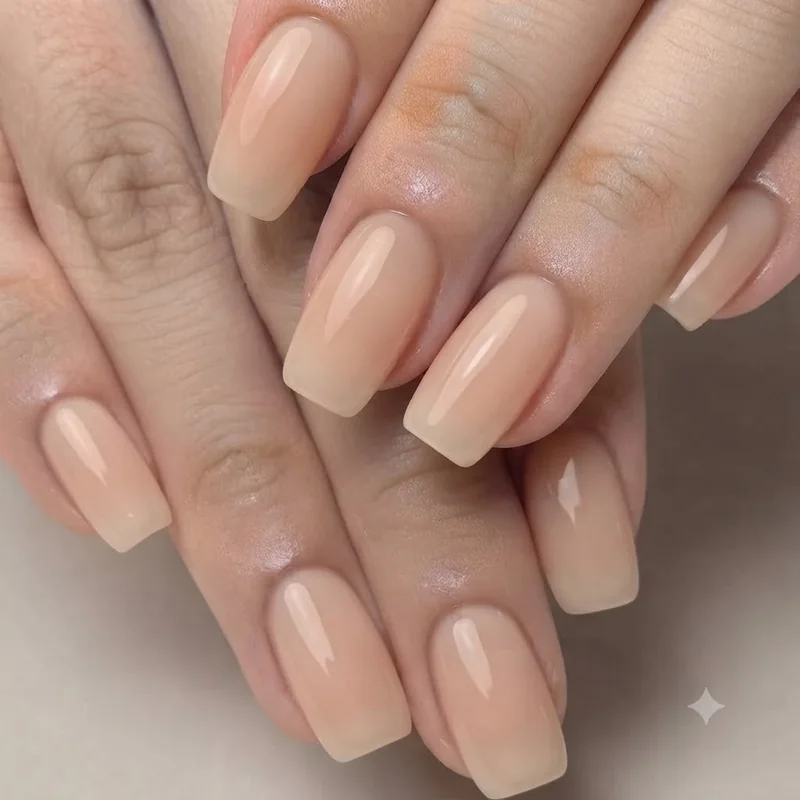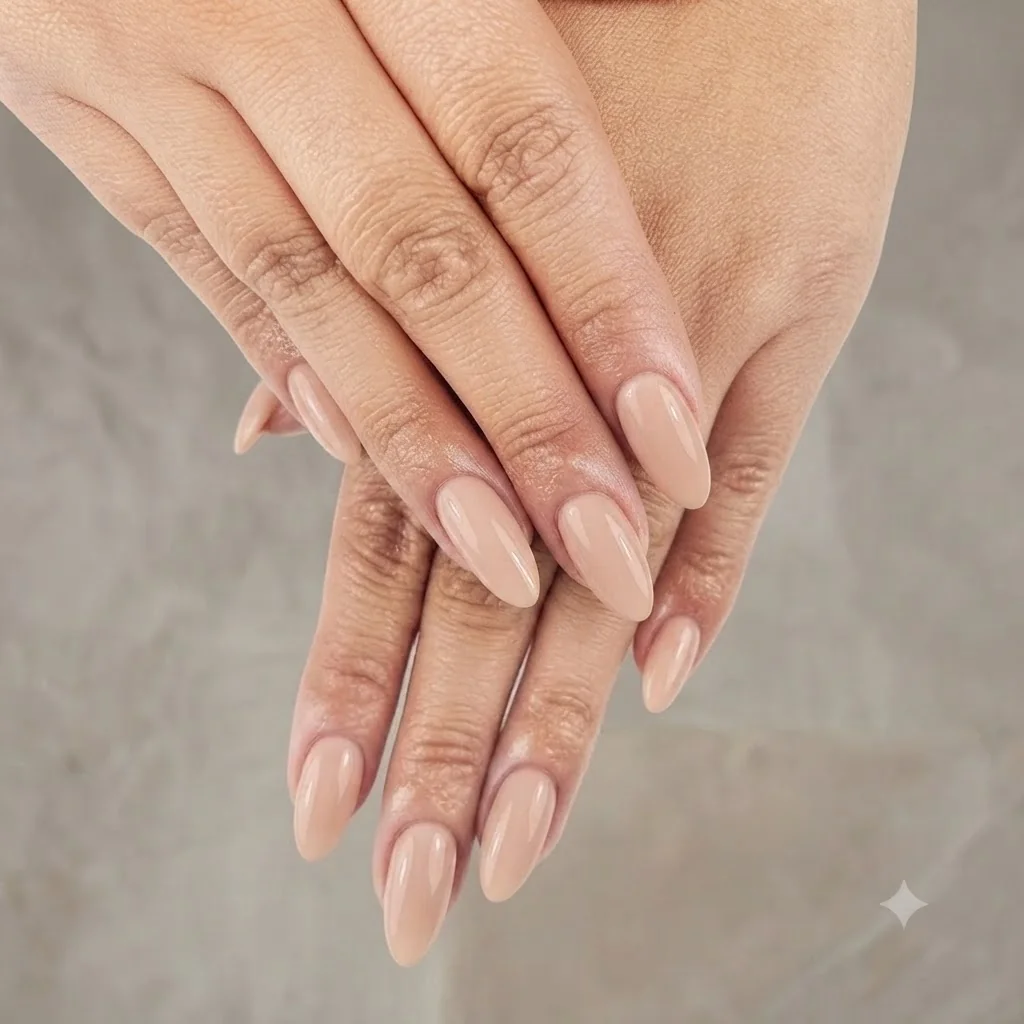
How to do acrylic nails at home comes down to one honest truth: first attempts rarely fail from clumsy hands. They fail because a single step got rushed, usually prep or drying time, and nobody explained why it mattered. Learn the full order of operations and what "normal" looks like at each stage, and a complete set stops feeling intimidating. This guide covers how to do acrylic nails at home in exact sequence, tools included, plus fixes for the three problems that trip up nearly every beginner. Nothing here assumes salon-level bead control. It assumes today or this week, and getting it right without a professional watching over your shoulder.
For the wider category, the acrylic nails complete guide covers ideas and maintenance beyond this walkthrough. This post narrows in on one thing: getting your first set on, correctly, from a standing start.
What Do You Need to Do Acrylic Nails at Home?
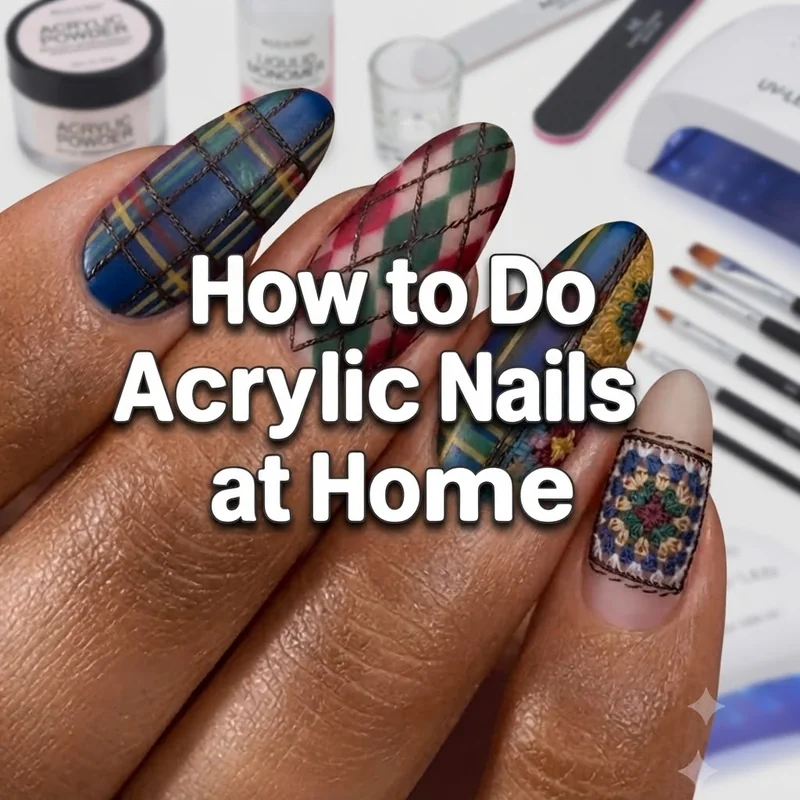
You need six things: liquid monomer, acrylic powder, a brush, primer, nail tips or forms, and a file with a buffer block. Nothing beyond those six is strictly necessary for how to do acrylic nails at home as a first attempt.
Liquid monomer is the acrylic liquid that combines with polymer powder to form the workable bead you sculpt onto the nail. Monomer comes in two types, and the difference is not cosmetic. EMA monomer is the professional-standard formula, flexible and safer for repeated use. MMA monomer is a harder, industrial-grade liquid linked to nail damage and brittleness, and it has no place in a beginner kit. Read the label before buying.
Your dappen dish holds the monomer while you dip. A kolinsky-style brush picks up liquid first, powder second, to form the bead. Primer goes on bare, dehydrated nail before anything else touches it, and it is the most skipped step among first-timers who end up with lifting days later. The buffer block removes shine so primer and acrylic actually grip.
You do not need a UV lamp for any of this. Acrylic hardens through its own chemical reaction, not light. What you do need, more than any product, is patience with the drying window. Rushing it is where bubbling and lifting actually start.
Nail Tips or Forms: Which Should Beginners Choose?
This is a decision, not a hierarchy. Tips are pre-shaped extensions glued to the free edge, giving beginners an instant structure to sculpt over. Forms are adhesive guides under the free edge, and the entire extension is built from acrylic alone, freehand.
Tips isolate the acrylic application as the one new skill you are learning. Forms ask you to learn sculpting and shaping at the same time, which doubles what can go slightly wrong on your first nail. Neither method is objectively better. The right choice depends on where your hands are right now, not on which one looks more advanced.
If the goal is a clean, wearable set today, tips are the faster, more forgiving route. If sculpted length with no visible tip line matters more, forms are worth the extra learning curve, just expect a first attempt to take longer and look less refined than a fifth one would. Most people move from tips to forms once bead behaviour feels familiar, not the other way round, which is exactly why this order matters when you are still working out how to do acrylic nails at home for the first time.