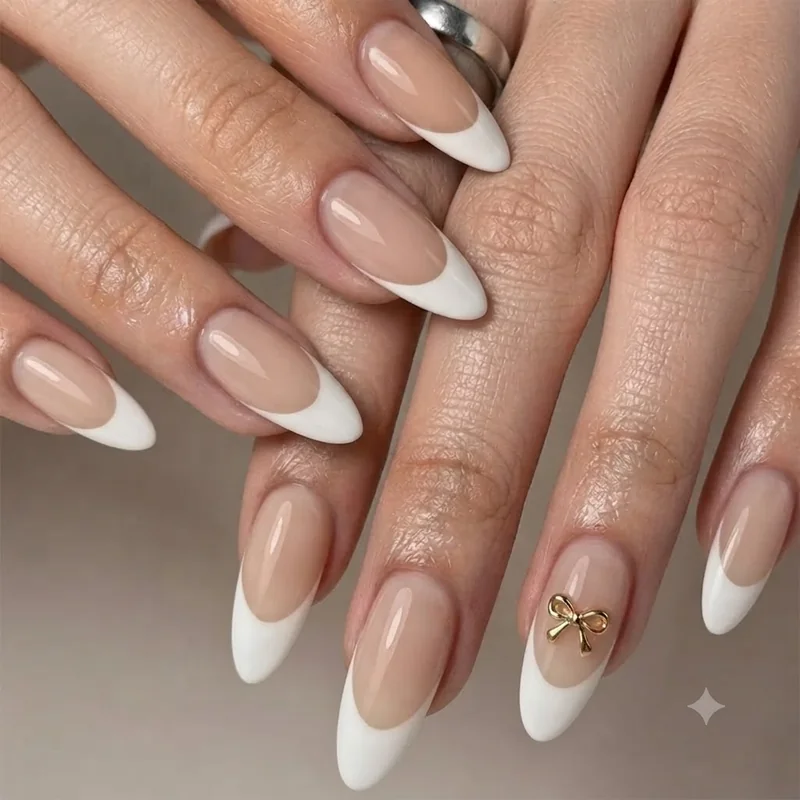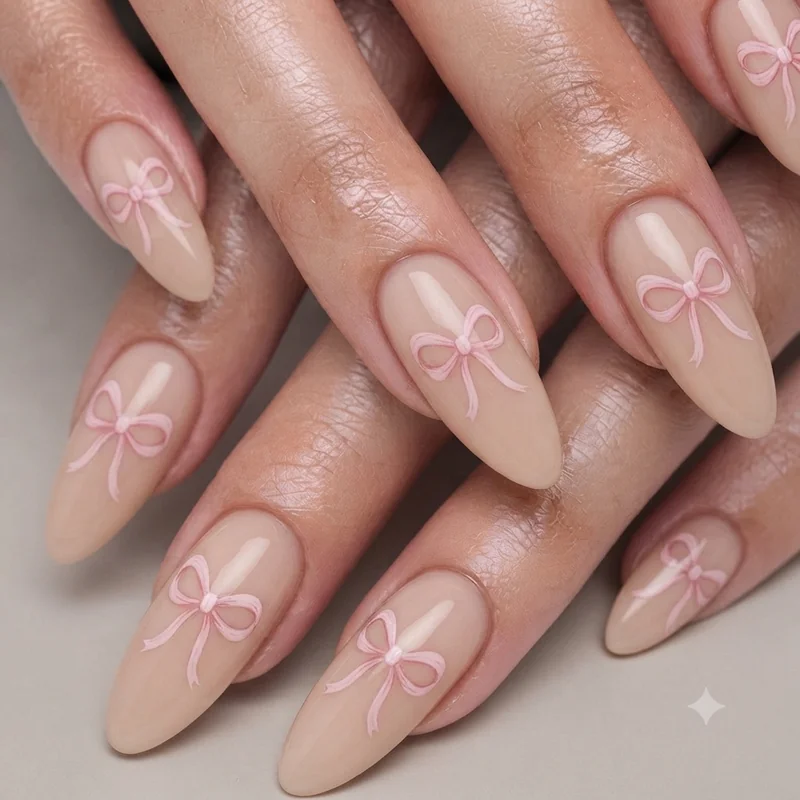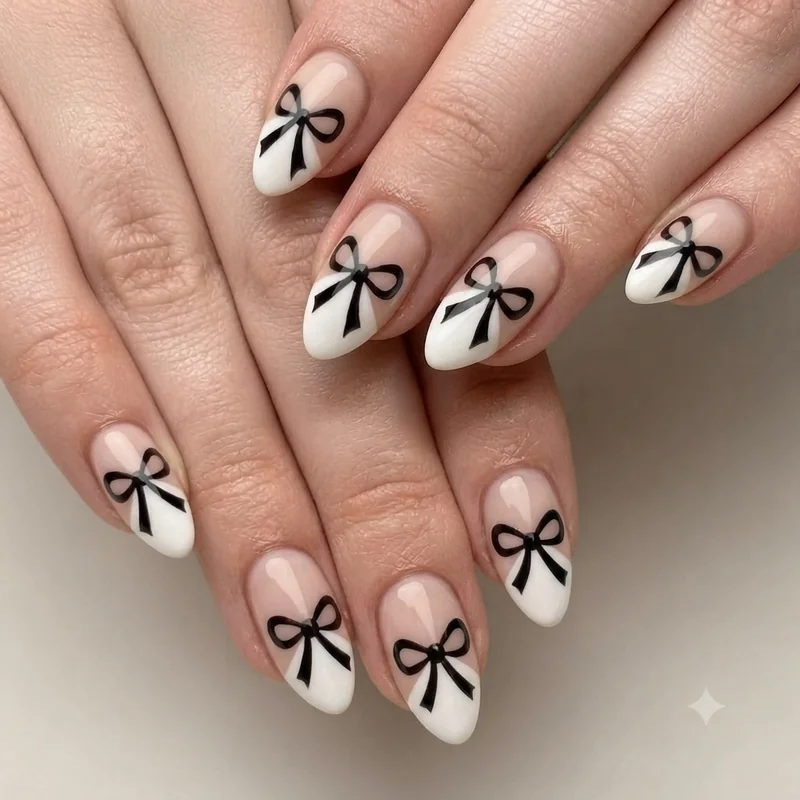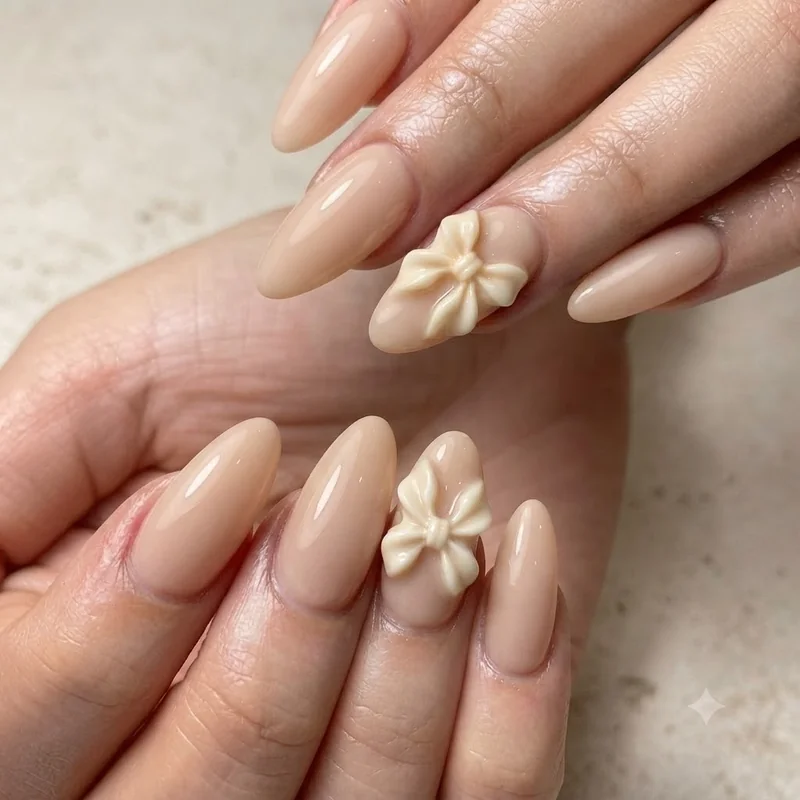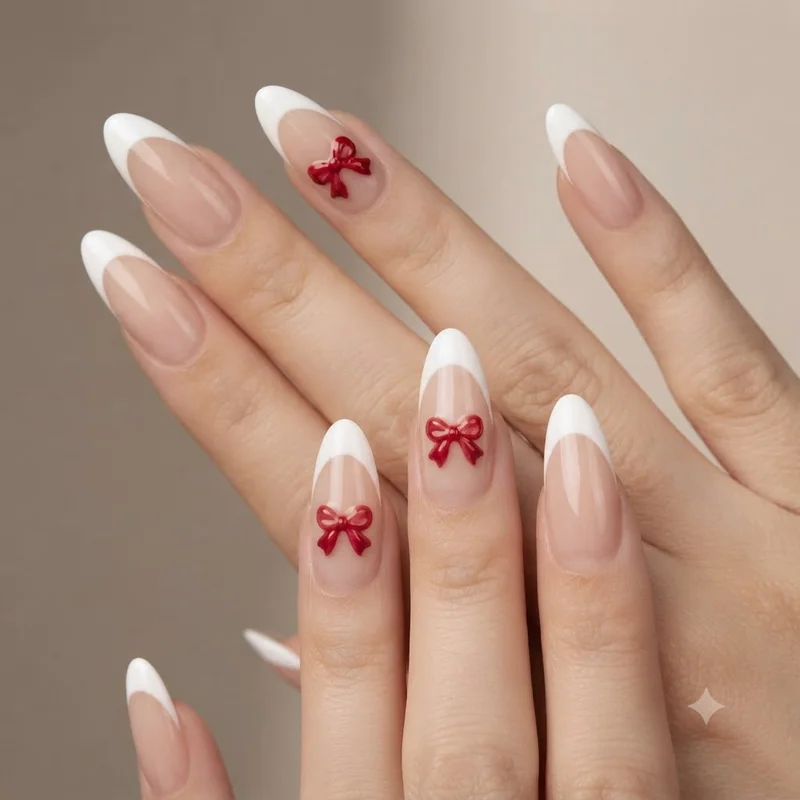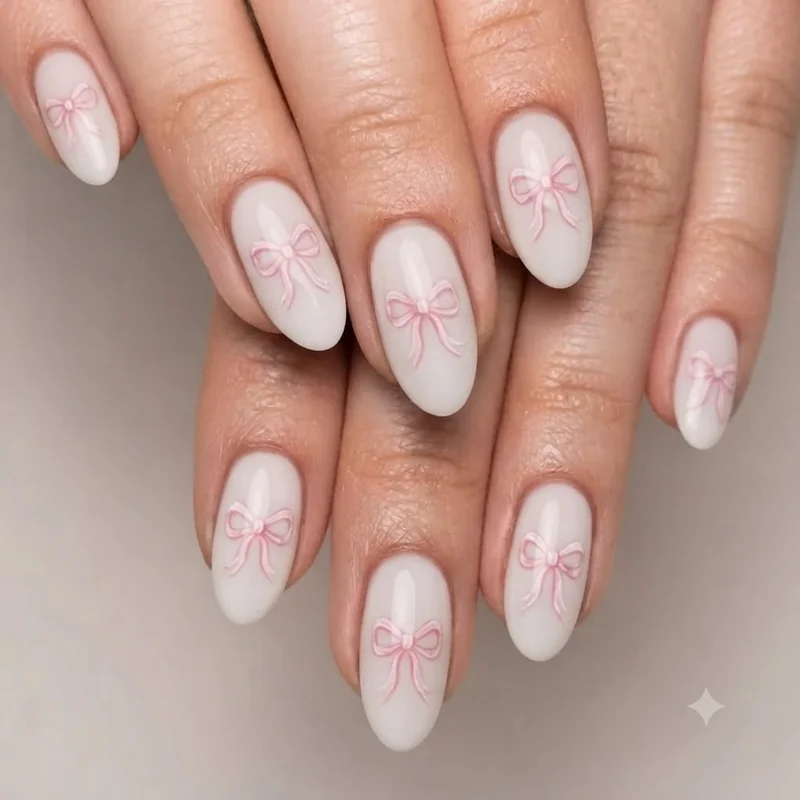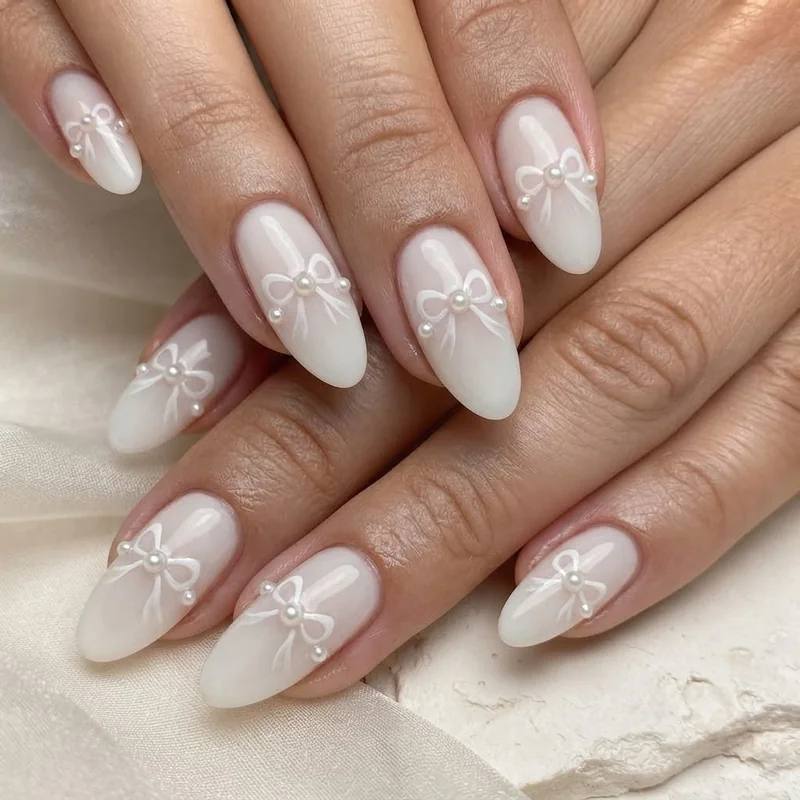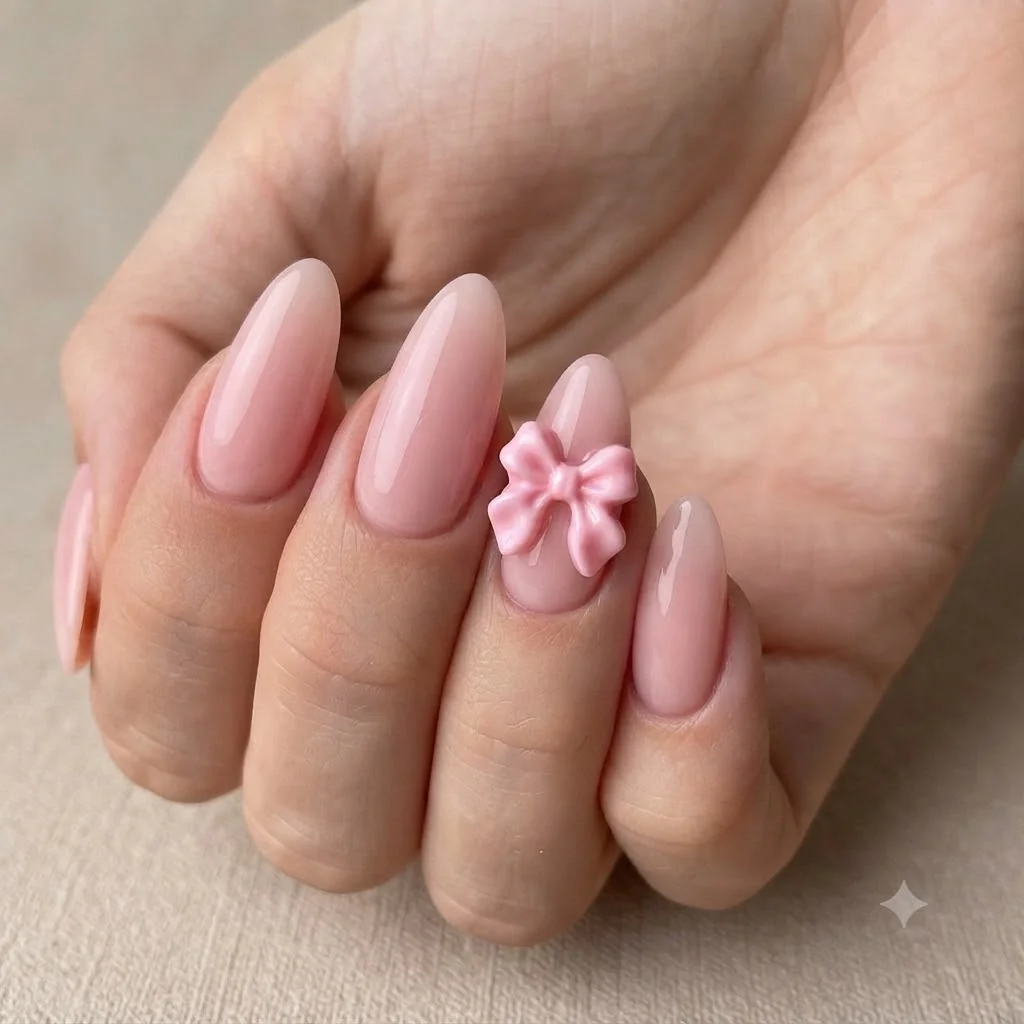
Bow nails are still one of the defining feminine nail motifs of 2026, and pretending otherwise would be dishonest. The bow itself has cooled slightly as a maximalist statement (interior design and some trend forecasters are already calling it a fading novelty symbol elsewhere), but on nails specifically, it has settled into something more useful: a reliable accent detail rather than a full-look gimmick. That is the actual reason it has lasted this long. You have almost certainly seen a photo of bow nails that looked flawless, and you have almost certainly wondered whether that same bow would survive a shower, a gym bag, or three days of typing. It is a fair question. Bows lift and charms ping off far more often than any other accent nail detail, and most of that comes down to adhesive sequencing and sealing, not the design being inherently fragile. This post solves both problems at once: which bow nail designs actually suit your skill level, shape, and colouring, and exactly how to make one stay put.
You are not choosing between "cute" and "grown-up" here either. A bow does not have to read as childish. Placement, scale, and base colour do more work than the motif itself, and a single well-placed bow on a milky nude reads as intentional, not novelty. Good bow nails look deliberate, never accidental.
What Method of Bow Nail Art Is Right for You?
Which bow nail method should you choose? Stickers and pre-cut decals suit total beginners and last roughly a week under a sealed top coat. Hand-painted bows suit anyone comfortable with a liner brush and last as long as a normal manicure, ten to fourteen days. 3D acrylic or charm bows need either salon application or real practice at home, and last two to three weeks when adhered correctly.
The decision is not really about which looks best in a photo, because all three can look excellent. It is about how much control you have over a small brush, how long you want the manicure to last, and whether you are doing this yourself at your kitchen table or booking a chair. If your hands shake on a straight polish line, start with stickers. If you have painted a French tip cleanly before, hand-painted is within reach. If you already wear acrylics or gel extensions, 3D is worth the extra ten minutes. Every method here produces genuine bow nails, the difference is only in effort and lifespan.
Simple Bow Nail Designs for Beginners
"Simple" is not the beginner tier of this trend. It is the version most nail artists reach for when a client wants the look without the sitting time, which makes it the most requested category of bow nails, not the lesser one.
A pre-cut vinyl bow sticker on a nude or soft pink base is the fastest entry point: press it onto tacky polish, seal it under two coats of top coat, done in under fifteen minutes.
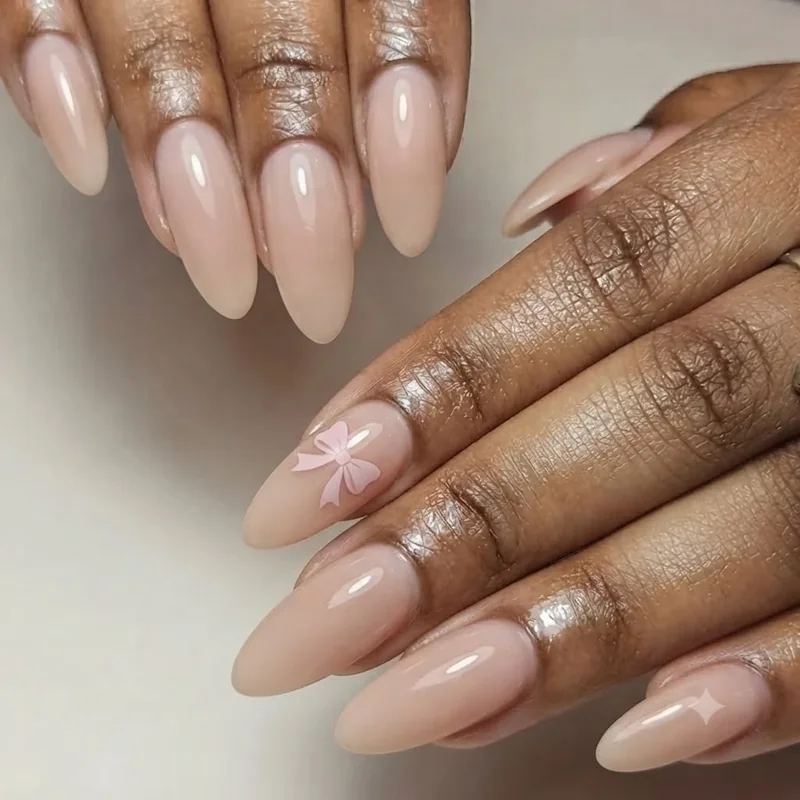
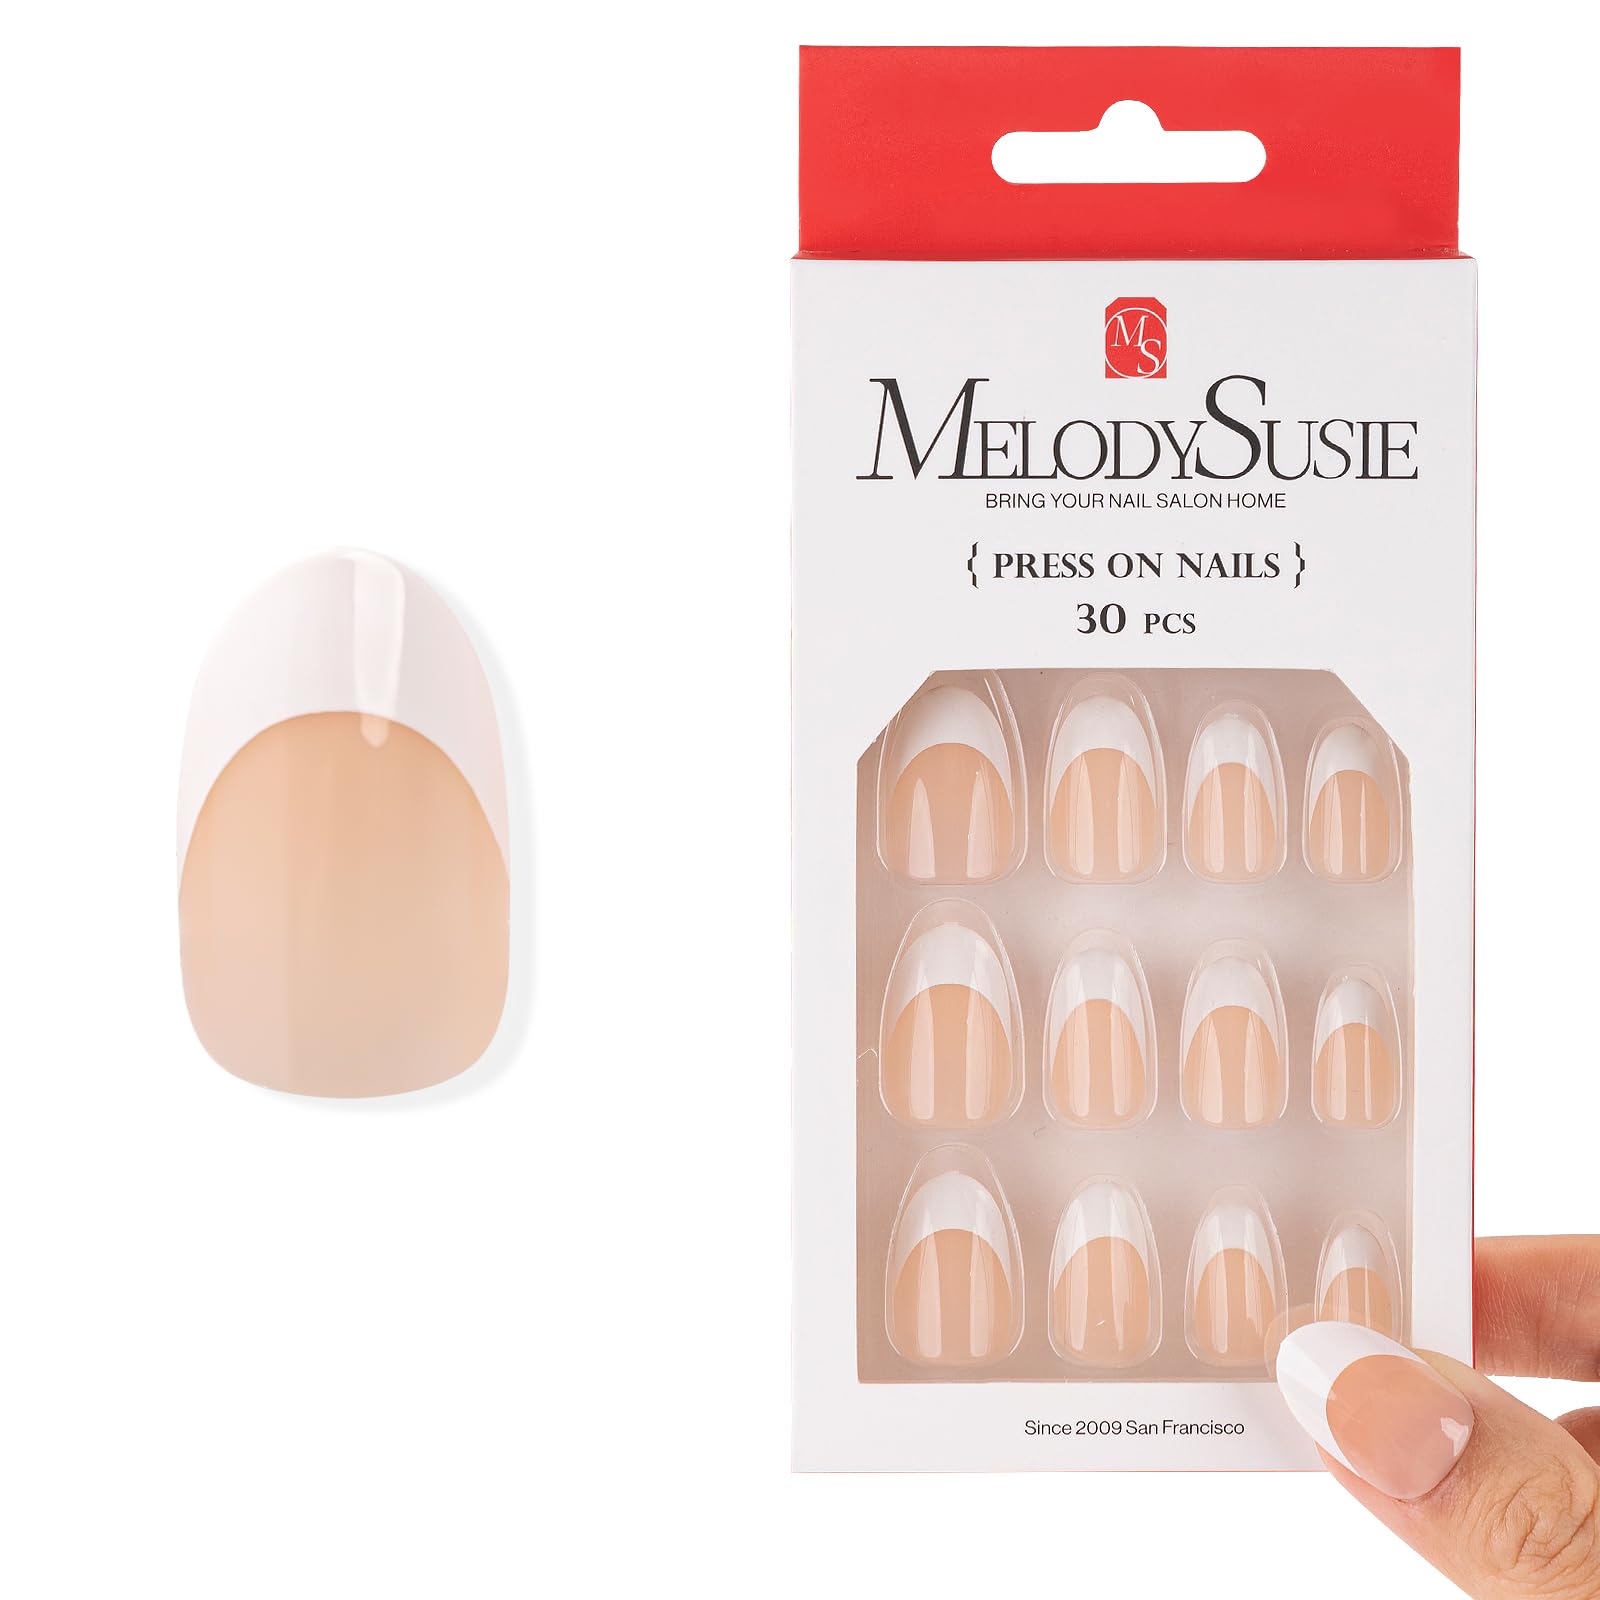
The other genuinely beginner-friendly option for bow nails is a bow charm centred on a classic French tip, which is exactly why how the coquette French tip with a bow accent has become a genuine salon staple makes sense once you try it. The tip does the polish work; the bow just sits on top of the white line, no freehand painting required. A single 3D pearl charm at the base of a negative space triangle also counts here, since the "art" is placement, not brushwork.