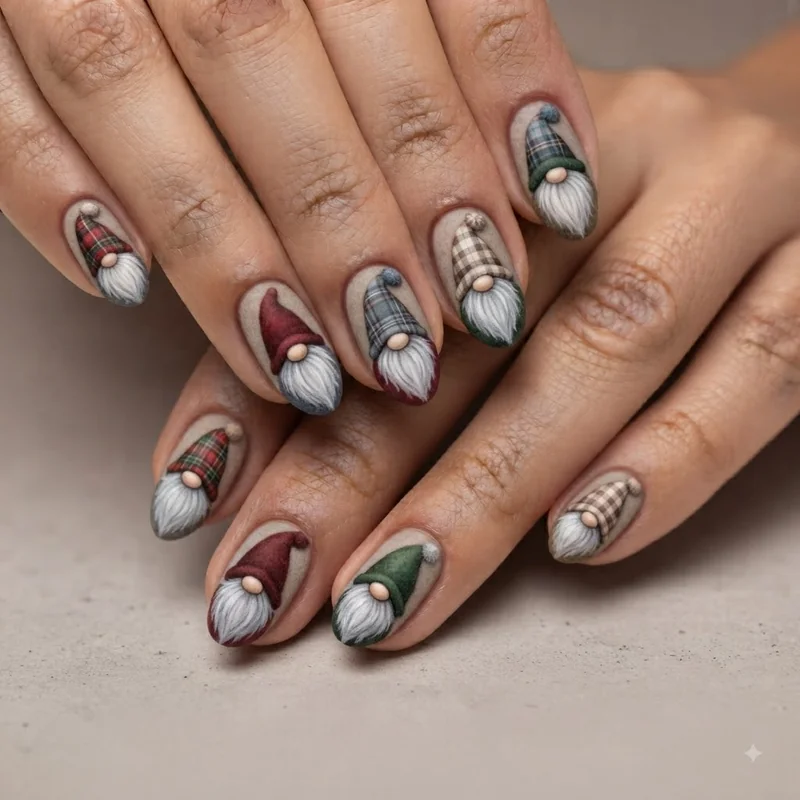
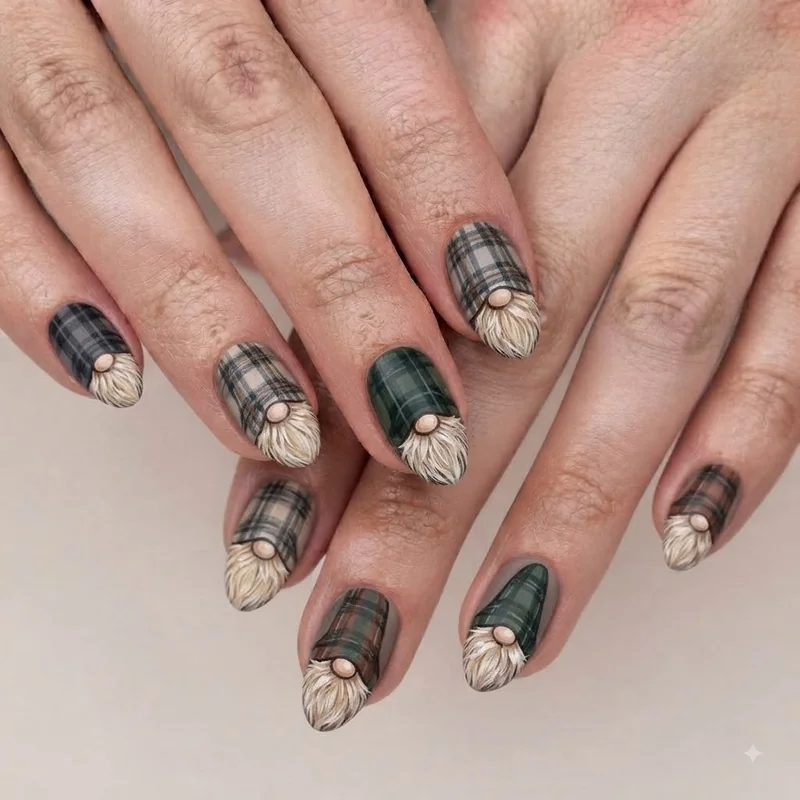
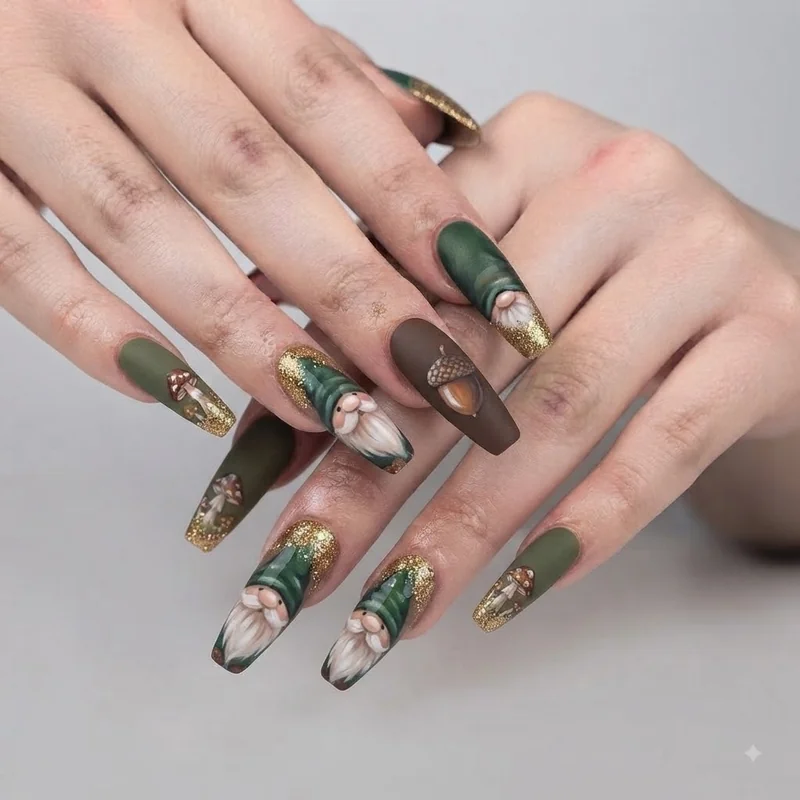
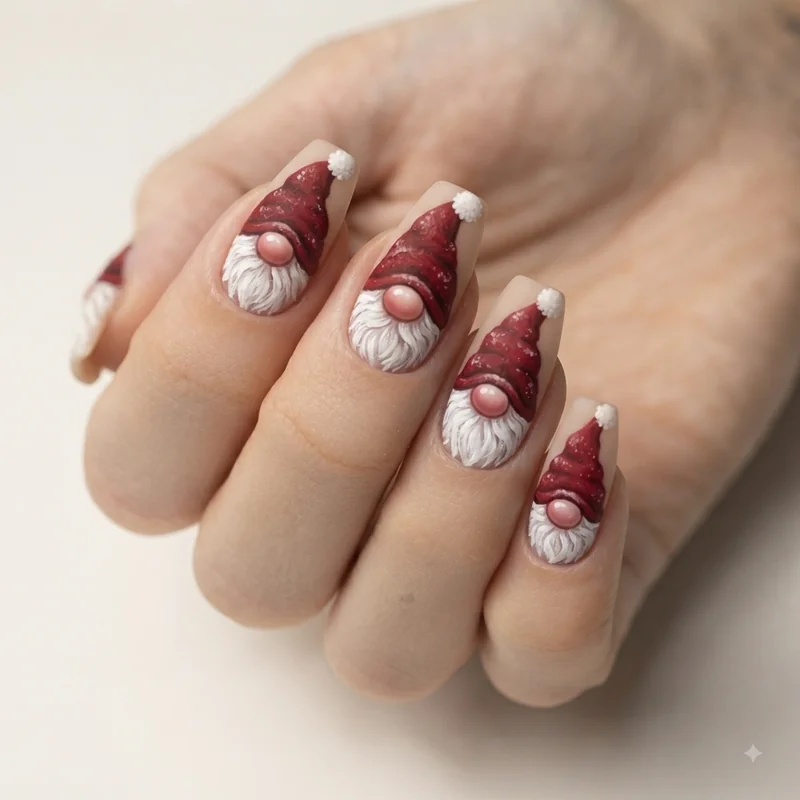
The Trick: Start With the Hat, Not the Whole Gnome
Most people assume gnome nail art has to be painted as one continuous image, hat and beard and face built together in a single pass. It doesn't, and trying to do it that way is exactly what makes the design feel impossible. Painted as three separate shapes, layered one at a time, the same design becomes almost forgiving.
Start with the hat triangle. It's the largest shape, it sets the proportions for everything underneath it, and it's the easiest to correct if it's off-center, since nothing else is painted yet. Once the hat is placed and dry, the beard oval goes directly beneath it, slightly wider than the hat's base. The nose comes last, a single dot centered where the beard meets the hat brim. Working in this order means every correction happens before the next layer locks it in. Gnome nail art tutorial content that skips straight to "paint the design" is skipping the one decision that actually determines whether it turns out even.
Step-by-Step: How to Paint a Gnome on Your Nails
Start with two coats of your base color (this becomes the gnome's skin tone, usually a nude or soft pink) and let it dry fully. A rushed base coat is the single most common reason later layers smudge or drag.
Step 1: Paint the hat. Using your detail brush, paint a triangle starting about a third of the way up the nail, point facing the tip. Keep the base of the triangle straight across, it reads as more intentional than a curved base.
Step 2: Add the hat brim. A thin curved line along the bottom edge of the triangle, in a slightly darker or contrasting shade, separates the hat from the face and instantly sharpens the shape.
Step 3: Paint the beard. Directly beneath the hat brim, paint an oval or rounded triangle in white or cream, wider than the hat's base. This is the shape most people rush, so take the extra few seconds here.
Step 4: Add beard texture. Using the tip of your detail brush, add short, slightly curved strokes across the beard rather than one flat block of color. This single step is what separates a beard from a plain white blob.
Step 5: Place the nose. One small dot, centered where the beard meets the hat brim, in a soft rose or red. This is where a dotting tool earns its place in your kit; it produces a rounder, more even dot than a brush tip does.
Step 6: Seal it. Once every layer is fully dry, apply one coat of top coat, matte or glossy depending on the finish you want.
Repeat the same order (hat, brim, beard, texture, nose, seal) across all ten nails, or just your accent nail, before moving on to any other layer.
Regular Polish vs. Gel Polish: Which Should You Use?
Yes, gnome nail art works with regular nail polish. The technique itself doesn't change, you just need to let each layer air-dry fully before adding the next one, since regular polish takes longer to set than gel does under a UV lamp.
Gel polish gives you a slight edge on precision because each layer cures in seconds rather than minutes, which means less risk of smudging a hat while painting the beard beneath it. But regular polish is entirely capable of the same result. Budget more drying time between steps, work on one hand while the other air-dries, and consider a quick-dry top coat between layers if you're impatient. Neither product changes the shapes you're painting, only how much waiting happens between them.
Common Gnome Nail Art Mistakes (and How to Fix Them)
Uneven gnome nail art almost always comes down to brush size or rushed proportions, not a shaky hand. The two most common culprits are using one all-purpose brush for both the hat and the fine beard detail, and moving to the next shape before the previous one has fully dried.
Lumpy or uneven beard. This usually means the detail brush was overloaded with polish. Wipe the brush against the bottle neck before each stroke so you're working with a thin, controlled line rather than a heavy blob.
Lopsided hat. Painting freehand without a reference point drifts the triangle off-center more often than not. Glance at the nail's center line before you start the triangle, and keep the base straight rather than curved.
Gnomes that look different on every nail. This is a sequencing problem, not a skill problem. Paint every hat first, across all nails, then every beard, then every nose. Working shape by shape instead of nail by nail keeps proportions matching from thumb to pinky.
Smudged layers. Nearly always impatience. Give each shape the full dry time before adding the next one, especially with regular polish.
None of these are signs the design is too advanced. They're the same three or four fixable habits every beginner runs into, and they resolve fast once you know what's actually causing them.