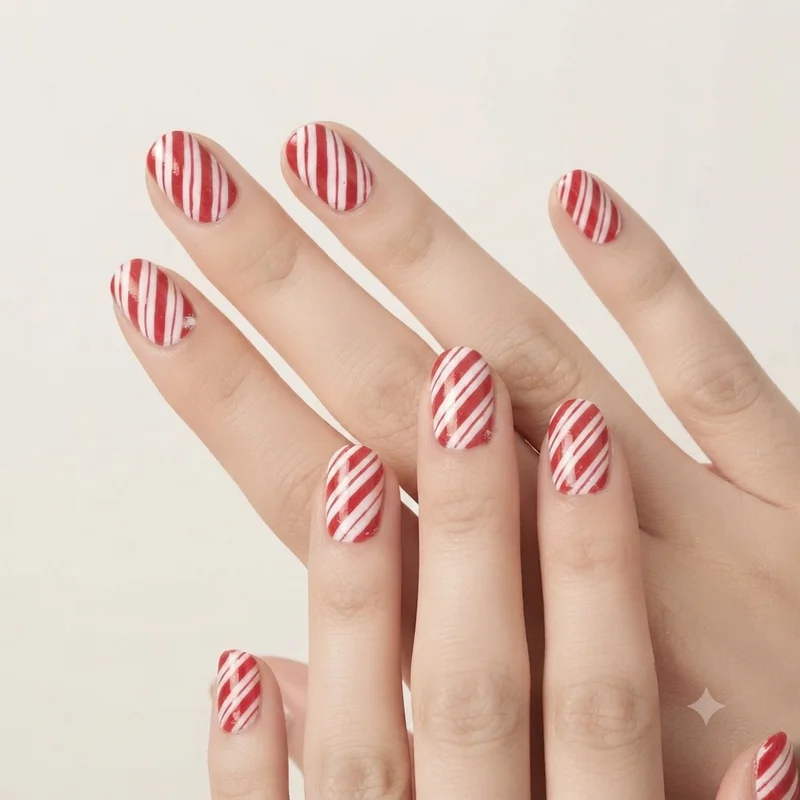
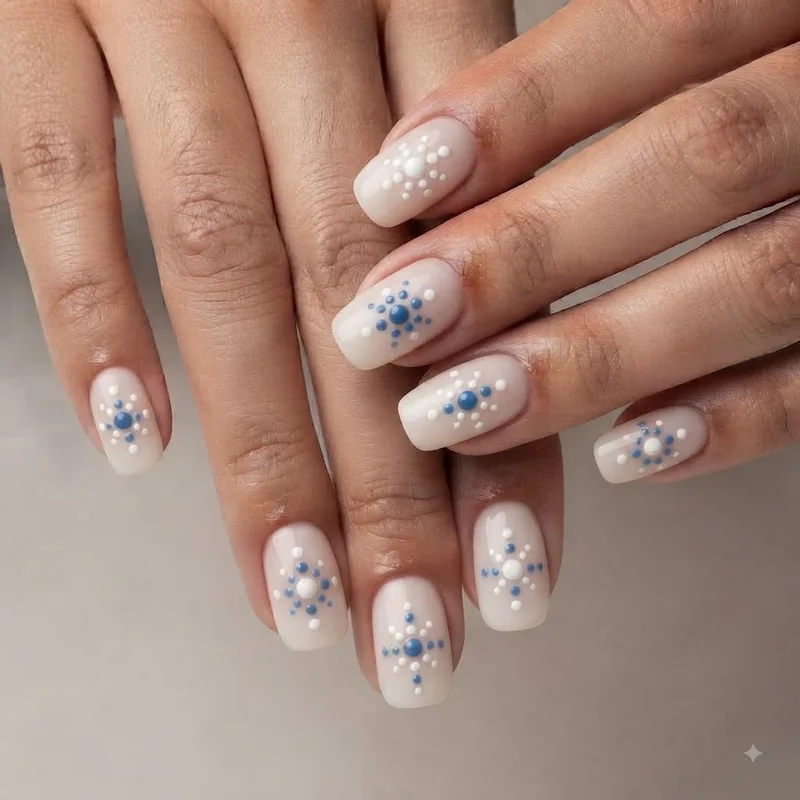
Christmas nail art at home starts with four techniques, not four designs: dotting, striping tape, sponge gradient, and freehand. Learn those once, on nails you already have polish for, and every design in this guide becomes a matter of applying a skill you've already practiced. This is exactly how to do christmas nail art at home without a salon appointment, a full kit, or any prior experience.
If you've ever opened a tutorial video expecting to follow along and instead watched someone paint a tiny, perfect reindeer freehand in four seconds, you know the feeling this guide is built to undo. Learning how to do christmas nail art at home does not require a steady hand you were born with. It requires the right four techniques, taught once, and the patience to practice them on your own ten nails before you touch anything shaped like a snowflake. Nobody's first stripe is straight. That's not a warning. It's just true, and it stops being true faster than you'd think.
What You Actually Need for Christmas Nail Art at Home
What tools do I need for Christmas nail art? A base coat, your regular polish colors, a top coat, and something to make small dots or lines with, which is often a bobby pin or toothpick rather than a purchased tool. Add striping tape and a small makeup sponge if you want to expand into stripes and gradients, both of which cost a few dollars total.
Most of what gets marketed as a "nail art kit" is optional. A dotting tool is genuinely nice to have because it gives consistent dot sizes, but the rounded end of a bobby pin does the same job while you're deciding whether this is a hobby worth investing in. Striping tape is the one item worth buying specifically. It's thin, low-tack tape that creates a crisp line no amount of hand-steadiness replicates freehand, and a single roll lasts for dozens of manicures.
Gel polish and regular polish are not interchangeable in what they require. Regular polish air-dries at room temperature and removes with standard acetone remover, no equipment needed. Gel polish only hardens under a UV or LED lamp, and taking it off means a proper soak-off, not a quick wipe. Every design in this guide works with regular polish. Save the lamp for later, once you know you'll use it.

Prepping Your Nails Before You Start
Clear a corner of the kitchen table, put down an old towel, and give yourself ten uninterrupted minutes before a single bottle opens. Push back your cuticles gently with a cuticle stick or the flat edge of an orange stick, then buff the surface of each nail lightly, just enough to knock down the shine. This isn't optional styling advice. It's the step that decides whether your design survives the day or starts peeling before lunch.
Wipe every nail with a bit of acetone on a cotton pad right before you start painting, even if your hands look clean. Skin oil sits on the nail plate invisibly and stops polish from gripping properly, which is the real reason "good" manicures sometimes chip within hours. A thin layer of base coat goes on next, and it needs to fully dry before color touches it. Rushing this ten-minute window is the single most common reason a design that looked perfect wet looks rough by evening.