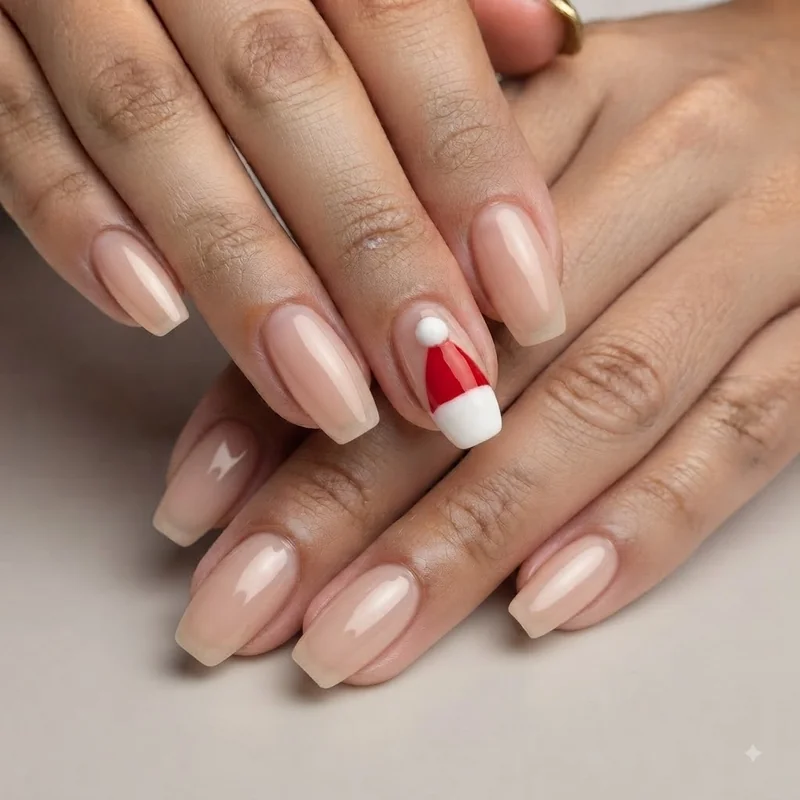
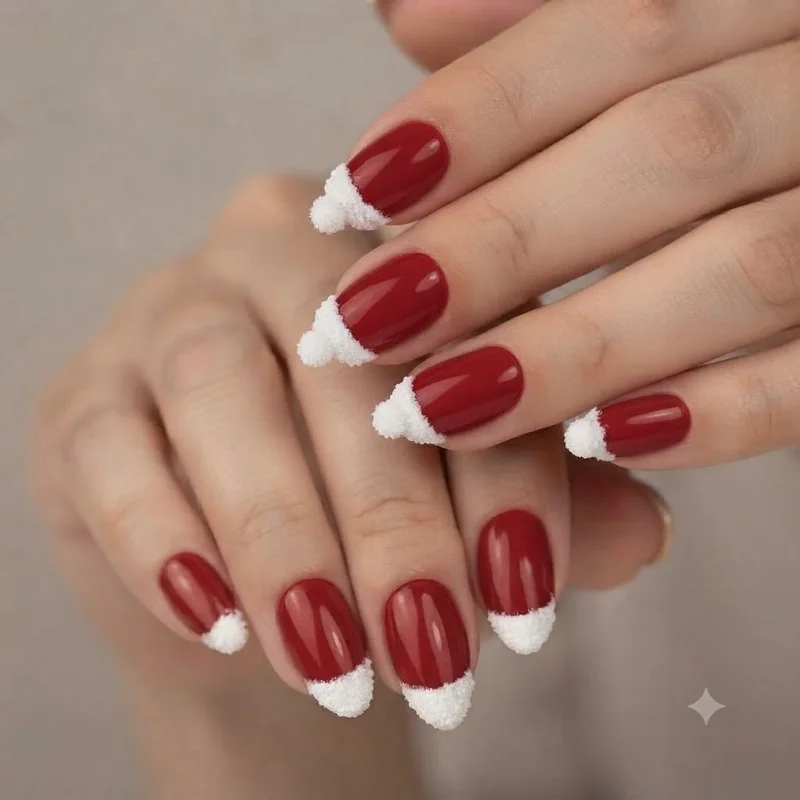
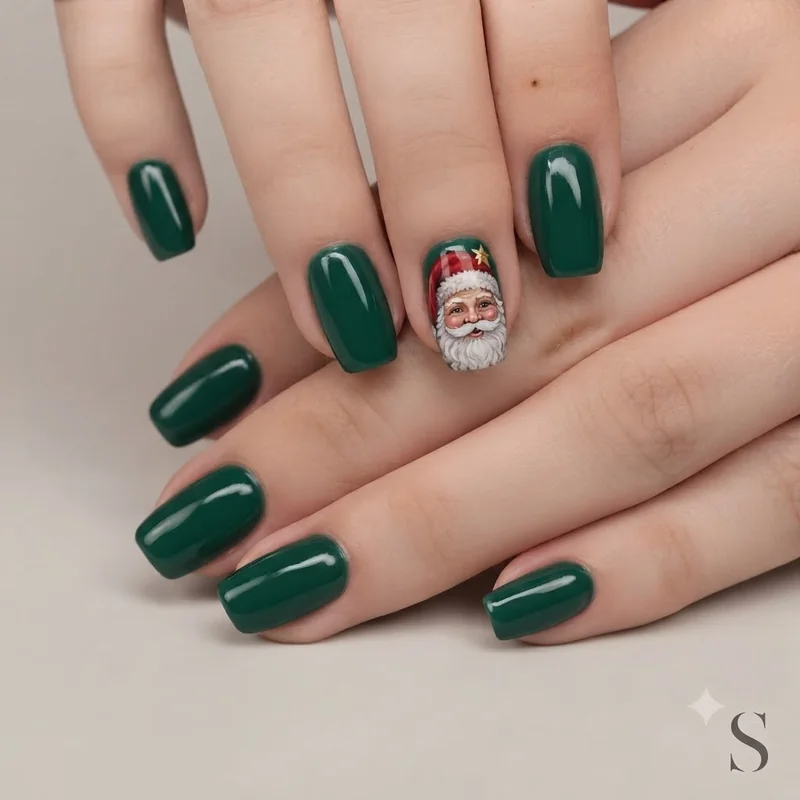
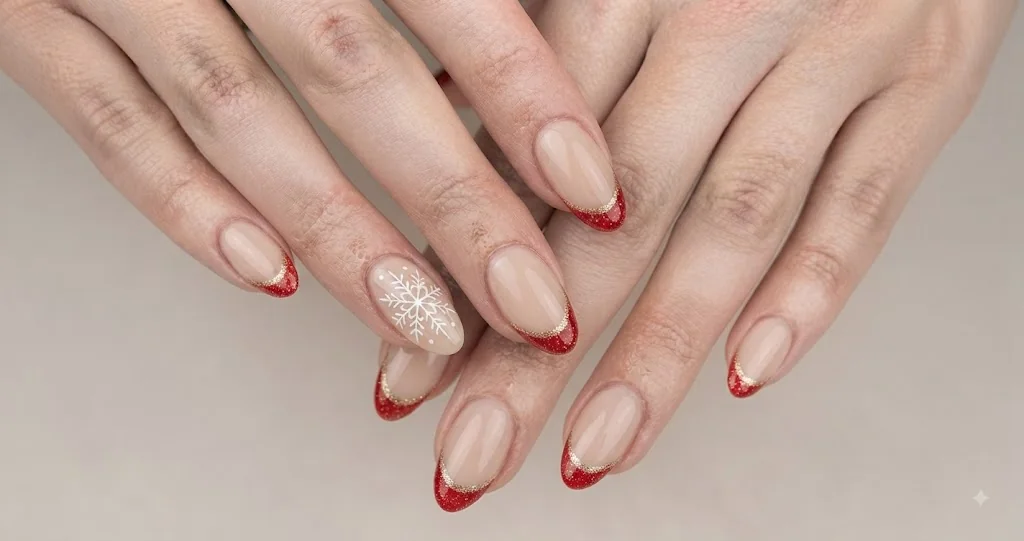
Painting a face on your own nail sounds like something that requires an art degree. It does not. This santa nail art tutorial breaks the entire look down into 9 small, doable steps, and every one of them is something you can finish tonight with polish you probably already own. You will need a base color, a detail brush, and about half an hour. No dotting tool, no gel kit, no trip to a specialty store required.
That is the whole promise here: a santa nail art tutorial that treats you like someone who can actually follow instructions, not someone who needs a professional's toolkit to attempt a holiday design. This post is one entry in a much wider set of christmas nail ideas, but it earns its own space because nothing else walks you through both the fast version and the full showstopper face in one place. Most tutorials online stop at the hat. This one does not.
What You'll Need for This Santa Nail Art Tutorial
You do not need a professional kit to start this. A base coat, red and white polish, a thin detail brush, and a top coat cover the entire hat design from start to finish. If you already paint your nails at home, you likely own most of this.
The one thing people assume they need and don't is a dotting tool. It is genuinely useful, a small metal or plastic stylus with a rounded tip used to place clean, uniform dots of polish, but it is not mandatory. A toothpick or the rounded end of a bobby pin does the same job. More on that swap later, in its own section, so keep reading before you decide you're not equipped for this.
One more term worth defining early: the accent nail, meaning a single nail (usually the ring finger) painted in a different design from the rest, while the other nails stay a simple base color. Every version of this Santa design works beautifully as an accent nail if you don't want all ten fingers this detailed. If you want the full walkthrough on general at-home techniques first, the santa nail art tutorial hub covers other starting points too.