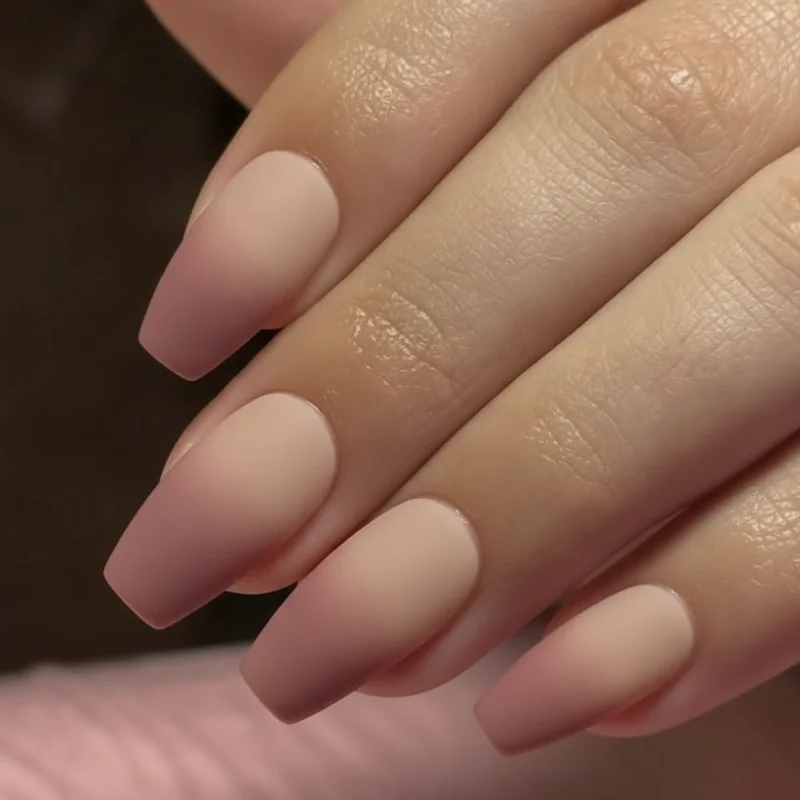
The Best Colour Combos for Coffin Ombre Nails (Including What Actually Suits Your Skin Tone)
Most colour guides stop at "pink and white." Ombre colour selection actually depends on both the pairing and the complexion it sits against.
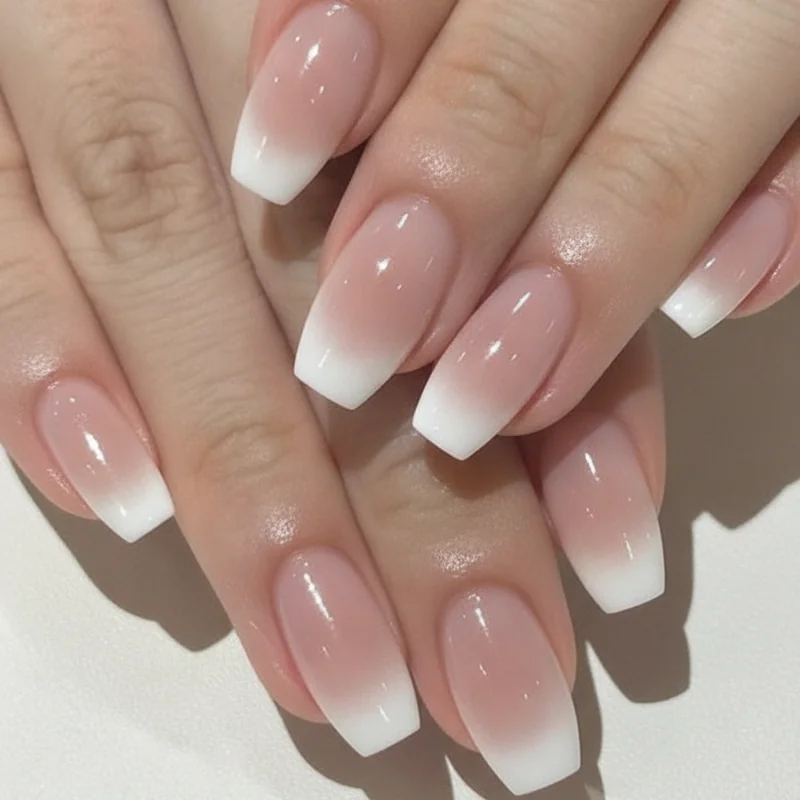
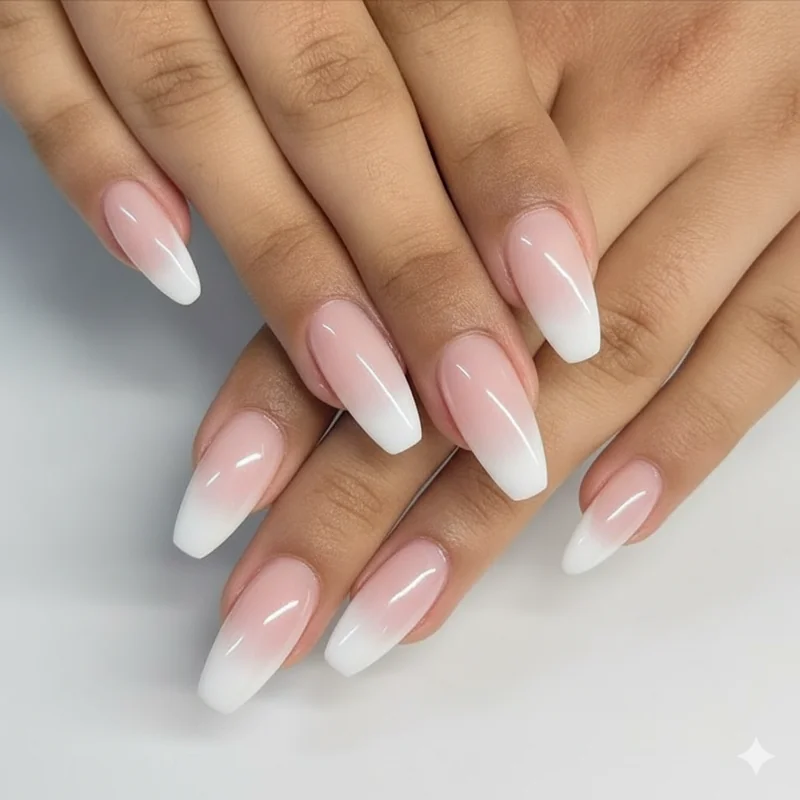
Fair and cool skin: Pink-to-white and lavender-to-ivory perform best. The cool undertone in soft rose picks up the blue notes in fair skin. Avoid warm oranges and terracottas, which can read muddy rather than warm.
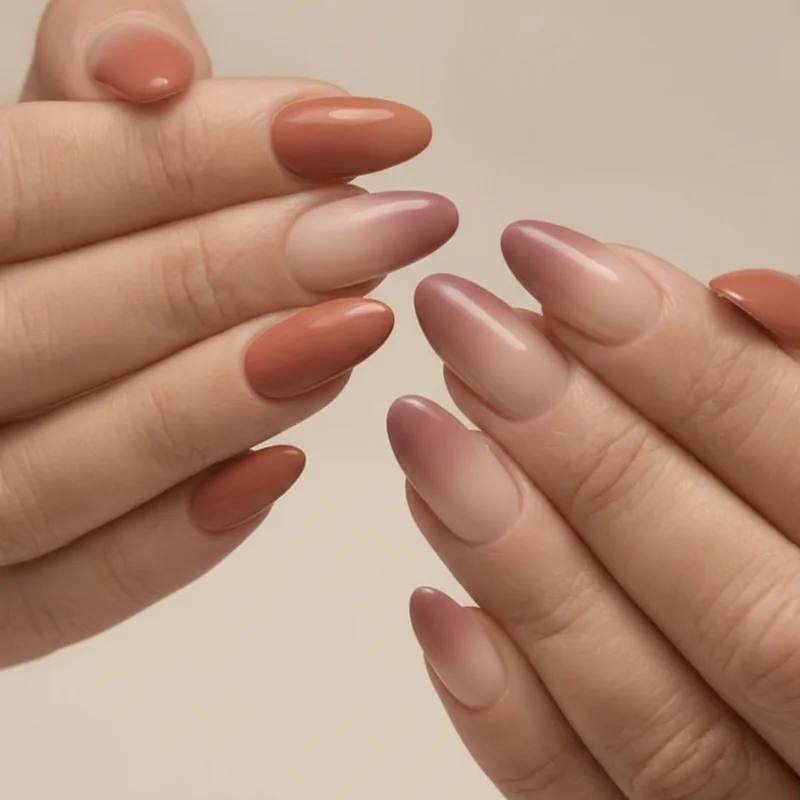
Medium and warm skin: The widest range works here. Warm nudes to peach, rose to champagne, deep mauve to blush. Coral fading into peach is particularly fresh.
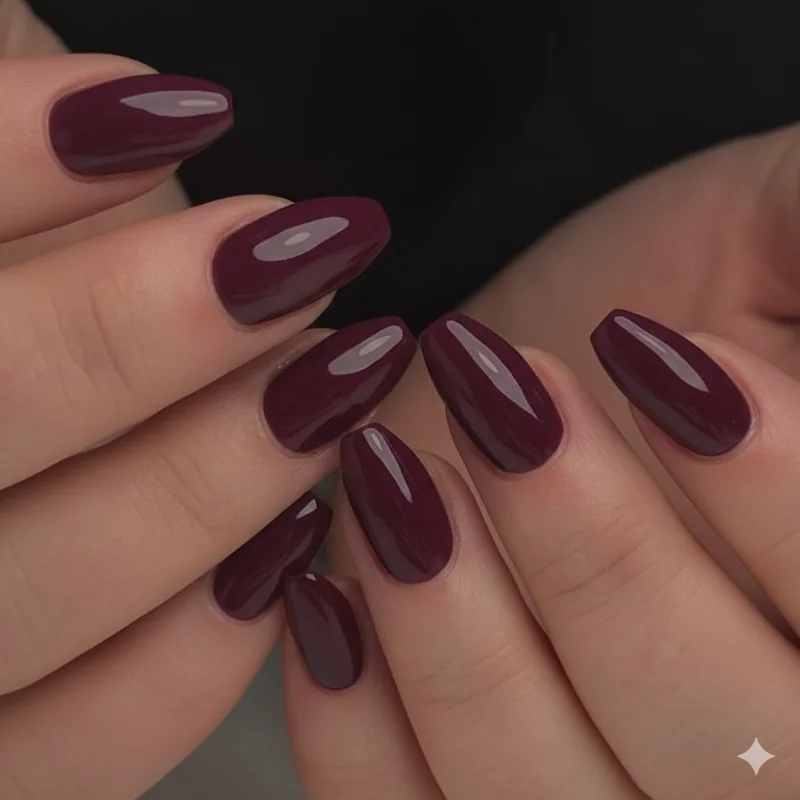
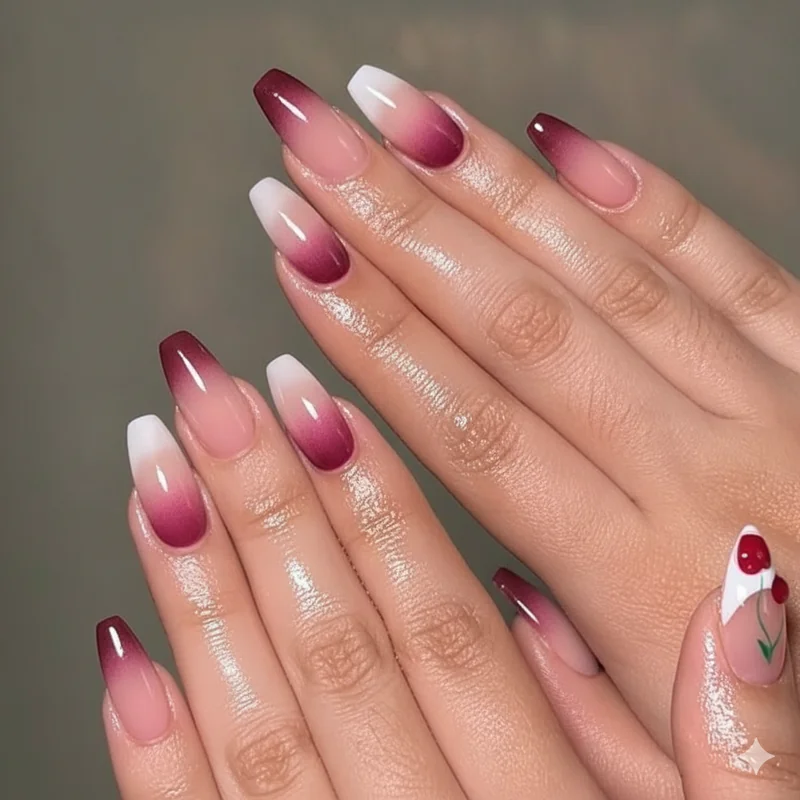
Olive skin: Push the base shade richer. A deep fig into berry, or terracotta blending to nude, works with olive undertones rather than against them. Pale pink-to-white can look washed out.
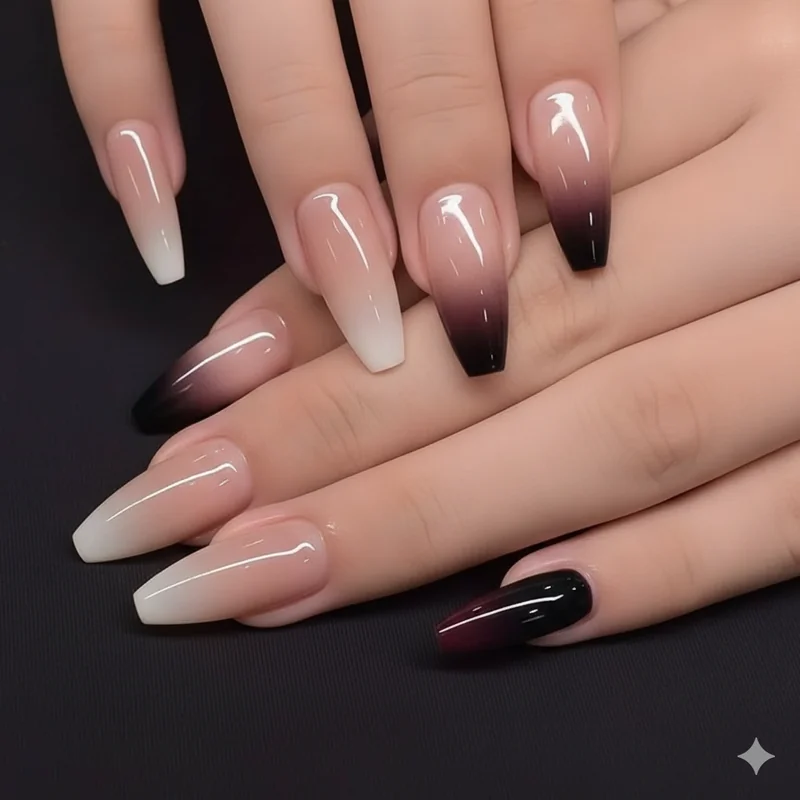
Deep and dark skin: Deep ruby into copper. Cobalt blue to electric violet. Rich purple to bright fuchsia. Jewel tones on deep complexions create depth rather than flatten the colour. The warm sunset ombre (coral to gold) also lands beautifully here, and these combinations travel well too: as holiday nails, tropical light makes them even more striking.
What's the Difference Between Ombre Nails, Aura Nails, and a Gradient? (And Why It Matters When Booking)
The terminology is where people lose confidence, and where salon results go wrong. These three terms are not interchangeable.
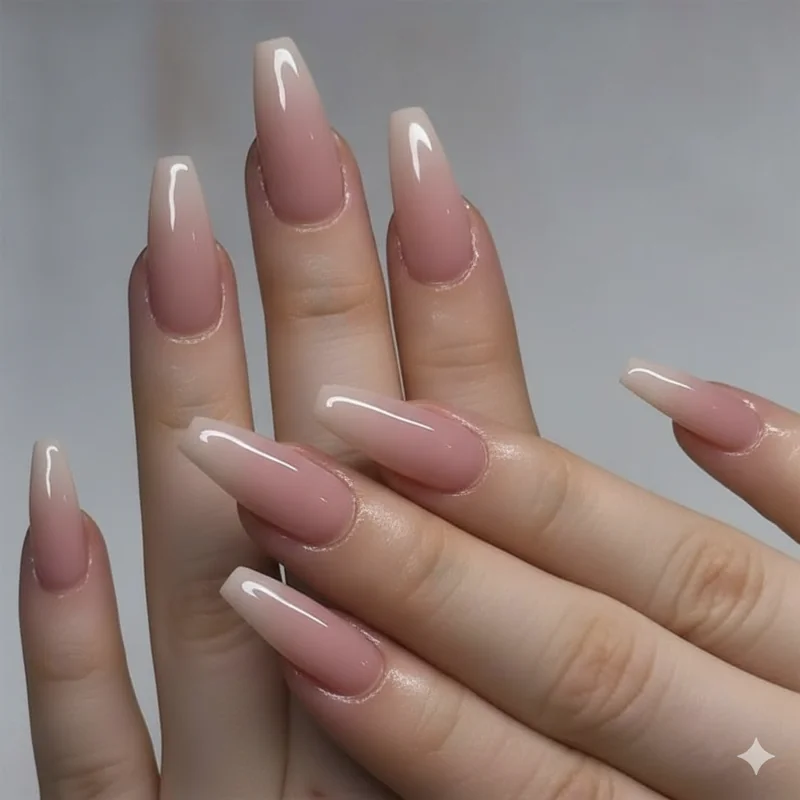
Ombre moves in one direction: cuticle to tip, with one colour fading into another. An ombre coffin nail has a clear base colour and a clear tip colour.
A gradient is the broader category. All ombre is a gradient; not all gradients are ombre. Diagonal fades and multi-directional transitions are gradients but are not ombre.
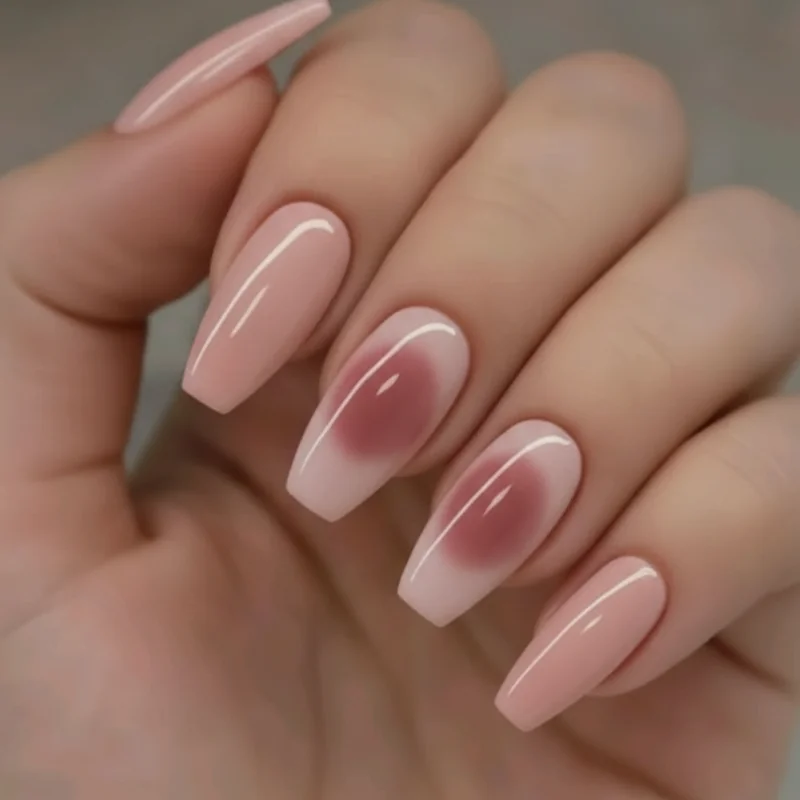
Aura nails are something else entirely. The colour blooms from the centre of the nail outward, creating a halo or soft disc of pigment. It is not a directional fade. They are applied with a brush rather than sponged. If you ask for ombre and show a reference of aura nails, your nail tech will have to make a judgement call, and you may not get what you wanted. The technique overlap (blending, diffused colour) is why they get conflated. If you are interested in the aura technique specifically, Valentine's Day nails 2026 has a solid breakdown of the aura blending method in context.
When booking, say "ombre" with a reference image.
Can You Do Coffin Ombre Nails on Short Nails?
Short coffin nails absolutely hold an ombre. Even at 2–3mm of free edge, the flat tip gives the gradient room to read. What changes is how dramatic the fade looks. A full cuticle-to-tip colour shift needs length to develop. On shorter coffin nails, the fade is subtler and more diffused, which tends to look more polished than dramatic.
The sweet spot: colours close in tone. Sheer base to milky tip, or nude into a pale rose. The closer the shades, the more forgiving the canvas.
How to Do Coffin Ombre Nails at Home: The Technique That Actually Works
Patchy ombre is a timing problem, not a colour problem. Most people who struggle are letting their polish dry between steps, or pressing too hard with the sponge.
What you need: Two gel polish shades in the same colour family, a makeup sponge cut to expose the raw porous interior (not the sealed factory surface. That surface traps air and causes bubbles), a UV/LED lamp, base coat, and a gel top coat.
The sponge method, step by step:
Apply your base coat and cure. Then paint a thin strip of your lighter colour onto the sponge, followed immediately by your darker colour overlapping it slightly in the middle. Working quickly, dab the sponge onto the nail starting at the tip and moving toward the midpoint. Do not press and dab. Cure under the lamp. Repeat the sponge application two to three more times, building pigment with each layer. The transition smooths out with each pass. Finish with a thin gel topcoat and cure fully.
The most common mistake: too much polish on the sponge. Thinner application gives cleaner results. For acrylic nail prep before the ombre layer, the beginner's acrylic coffin nail tutorial covers the base-building steps that make the gradient sit better. For product safety guidance on the gels and acrylics you are working with, the FDA guidance on nail cosmetic safety is a useful reference point. A detailed visual walkthrough of the sponge technique steps is available at this step-by-step ombre technique.