No Dotting Tool? Here's What to Use Instead
What can you use instead of a nail dotting tool? A toothpick or a bobby pin, both of which give you the same small, controlled point a dotting tool provides. Dip the flat or rounded end into polish and press it lightly onto the nail. Either substitute works for the entire tutorial in this guide.
A dotting tool is a small handheld pen with a rounded metal ball on one or both ends, used to place precise dots and small circular details onto a nail without a brush. That is genuinely all it does, and a rounded household object mimics it almost exactly. This is exactly the kind of workaround that makes easy Disney nails for beginners possible without a shopping trip first. The toothpick end gives you a smaller, tighter dot, useful for eyes or tiny accents. The rounded end of a bobby pin gives you a slightly larger, more even circle, which is closer to what most beginner Mickey designs actually need.
Wipe your improvised tool clean between colors so you are not dragging black polish into white by accident. That single habit prevents most of the smudged, muddy results beginners run into on a first try.
Easy Mickey Silhouette Nails: Step-by-Step
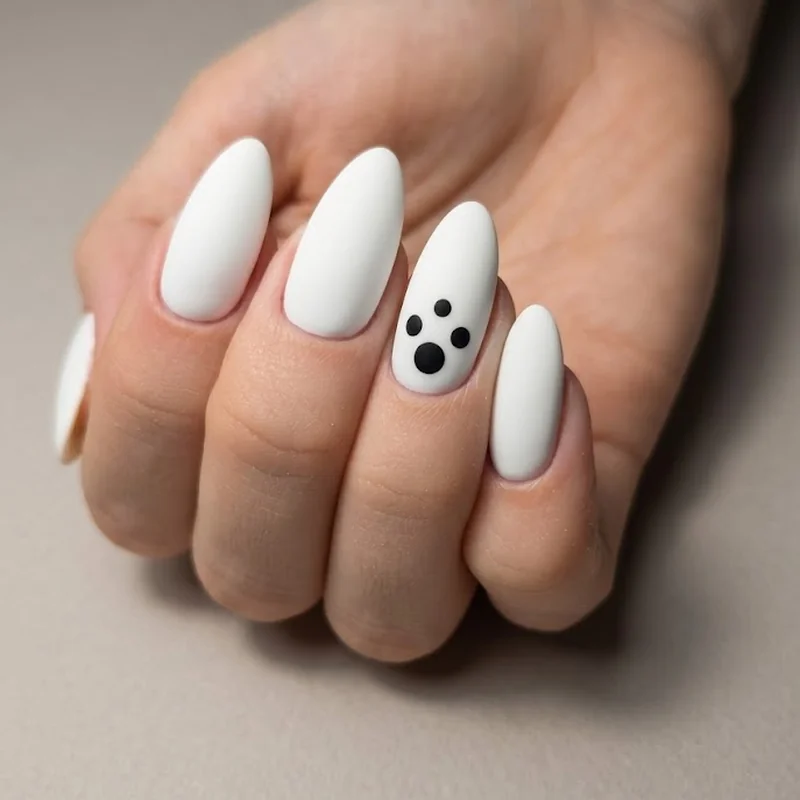
The Mickey silhouette looks harder than it is. It is three circles, arranged the right way, and nothing about that requires freehand talent.
How long does Disney nail art take for beginners? Plan on 45 minutes to an hour for a full set using this method, including dry time between coats. That is intentionally simpler than the hour-plus more advanced tutorials report for a single detailed character.
Start with two thin coats of white or cream base color on every nail, letting each coat dry fully before the next. While that dries, pick which nail gets the silhouette. One accent nail per hand is the easiest place to start, and it still reads as a complete look.
Load your dotting tool or toothpick with black polish and place one larger dot near the base of the nail for the head. Add two smaller dots just above it, slightly overlapping the top edge, for the ears. The dots do not need to be perfect circles. Slightly uneven dots still read clearly as Mickey ears once the polish dries, which is part of why this design is such a forgiving place to start.
Let the black dry completely before adding anything else. A simple red bow or white glove accent on a neighboring nail works the same way, with the same dotting technique. Finish every nail with a top coat to seal everything and add shine.
Once this basic version feels comfortable, Mickey Mouse nail ideas beyond the classic silhouette are a natural next project.
No-Draw Option: Disney Nail Stickers and Wraps Done Right
Beginners absolutely can do Disney nail art without a dotting tool, or without any freehand technique at all, using nail wraps or decals. This is not a lesser version of the tutorial above. It is a completely legitimate first project, especially if painting details still feels intimidating after reading the steps.
Nail wraps are pre-designed adhesive stickers that apply directly over bare or polished nails in place of hand-painted detail work. Start with a clean, dry nail and a thin base coat if the wrap calls for one. Press the wrap on from the cuticle outward to avoid air bubbles, then trim the excess with a file rather than scissors for a cleaner line. Seal everything with a top coat once every nail is placed, which also helps the edges stay put longer.
The result looks intentional and finished in a fraction of the time a hand-painted silhouette takes, and there is no shame in reaching for it. For readers who want something even simpler for shorter or more low-key nails, short and subtle Disney nail designs are worth a look next.