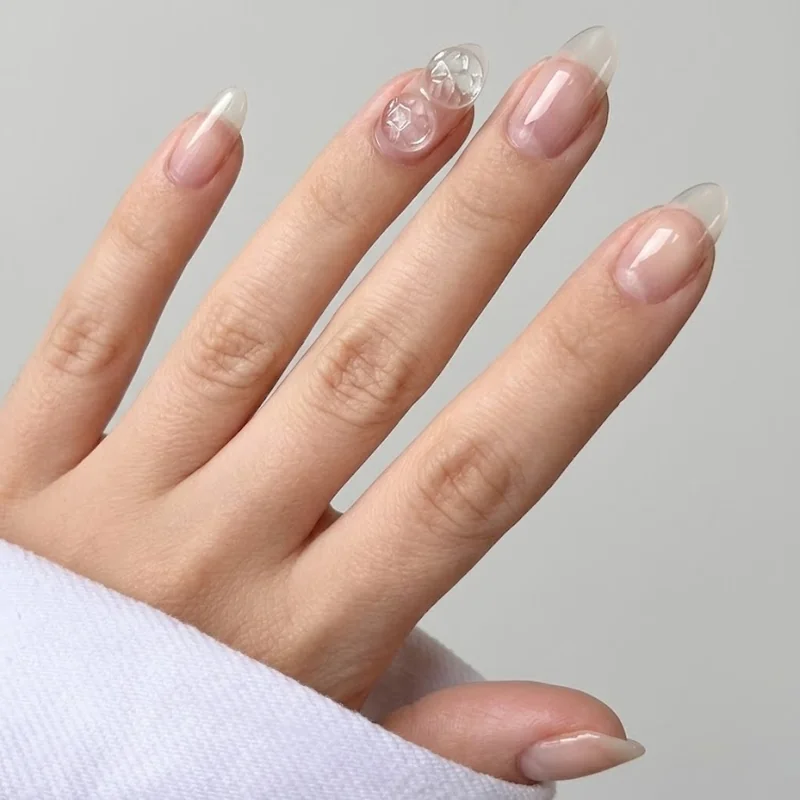
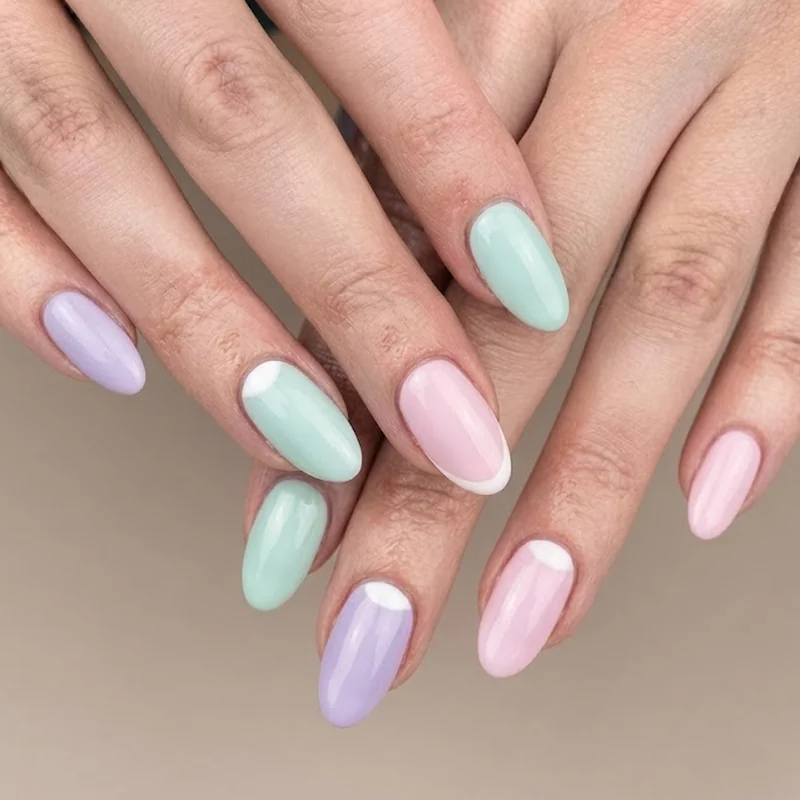
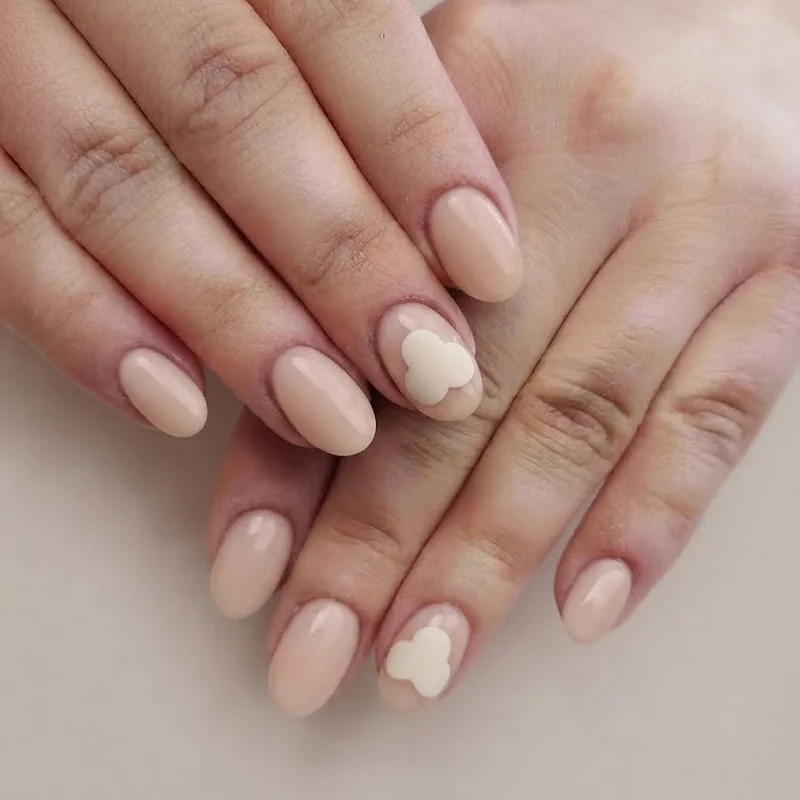
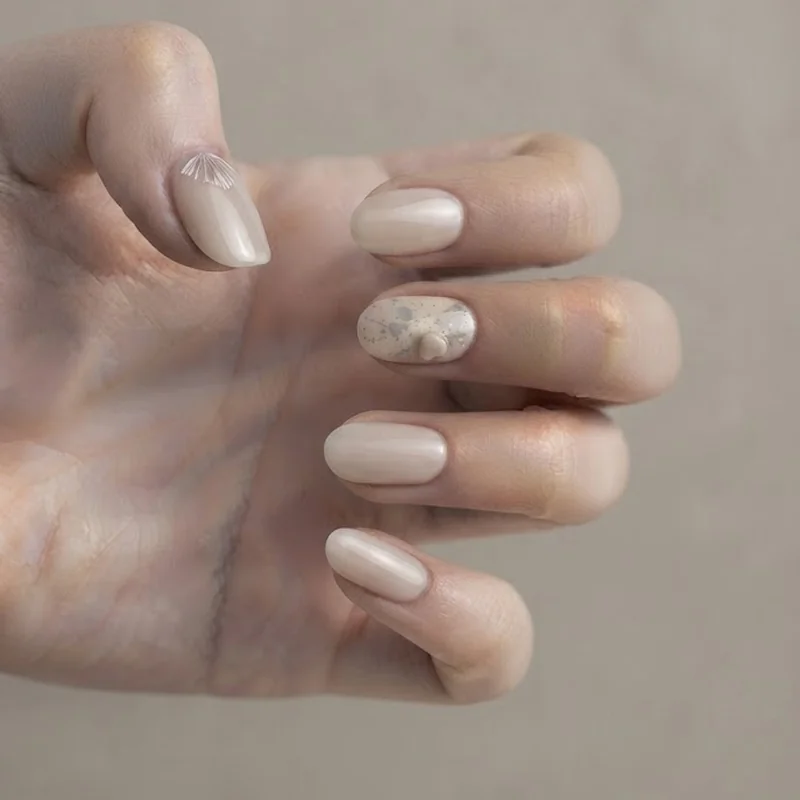
Everyone pictures the same thing when someone says mickey mouse nails: two black circles, a bigger black circle, red and white on a base coat, done. That image is not wrong, it is just the floor. The moment you look past it, mickey mouse nails open into nude and classy palettes, sculpted 3D ears, hidden placements, and short-nail versions nobody screenshots enough. This roundup exists to get you past the baseline and into the thirty designs that actually make people ask where you got your nails done.
Before the visual roundup starts, there's a decision that determines how every design below turns out on your own hands: whether you decal it, stamp it, or hand-paint it. Get that right first and the rest of this list becomes a menu instead of a guessing game. Disney nails as a category rewards this kind of technique-first thinking, and Mickey art in particular lives or dies on how clean those circles come out.
Decal, Stamp, or Hand-Paint: Choosing Your Mickey Mouse Nails Technique
You do not need steady hands to get clean mickey mouse nails at home. Pre-cut nail decals give you salon-level precision with zero freehand skill required, stamping plates land somewhere in the middle, and hand-painting takes the most practice but gives you the most control over placement and scale.
Decals are the fastest route to mistake-free mickey mouse nails. Press one onto tacky base color, seal it under top coat, and the circles come out perfectly round every time, no dotting tool required. The tradeoff is customization: you get the exact silhouette printed on the sheet, nothing more. For anyone wanting a design that molds to an odd nail shape, how to apply nail stickers so they hold and look intentional is worth reading first, since a badly sealed decal is the most common reason DIY mickey mouse nails look store-bought in the wrong way.
A nail stamping plate is a small metal or steel disc etched with a design in reverse, which you fill with polish, scrape clean, then transfer onto the nail using a silicone stamper. Stamping sits between decals and hand-painting in both skill and payoff, giving a crisp, repeatable Mickey silhouette you can reuse for Minnie, castle, or ear-hat designs too.
Hand-painting is where real customization happens on mickey mouse nails. Nobody else has your exact placement or proportions. It also takes the longest to get right, and a shaky first attempt is common. If freehand still feels out of reach, easy Disney nails for beginners tutorial walks through the basics first.
Classic Mickey Mouse Nails Everyone Recognizes
The easiest beginner-friendly mickey mouse nails design is a solid black silhouette on a plain red or white base, built from three connected circles with a dotting tool rather than a brush. No shading, no gradient, no fine linework required.
This is the design every one of the fetched competitor roundups opens with, and there is a reason it survives every trend cycle: it reads instantly, from across a room, with zero explanation needed. A red base with the black silhouette centered on one or two accent nails is the version of mickey mouse nails most likely to photograph the way you picture it in your head before you start.

White base swaps the mood from bold to crisp without touching the technique at all. Same dotting tool, same three circles, just a lighter canvas underneath. It's the version that reads slightly more polished in photos, since the black silhouette gets more visual breathing room against white than it does against saturated red.