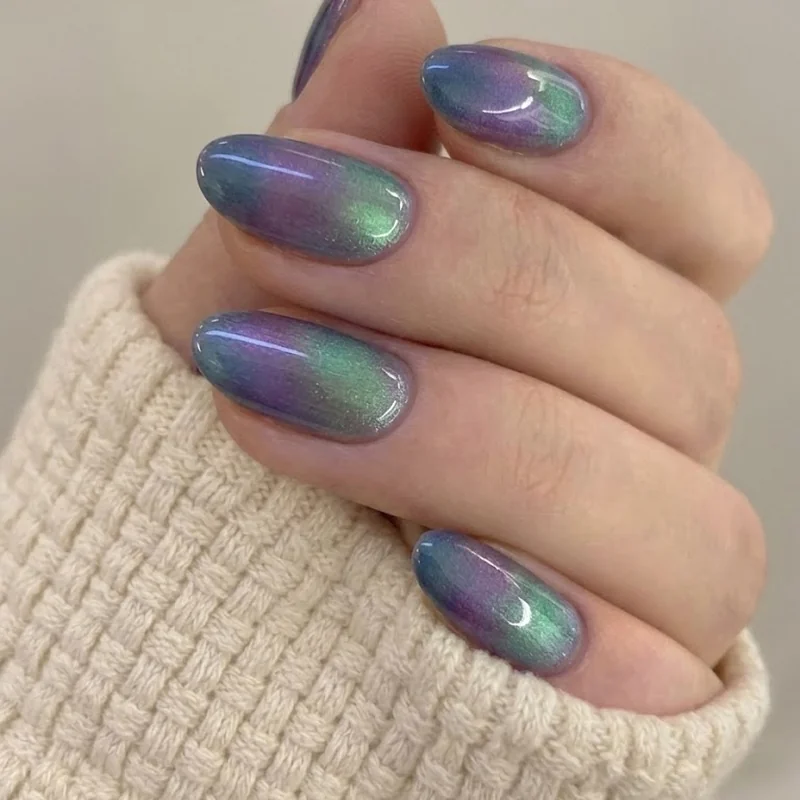
Frozen nails cover a lot more ground than Elsa's icy blue, though that is still the design most people search for first. Frozen nails most often use an icy blue and lavender palette for Elsa-inspired looks, a warmer pink for Anna, and simple graphic shapes for Olaf, with the right nail shape and product type changing how easy any of them are to actually pull off. Every "best Frozen nails" list you have already scrolled past shows you the finished photo and stops there. This one goes further: full character range beyond Elsa, real shape and technique context, and a straight answer on frozen nails for kids versus adults, all in one place.
That gap is the whole reason this post exists. Most roundups are either an unlabeled wall of Instagram embeds or a numbered list that names a look without ever explaining how it comes together, which leaves you no closer to booking the appointment or attempting it yourself. This guide moves through every major character, Elsa, Anna, Olaf, Sven, and the wider Frozen 2 cast, with the shape and technique notes that turn a saved photo into a manicure you can actually request or DIY. If you want the wider Disney picture first, the complete Disney nails guide covers every franchise this site touches. Here, the focus stays narrow and deep on Arendelle.
Elsa's Icy Blue Nails: The Classic Frozen Look
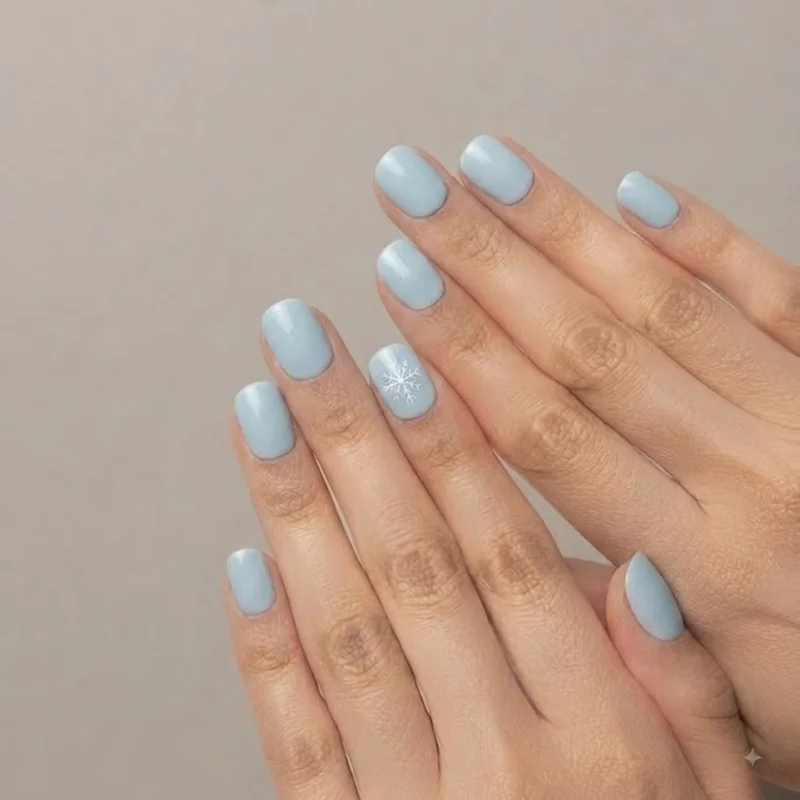
Frozen nails built around Elsa lean on one consistent palette: icy blue, soft lavender, white, and silver, usually layered as a gradient rather than a flat color. That combination is why an ombre base reads as "Elsa" even before any snowflake or glitter gets added. Building your own version at home starts with a white or pale blue base, a sponge-applied gradient into a deeper blue tip, and a single hand-painted or stamped snowflake as the accent, no full character portrait required.
The gradient is the part people rush, and it is also the part that makes or breaks the look. A makeup sponge dabbed with two or three blue shades, light at the cuticle and darker at the tip, gives a softer transition than trying to blend two polishes directly on the nail. Coffin and almond shapes give that gradient the most visual room, since the longer nail bed lets the color shift unfold gradually instead of getting compressed into a short tip.
Snowflakes are where most home attempts go wrong, and it comes down to tool choice, not skill. A thin detail brush pulled from a center point outward in six even lines reads as intentional even when it is slightly imperfect, while a dotting tool creates a simplified version that still looks deliberate at a glance. Nail decals are the honest fallback for anyone who wants the exact look without the linework, and there is no shame in that choice. A finish worth knowing before you book the appointment: matte top coat over the blue gradient reads noticeably more "frost" than glossy, even though most reference photos default to shine.
Glitter placement matters just as much as the base itself. A full set in chunky glitter can tip into costume territory fast, but a single glitter accent nail, usually the ring finger, keeps the icy effect refined rather than loud. Fine holographic flakes pressed into wet top coat catch light the way real frost does, throwing small flashes of color instead of one flat shimmer. Chrome powder buffed over a pale blue base is the other route worth knowing, reading as "frozen solid" rather than simply blue. Keep it to one or two nails. Elsa's palette already carries the look on its own.