What You Actually Need to Get Started (No Salon Kit Required)
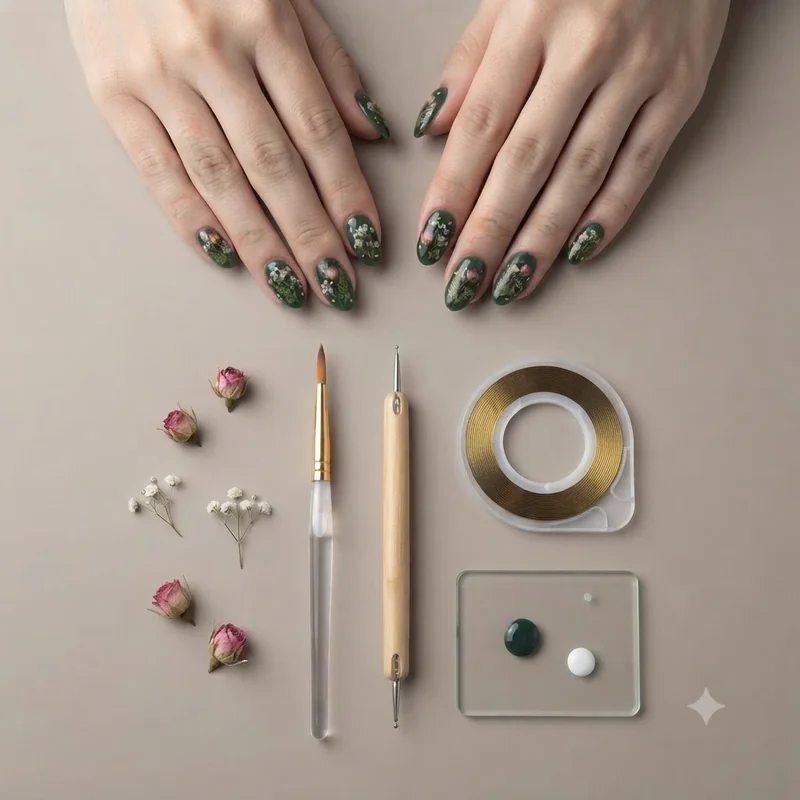
A full salon kit is not required to start nail art for short nails. The minimum real toolset is a base coat, two or three polish shades, a dotting implement, a fine liner brush, and a top coat, and household substitutes cover most of it: a toothpick or the rounded end of a bobby pin works as a dotting tool, and a strip of tape can stand in for a striping brush.
Start with the base coat. It is not optional and it is not decorative, it is what keeps colour from staining the nail plate and gives every layer above it something to grip. From there, two polish shades are enough to build most of the designs in this guide, a base tone and an accent for line or dot work. A dotting tool costs very little if bought, but a toothpick produces nearly identical results for small to medium dots, and a bobby pin's rounded tip handles slightly larger ones.
A fine liner brush earns its place for anything requiring a straight edge, a French line, a geometric border, a thin accent stroke. Striping tape is the closest household stand-in, laid down as a mask before colour goes on and peeled back once the polish sets. For anyone budgeting time before starting, it helps to know how long intricate nail art actually takes, since most of the designs here run under an hour start to finish. Finish every design with a glossy top coat. It is what actually protects the detail underneath, not an afterthought step at the end.
How to Scale Any Design Down for a Smaller Canvas
Scaling a nail art design down means reducing the number of elements it contains, not shrinking every line and dot proportionally. A pattern with five components on a long nail should usually drop to three on a short one, keeping the size of each element close to its original scale rather than miniaturising all of them at once.
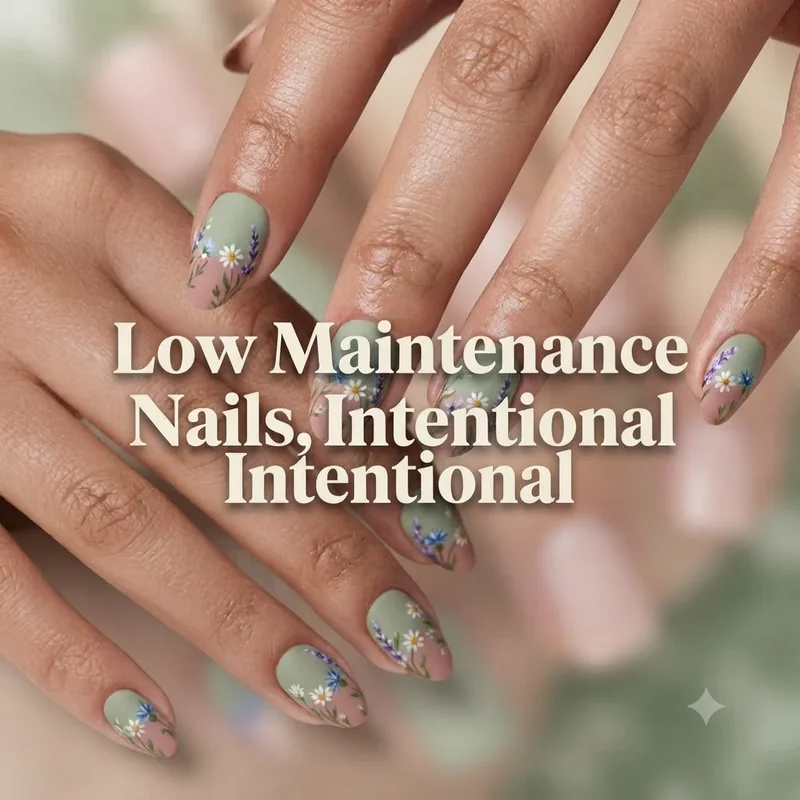
Think of it the way a photo behaves when it is cropped instead of resized. Shrinking every part of an image to fit a smaller frame makes fine detail illegible, cropping the frame around the strongest elements keeps everything sharp. A floral design built for a long nail might carry three blooms trailing from cuticle to tip. On a short nail, one bloom placed slightly off centre reads as intentional and detailed. Three blooms crammed into the same space reads as cluttered, because there was never enough surface for three to breathe.
The same logic governs spacing. Dots, lines, and borders need a margin around them to register as clean rather than crowded. On a smaller canvas, that margin has to come from somewhere, and the honest answer is that it comes from removing an element, not from squeezing every element closer together. This one shift accounts for most of the difference between short nail art that looks cluttered and short nail art that looks genuinely intricate.
Easy Micro French and Line Work for Beginners
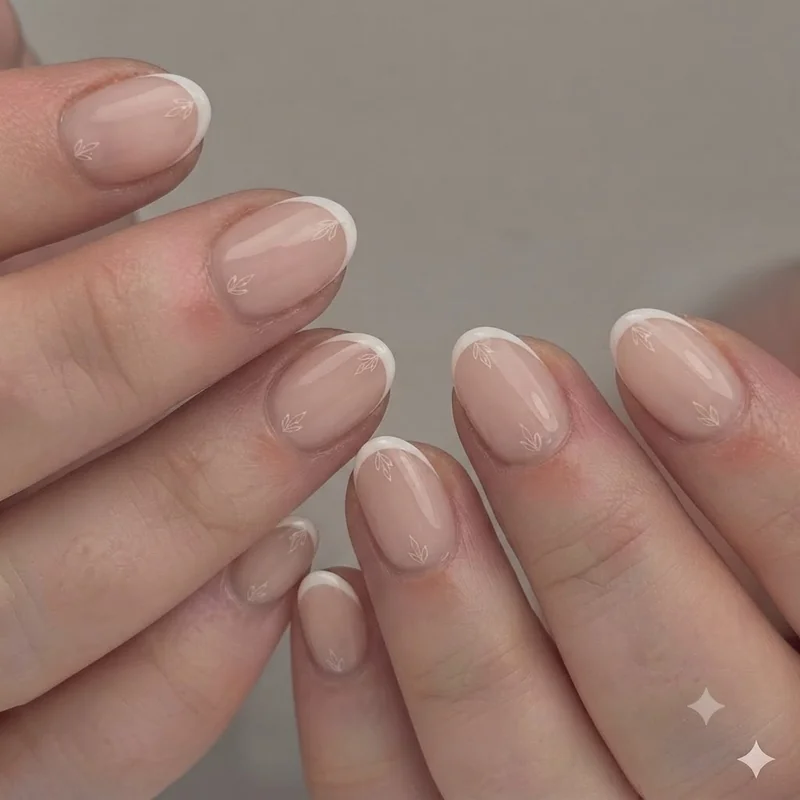
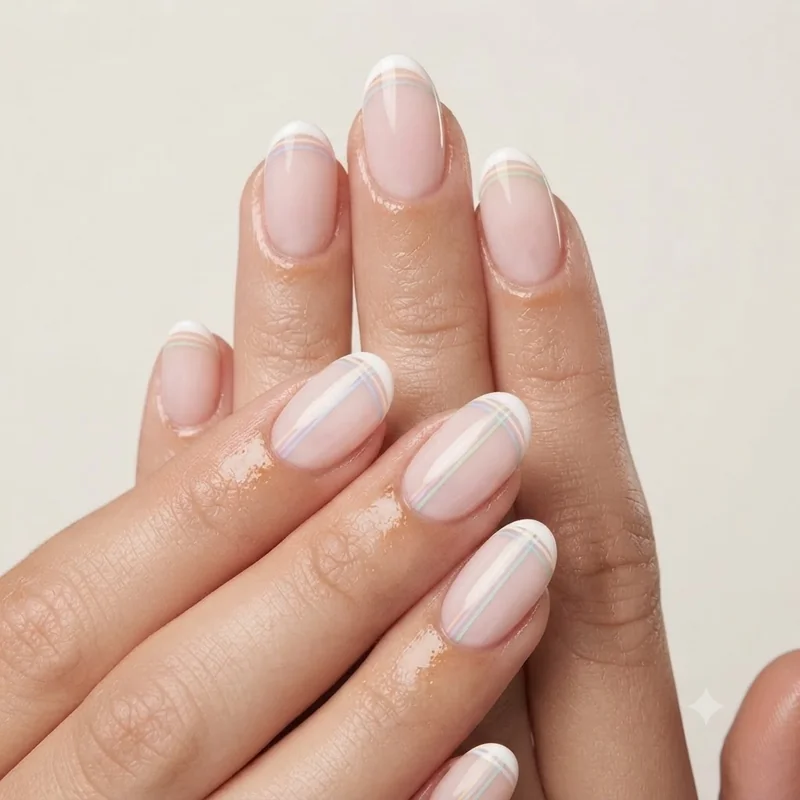
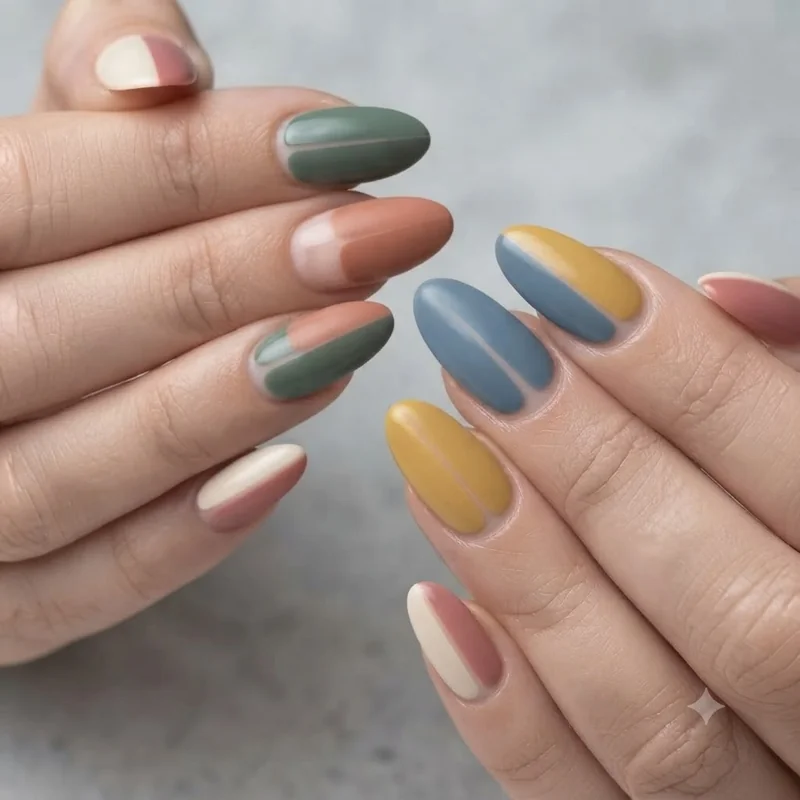
A micro French tip is a scaled-down version of the classic French manicure, where the white or coloured tip line is drawn thin, usually one to two millimetres deep, instead of the wider band used on a standard French. It is one of the most forgiving categories of nail art for short nails because there is no need for a curved smile line, a short free edge is often straight enough already.
Start with a sheer nude or soft pink base coat, two thin layers, and let it cure fully before touching the tip. Load a fine liner brush with a small amount of white or coloured polish and draw a single straight stroke along the free edge in one motion, resisting the urge to go back over it. A second thin pass can clean up any gaps once the first line has set slightly. Even shaky hands can do this, because the stroke is short and the margin for correction with a bit of remover on a fine brush is forgiving.
Beyond the French line itself, striping tape opens up simple geometric line work, a single diagonal accent across one or two nails, or a thin border traced around the cuticle edge. Lay the tape down before applying the accent colour, press the edges flat so polish cannot bleed underneath, and peel it away just before the polish fully sets for the cleanest edge. These techniques share the same principle: one confident line beats three uncertain ones, and a short nail rewards that restraint more visibly than a long one does.
Dotting and Floral Designs Using Things You Already Own
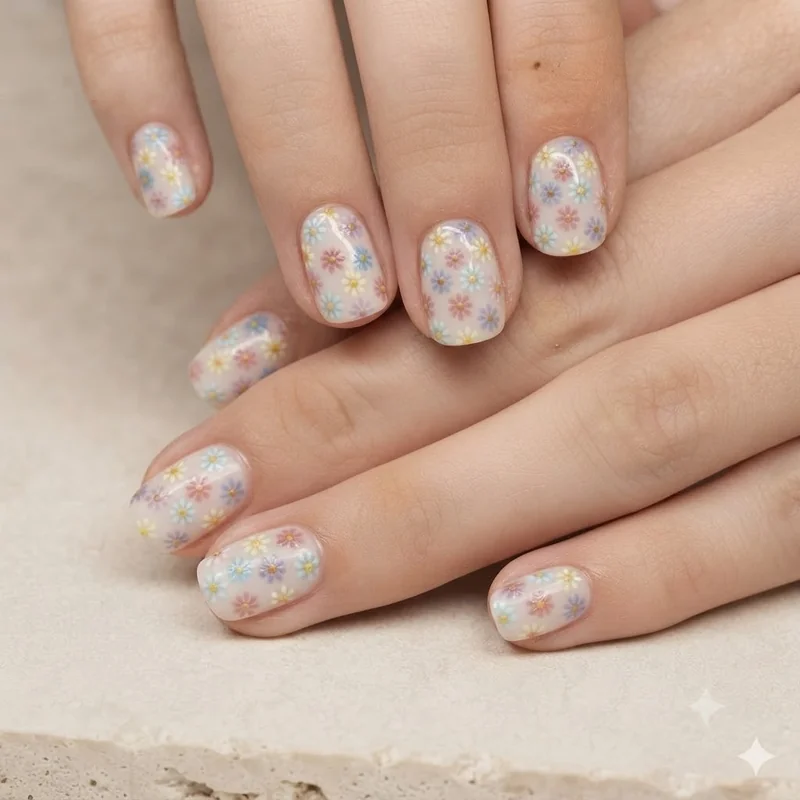
A dotting tool is not required to create dotted or floral nail art. A toothpick dipped in polish produces a fine, controlled dot, and the rounded end of a bobby pin produces a slightly larger one, which means most dotted patterns can be built entirely from tools already in a bathroom drawer.
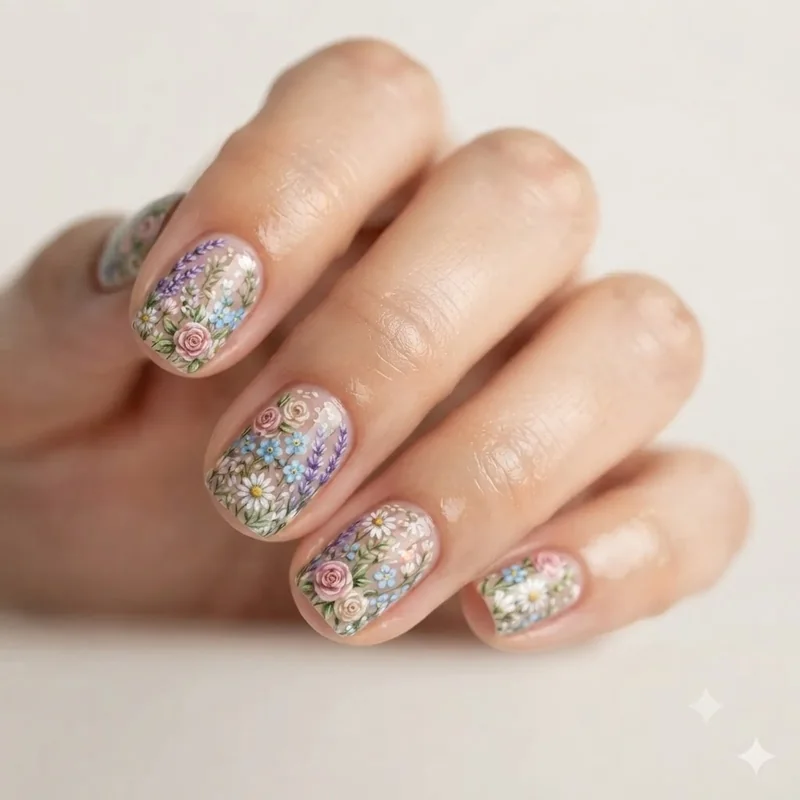
For a simple floral accent, start with five small dots arranged in a loose circle for the petals, using the toothpick for precision at this size, then add a single contrasting dot at the centre once the petals have set. On a short nail, one flower placed near the cuticle or slightly off to one side reads as a considered accent rather than a busy motif. Polka dot patterns scale even more easily: a scattered arrangement of two or three dot sizes across a single accent nail, rather than every nail, keeps the overall manicure from feeling overworked.
Gradient effects also belong in this category and need nothing more specialised than a makeup sponge. Dab two shades onto the sponge's edge, blend them slightly, and press repeatedly onto the nail until the transition softens. On a shorter nail bed, a gradient concentrated toward the tip rather than stretched across the whole nail avoids the muddy, over-blended look that longer gradients sometimes fall into. None of this requires steady hands or prior practice, it requires patience between coats and a willingness to let each dot or pass cure before adding the next.