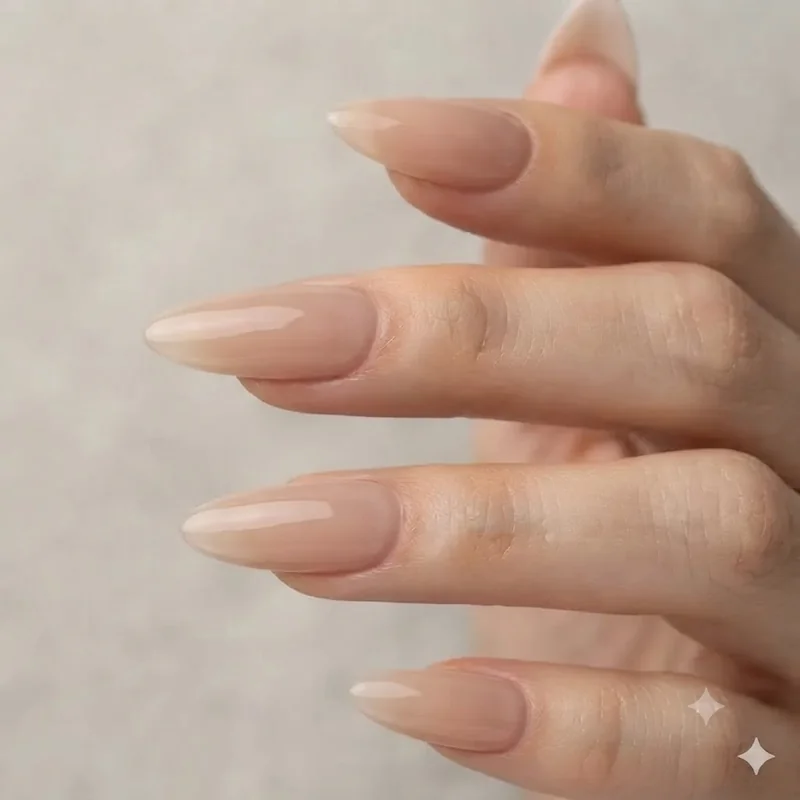
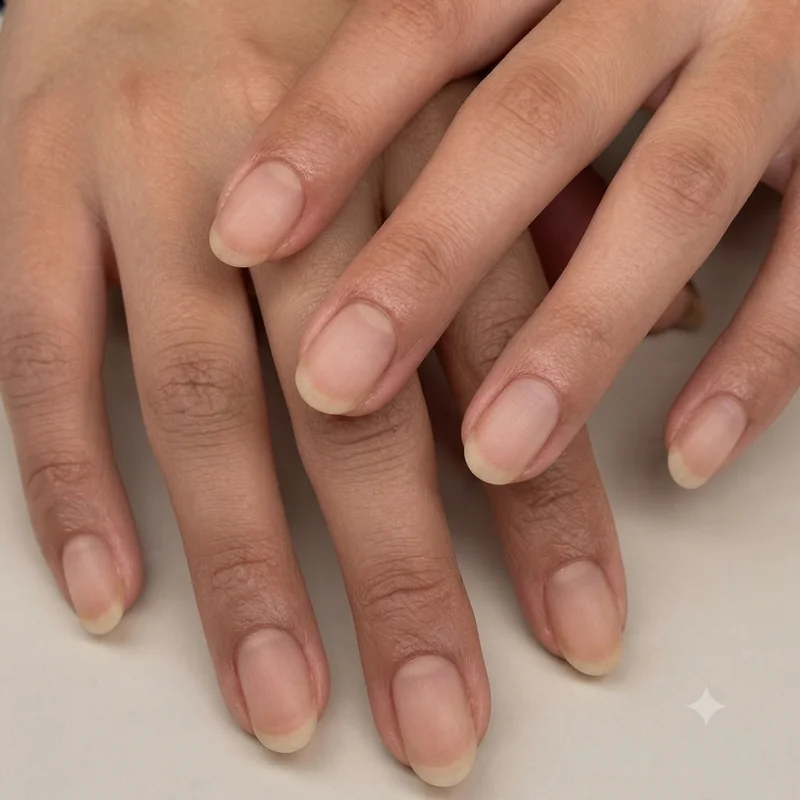
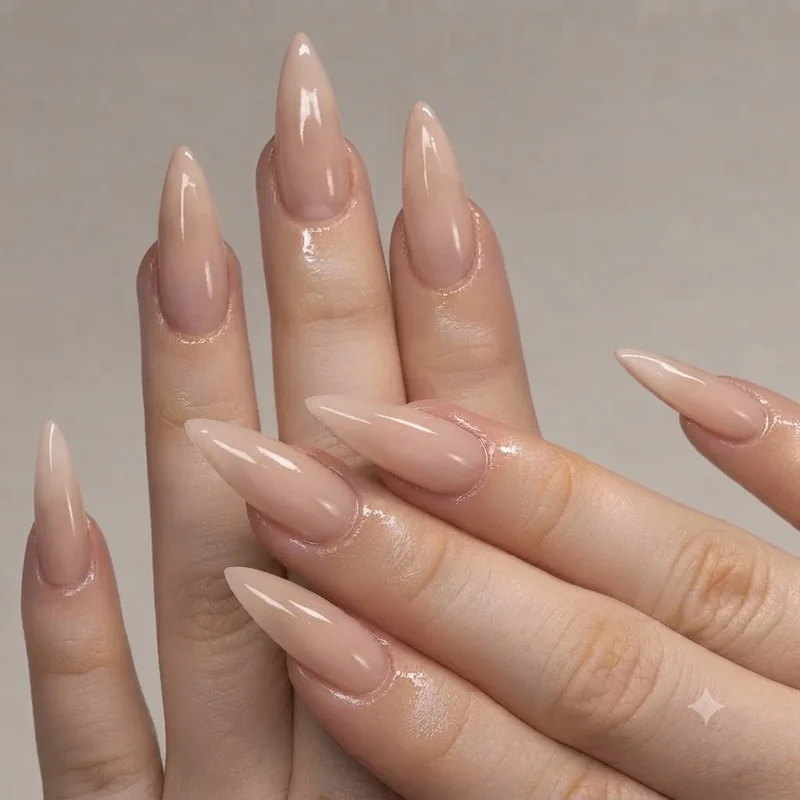
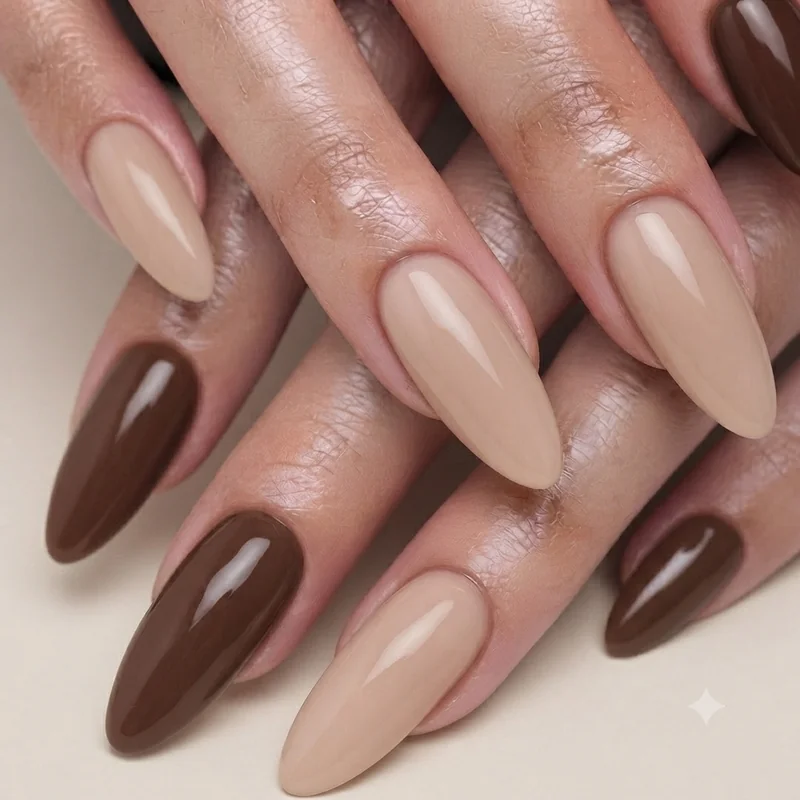
The Prep Mistakes That Cause Chipping Before You Even Paint
Most people think the polish application is where longevity gets decided. It is actually decided ten minutes earlier, during prep, and this is the step almost every guide rushes past.
Start with filing direction. File in one direction only, from the outside edge toward the centre, rather than sawing back and forth. Back-and-forth filing creates microscopic tears along the free edge that weaken it before polish arrives, and it's one of the most common reasons tips fray first. A correct nail-filing technique protects the keratin layers instead of splitting them.
Buffing matters just as much, though it is easy to overdo. A light pass with a fine-grit buffer smooths the nail's surface and lifts the keratin scales so polish has something to grip, rather than sliding over a naturally glossy surface. Press too hard or use too coarse a grit and you thin the nail plate instead. Gentle is the rule here, not thorough.
Cuticle care is the third piece. Push cuticles back rather than cutting them, since cutting can nick the nail matrix and invite uneven polish edges. Proper cuticle care keeps the surrounding skin from interfering with a clean polish line at the base.
Then comes capping the free edge: dragging a thin layer of polish or gel over the very tip of the nail with every coat, sealing the vulnerable edge completely rather than stopping the brush at the top of the nail. Skip this and the tip, the part of the nail exposed to the most daily contact, is left with a raw seam where lifting starts first. Finally, wipe nails with a degreaser or nail dehydrator before the first coat, since invisible surface oils block adhesion just as effectively as a smudge of hand cream. Every one of these steps is what separates nails that don't chip easily from a manicure doomed before the first coat went on.
How to Stop Regular Nail Polish From Chipping
Regular polish gets blamed for chipping constantly, and most of the time it is innocent. The base coat, coat count, and top coat routine decide almost everything.
Start with a proper base coat rather than skipping straight to colour. It smooths ridges and adds a layer of adhesion polish alone cannot provide. From there, apply two thin coats of colour rather than one thick one. A single heavy coat stays soft underneath far longer than it looks, trapping solvent that never fully hardens, and soft polish dents and chips at the slightest knock. Two thin coats cure properly all the way through.
Cap the free edge with each coat, base included, so the tip is sealed at every stage. Finish with a genuine top coat, reapplied every two to three days if you want to stretch a manicure toward the six-week range some readers achieve. Ingredient quality matters too: formulas meeting current FDA cosmetic safety guidance tend to cure and wear more consistently, worth checking if a brand keeps underperforming regardless of technique.
Give each coat genuine drying time rather than rushing the next layer on. Rushed layers trap moisture, and that instability turns into a chip by day two. Get this sequence right and regular polish delivers nails that don't chip easily without a single gel product.
How to Keep Gel Nails From Chipping or Lifting
Does gel polish chip less than regular nail polish? Generally, yes, because UV or LED curing hardens each layer fully rather than air-drying, creating a more rigid finish. Gel is not immune to lifting, though, and when it fails, it almost always starts at the tips.
Prep for gel follows the same rules as regular polish, buffing, cuticle care, a thorough cleanse, but curing raises the stakes. Cap the free edge with every layer, including base coat, since gel that stops short of the tip leaves an exposed seam that lifts within days once water and friction find it. Cure each layer for the full recommended time. Under-curing is one of the most common causes of early lifting, since a layer that looks set may still be soft underneath.
Keep coats thin. Thick gel takes longer to cure through and shrinks more during curing, pulling away from the free edge exactly where you just capped it. Avoid soaking hands for the first day after application, since gel needs time to stabilise before facing repeated wet-dry cycles.
Gloves are non-negotiable for dishes and cleaning, not as a precaution but as a direct extension of the curing process. Hot water and detergent soften and swell the nail plate underneath even a fully cured gel layer, and repeated exposure is what causes lifting at the edges before the colour itself shows any wear. Get curing, capping, and gloves right together and gel becomes one of the more reliable routes to nails that don't chip easily.
Do Press-On and Dip Powder Chip Less?
Press-ons and dip powder resist chipping through rigidity rather than immunity. Both use a harder material than a painted layer, so they hold shape under daily pressure in a way liquid polish cannot.
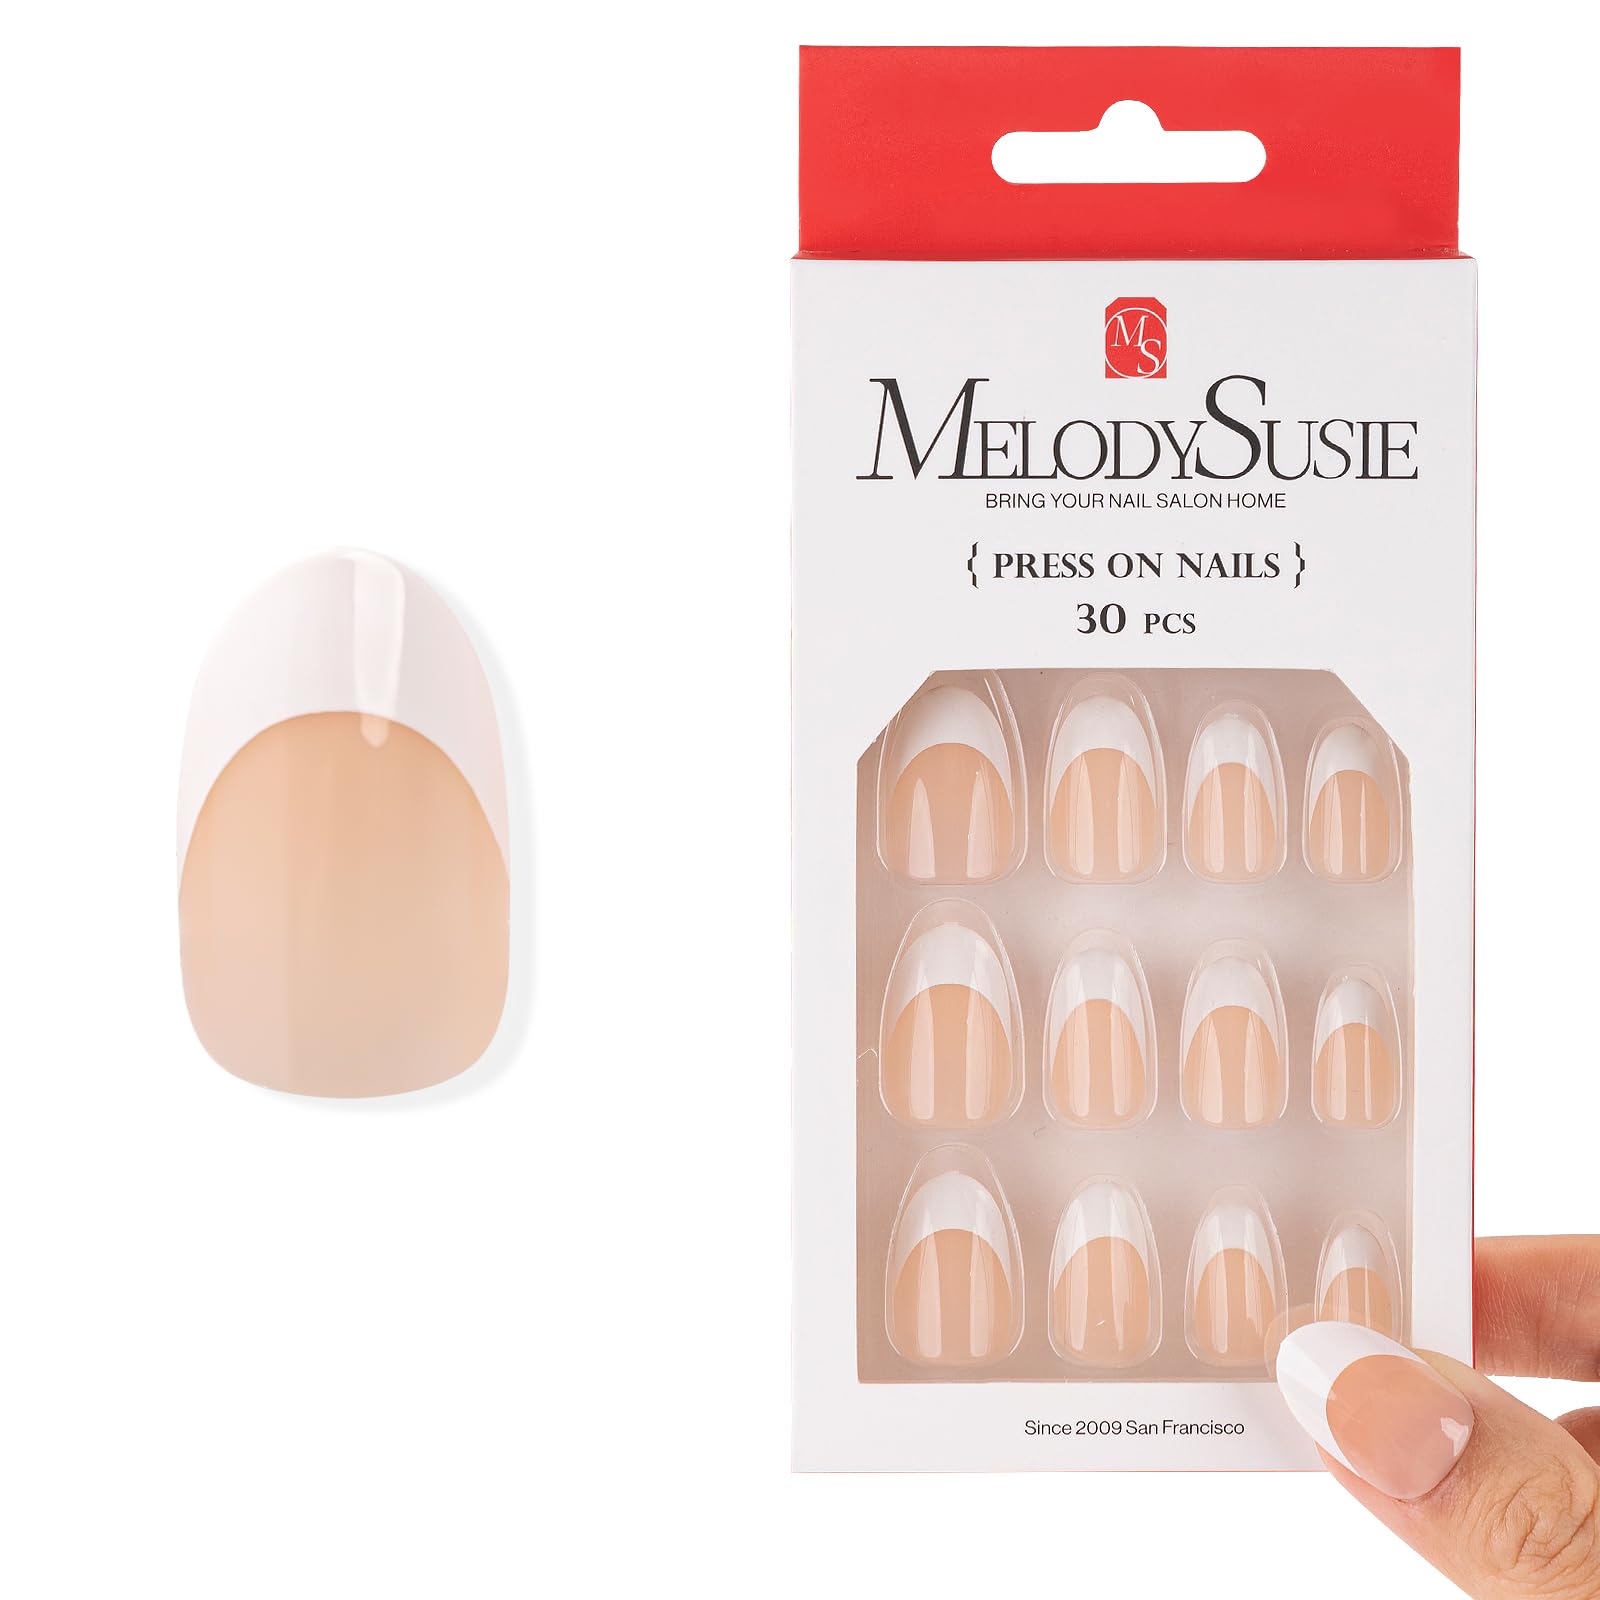
Press-ons rely almost entirely on adhesive strength and correct sizing. A nail slightly too big or small along the sides invites lifting at the edges, which then behaves exactly like a chip once it catches on fabric or hair. Proper prep, buffing the natural nail lightly and applying adhesive to both surfaces, makes the biggest difference in how long a set holds.
Dip powder builds a genuinely hard shell through repeated layers, which is why it often outlasts both regular polish and gel for at-home manicures. The trade-off is that the same rigidity makes dip more prone to lifting in one clean piece if the base wasn't sealed properly at the free edge, rather than chipping gradually.
Across all three systems, the moisture rule holds: gloves for chores, dry nails thoroughly after washing hands, and resist picking at the first sign of lifting, since picking pulls healthy nail away with it.