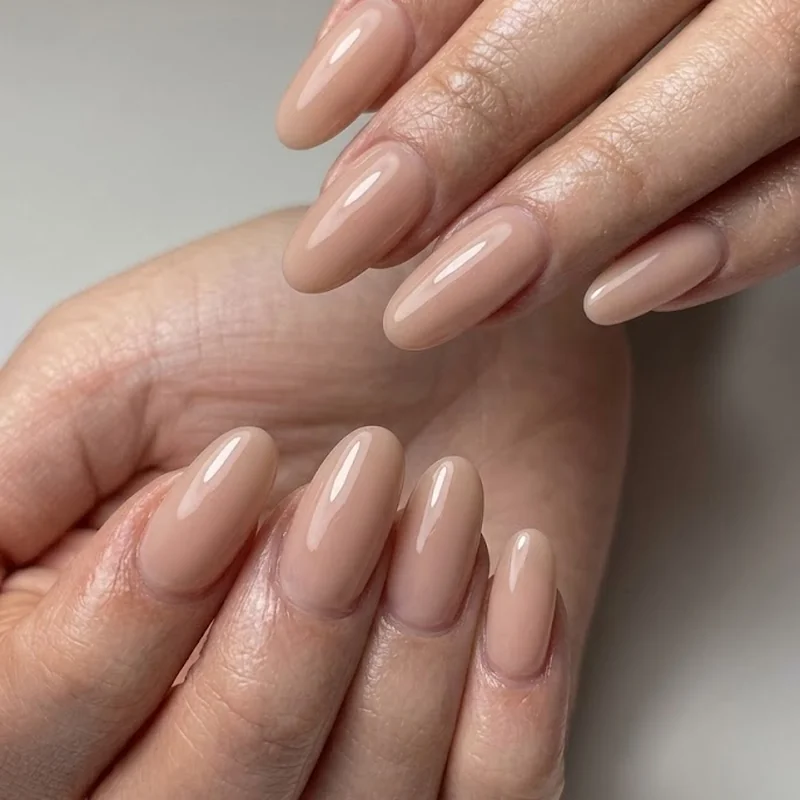
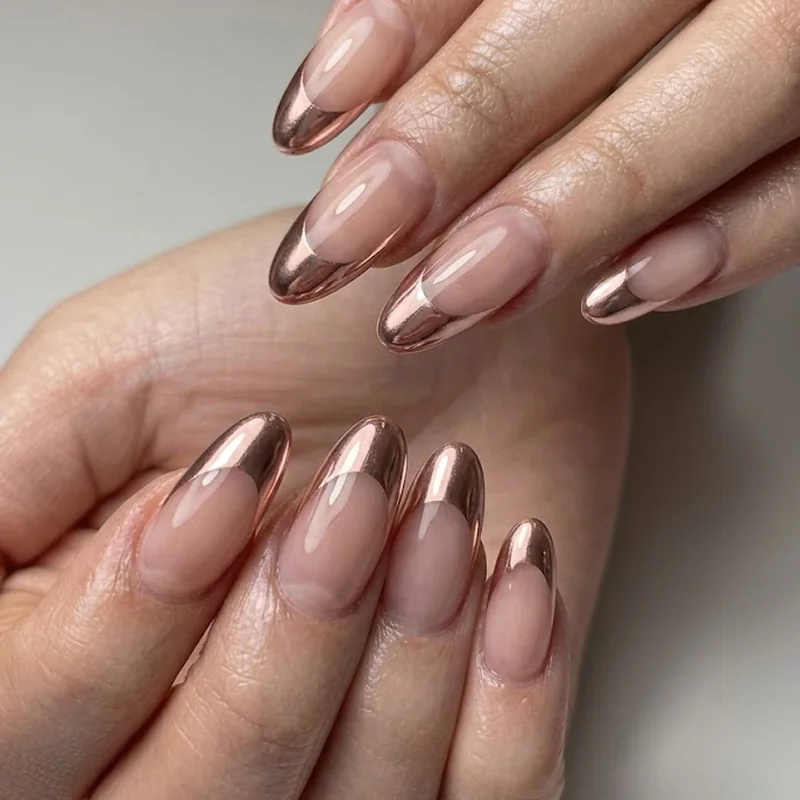
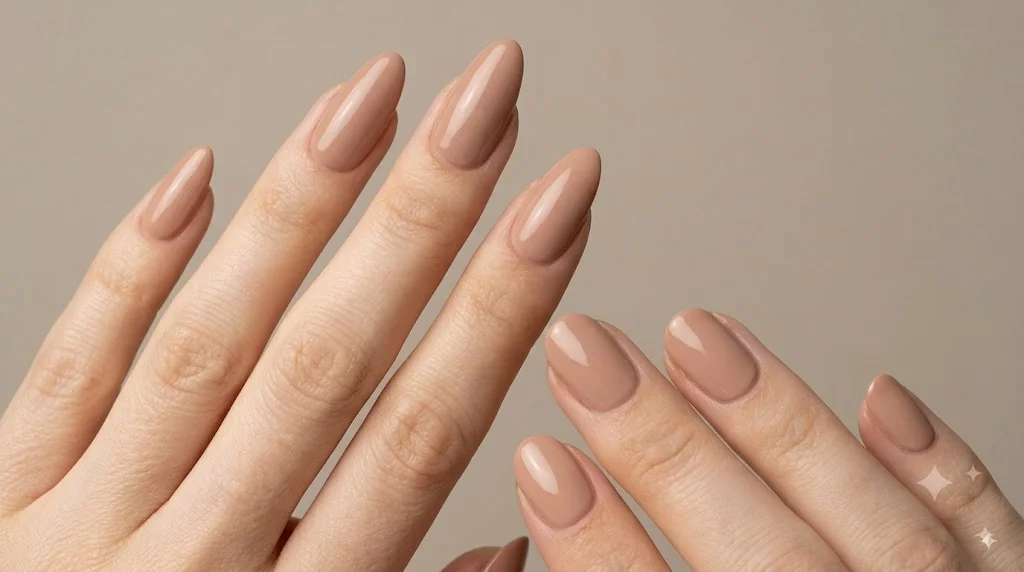
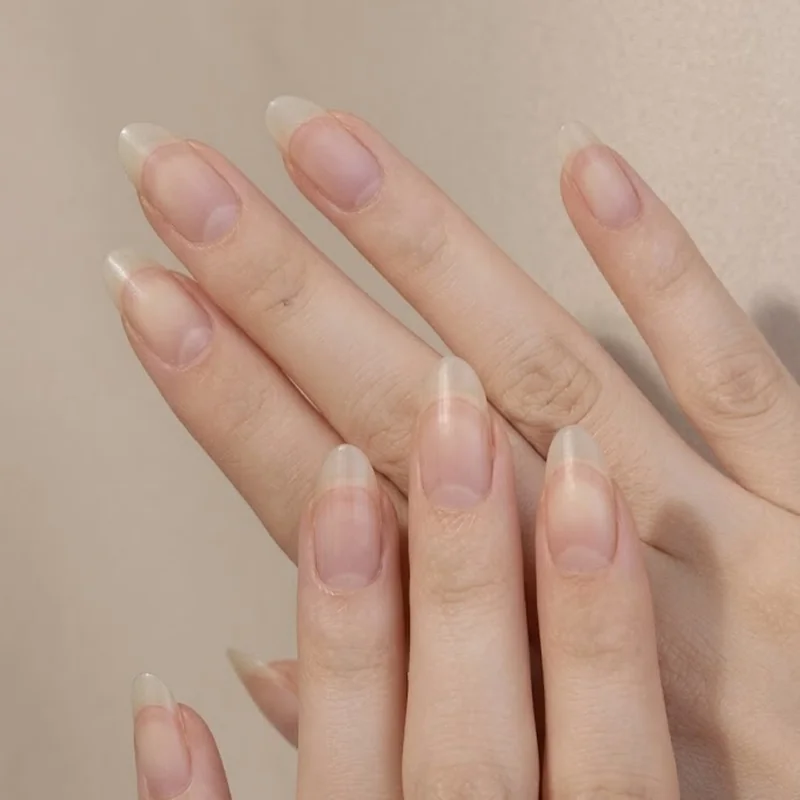
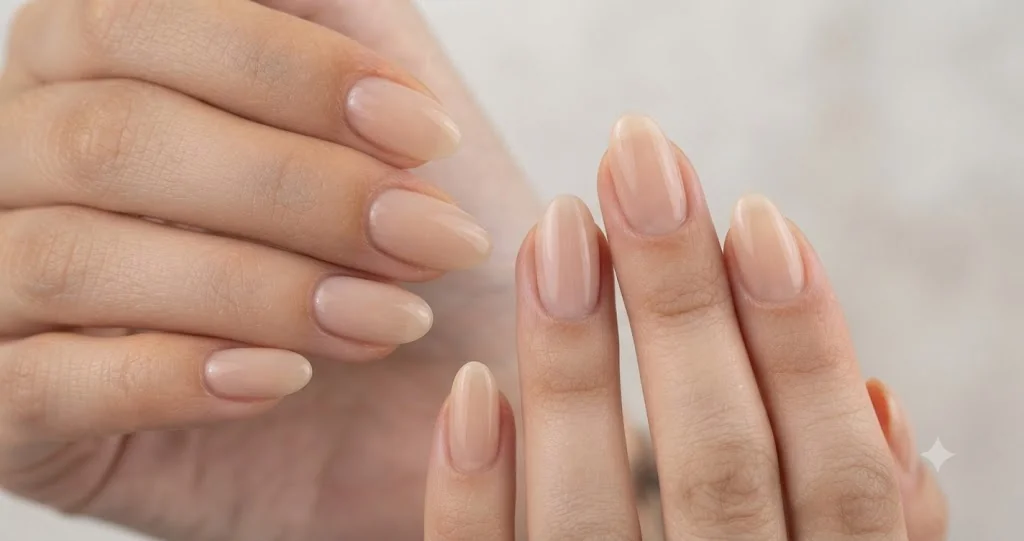
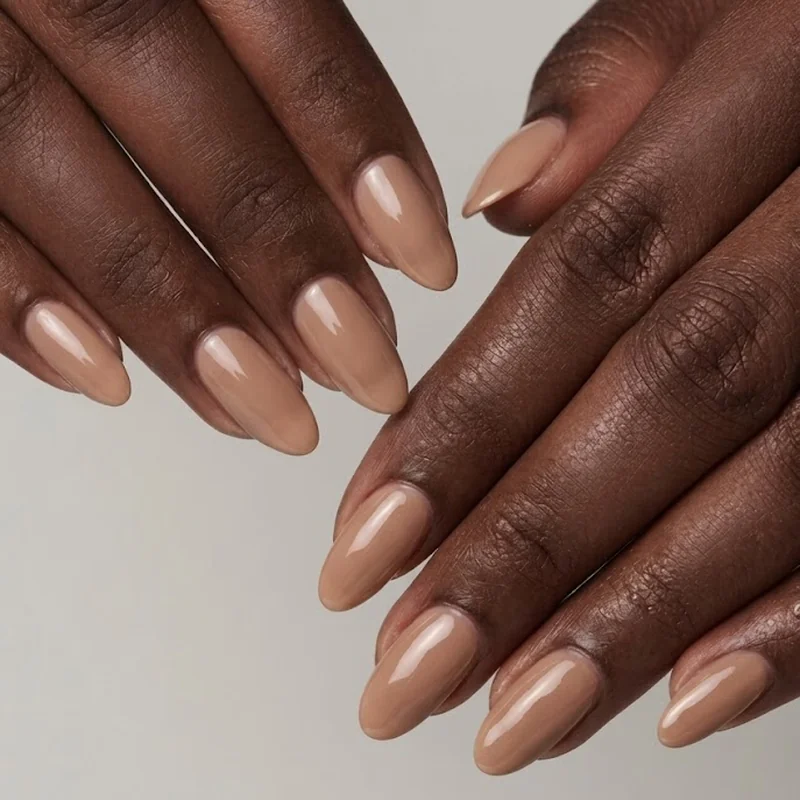
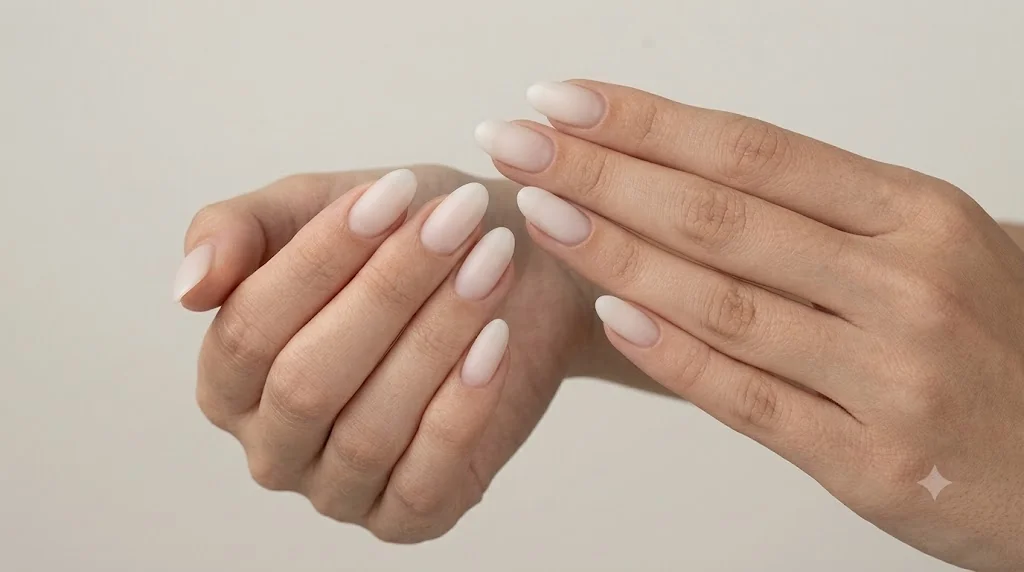
Oval press on nails sizing comes down to one measurement: the widest curvature width of your natural nail, matched to the closest press-on size on the brand's chart. Get that one number right and the rest of the process, from selecting a size to applying the set, falls into place without guesswork. Most sizing frustration with oval specifically traces back to skipping this step and estimating instead.
If you've ever opened a box of press-ons and found them gapping at the sides or pinching your nail bed, you already know the problem this post exists to fix. Oval press-on nails sizing gets treated as an afterthought on most sizing guides, lumped in with almond and coffin as if one chart fits every shape. It doesn't. This guide walks through the exact measuring process, how to read a real size chart, and what to do the moment you land between two sizes, so you order once and get it right.
Why Oval Press-On Nails Need Their Own Sizing Approach
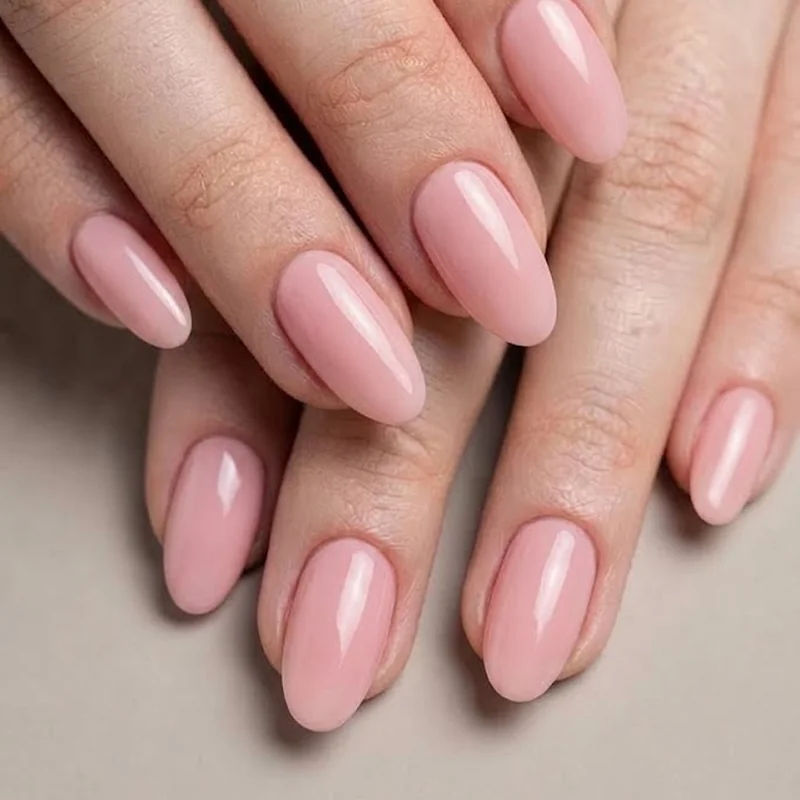
Generic sizing advice fails oval nails for a specific geometric reason: almond and coffin shapes taper inward toward the tip, which means a slightly-off width still tends to sit acceptably because the narrowing hides the mismatch. Oval doesn't taper. It runs straight sidewalls from the cuticle line down to a wide, blunt, rounded free edge, so there is nowhere for a bad fit to hide. A half-size error that would be invisible on a tapered shape becomes a visible gap or an uncomfortable pinch on oval, every time.
This is the shape identity worth understanding before you touch a size chart. If you landed here after deciding on oval nails as your shape, you already know the appeal: rounded, elongating, universally flattering. What most guides skip is that this same rounded, straight-sided structure is exactly why oval checks for fit differently than a shape with a taper built in.
The practical result is that oval press-ons reward precision at a single point: the widest part of the nail plate. Get that width right, and the straight sidewalls do the rest of the work, sitting flush against your natural nail from base to tip. Get it wrong, and there's no taper to absorb the error. This is not a reason to avoid the shape. It's a reason to measure once, correctly, before you order.
How to Measure Your Nails for Oval Press-Ons
The correct way to approach oval press-on nail sizing is to measure the widest curvature width of each natural nail using a flexible ruler, a printed sizing card, or the brand's own sizing kit, then match that number to the closest size on the chart. Do this for all ten fingers, since width varies meaningfully from thumb to pinky. Skip the eyeball estimate. It is the single most common reason a set arrives wrong.
The widest curvature width is the measurement that determines fit, and it is defined as the horizontal distance across the nail plate at its widest point, which sits close to the cuticle line rather than at the free edge. This is not the length of the nail. It is the width, taken where the nail bed curves outward the most before it starts narrowing again toward the sidewalls.
Here's how to take that measurement in under five minutes. Hold a flexible measuring tape or the brand's paper sizing guide flat against the nail, positioned right at the widest point near the cuticle. Read the number in millimeters, not inches, since almost every press-on chart is built in mm. Write it down per finger rather than trusting memory, because by the time you're back at your laptop ordering, five numbers blur into one guess. If a brand includes a physical sizing kit with plastic nail tips in the box, use it instead of a ruler. Press each kit tip against your nail before you commit to a size; it accounts for curvature in a way a flat ruler can't fully replicate.
One reassurance worth stating plainly: this measuring step gets faster every time you do it. First-timers tend to over-think the widest point and second-guess the number. If you're within half a millimeter, you're close enough to move to the size chart with confidence.