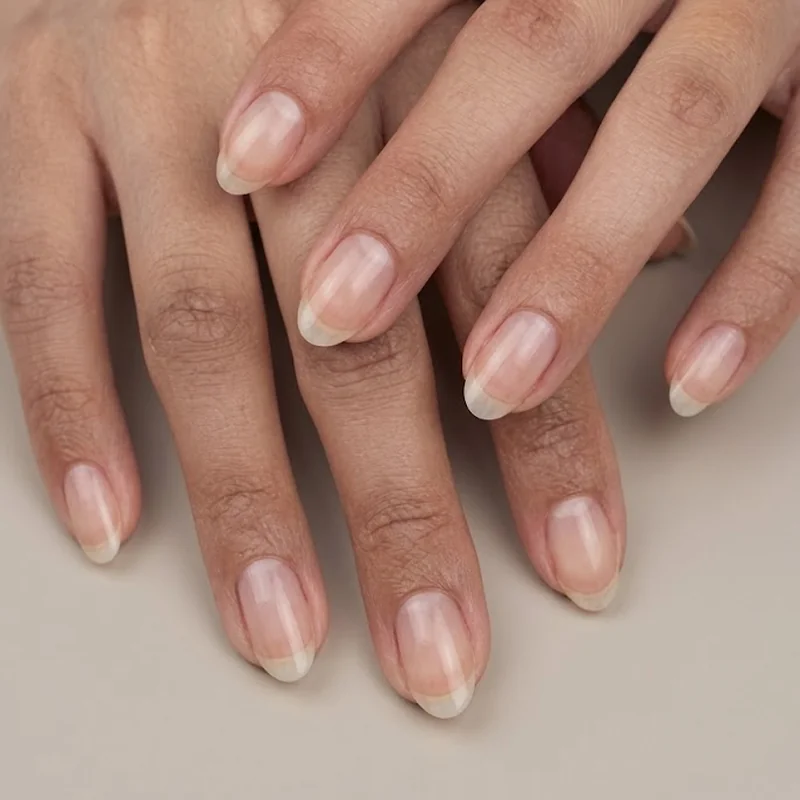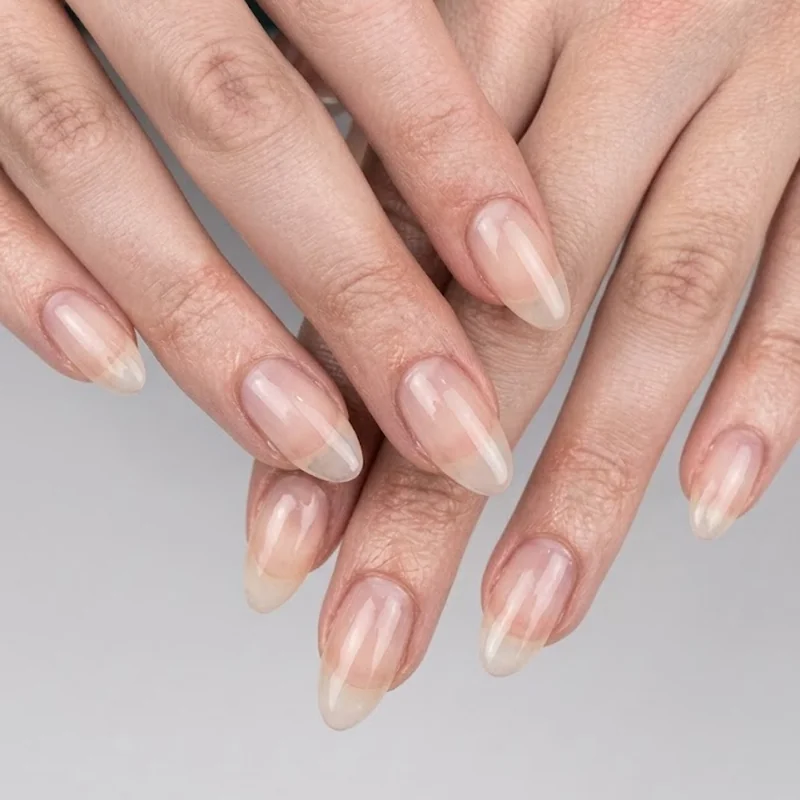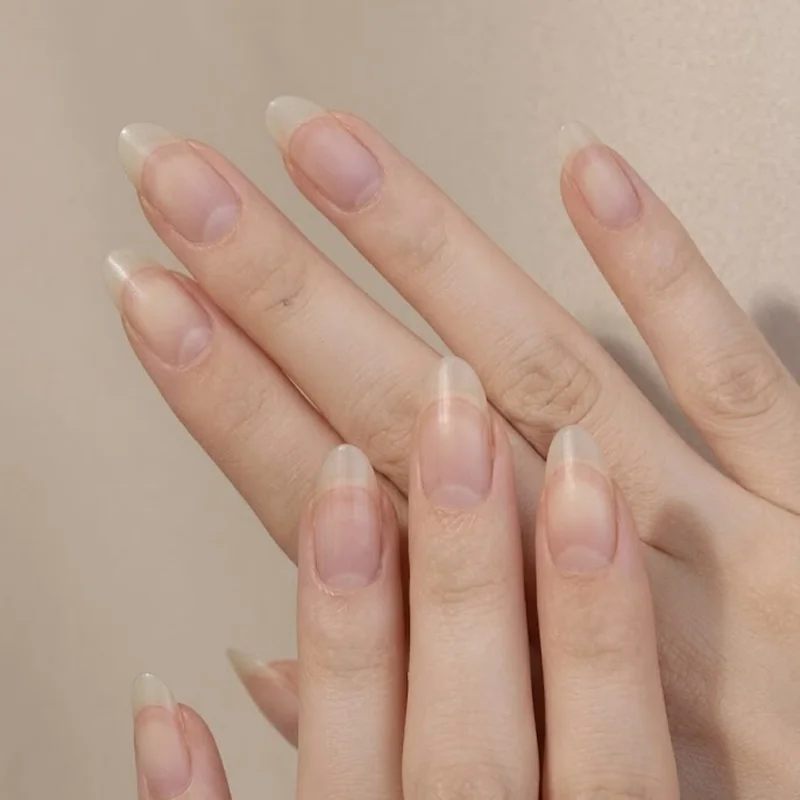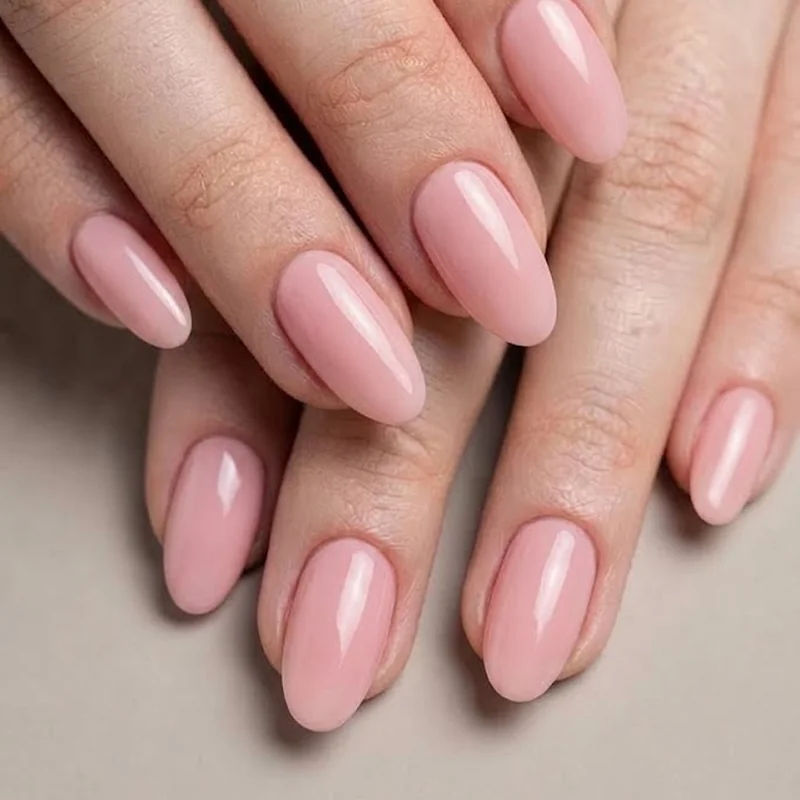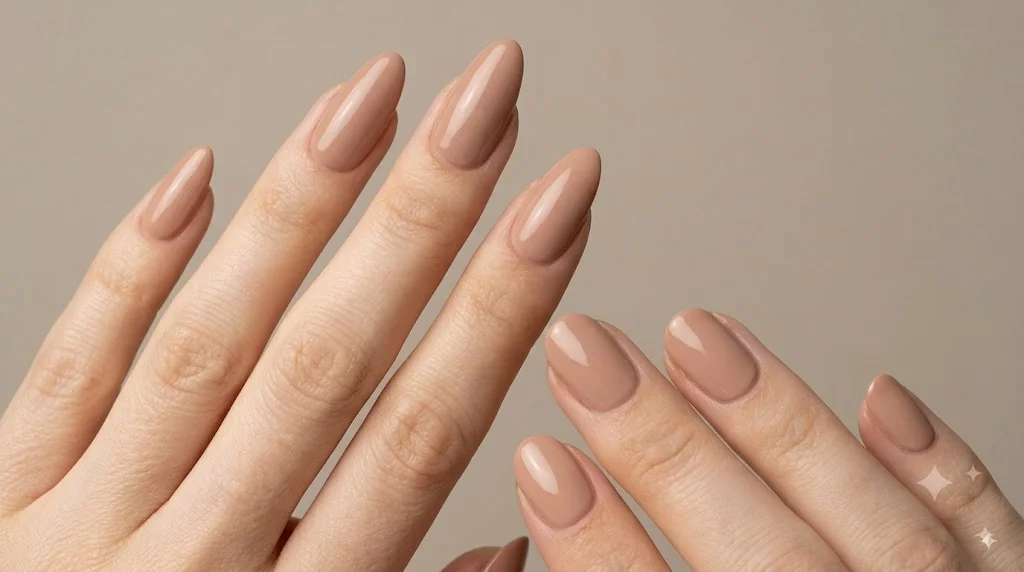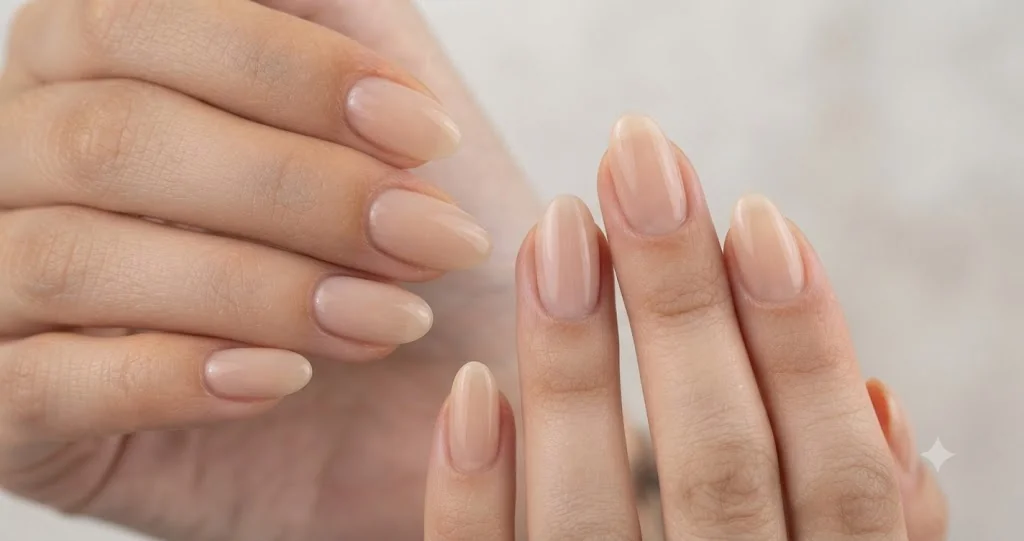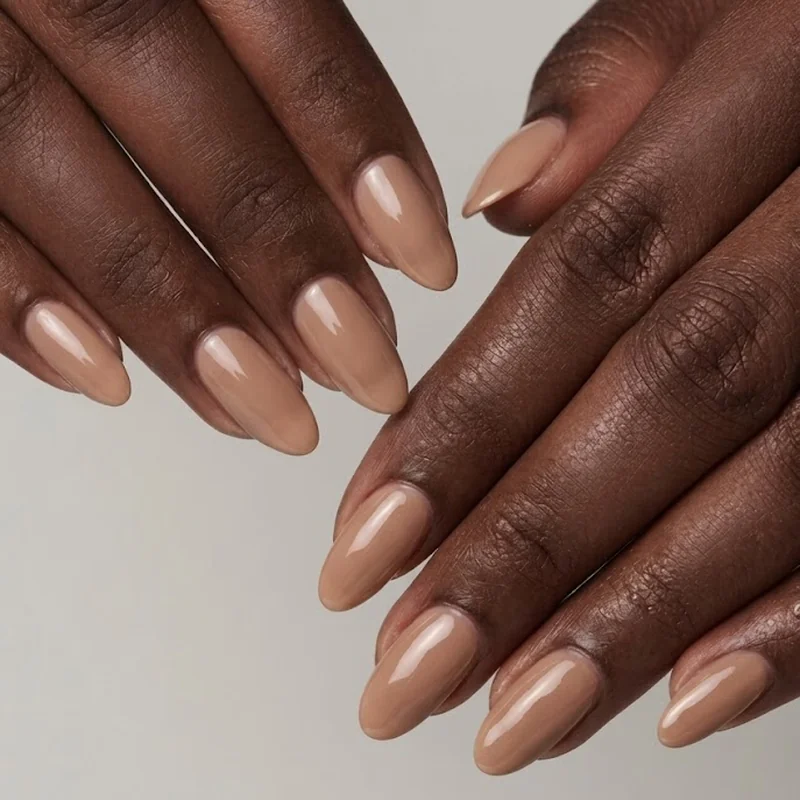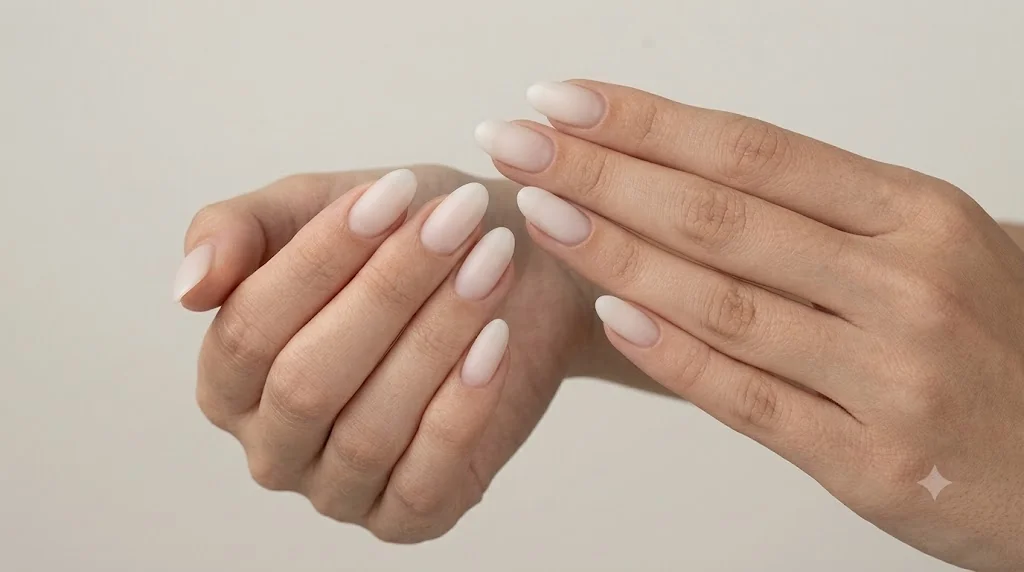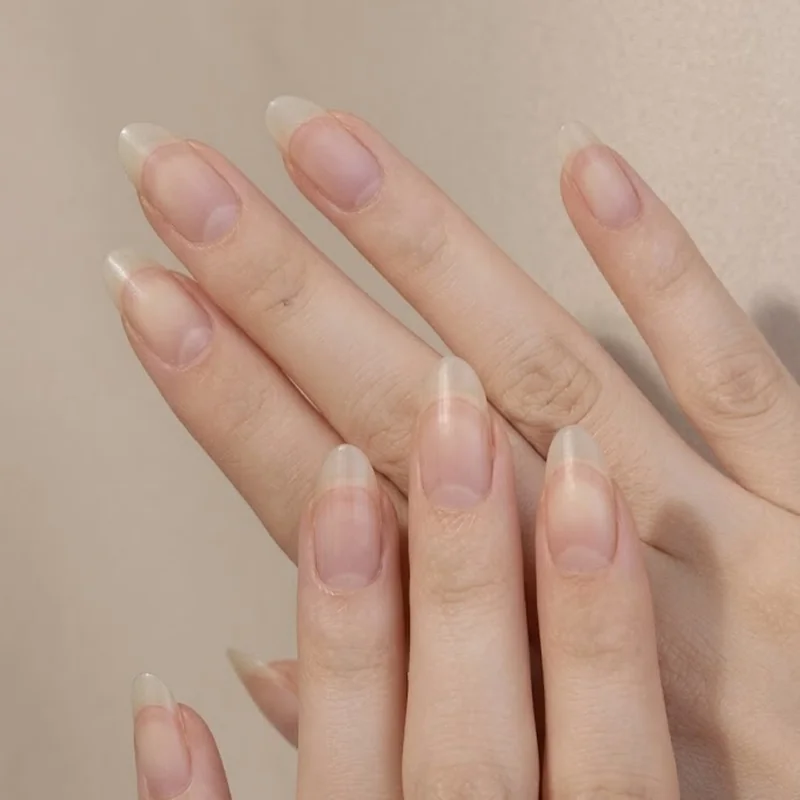
Ruining your sidewalls is the actual risk here, not getting the shape wrong. How to shape oval nails at home starts with knowing exactly where to stop filing, not how to start. Most people who end up with weak, over-thinned nails or one hand that looks nothing like the other made the same mistake: they treated the sides like they treated the tip. This is a repeatable how to shape oval nails at home method built around the one part of the nail you're not supposed to touch.
Oval is one of the more forgiving shapes to wear and one of the least forgiving to file badly. The taper that makes it elongating is also the part that goes wrong first if you get heavy-handed. No salon visit or electric file required, just the right motion, the right stopping point, and a way to check your work before you call it done.
What You'll Need Before You Start
Do you need special tools to shape oval nails at home? Not really. A 180 or 240 grit file, a soft buffing block, and a pair of clippers for length cover the entire job. Nothing electric, nothing aggressive, nothing marketed as "pro only."
Grit matters more than brand. 180/240 is fine enough to shape without tearing the nail plate and coarse enough to move length efficiently. Anything coarser is built for acrylic and artificial overlays, not bare nail, and it roughens the free edge instead of smoothing it. Glass file or emery board, both work; glass lasts longer and leaves a cleaner edge, emery is cheaper and disposable.

The buffing block comes in at the end, not the start. Its job is smoothing what the file already shaped, not doing the shaping itself.
Worth settling before you pick up a file: does your hand type actually suit oval? Shorter or wider fingers tend to read as more elongated in this shape without any added length, which is worth knowing if you're still deciding between shapes. More on that in best nail shape for short wide fingers.
Nails should be dry and polish-free before you start. Wet nails file unevenly and fray at the tip rather than shape cleanly.
Step 1: Prep Your Nails
Wash your hands, then push back cuticles gently with a cuticle pusher while they're still slightly soft. This is not the step to rush. A clean cuticle line gives you an accurate read on where the nail actually starts, which matters later when checking symmetry across all ten.
If you're wearing polish, remove it completely. Filing over polish clogs the file and hides the true edge of the nail, exactly the kind of small error that turns into an uneven set later.
Dry hands file more predictably than damp ones. If you've just washed up, give it a minute. Nails absorb a small amount of water and soften slightly, which makes the free edge more prone to peeling under the file rather than cutting clean.
Look at each nail's natural shape before a file touches it. Not every nail on the same hand starts from an identical width or curve, and knowing that now is what makes an even result possible later instead of a surprise at the end.