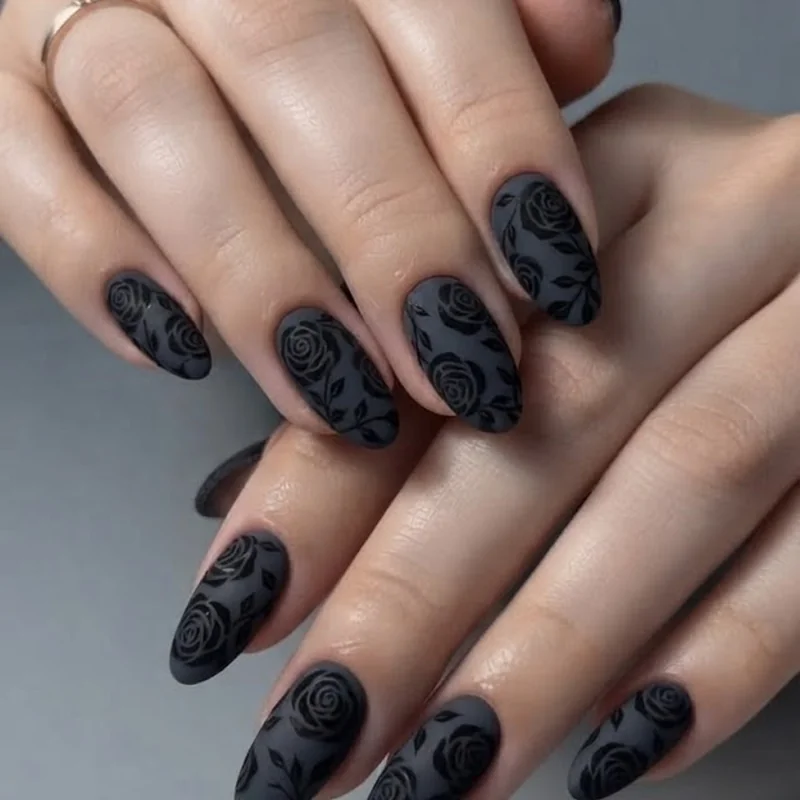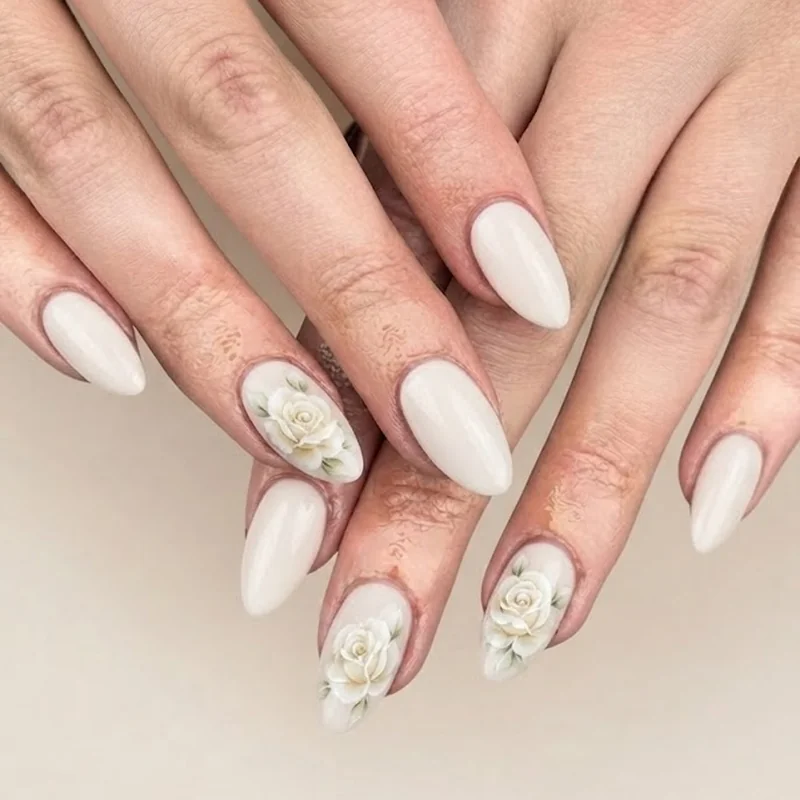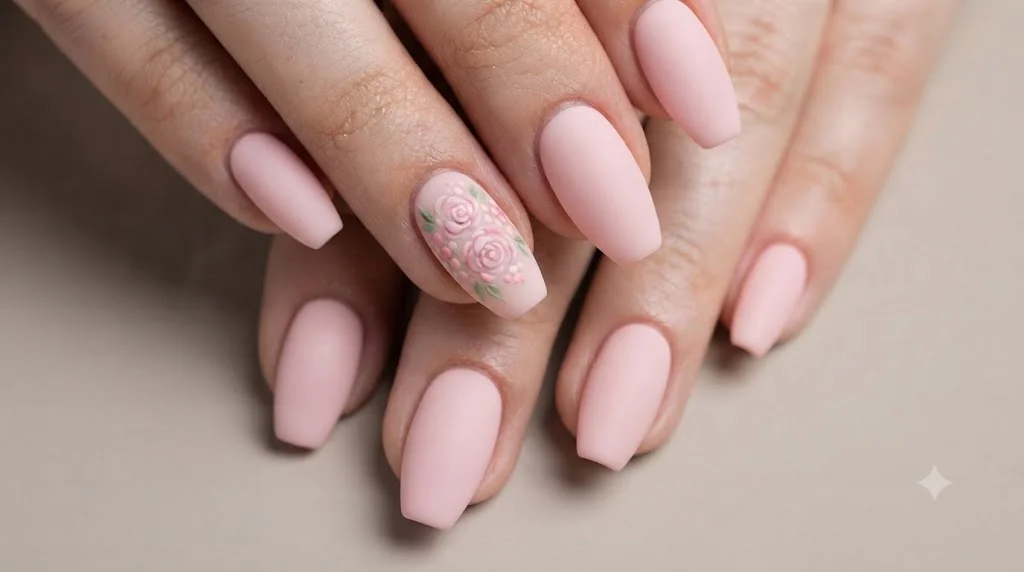
Every rose nail gallery you have scrolled through lately probably blurred into the same image: a red rose, painted the same way, on the same nude base. Rose motif nails do not have to mean picking from a wall of near-identical photos and hoping one somehow fits your nail shape or your skill level. This roundup groups genuinely varied rose motif nails ideas, from a five-minute dotting-tool bloom to a full black rose statement set, by exactly what you need to know before picking one: how hard it is, what shape it suits, and what occasion it is actually for. If you have been scrolling and scrolling without finding rose motif nails that felt realistic for you, this is the post that sorts it out.
That fatigue is real, and it is not you being picky. Most rose nail content is a scroll-and-forget gallery: pretty photos, a one-line caption, zero sense of whether the design in front of you needs a steady hand or a nail tech. This post works differently. It starts with the most forgiving technique first, so you can build confidence before the designs get more elaborate, and it groups looks by shape and occasion the way an actual nail-obsessed friend would explain them, not the way a stock photo gallery does.
Easy Rose Motif Nails to Start With (Even If You've Never Tried Nail Art)
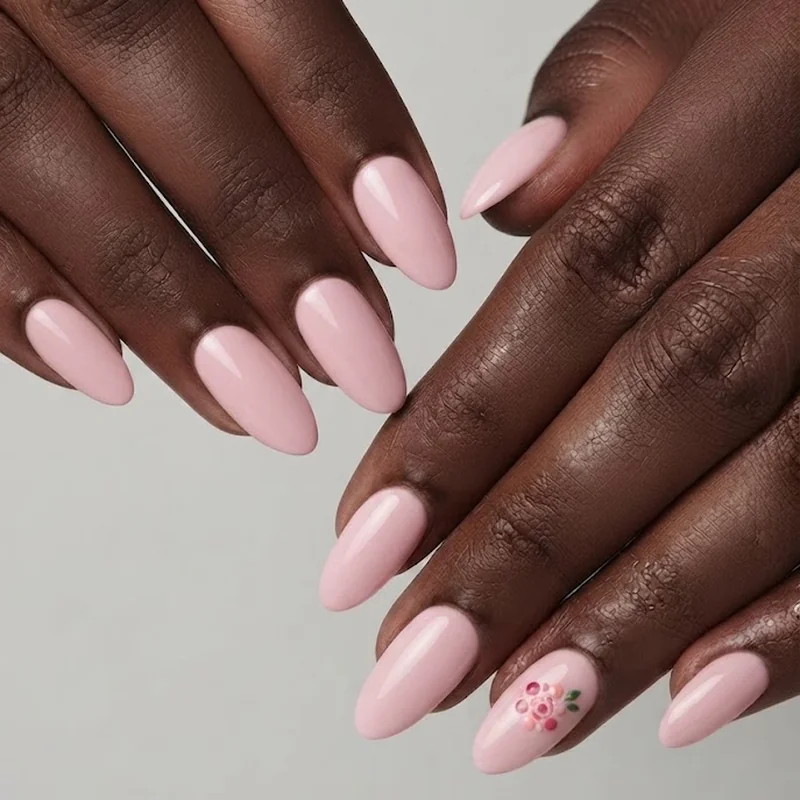
You do a rose motif on your nails by starting with a dotting tool, not a paintbrush. Load the tool with a small dot of polish, press it onto the nail, and layer three to five overlapping dots in a loose spiral to build petal shape. A full rose takes under a minute once you get the motion down, and it forgives shaky hands far better than freehand strokes do.
A dotting tool technique uses the rounded tip of a metal or silicone tool, instead of a brush, to place polish in controlled dots rather than painted lines. That single distinction is what makes it the easiest way into rose motif nails. There is no line to keep steady, no brush pressure to modulate, just dots of decreasing size layered until they read as petals. This is the technique worth mastering first, since every other rose motif nails style in this post builds on the same basic petal logic.
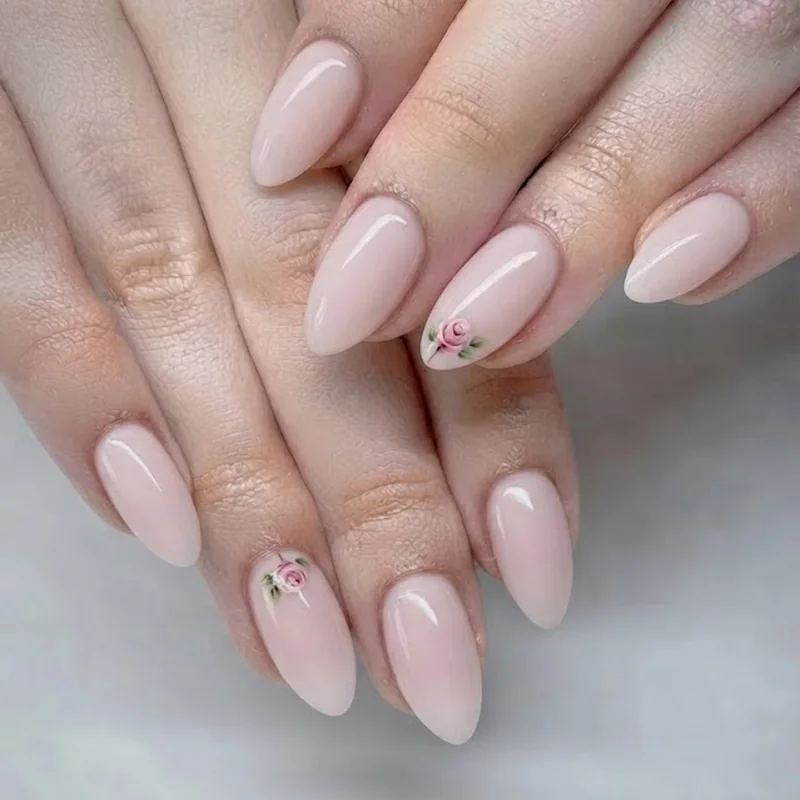
If you have never tried nail art before, start with one accent nail instead of a full set. Paint your other nine nails a solid base, pastel pink, soft nude, or a muted sage work beautifully, and put your dotting-tool rose on the ring finger only. This keeps the commitment low while still giving you the full visual payoff of rose motif nails in your first attempt. Once that single rose feels confident, expanding to a second accent nail is a natural next step for rose motif nails, not a leap.
A one-stroke technique is the other true beginner option worth knowing. It uses a flat brush loaded with two polish colors at once, so a single stroke creates the light-to-dark gradient of a petal in one motion. It takes more brush control than dotting, but produces a softer, more painterly look once practiced. Either technique proves the same point: you do not need a steady painter's hand to wear rose motif nails well.