The Prep Mistakes That Ruin Beginner Nail Art (Fix These First)
Picture this: polish pooling at the base of the nail, creeping onto the skin, drying into a thick ridge that chips within a day. That is cuticle flooding, the single most common reason a first manicure looks messy regardless of the design chosen.
Base coat is a thin, clear layer applied before colour that helps polish grip the nail and prevents staining. The cuticle line is the skin edge at the base of the nail bed, and leaving a small gap there, rather than painting right up to it, is what stops flooding before it starts. Load less polish onto the brush than feels natural, and stop the stroke a hair's width above the skin.
Three mistakes account for nearly every beginner failure, and none involve talent. The first is flooding the cuticle, covered above. The second is applying polish too thick in a single pass, which causes bubbling and a surface that never quite levels. Thin coats always beat thick ones, even when thin feels like it should not be enough colour. It is. A second thin coat builds the opacity a single thick one was trying to force.
The third mistake is rushing between coats. Wait roughly two to three minutes before the next layer. Touch the edge lightly; if it feels tacky rather than firm, wait another minute. A second coat over a half-set first coat drags the colour underneath and is the direct cause of most streaking.
Get these three things right, cuticle gap, thin coats, real drying time, and the design itself becomes almost secondary.
simple nail designs as a category only look effortless once this stage is second nature, so it is worth slowing down here before moving to an actual design.
Zero-Tool Designs to Try First
Two colours and a steady breath, not a steady hand, are all a first zero-tool design needs. Nothing here calls for anything beyond the polish already sitting in your collection.
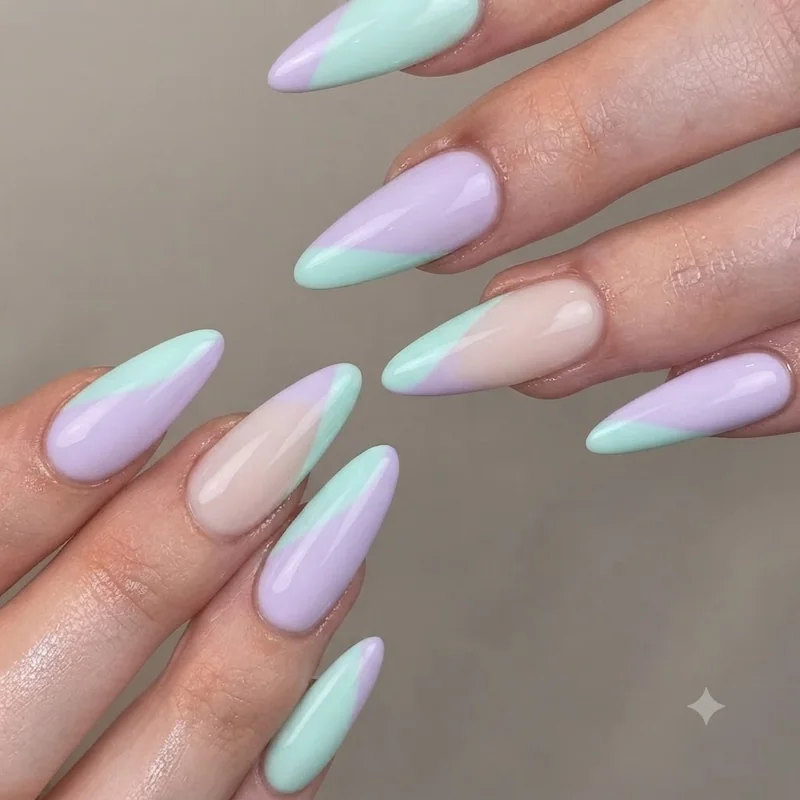
The two-tone colour block covered above is the natural starting point. Paint the base colour first, let it dry fully, then eyeball a line across the tip or in a diagonal half-moon shape and fill in the second colour. Because the shapes are broad rather than thin, a wobble in the line reads as style rather than error.
A simple swirl is the second zero-tool option worth trying. Apply two colours side by side while both are still wet, then drag a single stroke through the middle with the brush tip to blend them into a soft marble. The effect looks far more advanced than the technique required, and because a swirl is meant to look organic, there is no "wrong" version of it.
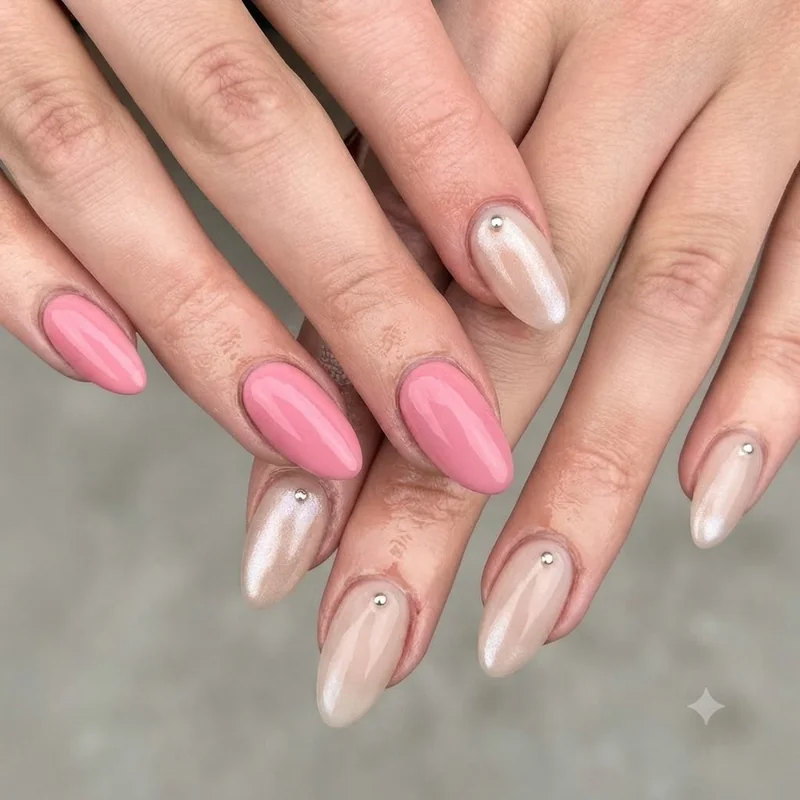
An accent nail, one nail in a different colour or finish from the rest, is the third option, and the lowest-pressure of the three. It isolates the design element to a single nail, so even a shaky attempt only affects one-tenth of the total manicure.
For readers with shorter nail beds looking for shapes that work within less surface area, simple nail designs for short nails covers colour and placement choices suited to a smaller canvas.
Once these three feel comfortable, and only then, is the right moment to look beyond this guide. a full 24-design roundup of no-tool beginner nail art is worth bookmarking for that next stage rather than opening on night one.
One-Tool Designs (Toothpick or Bobby Pin Only)
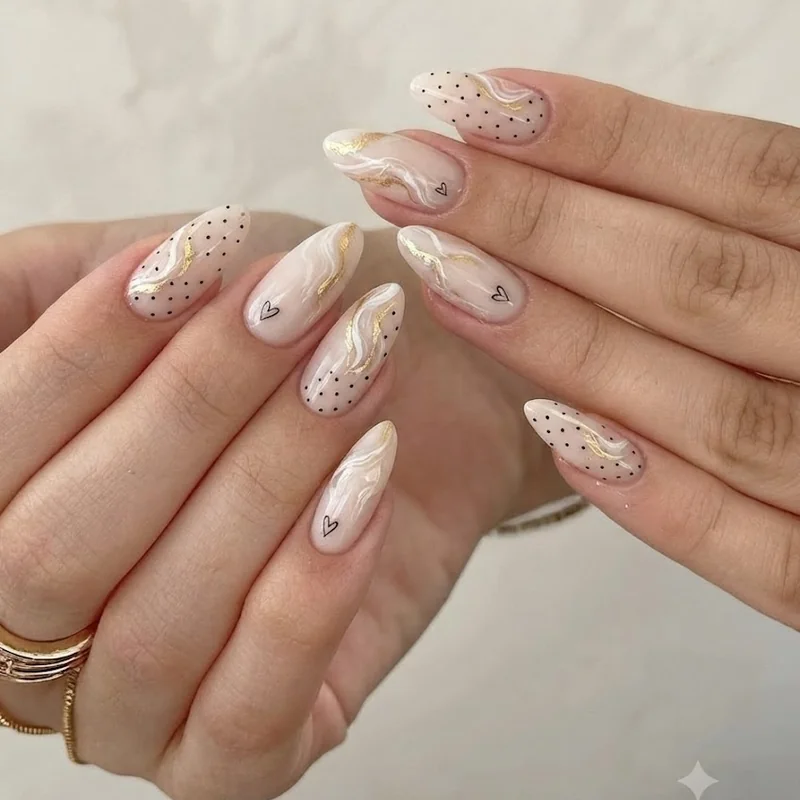
A dotting tool is a small stick with a rounded ball at the tip, used to place round dots of polish precisely onto a nail. Nobody needs to own one to make polka dots. A toothpick dipped in polish produces a small, clean dot. The rounded end of a bobby pin produces a slightly larger one. Both substitute for a dedicated tool, and most simple nail designs for beginners that call for a dotting tool work just as well with either.
Dip just the tip into the polish and press straight down onto the nail without dragging. Dragging turns a dot into a smear. Reload the toothpick or bobby pin for every dot rather than stretching one dip across several; a thinning dot looks patchy in a way a fresh one never does.
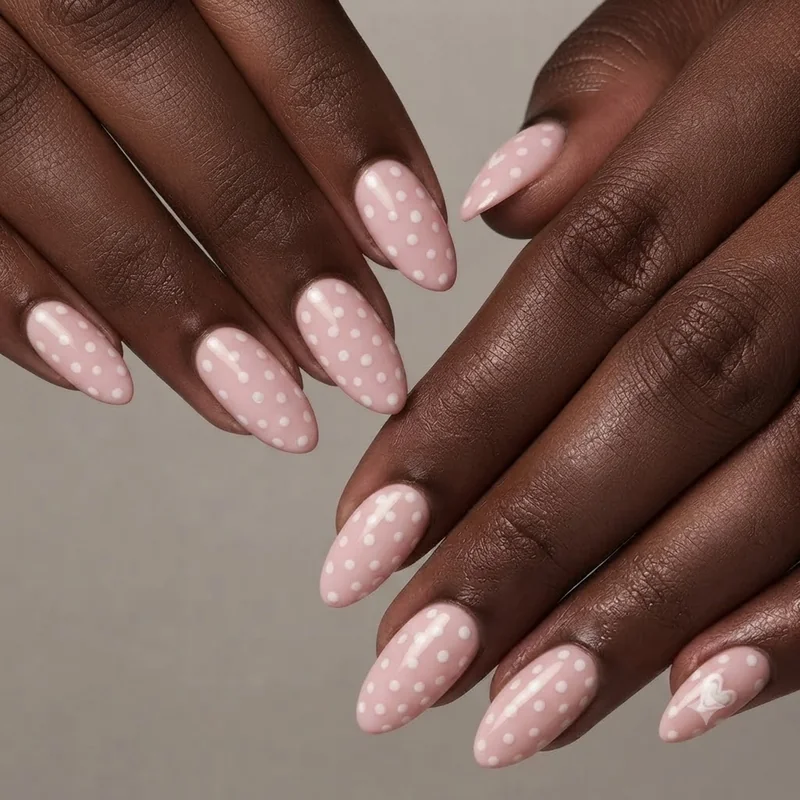
Polka dots scattered loosely across a base colour are the easiest one-tool design to start with, since imperfect spacing still reads as intentional. A simple heart, two teardrop-shaped dots dragged toward each other at their inner points, is the natural next step once dot placement feels comfortable.
Let the base colour dry completely before adding dots. A dot placed on wet base polish sinks and blurs rather than sitting crisply on top, and that one extra wait is where most one-tool attempts either hold together or fall apart.
For a deeper walkthrough of spacing, layering, and more toothpick patterns beyond dots and hearts, easy nail art with a toothpick covers the technique in more depth than fits here. InStyle's DIY-friendly nail design coverage has also highlighted bobby pins and toothpicks as legitimate substitutes rather than beginner shortcuts, which is worth knowing if a design ever specifies "dotting tool" and none is on hand.