How to Prep Your Nails Before Dipping
Your dip powder nails will only look as good as the nail underneath them, and prep is where most of that quality gets decided, long before any colour touches the nail.
Every tutorial you have watched skips straight to the fun part. It rarely lingers on why the boring five minutes beforehand determines whether the whole thing lasts. Start by removing any old polish and washing your hands. Push back the cuticles gently with a cuticle pusher, being careful not to cut or force them, then trim any hangnails. Shape each nail to your preferred length with a file, and lightly buff the surface of the nail plate until the natural shine is gone and it looks slightly matte. This is not about aggressive filing. You are only breaking the shiny top layer so the base coat has something to grip.
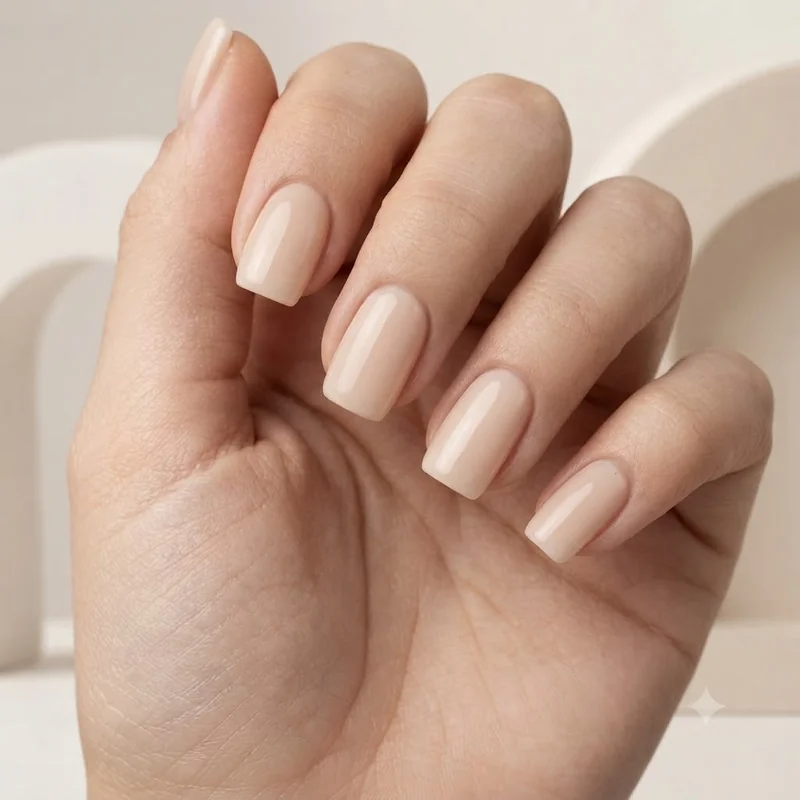
Wipe every nail down with a lint-free pad and a dehydrator or alcohol-based cleanser. Oil and moisture are invisible to the eye but they sit between the base coat and the nail, and that thin barrier is exactly what causes early lifting at the edges. Pay particular attention to the cuticle gap, the small sliver of skin closest to the nail fold. Leave a slim, visible gap here rather than dipping too close to the skin. It looks more polished and it keeps product off skin you will need to clean up later.
How to Apply Dip Powder Nails Step by Step
How long does it take to do dip powder nails at home? Realistically, 45 to 75 minutes for your first full set, working through one hand at a time so nothing dries out while you wait. That estimate covers prep through top coat, and it gets faster with practice.
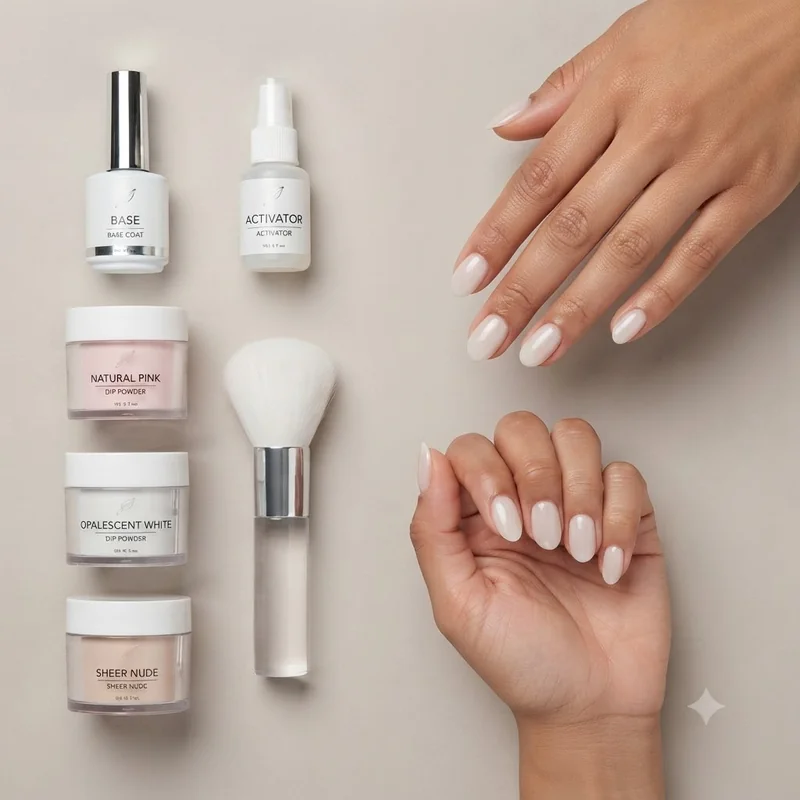
Work on one hand at a time throughout, keeping the other hand free to dip and tap. Starting with your thumb, brush a thin, even layer of base coat from the cuticle gap out to the free edge of the nail. Keep it wet, not thick. This is the step where a fast-drying base coat catches beginners out, because if the base sets before the powder goes on, the colour ends up patchy rather than solid. Work quickly and dip the nail while the base coat still looks glossy and slightly tacky.
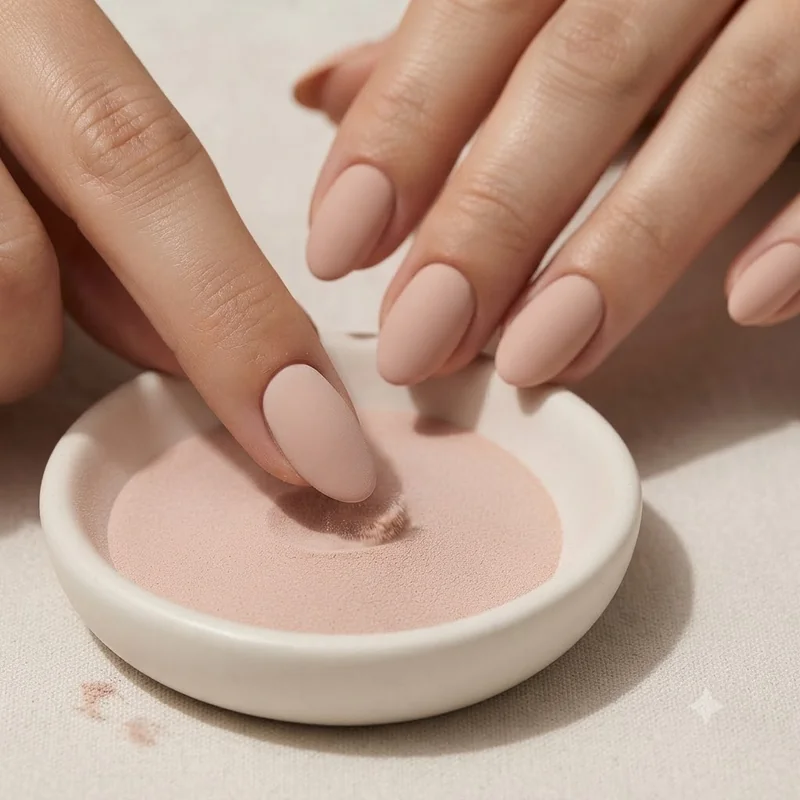
Dip your finger into the powder jar at a 45-degree angle, submerging the whole nail in one smooth motion, then pull it straight back out. Tap off the excess powder gently over the jar rather than blowing on it, which just redistributes dust into your workspace. Use a small brush to sweep away any stray powder caught around the cuticle before moving to the next finger.
Repeat the base coat and dip sequence two to three times per nail. Two coats usually gives sheer to medium coverage, and three builds a fully opaque colour without adding noticeable bulk. This is also where the technique carries over neatly into colour-blocking styles: the same layering method is what's behind an ombre dip nails tutorial, just with a second shade introduced on the tips of the final layer.
As you build each layer, cap the free edge. This means dragging your brush over the very tip of the nail with each coat of base, not just across the top surface. It seals the powder at the point where your nail meets the air, which is exactly where chipping starts first on nails that skip this step.
The activator is the liquid that hardens the powder into a solid, durable coating; without it, the dip layers would stay loose and powdery. Once you are happy with the coverage on all five nails, brush on the activator in a thin, even coat and let it sit for one to two minutes. You will feel the nail firm up under the brush, and a faint clicking sound when you tap nails together is the reliable sign that a layer has properly set.
How to Seal and Finish Your Dip Powder Manicure
The difference between a home dip set and a salon one usually comes down to the last five minutes, not the first twenty.
Once the activator has fully set on all ten nails, gently file and buff the surface to smooth out any texture or ridges left by the dipping process. Work in short, light strokes rather than pressing hard in one spot, since over-buffing thins the nail plate and is one of the more common ways beginners accidentally weaken healthy nails. Wipe away all the dust with a lint-free pad and a little alcohol before moving on, because any leftover powder will cloud the finish underneath the top coat.
"Capping the edges" refers to sweeping your brush over the very tip of the nail with every layer, base coat, activator, and top coat included, to seal the free edge completely. Apply it now with the top coat exactly as you did during application: one thin layer brushed from the cuticle gap to the free edge, tip included, then a second thin layer once the first has set for full gloss.
Let the top coat sit undisturbed for a few minutes before you touch anything. There is no lamp to rush this along, so patience here is what separates a glassy, salon-level finish from one with drag marks and fingerprints baked into the shine.