How to apply nail stickers the right way starts before the sticker touches your nail. You've searched how to apply nail stickers before, followed the five steps every guide repeats, and still ended up with a bubble under the design or an edge that lifted by Wednesday. That's not bad luck or a cheap sticker sheet. The real technique for how to apply nail stickers so they hold and look intentional comes down to three details most guides skip: smoothing direction, base choice, and whether you seal the tip. Get those right and the same sheet reads as hand-painted nail art. Skip them and it peels off by the weekend regardless of price.
This isn't about finding a better brand. It's about fixing the three moves that separate a two-week manicure from one that doesn't survive a shower.
Why What's Underneath Matters More Than the Sticker Itself
Why does the surface under a nail sticker matter more than the sticker itself? Because adhesive only bonds as well as the surface it's pressed against, and most failures start beneath the decal, not with the decal.
A nail sticker is a partial decal, usually shaped for a single nail or a design accent, applied onto a prepped surface. A nail wrap covers the entire nail edge to edge instead, functioning as the whole manicure. Both need the same foundation: buffed, oil-free, completely dry. Stickers sit happily over bare nail, regular polish, gel, or acrylics, including a base built with how to do acrylic nails at home, as long as the surface is prepped the same way. Skip the buffing step on a shiny gel base and the sticker's adhesive has nothing to grip.
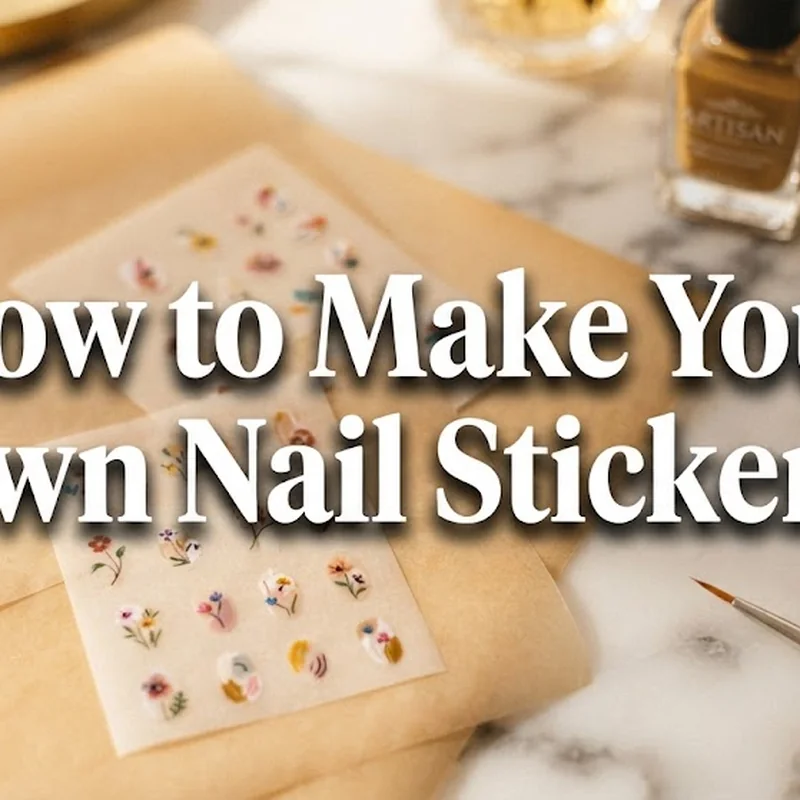
Prefer to skip the sticker sheet? How to make your own nail stickers at home covers building your own. Chasing precise, freehand detail instead? Dotting tool nail art as a freehand alternative gets you there with a brush, not a backing sheet.
The Prep That Actually Prevents Bubbles and Lifting
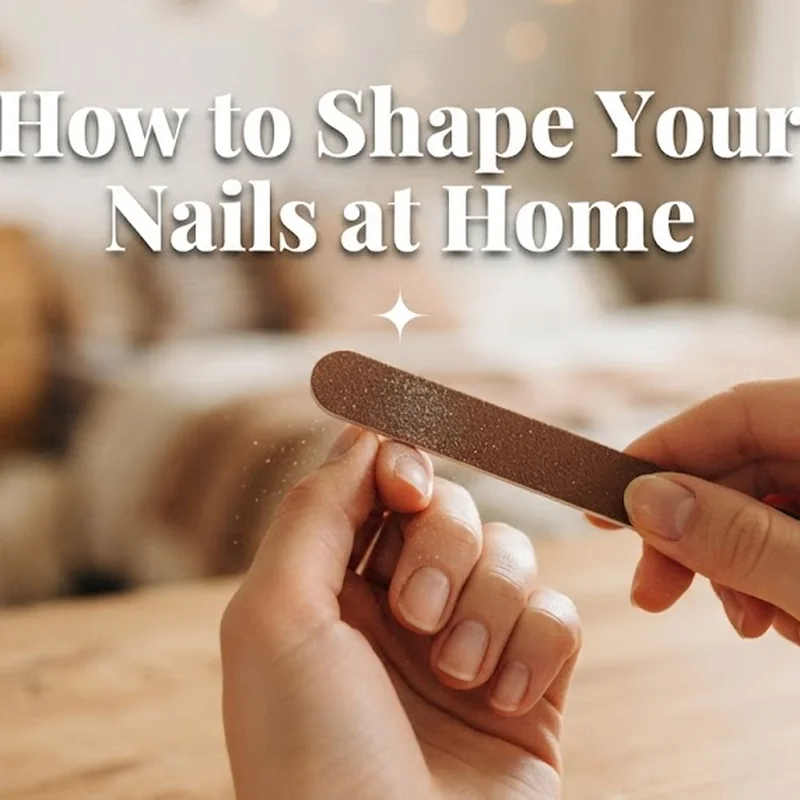
Ten minutes before the sheet even opens, your nails are already deciding whether this lasts two days or two weeks. Wash your hands, then push back the cuticle line so no skin overlaps the nail plate. A light buff across the entire surface, not just a swipe, roughens it enough for adhesive to grip rather than sit on top. Wipe every nail with a lint-free pad soaked in isopropyl alcohol or acetone to strip oil and moisture; skip this and the sticker slides for the first hour, then lifts within a day.
Let nails dry completely before touching a sticker. Damp or oily nails are the most common reason a first attempt bubbles, because trapped moisture has nowhere to go once the decal seals over it. This is also the moment to decide on your base coat. Get prep right and the rest of how to apply nail stickers gets far easier.