What You Need for Marbling Nail Art (Tools & Polish Types)
The supply list for marbling nail art is shorter than most tutorials suggest. You need a base coat, two to four polish colours in a thin, creamy formula, a disposable cup of water, a toothpick or thin dotting tool, tape or liquid latex for cuticle protection, a small angled clean-up brush, acetone, and a top coat.
Not every polish in your collection is a candidate. Thick, gel-like, or heavily glittered polishes are the ones most likely to sink or clump instead of spreading, so save those for a different look. Creme finishes with a thin, runny consistency are the most reliable starting point, and a favourite colour on the thicker side can be brought back into working range with a drop of nail polish thinner (not remover).
Cuticle protection is not optional, whatever the shortcuts online suggest. Liquid latex peels away in one piece once the design has cured, taking excess polish with it, and tape does a similar job. Skipping this step is the single biggest reason "it's a bit messy but worth it" turns into forty-five minutes with a clean-up brush.
Keep a spare nail tip nearby. Testing a colour combination or a new toothpick pattern on a tip first saves product and nerves once you are mid-swirl.
How to Do Water Marble Nail Art, Step by Step
Prep the nails. Push back cuticles, shape, and apply a white or light base coat as your canvas. Let it dry fully. Wrap tape or liquid latex around each finger, covering all skin right up to the cuticle edge.
Fill a cup with room-temperature water. Around 20 to 24 degrees Celsius is the sweet spot. Let the water sit undisturbed for a minute so there are no ripples on the surface.
Drop your first colour. Hold the brush close to the surface, almost touching it, and let one drop fall. It should spread into a thin ring within a second or two. If it sinks, that polish is too thick, swap it before continuing.
Layer the next colours inside the first ring. Drop each new colour into the centre of the previous one. The rings will not mix on contact; they sit as distinct concentric circles thanks to surface tension. Repeat with two or three colours total.
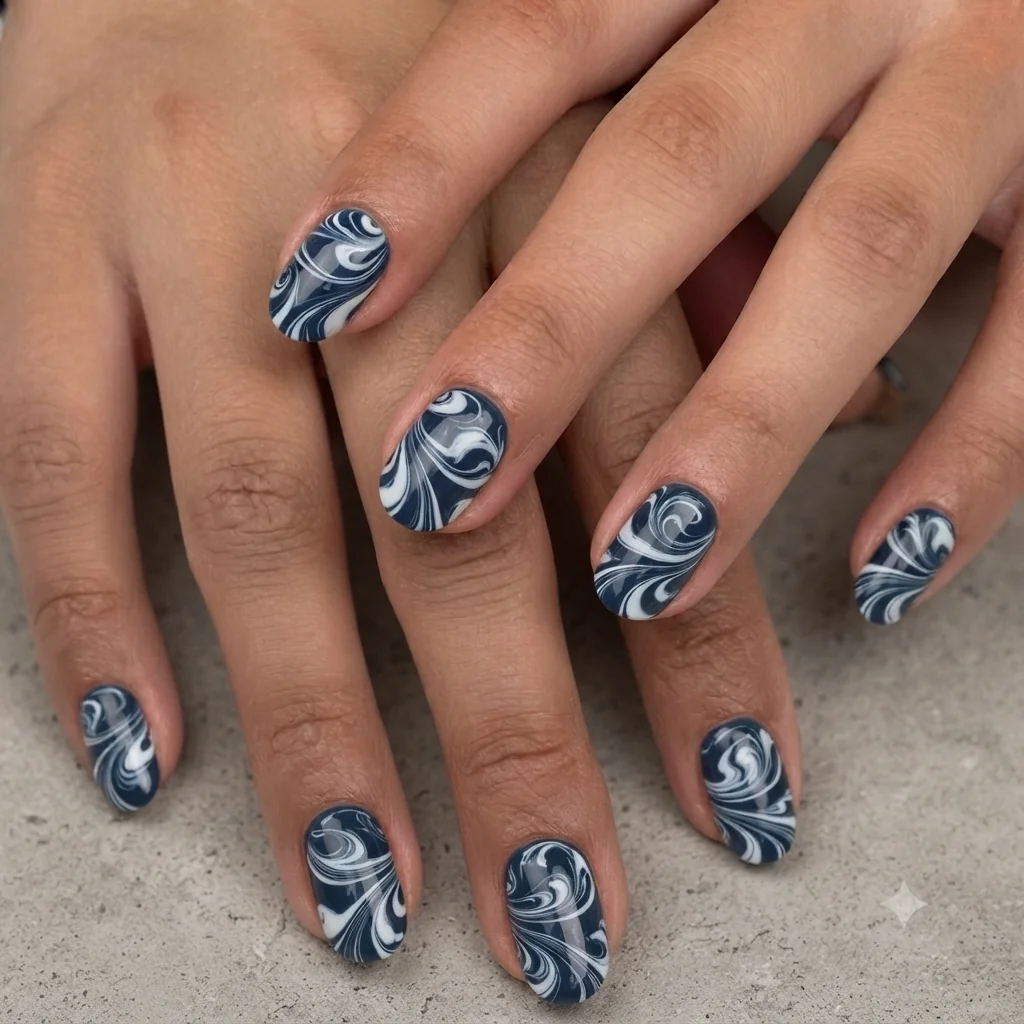
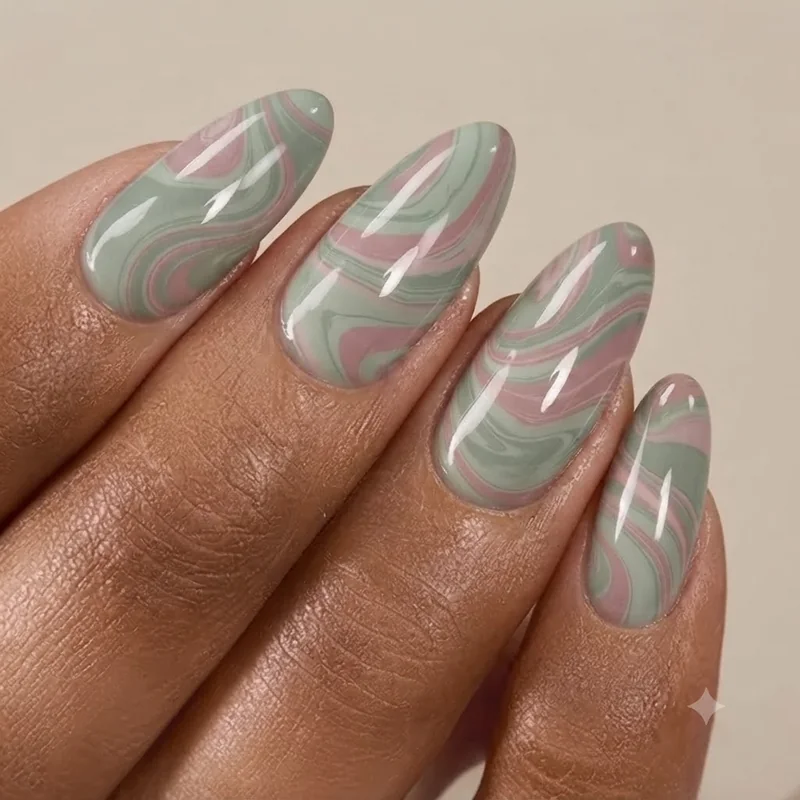
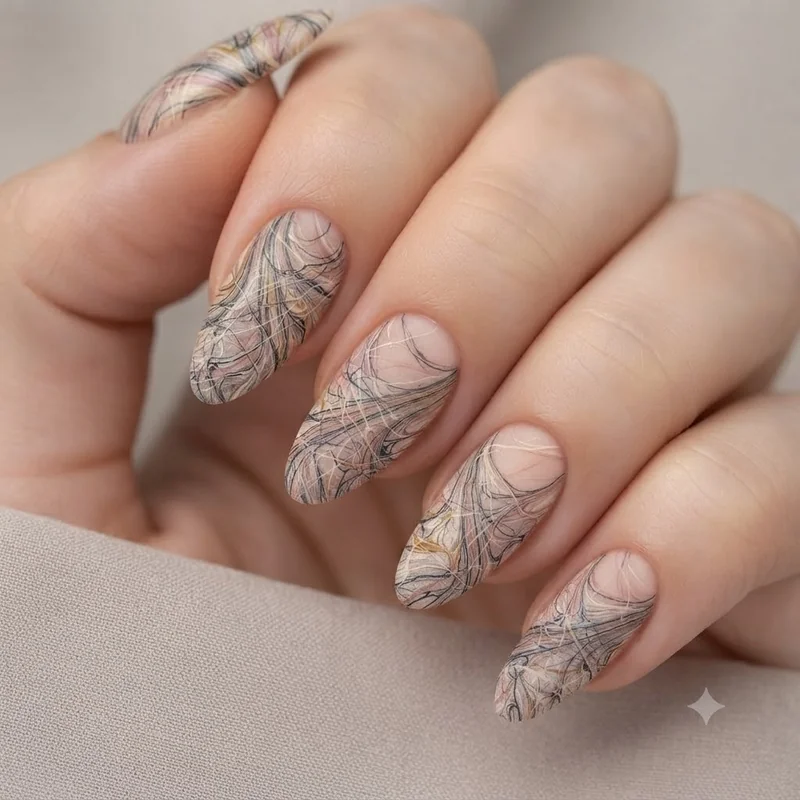
Swirl with a toothpick. Drag the tip from the centre outward, then repeat at different angles to build a starburst or free-flowing pattern. This is the water marble nail technique's defining move: free-dragging pulls the toothpick through the rings for branching, veined patterns, while free-dropping layers colour without dragging for a cleaner concentric look. Work quickly. The polish begins to skin over within 20 to 30 seconds.
Dip the nail at an angle. Submerge the nail into the section of the pattern you want, entering at roughly 45 degrees, and hold it under the surface.
Sweep away the excess with a toothpick or cotton swab while your finger is still underwater, so unused polish doesn't cling to your skin.
Lift straight up and blot. Dab the underside dry, then peel off the tape or liquid latex to reveal clean edges.
Clean up and seal. Use your angled brush with acetone on any remaining cuticle residue, then finish with a fast-drying top coat.
Budget 45 to 90 minutes for your first full set. The pattern will look different on every nail since no two swirls come out identical, which is part of what makes finished marbling nail art distinctly yours rather than a copy of a reference photo.
How to Fix Muddy Colors and Smudged Edges
Muddy colours happen when you drag the toothpick through the pattern too many times, or when your chosen shades sit too close together in tone. Five to seven swirl passes is the practical ceiling. Beyond that, the rings blend into a single flat brown or grey, since each additional pass mixes pigment that was previously separated by clean water.
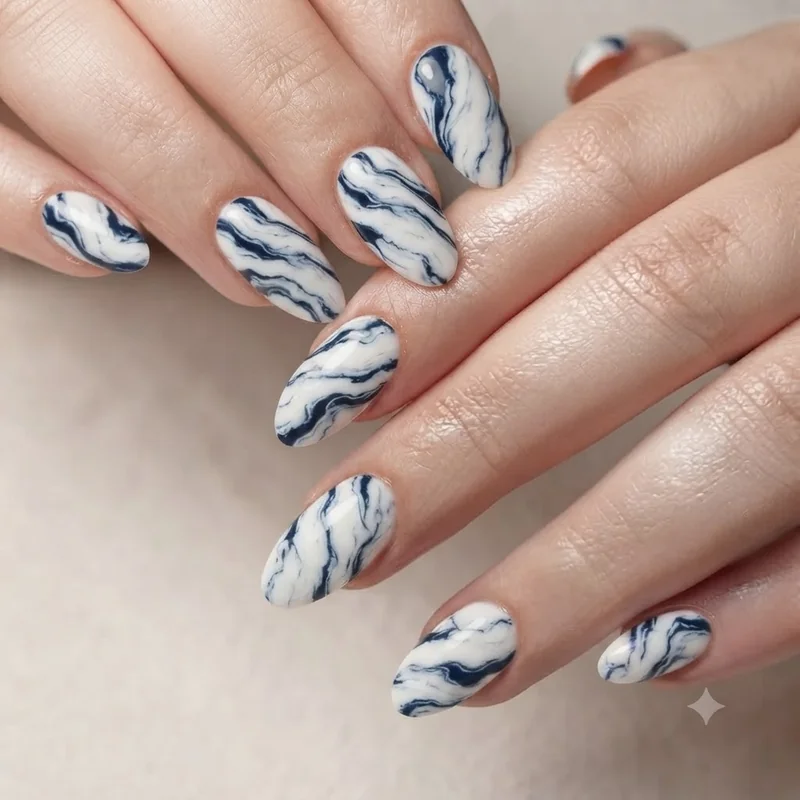
Colour choice matters as much as swirl count. Two colours with similar depth, a mid-blue next to a mid-purple, blur together the moment they touch. High-contrast pairings (white against navy, or black against a bright coral) hold their edges through more swirling because the eye can still separate them where the rings overlap.
Smudged edges usually trace back to timing rather than technique. Once the design starts skinning over, dipping your nail drags and tears the surface instead of transferring it cleanly. If more than 30 seconds have passed since your last drop, discard that pattern and start fresh.
Wipe your toothpick between designs. A toothpick carrying leftover pigment from a previous swirl introduces unwanted colour into the next pattern, which reads as a muddy smear even when your fresh colours were chosen correctly. Get the contrast and the pass count right, and marbling nail art reads crisp instead of murky.
Marbling Nail Art Without Water (Dry & Plastic Wrap Methods)
Water is not required. Dry marbling, sometimes called toothpick-on-nail marbling, drops polish colours straight onto the nail and blends them with a toothpick before they set, skipping the cup, the temperature guesswork, and the dipping angle entirely.
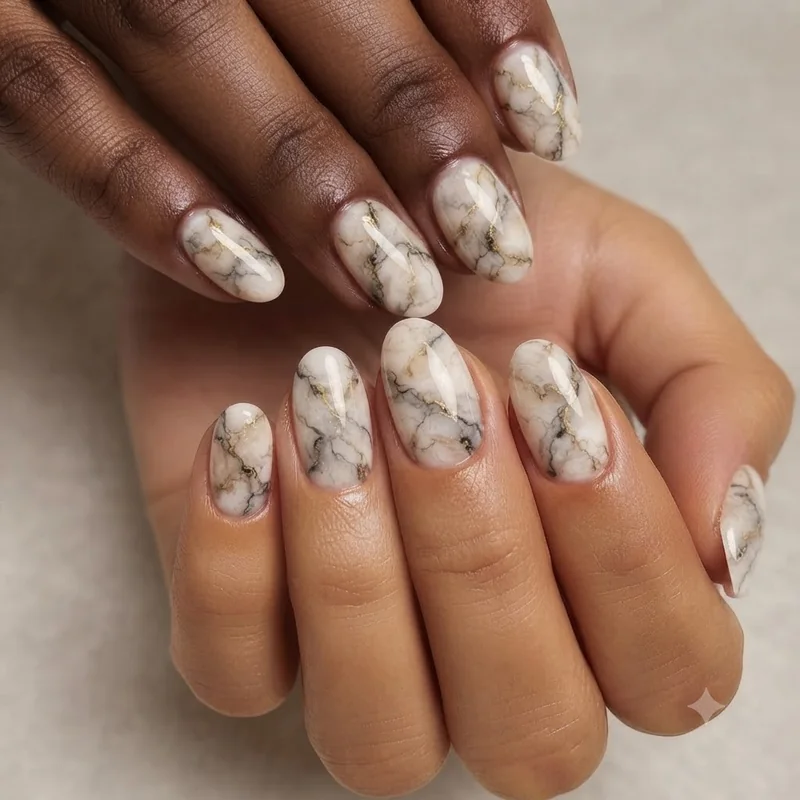
The plastic wrap method takes a different route to a similar result. Apply your base colour, then press a balled-up piece of plastic wrap into the wet polish to lift it into a mottled, stone-like texture. A thin brush can add fine veining once the base has dried, echoing marbled stone without a single drop of water.
Both approaches remove the two biggest failure points from the water method: there is no formula that "won't spread," and no dipping angle to misjudge. What replaces those risks is speed. Polish dries on the nail faster than it dries floating on water, so blending two or three colours before the first drop skins over is the real skill to build here.
- Apply a base coat and one coat of your background colour. Let it dry completely.
- Drop two or three colours onto the nail in loose dots or lines, working on one nail at a time.
- Drag a toothpick through the wet dots in short strokes to build a marbled pattern, blending edges without fully mixing the colours.
- Let the design dry, then seal with a top coat.
For beginners choosing between the three main routes, dry marbling nail art is genuinely the most forgiving. Mistakes wipe off with a cotton swab and acetone in seconds, with no cup of water to refill and no ruined swirl floating away downstream.