Nail art without tools is not a workaround. It is not the beginner-tier version of the real thing you upgrade out of later. A toothpick, a bobby pin, tape and a makeup sponge do the exact job a dotting tool, striping brush and airbrush do, and for a first attempt they often do it better, because there is less that can go wrong with a household item than an unfamiliar one. That is the whole premise behind nail art without tools, proven across twelve designs, prep, and the one common mistake each design trips up on first try.
The instinct to assume real nail art without tools is impossible without a kit is understandable. Every tutorial online is filmed with a case of dotting pens laid out like surgical instruments. None of that is required for a genuinely good result tonight. Everything here is already in a bathroom drawer or a kitchen junk drawer, and the twelve designs move from simplest swap to most involved, so pick a starting point that matches how much patience you have this evening.
What Can You Use Instead of Nail Art Tools?
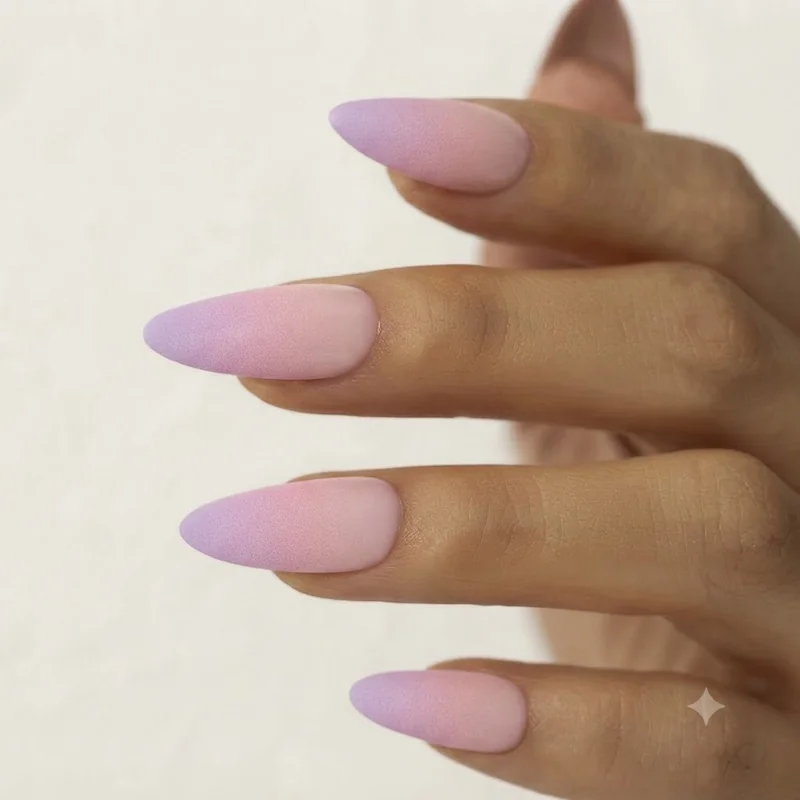
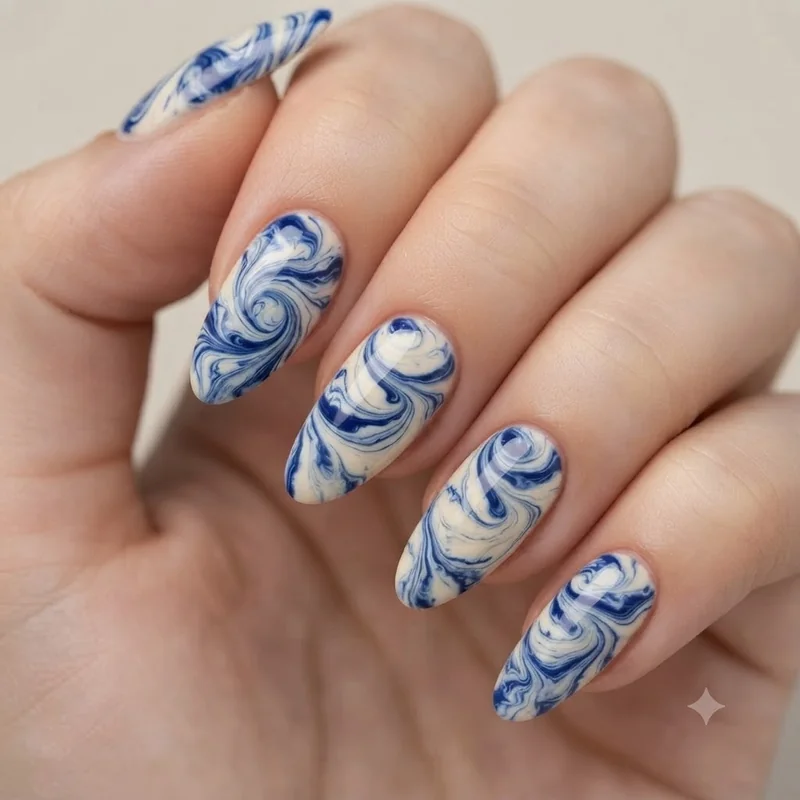
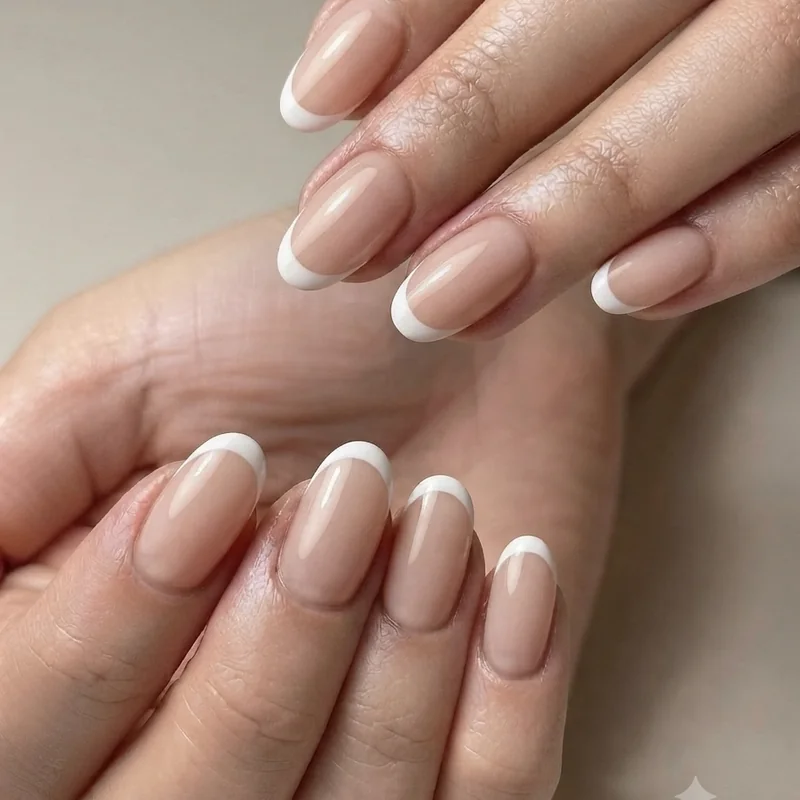
A toothpick replaces a dotting tool for dots, marble swirls and fine detail. A bobby pin, opened flat, replaces a dotting tool or a light striping brush depending on which end you use. Tape replaces a striping brush for straight lines and geometric blocks, and a makeup sponge replaces an airbrush for gradients.
Each swap works because of shape, not luck. A dotting tool is a small round tip that controls how much polish transfers in one touch, and a toothpick's rounded end does the same job at a finer scale. Tape's job is masking, and anything with a clean, straight edge that peels without residue does that equally well. Once the logic clicks, other objects reveal themselves too: a straw for splatter, cling film for negative space, an old toothbrush for spray. This is the full logic behind nail art without tools as a method, not a one-off trick. The tool was never the skill. The technique is.
Before You Start: Prep That Actually Matters
Skip prep and every design below gets harder. Start with clean, dry nails, pushed-back cuticles, and a thin base coat dried fully, roughly two minutes, before any colour goes on.
Apply your base colour in two thin coats rather than one thick one, letting each reach the tacky stage before layering on top. Thick coats take longer to dry and smudge the moment a toothpick or tape touches them. This thirty-second discipline is what separates good nail art without tools from a smudged attempt.
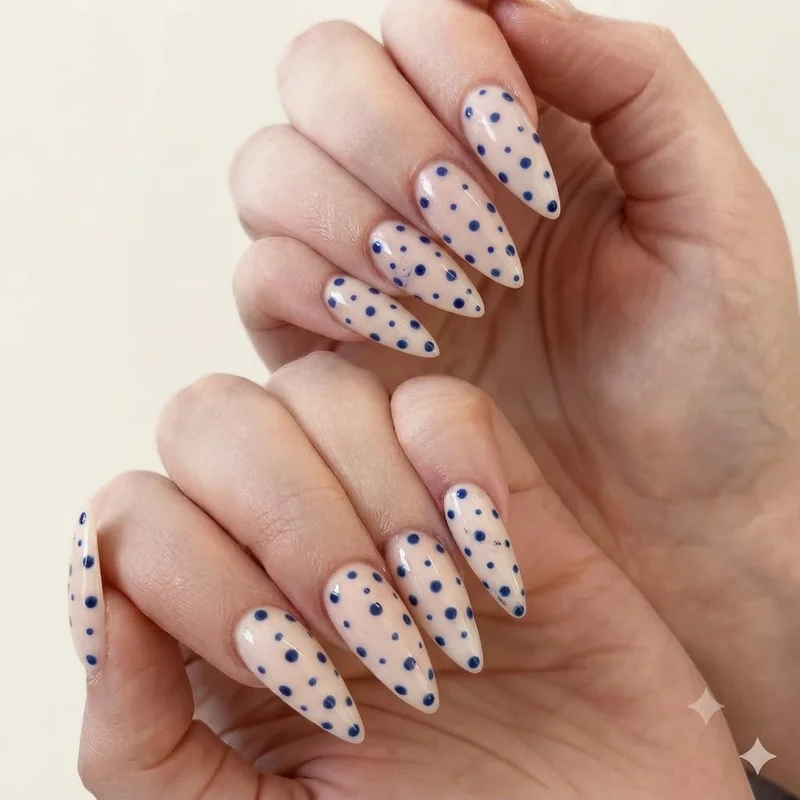
Polka Dot Nails With a Bobby Pin or Toothpick
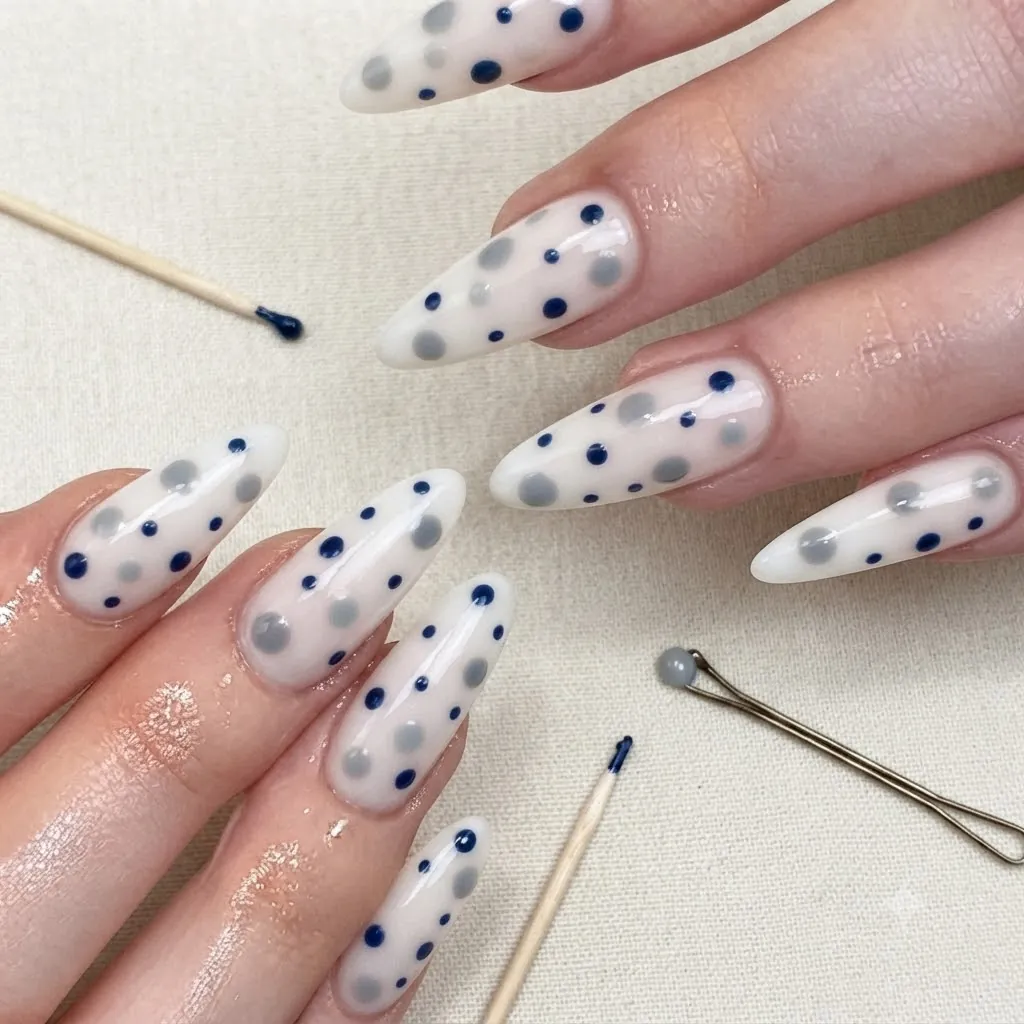
The rounded end of a toothpick, or the looped tip of an opened bobby pin, dips into polish and transfers a clean, round dot with a single light touch, no dotting tool required. Wipe the tip on a paper towel between dots to keep edges crisp.
Paint a base colour and let it dry completely, then dip the toothpick tip into a contrasting polish and touch it lightly to the nail without dragging. Work in a loose diagonal line rather than a perfect grid, which reads as more intentional and forgives spacing errors. Reload the tip every two to three dots, since polish thickens and drags once it starts drying on the tip. The most common first-attempt mistake is pressing too hard, which flattens the dot into a smear. A light touch, almost a tap, gives the roundest result.