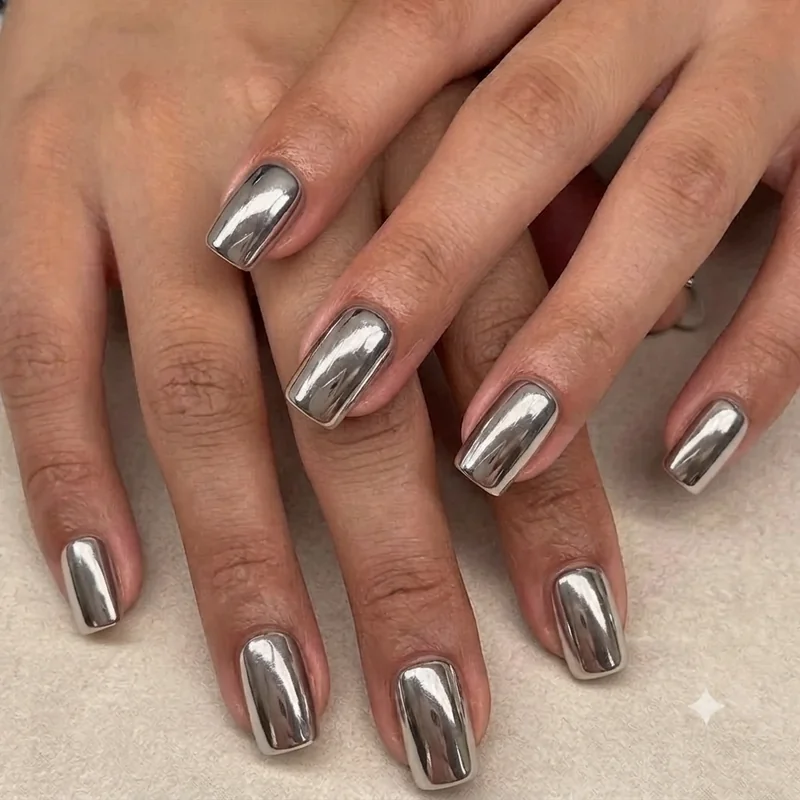
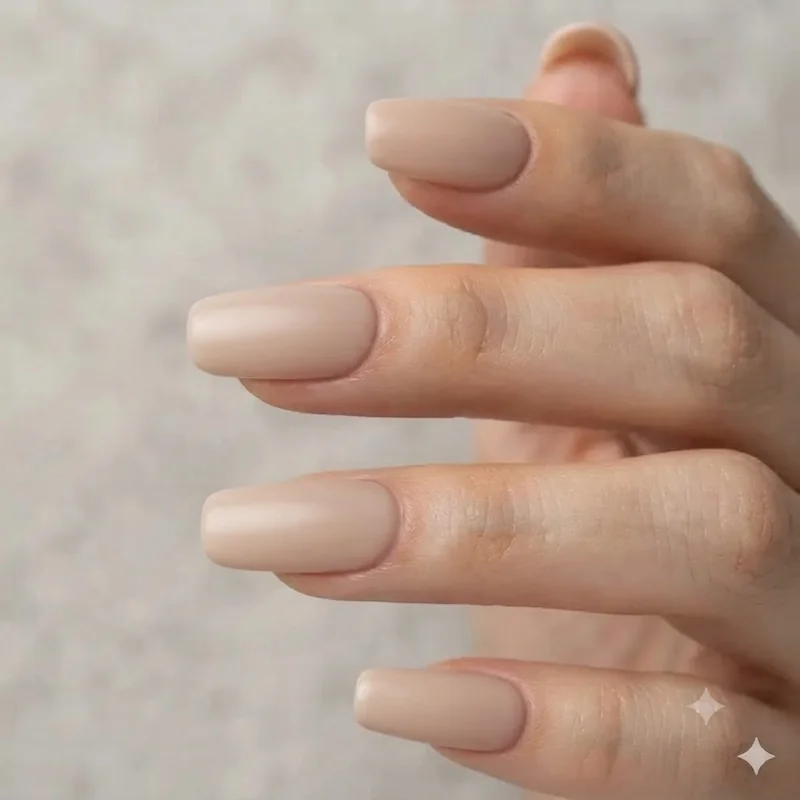
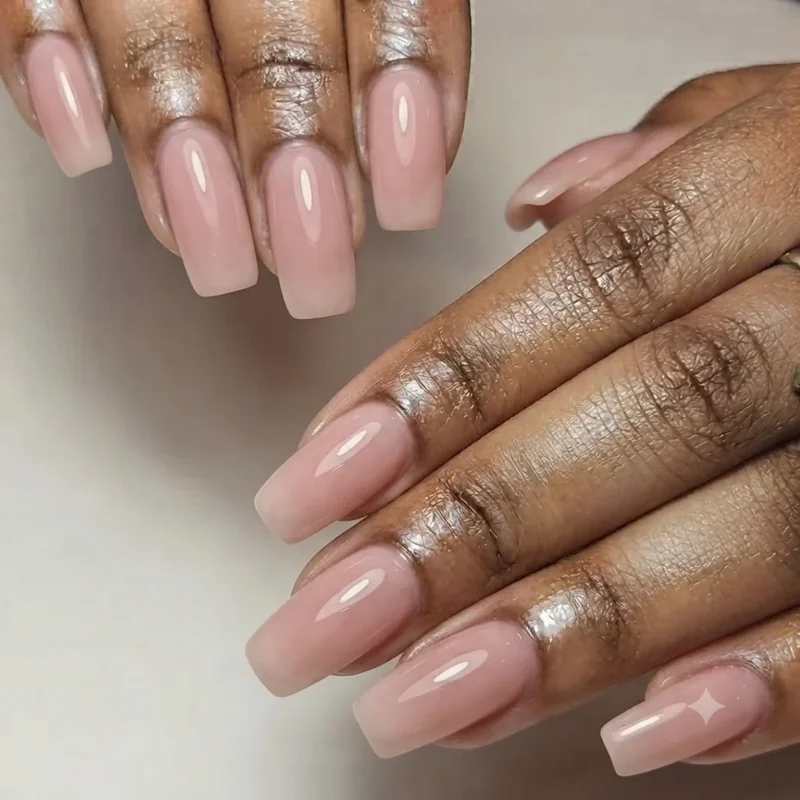
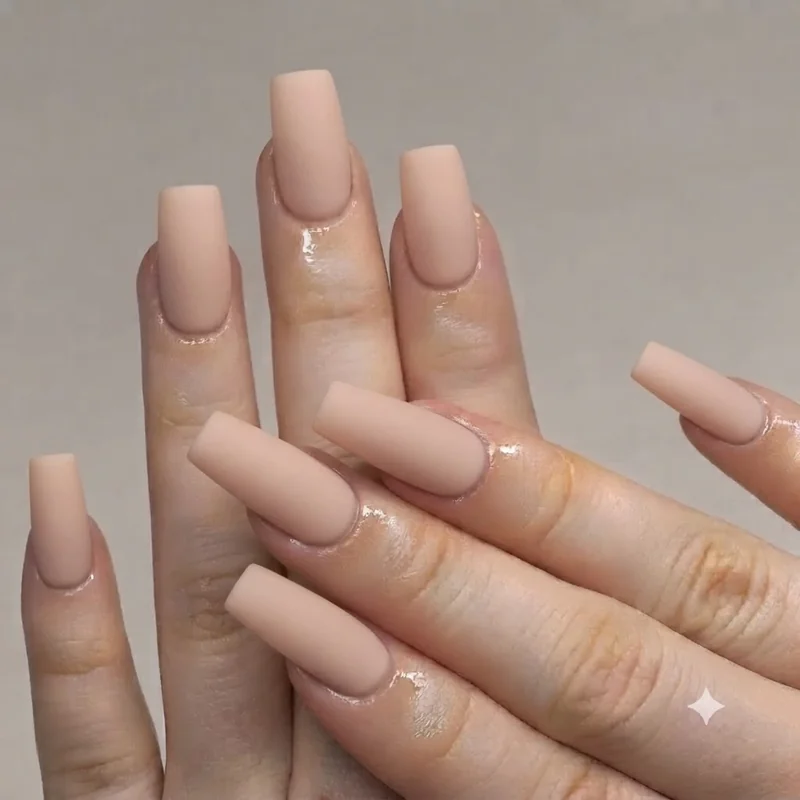
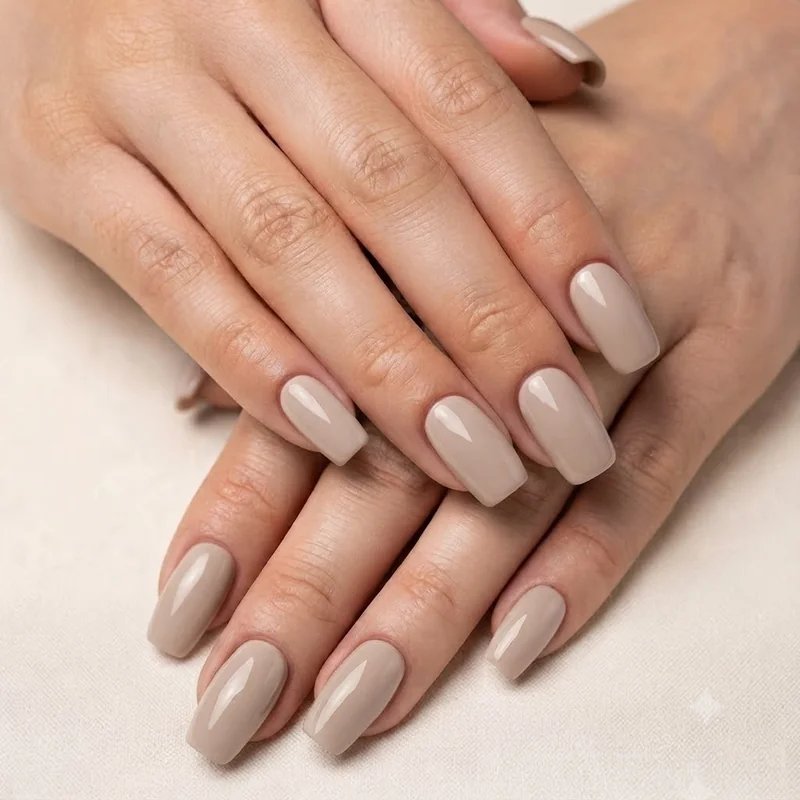
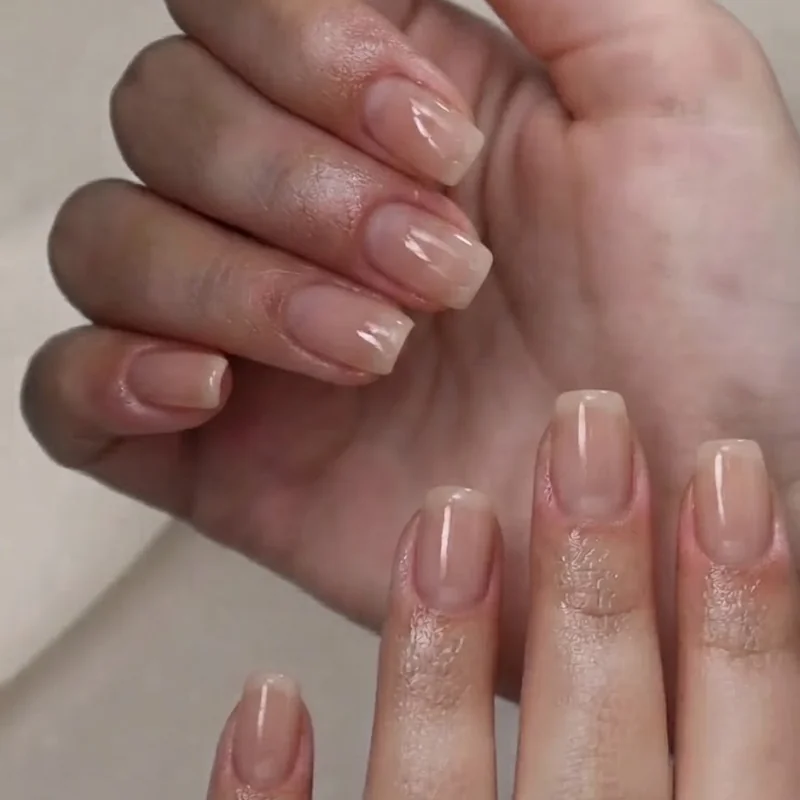
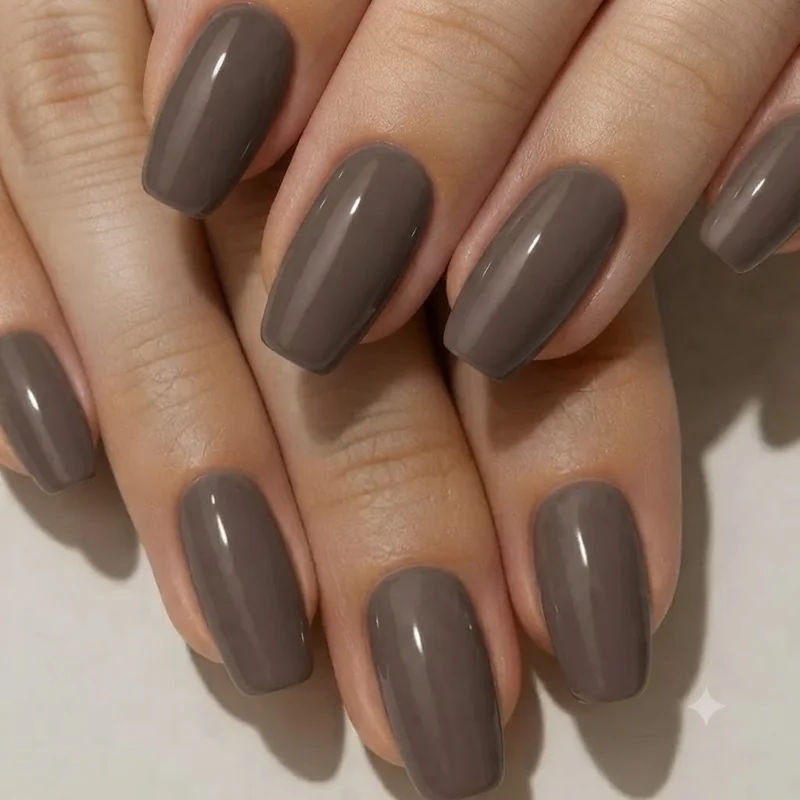
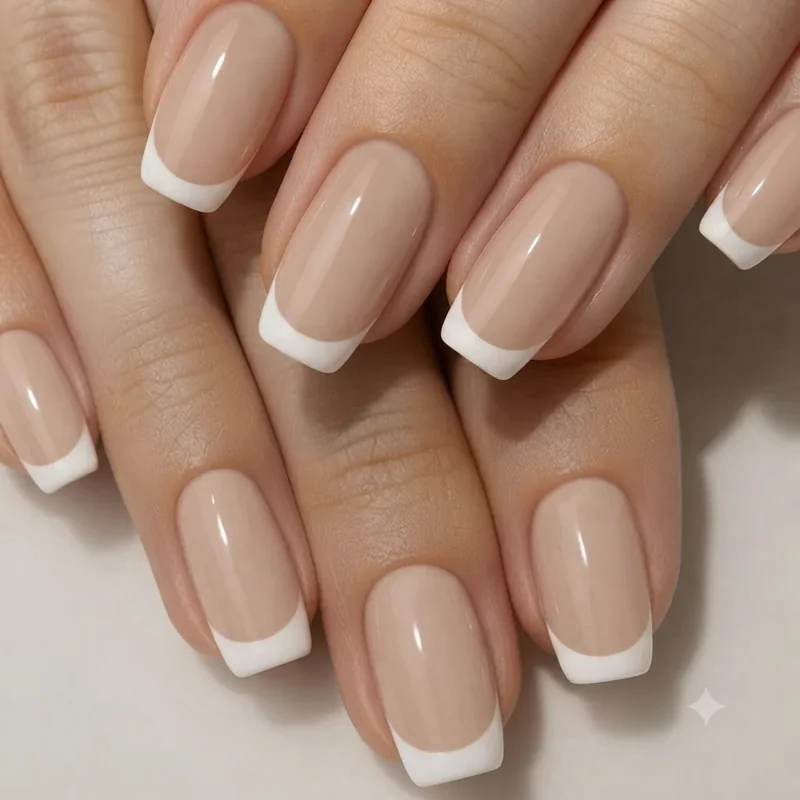
Squoval vs Square vs Oval: What Actually Separates Them
Most people assume squoval is just "in between" square and oval, a vague midpoint with no fixed rules. It is not. The mechanic is specific: square keeps a flat top and sharp 90-degree corners, oval rounds the entire free edge into a continuous curve with no flat section at all, and squoval nails keep the flat top from square while rounding only the corners, not the whole edge. That is the actual difference, and it is a lot more precise than "hybrid" suggests.
Is squoval the same as rounded square nails? Not quite. A rounded square nail keeps most of its flat top intact and softens just the very tip of each corner, so it still reads as square from across the room. Squoval nails round the corners further, enough that the silhouette visibly shifts, while the sides stay straight rather than curving inward the way oval does. If you want the sharp, geometric look of true square corners, the complete square nails guide covers that shape's specific filing angles.
The comparison holds up whether you check the full nail shapes chart for every shape against squoval nails directly, or against oval on its own. Oval nails narrow and curve continuously from cuticle to tip, with no flat edge anywhere. The free edge on squoval never narrows that far. Nail bed width stays consistent from base to tip on this shape, which is part of why it reads as more structural than oval and less severe than square.
There is a quick way to self-diagnose which side of the line a set of nails falls on. Look at the top edge from directly above. A clearly visible flat section across the middle, with curve only at the two corners, is squoval. Curve starting almost immediately from each sidewall, with barely any flat section left, has drifted into oval. No curve at all, just a sharp angle at each corner, is still square.
Does Squoval Work for Your Nail Beds? (Soft vs Hard Squoval)
Yes, with a caveat most explanations skip entirely: how much you round the corners changes who it flatters. Squoval nails are not a single fixed shape, they exist on a spectrum, and matching that spectrum to your own nail bed width is what actually determines whether the result looks polished or blocky.
Here is the distinction nobody names clearly. Hard squoval keeps the corners closer to a right angle, with only minimal rounding, so it retains most of square's structure. Soft squoval rounds the corners more generously, pulling the shape closer to oval while still keeping that flat top edge. Wider nail beds tend to look best in soft squoval, since the extra rounding breaks up the width and keeps the tip from reading as a flat, blocky rectangle. Narrower nail beds can carry hard squoval without any trouble, since there is less width for the sharper corners to exaggerate.
This is also where the "universally flattering" claim you have probably heard needs a rewrite. Squoval nails genuinely suit most hands, but "most" is not "all," and pretending otherwise is exactly what leaves people unsure whether the shape will work for them specifically. If your nail beds run wide, the deeper breakdown at how nail bed width actually changes which shapes flatter you walks through the adjustment in more detail. The short version: ask your nail tech for soft squoval specifically, not just "squoval," if your nail beds are wider than average, since the plain term alone can be read either way.
The same logic runs in reverse for narrower nail beds. A harder squoval, corners rounded just enough to soften them and no further, keeps the structural read narrow beds usually want, without swinging so far toward oval that width disappears. Naming which end of the spectrum you want, rather than defaulting to "squoval" alone, is the difference between a shape that flatters and one that just approximates the idea.
How to File Your Nails Into a Squoval Shape at Home
Start by trimming the nail straight across, then round each corner at a 45-degree angle using short, smooth strokes in one direction. That is the entire mechanic behind filing squoval nails at home. Nail industry professionals confirm the technique breaks down into exactly two stages, and getting the order right matters more than any special tool.
First, cut or file the free edge straight across, the same way you would for a square shape. Do not touch the corners yet. Check the length by holding your hand up at eye level, palm facing you, to make sure the top edge sits flat and even. Once the length is right, move to the corners. Hold the file at roughly 45 degrees against one corner and pull it in one smooth, rounding motion, rather than sawing back and forth. Filing in a single direction protects the nail plate from splitting. Stop after a few strokes and check the shape from above before continuing. This is the step where most home attempts go wrong: keep going too long and the corner slides past squoval into full oval, stop too soon and it stays square in every way but name.
Repeat the same motion on the opposite corner, matching the two sides by eye. The sidewalls themselves should stay straight and parallel all the way down to the cuticle. Only the corners change shape. Once both corners match, a quick pass with a buffer smooths any rough edges left from filing.
Two mistakes account for most failed attempts. Filing into the sidewalls instead of stopping at the corner weakens the nail and pushes the shape toward oval faster than intended. Checking progress only from above, rather than from the side too, hides an uneven corner until it is too late to fix easily. Pausing every few strokes to check from multiple angles prevents both. A coarser grit speeds up the straight-across cut, while a finer grit smooths the corners and prevents the rough, catching edge that undoes the entire point of the shape.