The Best Colors for Vampire Nails
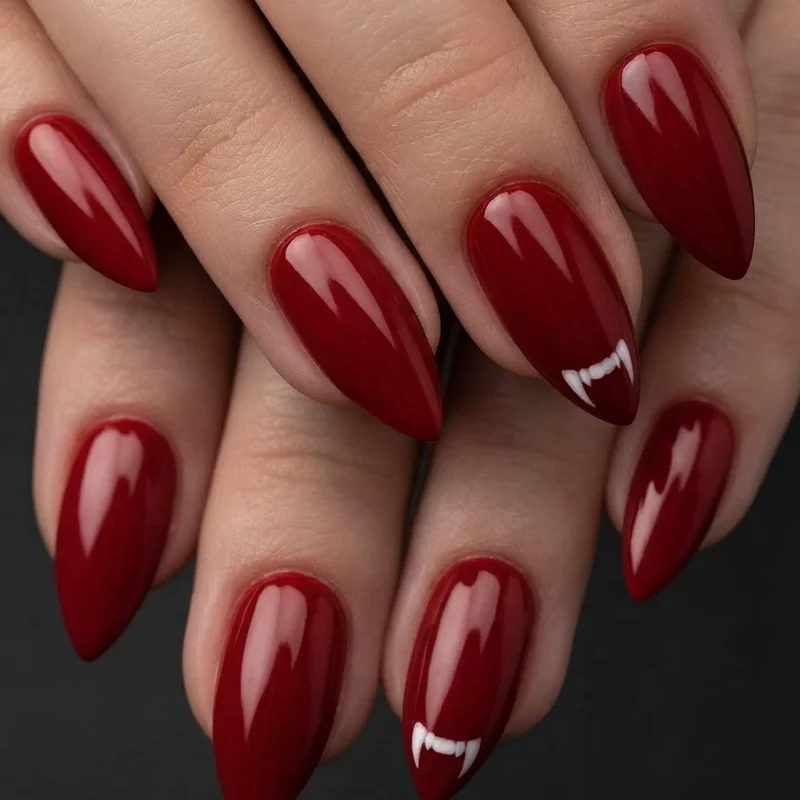
Nail color is everything when it comes to vampire nails. We've mixed hundreds of custom shades to get that perfect "just bit someone's neck" red.
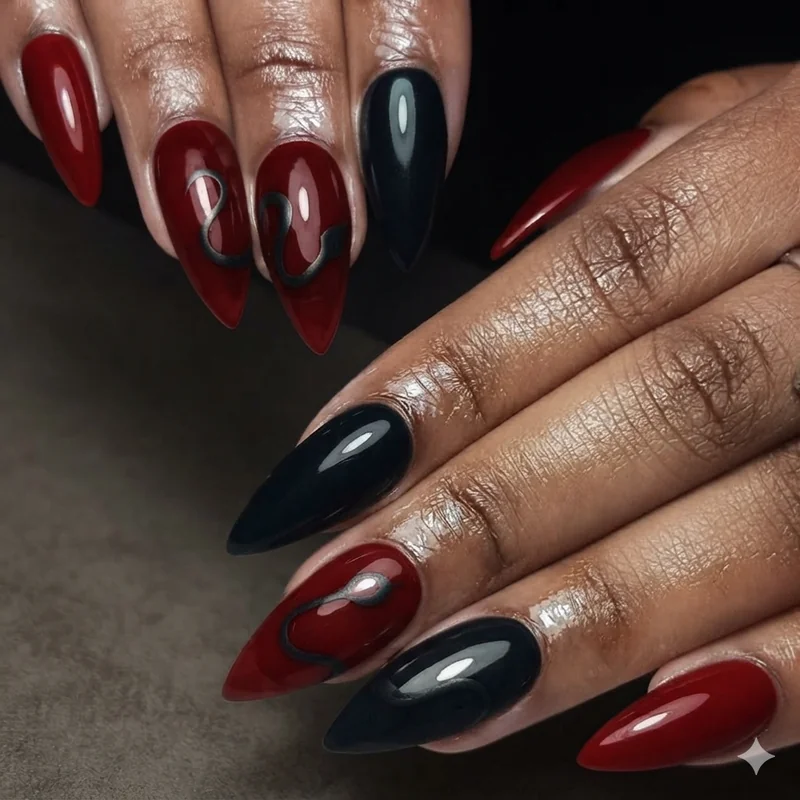
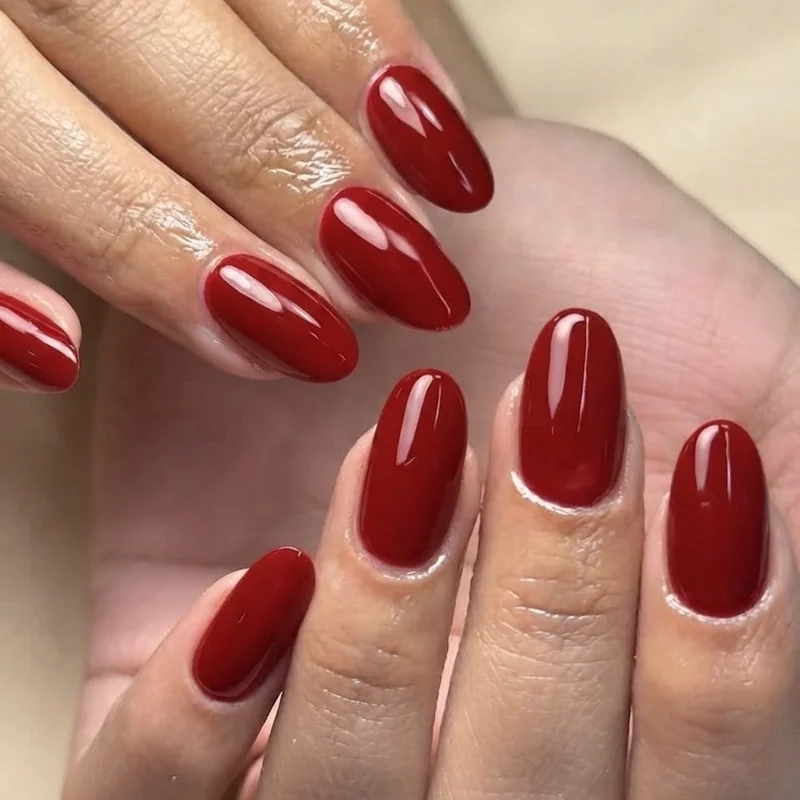
Blood Red: Not just any red - we're talking deep, dark, slightly purple-toned red. The mistake most people make? Using bright cherry red or orange-toned red and wondering why it doesn't look vampiric. You want a red that looks almost black in certain lighting. Top shades: OPI Malaga Wine, Essie Bordeaux, or Beetles Gel Polish in their darkest red (performs like expensive polish for a fraction of the cost).
Midnight Black: This is your bread and butter base color. But not all blacks are created equal. Some dry gray, some are streaky nightmares. You want a true opaque black that goes on smoothly in 2 coats max. Top choices: Gelish Black Shadow for gel or OPI Black Onyx for regular polish. Pro tip: always use black as your base under dark reds to prevent staining your natural nails.
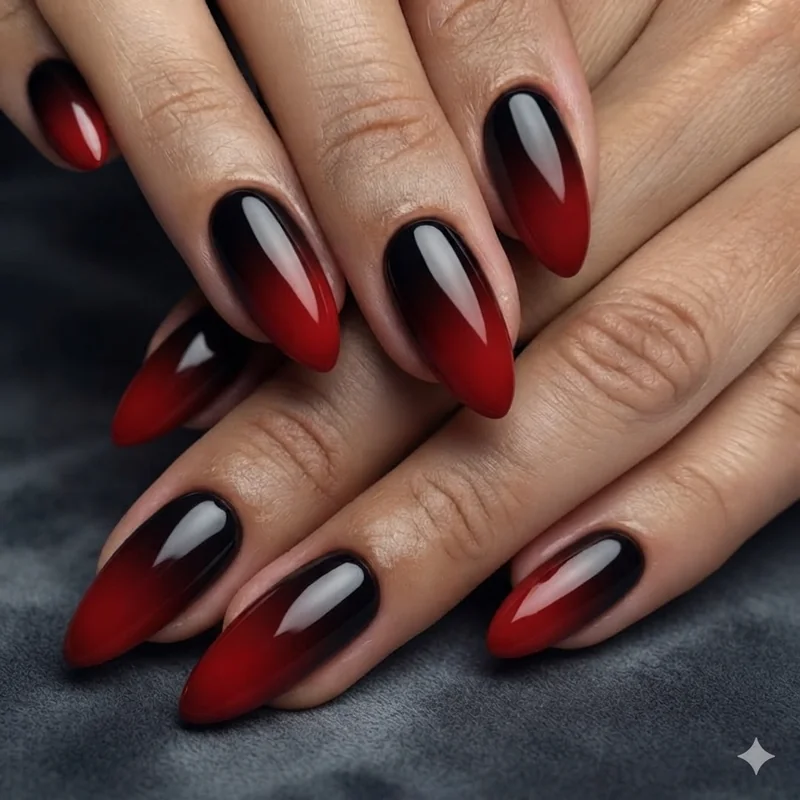
Dark Purple (Vampire Royalty): Think deep eggplant or nearly-black purple. This color gives major vampire aristocracy vibes - like you're not just any vampire, you're a centuries-old vampire with a castle. It's less literal than red but still screams gothic. Mix it with black for an ombre or use it as a base with red accents.
Crimson (The Dramatic Sister): Slightly brighter than blood red but still dark enough to be vampy. Crimson is perfect when you want that POW factor - it catches light beautifully and photographs like a dream. Use this for special events where you need to stand out in photos.
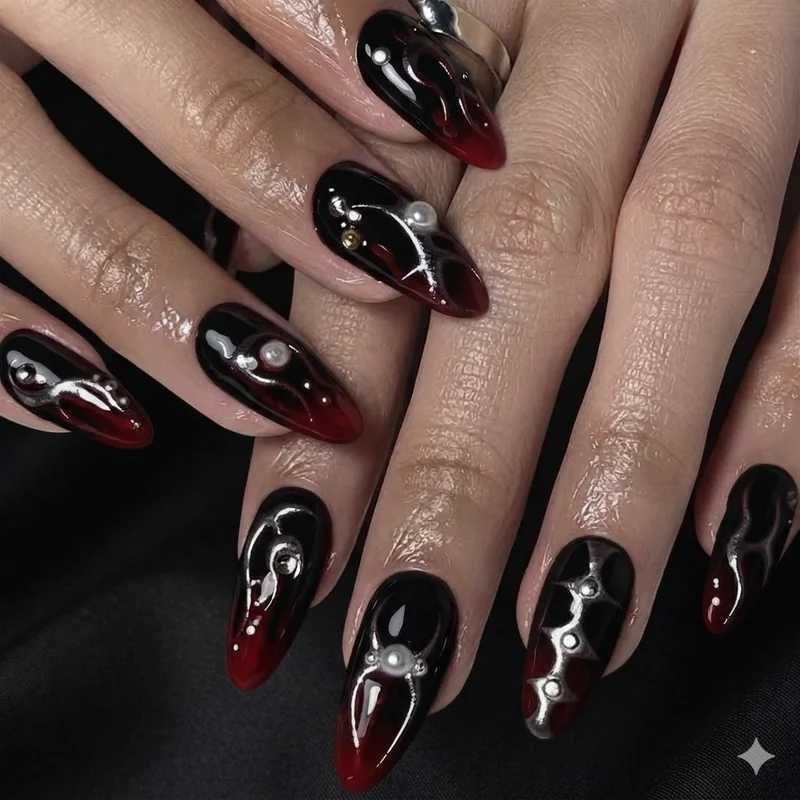
Metallic Silver and Gold: These aren't vampire colors on their own, but as accents? Stunning. Silver gives you that moonlight-catching-on-fangs energy, while gold adds Victorian vampire opulence. Use them for details like crosses, moons, or as a thin line separating red and black sections.
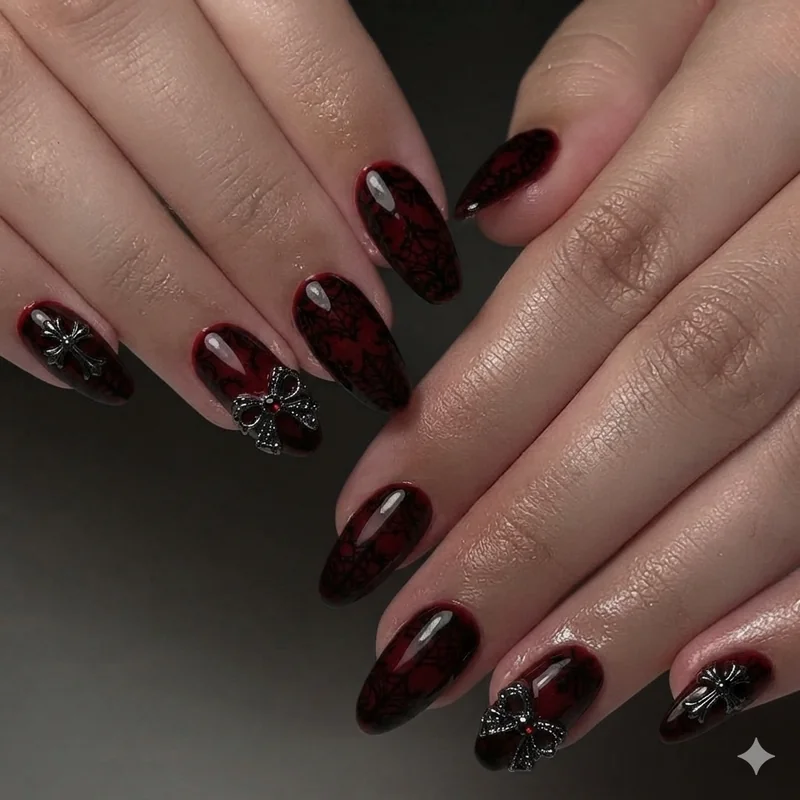
Deep Burgundy: This is the "I want vampire nails but I also have a corporate job" color. It reads as dark red in most lighting but has enough sophistication that it works professionally. Layer it with matte top coat for extra moodiness.
Here's the honest take: you don't need to buy every shade. Start with one good blood red, one true black, and one dark purple. You can literally mix these three to create dozens of vampire-appropriate shades.
One more thing - always test your colors on a nail wheel or practice nail first. What looks perfect in the bottle can look completely different on your actual nails, especially with different skin tones. Blood red can look gorgeous on one person and neon on another depending on undertones.
📌 Pin this tutorial for your DIY vampire nail session!
How to Do Vampire Nails at Home: The Tutorial
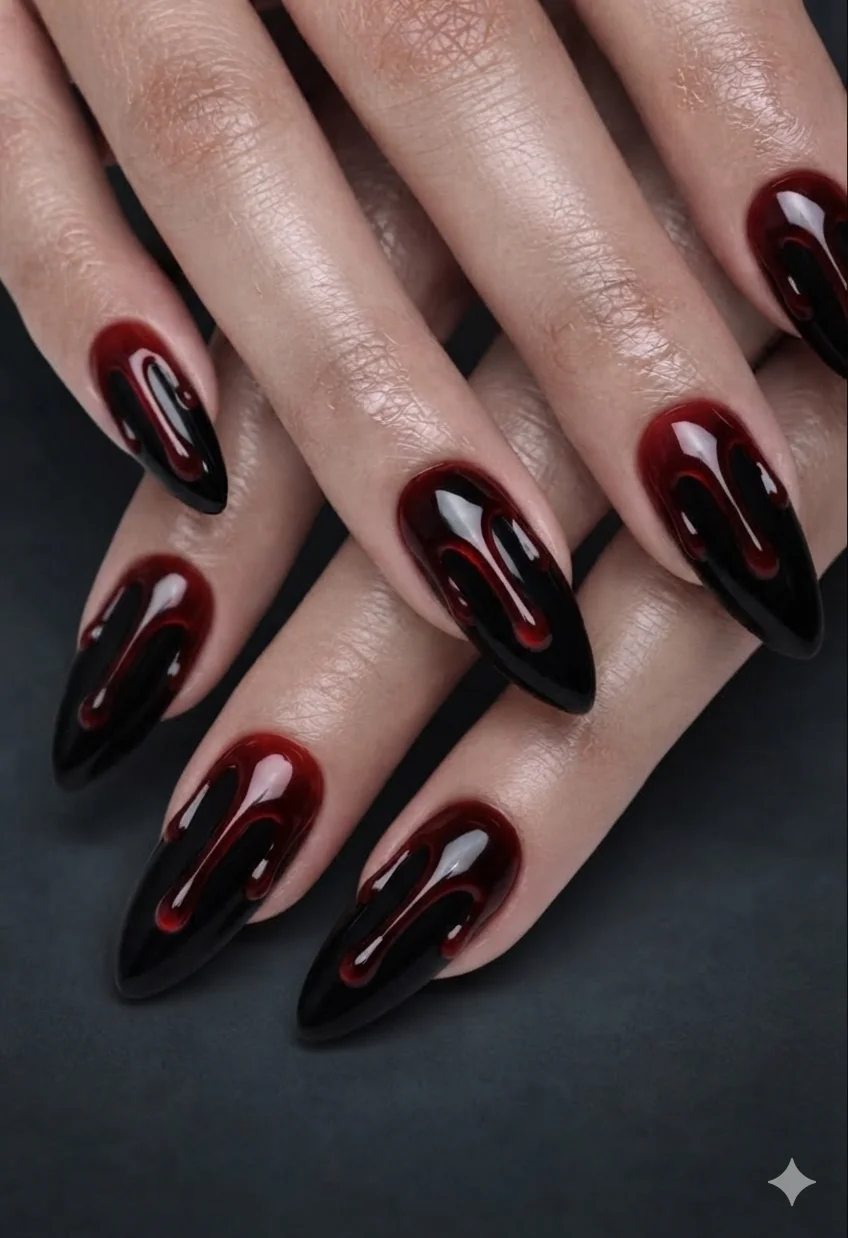
Let's get into the actual how-to. We're walking you through creating classic blood red vampire nails with a dripping blood effect - it's impressive but way easier than it looks.
What You Actually Need:
- Base coat (Gelish Foundation works great)
- Blood red gel or regular polish
- Black gel or regular polish for drips
- Thin nail art brush (essential - regular polish brush is too thick)
- Top coat (glossy is essential for that wet blood look)
- UV/LED lamp if using gel
- Cuticle oil
- Optional: rhinestones, 3D embellishments, nail glue
Before You Start: Your prep work is 80 percent of whether this will look salon-quality or not. Clean cuticles, properly shaped nails, and dehydrated nail plates make all the difference.
Step 1: Prep Like a Pro
Push back your cuticles gently - don't cut them unless you really know what you're doing. File your nails into your desired shape. For maximum vampire vibes, go with stiletto, coffin, or almond. If you're keeping them short, oval or almond works best.
Buff the surface of your nails lightly - barely touching them, just enough to remove the shine. This helps polish adhere better. Then wipe with isopropyl alcohol or nail prep dehydrator to remove any oils. This step separates manicures that peel off in 2 days from ones that last 3 weeks.
Step 2: Base Coat Application
Apply a thin layer of base coat, making sure to cap the free edge (swipe the brush over the tip of your nail). If using gel, cure for 60 seconds under your lamp. If regular polish, let it dry completely.
Why base coat matters for vampire nails specifically: dark reds and blacks stain like crazy. Without base coat, your natural nails can be yellow-orange for weeks.
Step 3: Build Your Color
Apply your first thin coat of blood red polish. Thin is key - it's better to do 3 thin coats than 1 thick goopy coat. Cure if gel (60 seconds), or wait 2 minutes if regular polish.
Apply second coat. Cure or dry. Check if you need a third coat - you want full opacity with no visible nail line. Most reds need 2-3 coats to be fully opaque.
Step 4: Create the Dripping Blood Effect
Take your thin nail art brush and dip it in black or darker red polish. Starting near your cuticle (not AT your cuticle, like 2-3mm down), draw an irregular drip shape going downward toward your tip.
The key to realistic drips: they're not straight lines. They're wider at the top, narrower as they go down, and they end in a small round drip at the bottom. Do 1-3 drips per nail depending on nail width. Let some drips be longer, some shorter - imperfection is your friend here.
If using gel, cure after creating your drips. If regular polish, let it dry for 3-4 minutes. Don't rush this step or you'll smudge everything.
Step 5: Add Extra Gothic Details (Optional)
Use a dotting tool or the tip of your thin brush to add:
- Tiny fang shapes (two small white triangles)
- Small bat silhouettes (easier than you think - just a curved line with two triangular wings)
- Miniature crosses
- Blood droplets (just tiny red dots)
Pro tip: only do detailed art on 1-2 accent nails. The rest should be clean red or have minimal drips. This keeps the look balanced and not too costume-y.
Step 6: Seal Everything with Top Coat
Apply a generous glossy top coat over your entire nail, making sure to cap the free edge again. This gives you that fresh wet blood look and protects your design. If using gel, cure for 60 seconds then wipe off the tacky layer with alcohol. If regular polish, wait at least 5 minutes before touching anything.
Step 7: Add Embellishments If You're Feeling Extra
While your top coat is still slightly tacky (or before curing if using gel), you can place rhinestones, 3D bat charms, or tiny crosses using tweezers. Press them gently into the polish, then cure or let dry. Apply one more thin layer of top coat around (not over) the embellishments to seal them in.
Step 8: Finish with Cuticle Oil
Massage cuticle oil into your cuticles and the skin around your nails. This makes everything look polished and professional. Plus it helps your manicure last longer by keeping your nail beds hydrated.
Time Investment: This whole process takes about 45 minutes to an hour for both hands. Your first time might take 90 minutes, and that's totally normal. The dripping blood technique gets faster with practice.
Common Mistakes and How to Fix Them:
- Too-thick drips: Your brush had too much polish. Wipe most of it off before creating drips.
- Drips that spread: You didn't let your base color dry enough. Be patient.
- Clumpy embellishments: You used too much glue or pressed too hard. Less is more.
- Polish flooding cuticles: You're applying too close to the cuticle line. Leave a tiny gap.
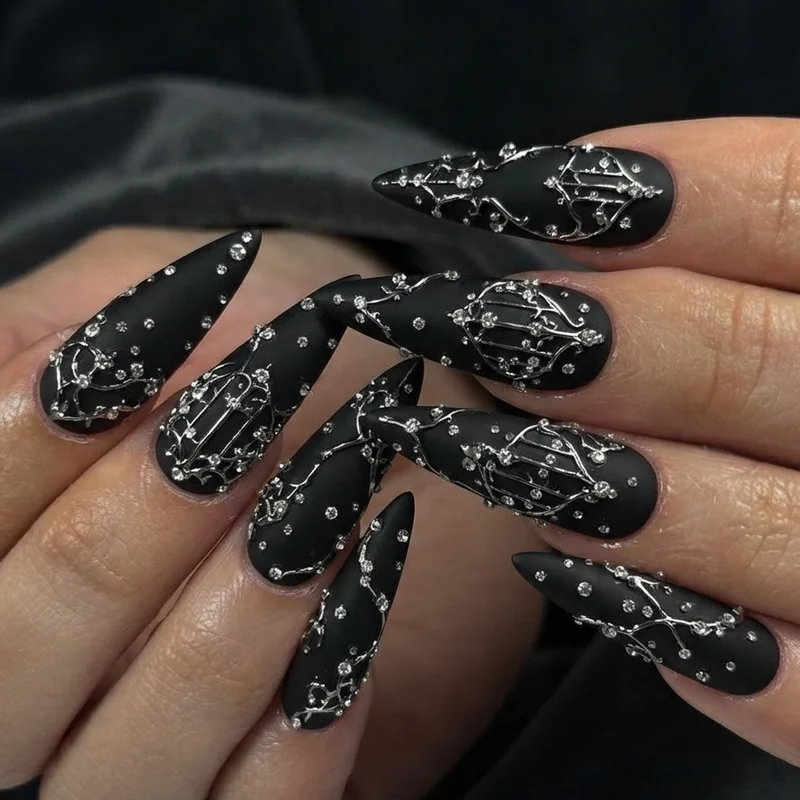
📌 Save this gothic rhinestone look to your vampire nail board!
Quick Answer: To create vampire nails at home, prep nails properly, apply base coat, build 2-3 coats of blood red polish, use a thin brush to draw dripping blood effects with black or dark red, add optional embellishments, and seal with glossy top coat. The entire process takes 60-90 minutes for beginners.
Best Nail Shapes for Vampire Nails
Not every nail shape works with the vampire aesthetic. Here's the real truth about what works best.
Stiletto (The Classic): Sharp, pointed, literally looks like fangs. This is THE vampire nail shape. The dramatic point gives maximum vampire energy and tons of canvas for designs. Downside? They're high maintenance, snag on everything, and typing becomes difficult. Recommended for special events rather than everyday wear.
Coffin/Ballerina (Top Pick): Tapered sides with a flat, squared-off tip. It literally looks like a tiny coffin which is peak vampire vibes. The flat tip gives way more surface area for nail art than stiletto, and it's slightly more practical for daily life. Works beautifully on both medium and long lengths.
Almond (The Sophisticated Choice): Rounded point, softer than stiletto but still elegant. This shape is perfect if you want vampire nails that work in corporate settings. It works especially well with deep burgundy or dark purple shades for a more subtle vampire look.
Oval (Short Nail Savior): Gently rounded with no harsh points. If you're keeping nails short, this is your go-to shape. It won't give you that dramatic vampire claw effect, but it looks clean and elegant with blood red polish and minimal art. Perfect for people who work with their hands frequently.
Square (Skip It): Square nails don't work well for vampire designs. The blunt straight edge reads more modern minimalist than gothic vampire. Save square nails for different design trends.
Real talk: your natural nail bed shape matters too. If you have wide nail beds, stiletto can sometimes look disproportionate. If you have narrow beds, coffin shape might look too elongated. Do what feels comfortable first, aesthetic second - because vampire nails that hurt or constantly break aren't worth it.
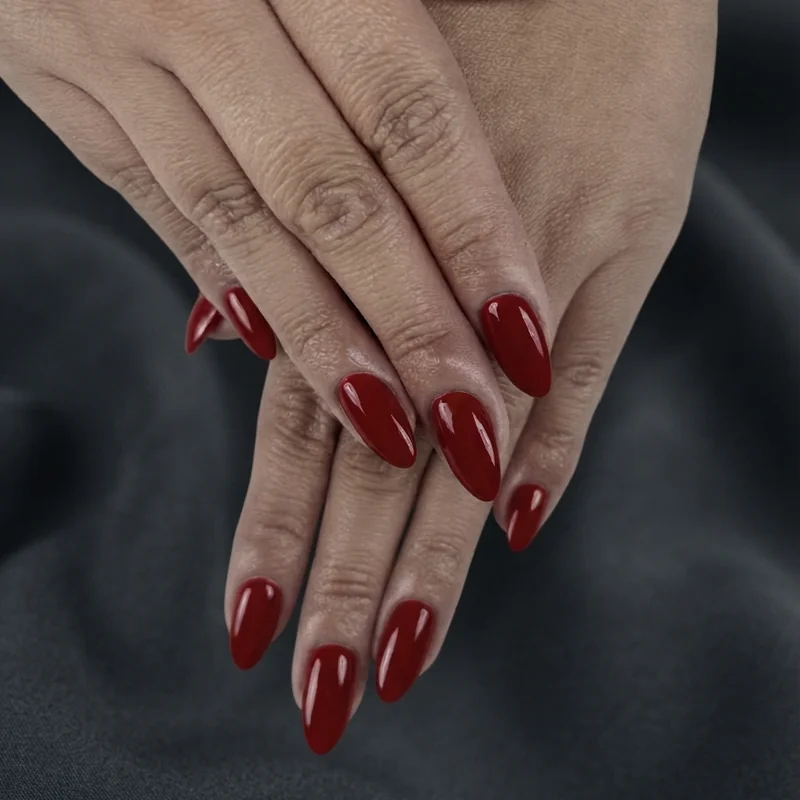
📌 Pin this short nail design for wearable vampire vibes!
Troubleshooting: When Your Vampire Nails Go Wrong
Here's how to fix the most common vampire nail disasters:
Problem: My blood red polish looks orange on my nails
Fix: This is an undertone issue. Your natural nail color is showing through. Solution: apply a coat of black or deep purple as your base layer BEFORE the red. This neutralizes the undertone and makes the red look true vampire blood color.
Problem: The dripping blood effect smudged everywhere
Fix: You didn't wait long enough for your base color to dry. If using regular polish, wait a full 5 minutes before attempting drips. If using gel, make sure you cured for the full 60 seconds. Also, use a thin brush with minimal polish on it - less is more.
Problem: My vampire nails chipped after 2 days
Fix: Multiple possible causes. Did you properly prep and dehydrate your nails? Are you capping your free edge with every coat including base and top coat? Are you doing dishes/cleaning without gloves? Did you apply coats too thick? Proper application technique matters immensely for longevity.
Problem: The black polish stained my natural nails yellow
Fix: Prevention is easier than cure - always use base coat under dark colors. If it's too late, try a whitening treatment. Soak nails in lemon juice and baking soda mixture for 5 minutes, then scrub gently with a nail brush. For severe staining, you might need to wait and let the nail grow out.
Problem: My 3D embellishments fell off
Fix: You either didn't use enough glue or you put them on before your base was completely dry/cured. For gel, place embellishments on tacky top coat layer before curing. For regular polish, let your top coat get slightly tacky (about 30 seconds) before placing. Press gently and hold for 5 seconds, then seal around the edges with more top coat.
Problem: My drips look fake and cartoon-like
Fix: Study real blood drips (or paint drips, less creepy). They're thicker at the top where they start, gradually thin out as they drip down, and end in a small rounded droplet. Vary your drip lengths and widths - not every drip should be identical. Add slight curves instead of perfect straight lines. Imperfection equals realism.
Problem: I got polish all over my cuticles and it looks messy
Fix: Prevention: use liquid latex or petroleum jelly around cuticles before painting. For cleanup: dip a small brush in acetone and clean around edges while polish is still wet. If it's already dried, use a wooden cuticle stick wrapped in a thin cotton pad soaked in acetone to gently scrape away mistakes.
Problem: My coffin shape broke at the tips
Fix: Coffin and stiletto shapes are structurally weaker at the narrow points. File them slightly thicker, avoid using nails as tools, and always cap with top coat. If you're constantly breaking, you might need to go shorter or switch to almond shape which is more durable.
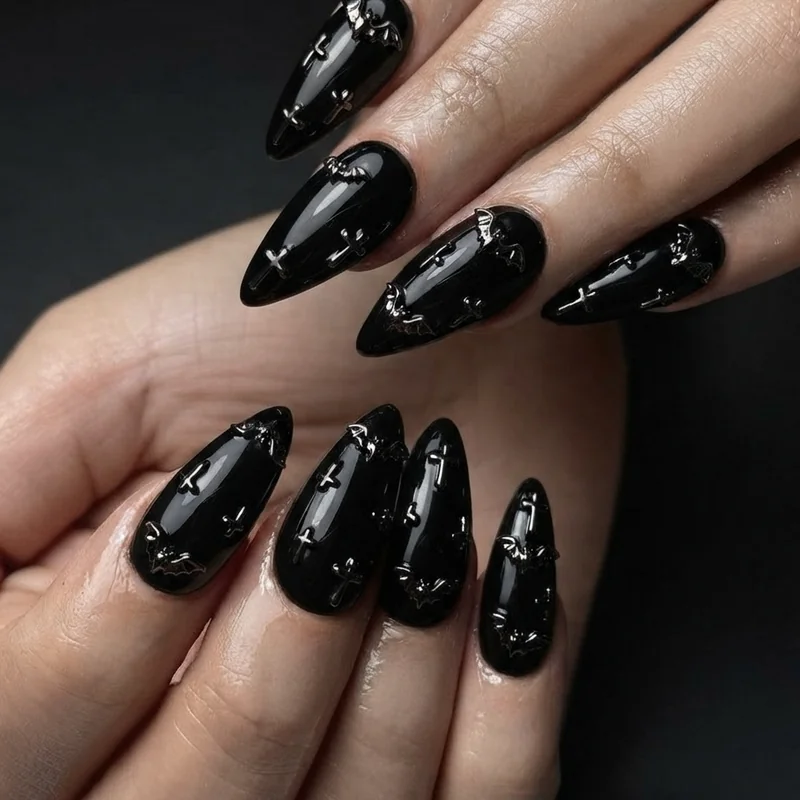
📌 Save this 3D embellishment guide for extra vampire drama!
Product Recommendations That Won't Break the Bank
You don't need to spend $200 at the salon or buy professional-grade everything to get gorgeous vampire nails. Here's what actually works based on extensive testing.
Best Budget Gel Polish: Beetles Gel Polish ($7-10) - This performs like $25 polish. The reds are beautifully pigmented, the black is opaque in 2 coats, and it lasts 2-3 weeks.
Best Premium Gel Polish: Gelish ($18-22) - If you want to splurge, this is where to do it. "Don't Be Jelly" is the perfect vampire red, and "Black Shadow" is the truest black available. The formula is buttery smooth.
Best Regular Polish: OPI ($10-12) - "Malaga Wine" for that deep burgundy vampire vibe, "Black Onyx" for true black. These last 5-7 days which is impressivefor regular polish. Also Essie "Bordeaux" is gorgeous if you want slightly more wearable vampire color.
Top Coat That Actually Works: Seche Vite ($10) for regular polish - fast-drying and super glossy. For gel, Beetles No-Wipe Top Coat ($8) is shockingly good and saves you the annoyance of wiping off tackiness.
Nail Art Brushes: Don't buy expensive branded brush sets. Get a 15-piece set from Amazon for like $8. Look for ones with different tip sizes. The super thin liner brush is essential for drips and detail work.
UV/LED Lamp: If you're doing gel at home, invest in a decent lamp. The $15 ones die after 3 months. We recommend the MelodySusie 48W lamp ($35-40) - it cures evenly and has lasted years. Available on Amazon and professional nail supply stores.
3D Embellishments: Born Pretty Store or AliExpress have insane selections of bat charms, crosses, fangs, and rhinestones for literal pennies. Quality is hit or miss so read reviews, but you can get enough embellishments for 20 manicures for under $10.
Products to Skip: That viral $40 red chrome powder everyone was obsessed with (patchy and impossible to work with), any "5-minute gel" systems (they peel off in 5 minutes too), and cheap nail drill bits (they can damage nails significantly).
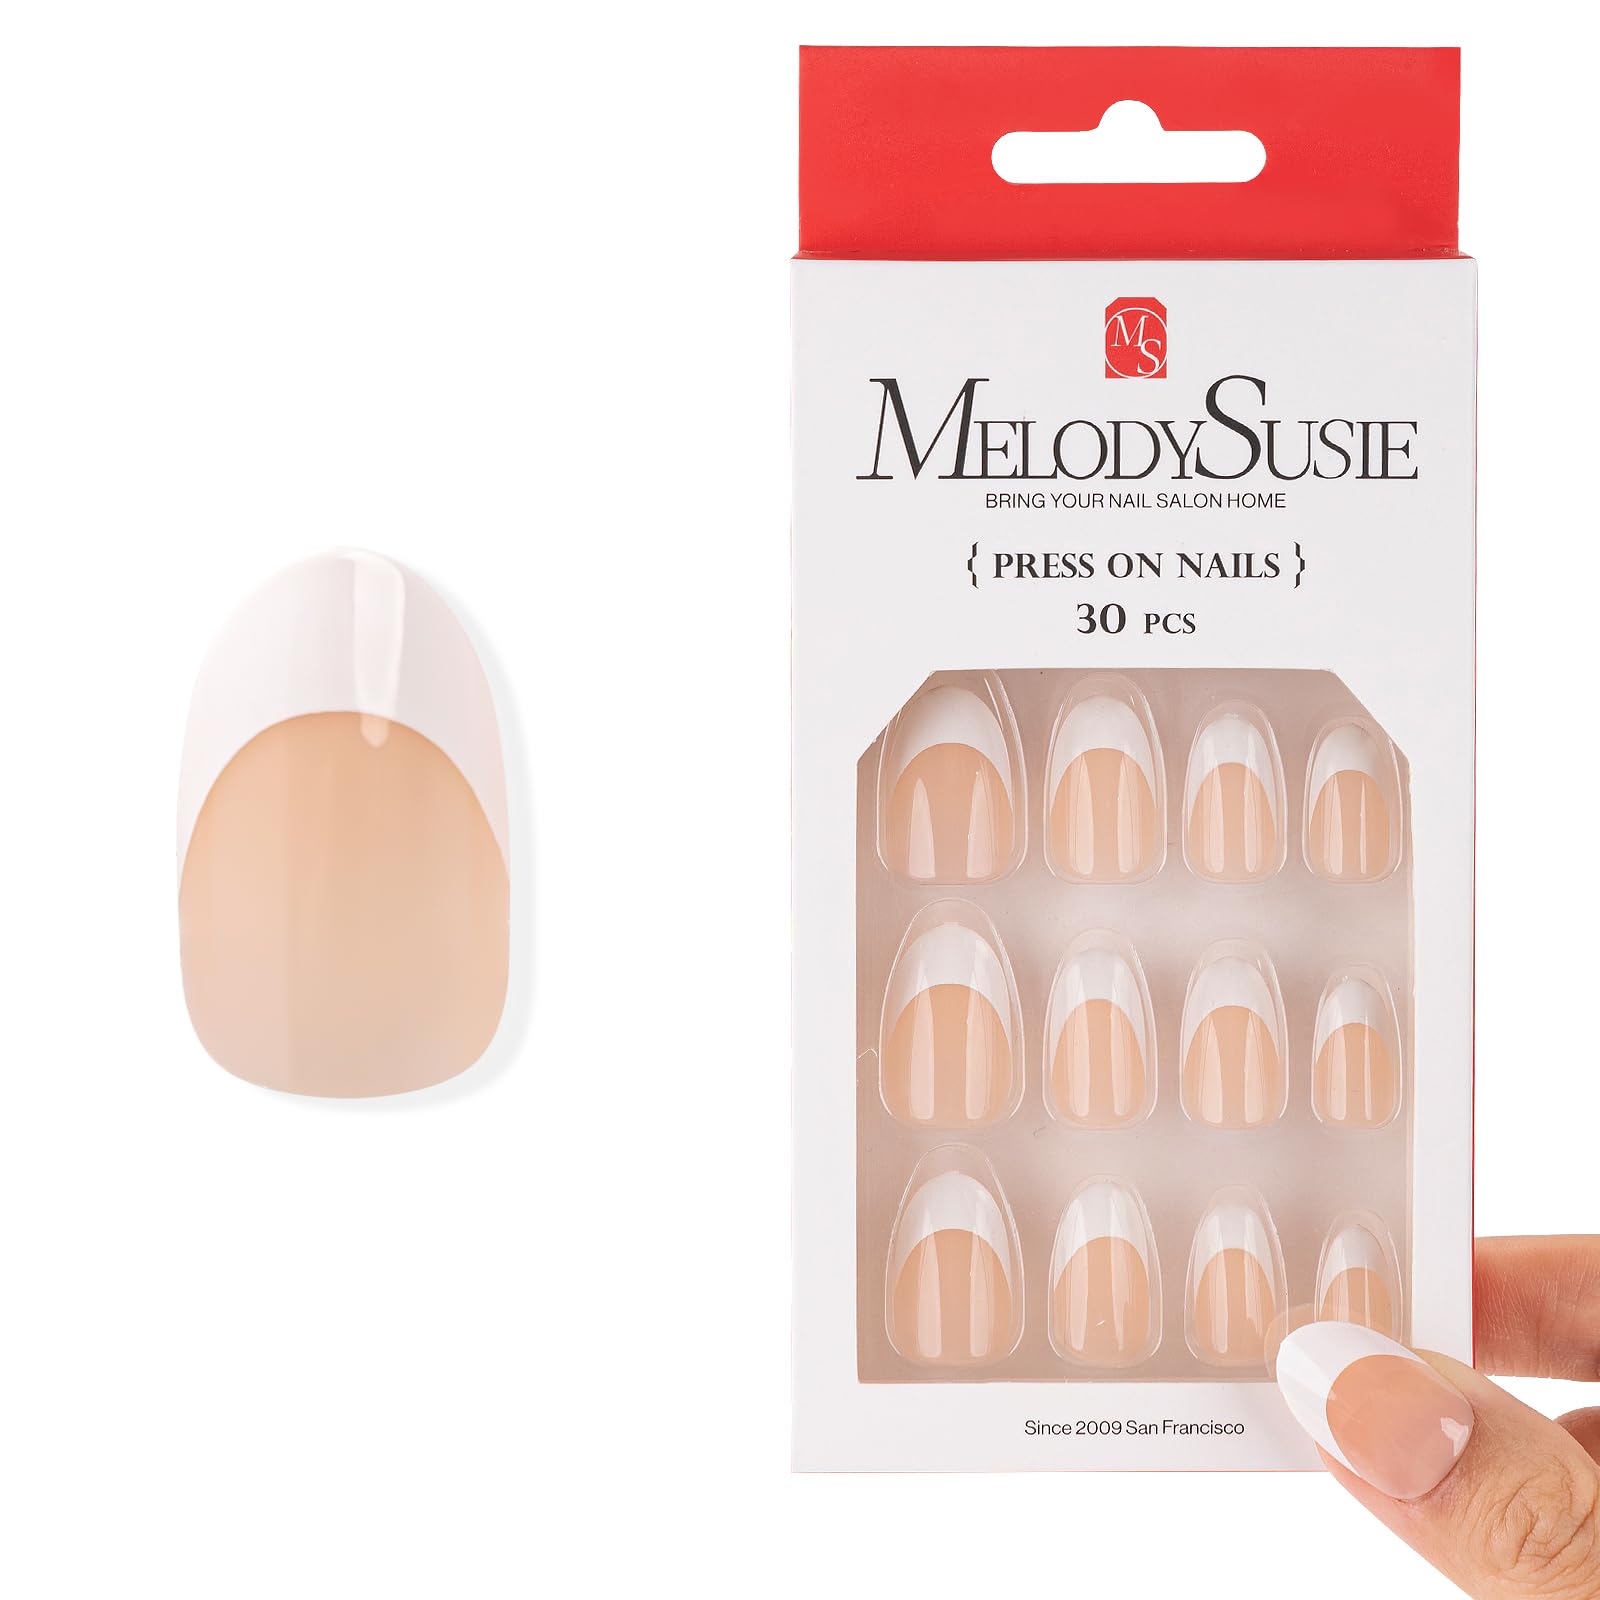
What About Press-Ons? If you want vampire nails for a specific event and don't have time to DIY or money for salon, quality press-ons are totally valid. Look for brands like Kiss Falscara or Static Nails. Just make sure you prep your natural nails properly and use nail glue (not the adhesive tabs) for maximum wear time. We've seen stunning vampire press-on sets that look completely custom.
The biggest lesson about products: expensive doesn't always equal better, and cheap doesn't always equal bad. Test products, read reviews from actual nail techs (not sponsored content), and don't be afraid to mix high and low price points. Some favorite manicures use $8 Beetles polish with $2 Amazon rhinestones and they look absolutely professional.
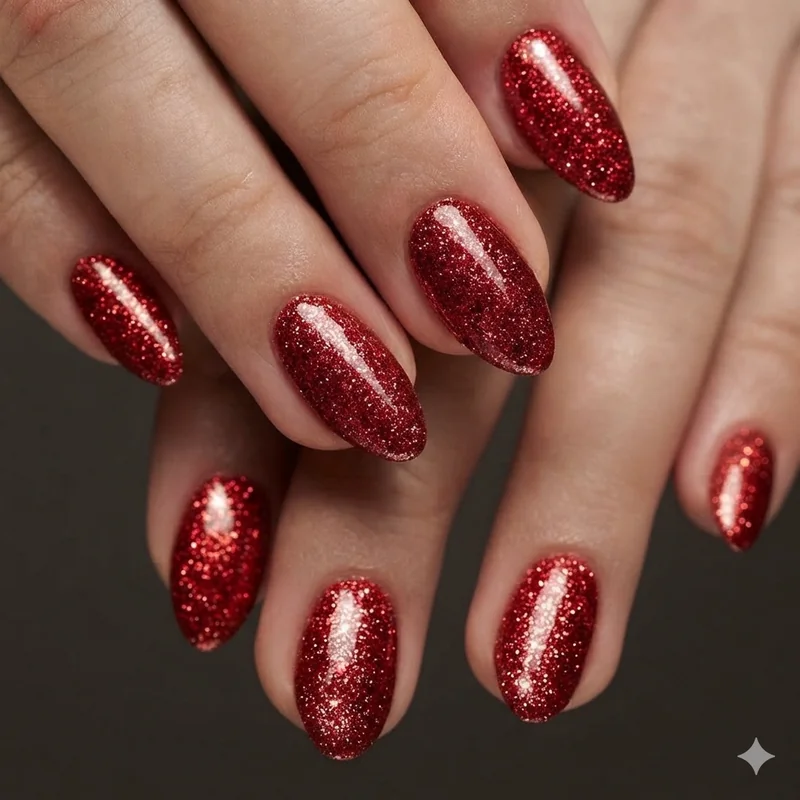
📌 Pin this ombre technique for stunning gradient vampire nails!