Classic Dot Designs That Never Go Out of Style
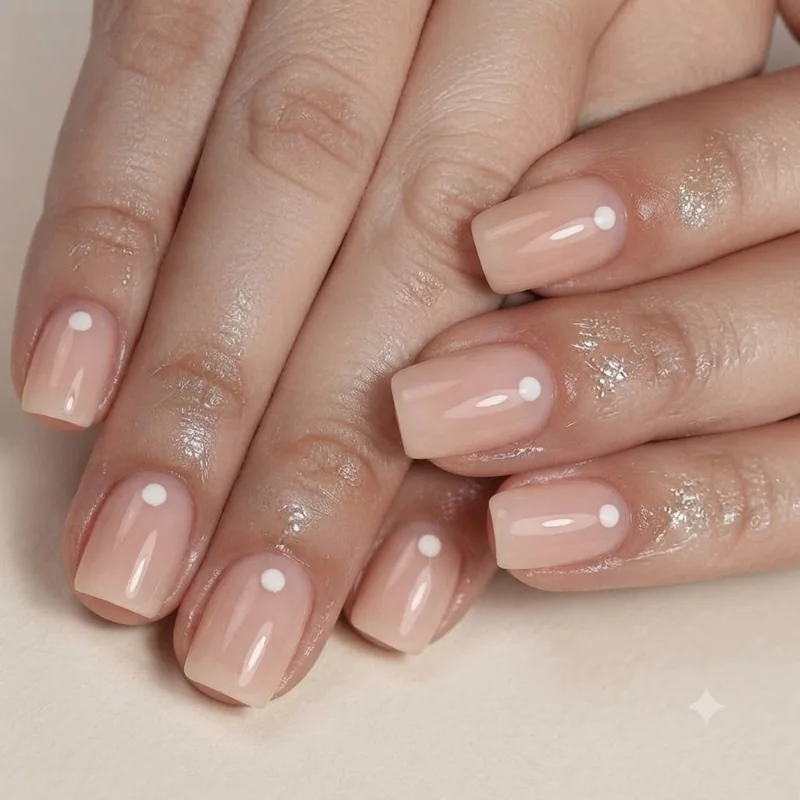
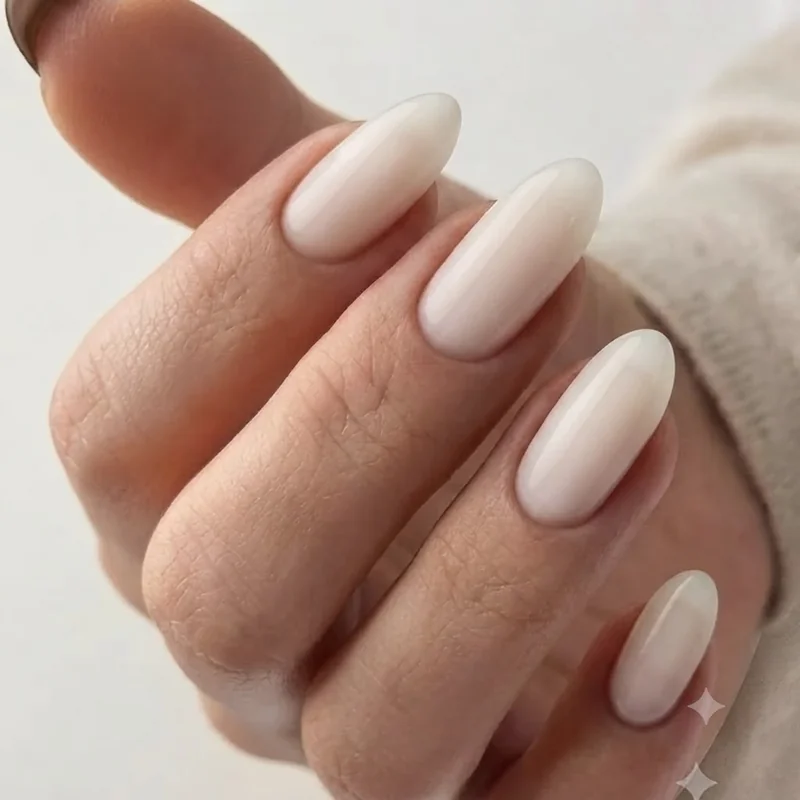
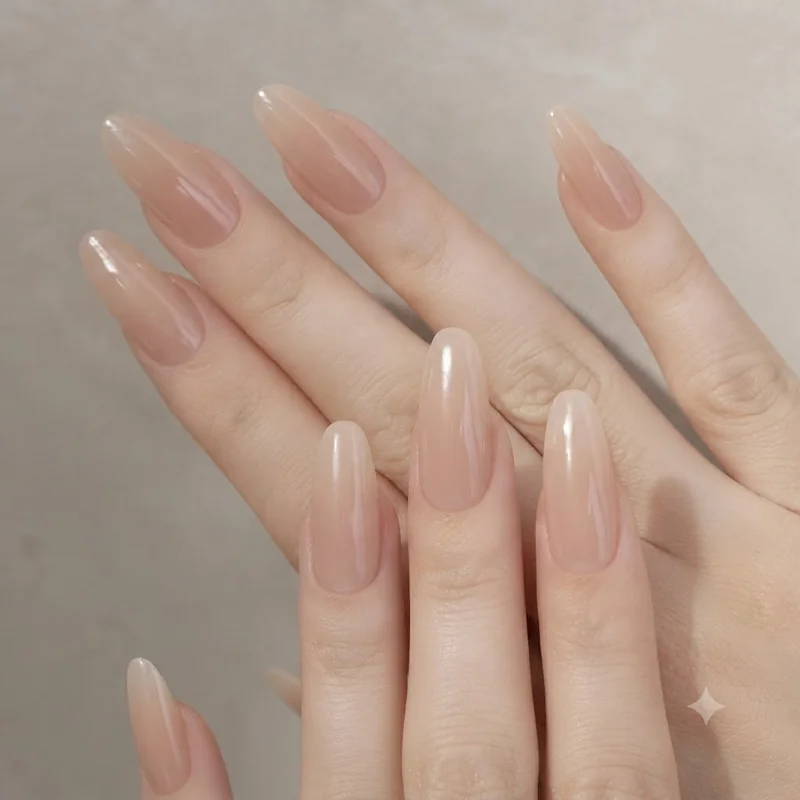
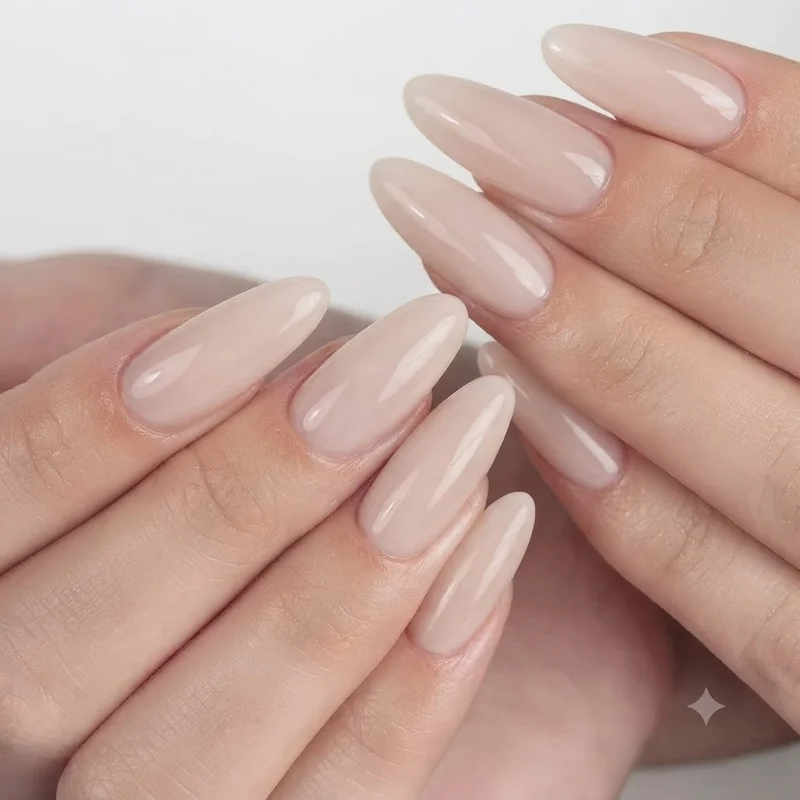
Three coats of sheer nude polish. That is the base every design in this section starts from, and it is doing more work than the dots themselves. A pale, sheer canvas is what makes a single dot read as intentional instead of decorative.
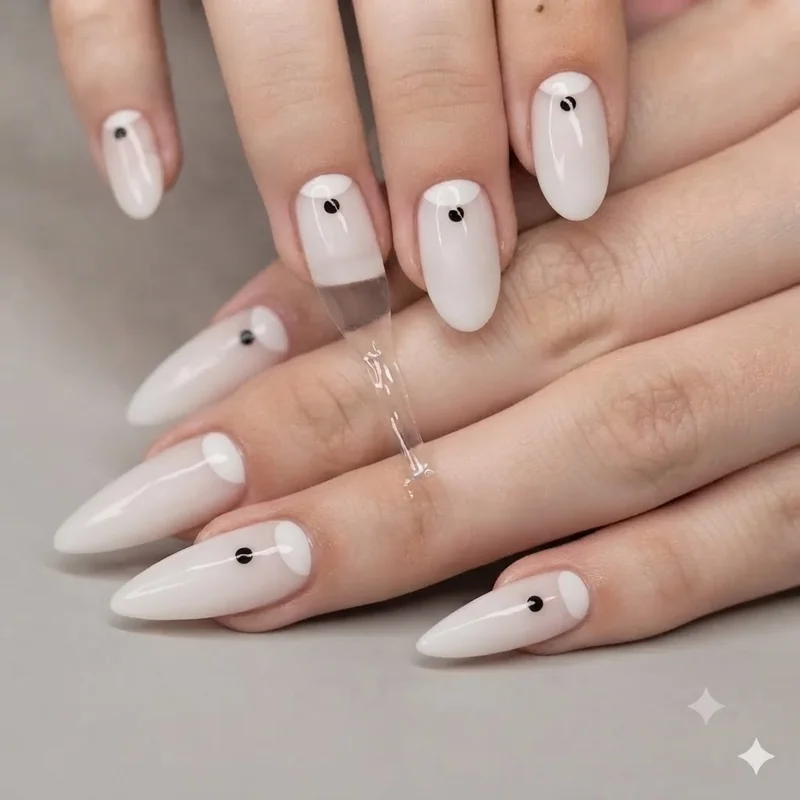
1. The Single Statement Dot. One black dot, centred just above the cuticle line, on a milky nude base. Nothing else. This is the design to screenshot first if you have never tried dot nail art, because it removes every variable except placement.
2. Accent Nail, Double Dot. Keep nine nails plain and give the ring finger two small dots, stacked vertically near the tip. It reads as a considered choice rather than an accessory nail that got forgotten halfway through.
3. The Cuticle Line Dot. A single tiny dot sitting right at the base of the nail, almost touching the cuticle. Understated in a way that photographs beautifully but reads as barely-there in person, which is exactly the appeal for anyone who wants nail art without announcing it.
4. Monochromatic Tonal Dots. This is the one most people skip and shouldn't. Pick one colour family, a warm terracotta for instance, and use a slightly darker or lighter shade of that same tone for the dots. Monochromatic dot styling means the base and the dots share a colour family instead of contrasting, so the design reads as tonal depth rather than pattern. It is the most "quiet luxury" version of this entire trend.
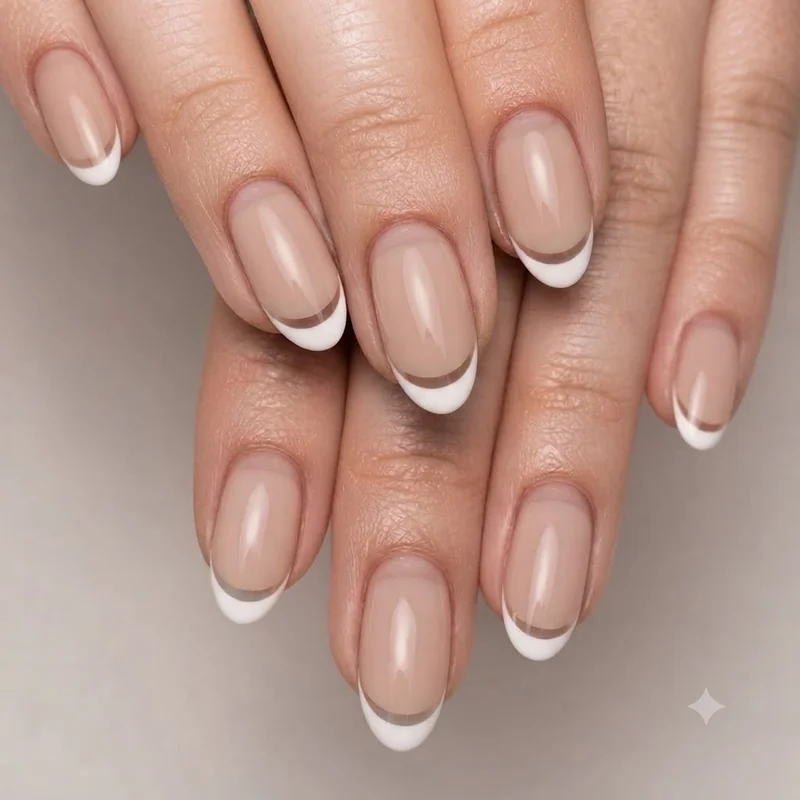
5. Classic French With a Dot Accent. A standard white French tip, but swap the smile line for a single dot centred at the tip instead of a full crescent. It keeps the polish of a French manicure with a graphic twist that feels current rather than borrowed from 2011.
6. The Pearl Dot. Instead of polish, press a single tiny pearl embellishment into wet top coat where a painted dot would go. It costs almost nothing to try and instantly reads as bridal or event-ready.
Colorful Dot Combinations for a Playful Twist
She is scrolling for something that still feels minimalist without being another neutral roundup. That is where colour comes in, carefully.
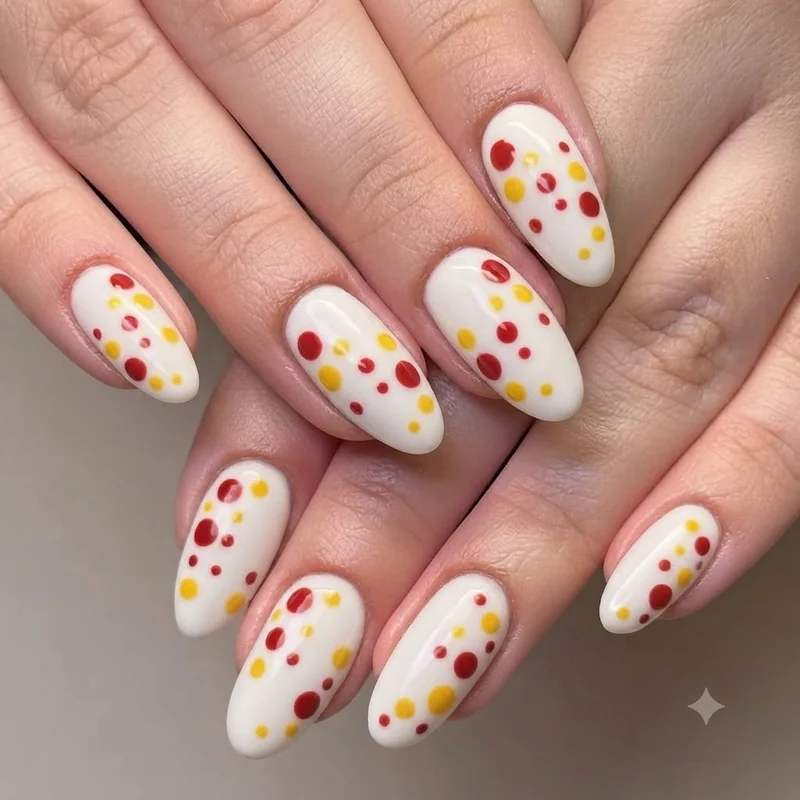
7. Two-Tone Contrast. A single red dot and a single yellow dot, placed on opposite sides of the same nail, on a white base. High contrast, low commitment, since it is still only two shapes per nail.
8. Ombre Gradient Dots. Three dots in the same hue family, graduating from deepest to lightest as they move up the nail. It takes more patience than a single dot design but stays within the same "restraint" rule, since you are still only placing three shapes.
9. Cobalt on Cream. One saturated cobalt blue dot on a soft cream base. The saturation does the talking, so one dot is genuinely enough. Resist the urge to add a second.
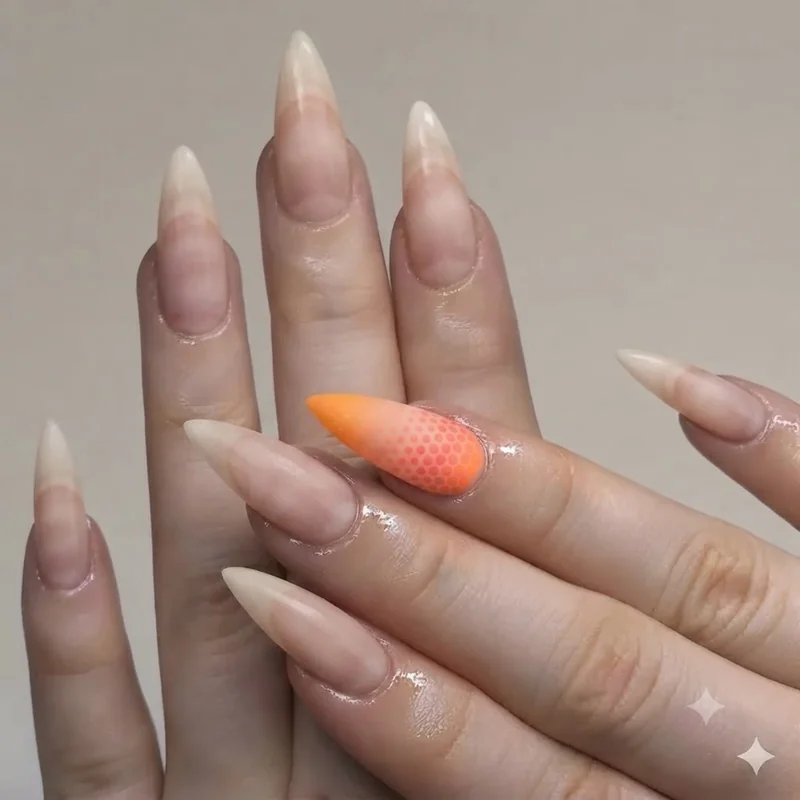
10. Sunset Gradient Accent. On a single accent nail, three dots moving from coral to orange to yellow. Everything else stays a plain nude, which keeps the colour moment contained instead of overwhelming the whole set.
11. Confetti Micro Dots. A handful of tiny, irregular-sized dots in three colours, clustered loosely in one corner of the nail rather than spread evenly. The irregularity is what keeps this from tipping into polka-dot territory. Even spacing is what reads as childish; deliberate asymmetry reads as art.
12. Emerald and Gold. A single emerald dot paired with a smaller gold dot just beside it, on a warm nude base. Jewel tone plus metallic is one of the fastest ways to make a two-dot design look expensive.
Creative Dot Placement Styles to Try Next
Most dot nail art conversations stop at "how many colours." Placement is the more interesting decision, and it is the one that separates a design that looks templated from one that looks styled.
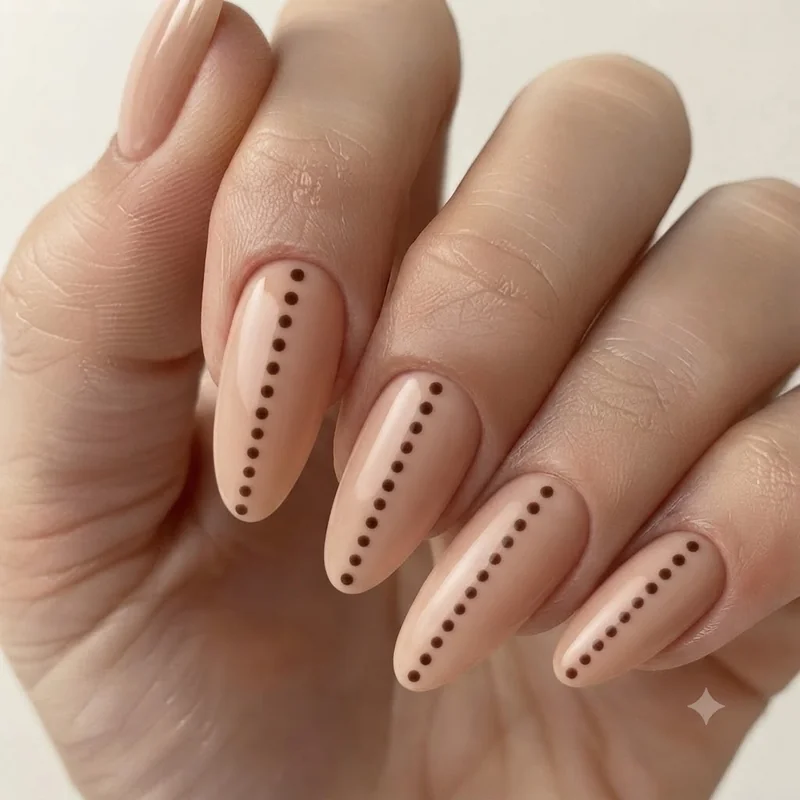
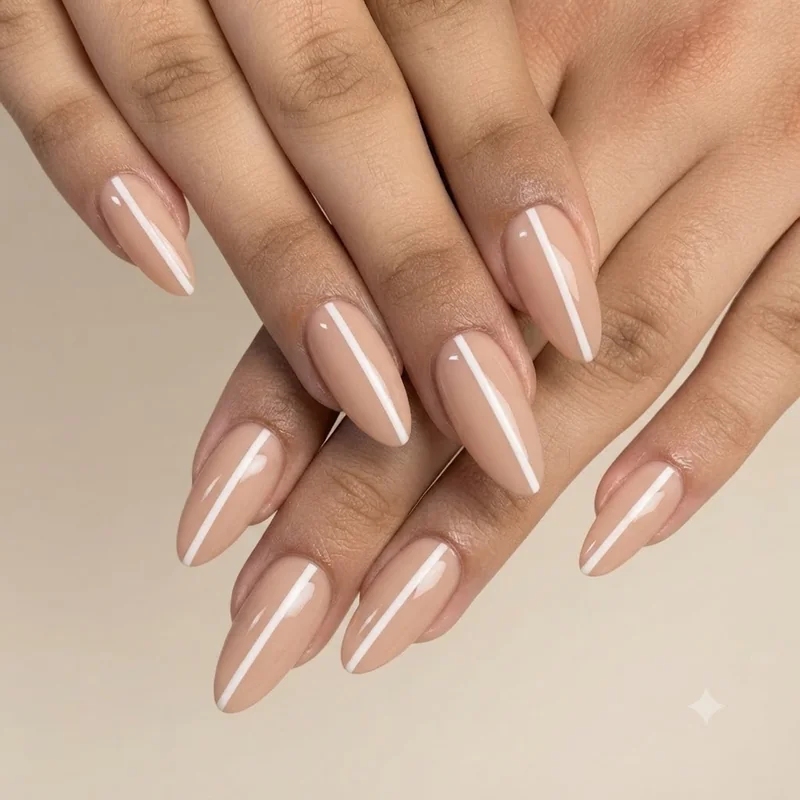
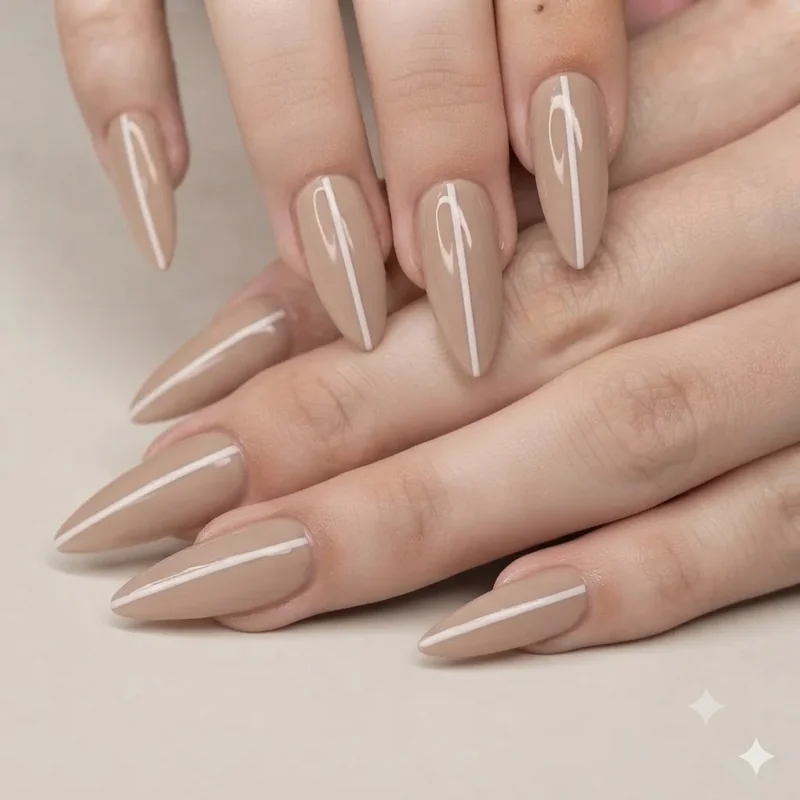
13. The Vertical Center Line. Three or five dots, decreasing in size, running in a straight vertical line up the centre of an almond-shaped nail. The elongated shape of almond nails makes this one of the most flattering placements in the entire list.
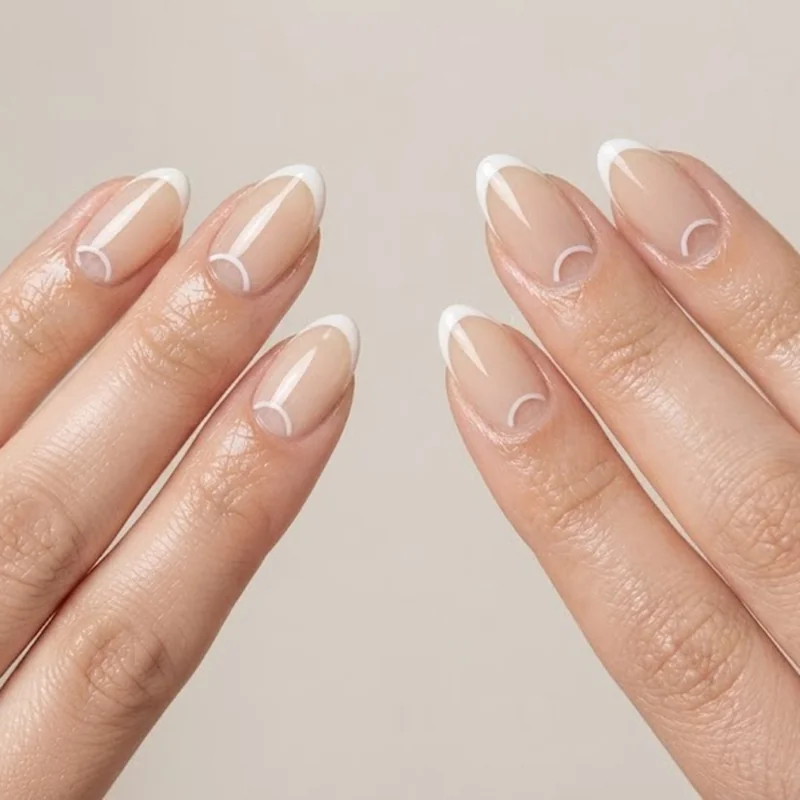
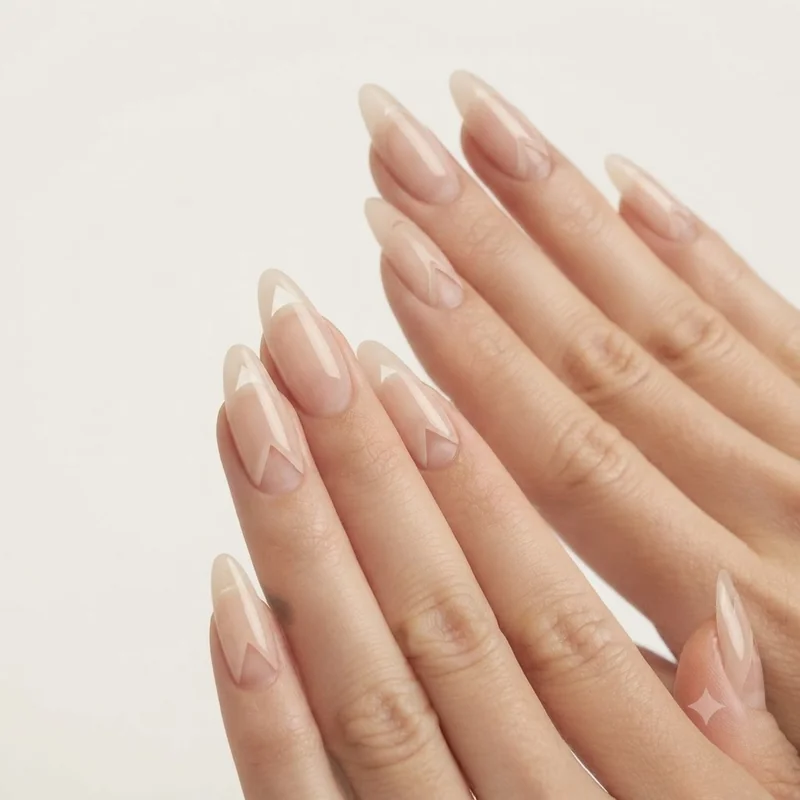
14. Negative Space Half-Moon Dots. Leave the base of the nail bare, unpainted, and place a small arc of dots just above the cuticle line where colour would normally start. The negative space technique means leaving parts of the nail unpainted to create contrast, and pairing it with dots gives you two minimalist techniques layered into one design. If half-moon negative space is a look you want to take further on its own, our guide to negative space nails covers more variations.
15. Diagonal Scatter. Five dots of the same size, placed along a loose diagonal line from the lower left corner to the upper right of the nail. It reads as more editorial than a centred row and works especially well on square nails, where a centred design can look static.
16. The Off-Center Cluster. Three dots grouped tightly in the upper corner of the nail, leaving the rest of the nail completely bare. Asymmetry is doing the same job here that it did in the confetti design, keeping the eye moving instead of landing on a static centre point.
17. The Border Dot Line. A row of micro dots tracing just along the free edge of the nail, following the natural curve of the tip. From a distance it reads almost like a textured French tip.
18. Single Dot, French Tip Reversed. Paint the tip in your base colour and leave the rest of the nail bare, then add one dot where the cuticle would normally sit. It is the classic French manicure shape, inverted, with dot placement replacing the usual white tip.