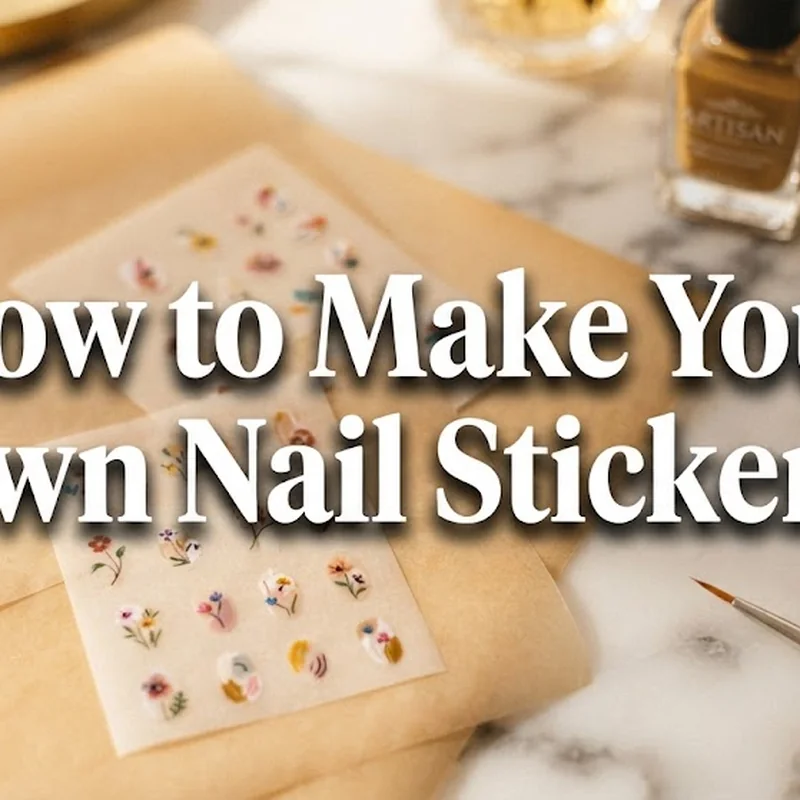
How to make your own nail stickers comes down to picking one of five methods based on what is already in your house. Not owning a printer is the single biggest reason people assume how to make your own nail stickers is out of reach, and it simply is not true. Parchment paper and polish cover you with zero extra spend. A printer, if you have one, unlocks sharper, more detailed designs through decal paper or waterslide paper.
This guide walks through all five methods, in order from least equipment to most, so you can match one to what you already own tonight. Alongside the how to do acrylic nails at home routine, this is one more skill that turns a full at-home manicure into something you never have to pay a salon for.
What Do You Actually Need to Make Nail Stickers at Home?
Yes, you can make nail stickers without a printer. The two lowest-barrier methods, polish-on-parchment and packing tape transfer, use only nail polish, tape, and paper you likely already own. A printer only becomes necessary if you want the sharper line work that printable decal paper or waterslide paper delivers.
For the printer-free route: clear and coloured nail polish, a sheet of parchment paper (not wax paper, and not foil), a fine nail art brush or a toothpick for detail work, and a top coat to seal the finished piece. For the packing tape route, swap the polish for a small printed or magazine image and a roll of clear packing tape. Every method for how to make your own nail stickers starts from one of these two supply lists, nothing more exotic than that. Readers who want to skip the shop-bought bottle entirely can even look at how to make your own nail polish at home and build the base colour from scratch.
Method 1: Nail Polish Stickers on Parchment Paper
Wax paper feels like the obvious choice. It is the wrong one. The polish-only route to how to make your own nail stickers depends entirely on parchment paper, because its silicone coating releases dried polish cleanly in one piece, while wax paper's coating reacts with polish and leaves it gummy or torn at the edges.
Lay a sheet flat on a hard surface and tape the corners down. Paint a thin base coat in shapes slightly larger than your nail, let it dry completely, then layer your design on top once the base is fully hard, not just dry to the touch. A fine brush handles clean lines, a toothpick drags tiny dots or a swirl through wet polish for texture. Anyone chasing finer linework can lean on dotting tool nail art for beginners for the detailing step. Once the piece feels rigid rather than tacky, slide a fingernail under one edge and peel it up in one motion. Rushing this step is what cracks an otherwise perfect sticker.