Prep Your Nails the Right Way
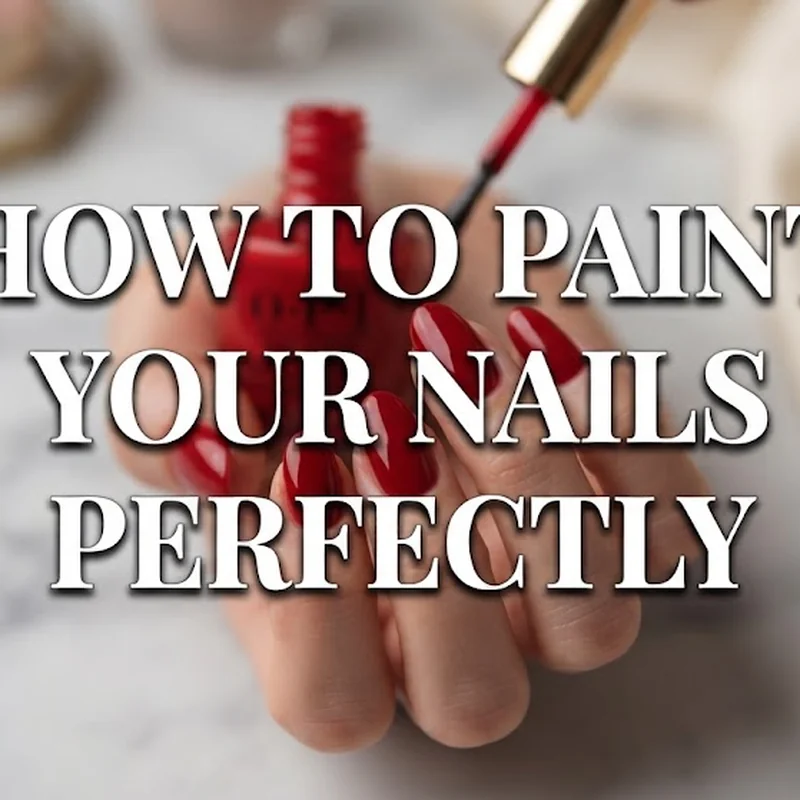
You paint your nails without getting polish on your skin by keeping the surrounding skin dry, using a thin first coat, and pulling the brush away from the cuticle line rather than into it. A cuticle guard or a barrier of liquid latex painted around the nail beforehand gives you an even wider margin for error, since any polish that lands on it peels away clean once you are done.
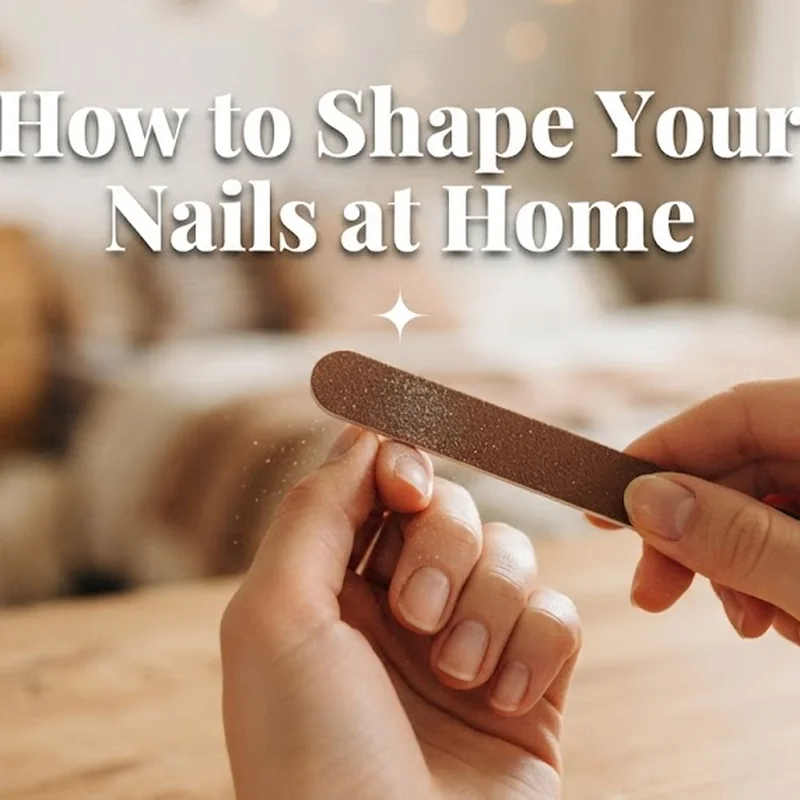
Shaping comes first and it is not optional. Uneven edges or ridges will show through even careful brushwork, so how to shape your nails at home first is worth doing properly before polish touches the nail.
Buff lightly to smooth ridges, then wipe each nail with acetone on a lint-free pad. This removes natural oils that stop polish from gripping, and it is the most skipped step in a DIY manicure. Push back cuticles gently rather than cutting them.
Once nails are clean, dry, and free of oil, apply your base coat. Thin, even, one pass per nail. Let it set for about sixty seconds before moving to colour. This prep stage is where most of how to paint your nails perfectly is actually decided, long before colour ever touches the brush.
The Three-Stroke Method: How Pros Load the Brush
The three-stroke method is a brush-loading technique where you load the brush once, then lay down three strokes per nail: centre, left side, right side, each starting near the cuticle and pulling toward the tip. It is the technique nail artists recommend the three-stripe method for, since one loaded pass distributes polish evenly instead of dragging the brush back and forth.
Dip the brush and wipe one side against the bottle neck, leaving polish on one side of the bristles only. That asymmetry is what lets the brush fan out into a clean centre stroke.
Start the first stroke a hair's width from the cuticle, not touching it, and pull straight to the tip, capping the free edge as you go over the top. Capping means dragging the brush across the very tip of the nail so the polish wraps slightly underneath, sealing the edge where chipping usually starts first. The second and third strokes fill the remaining left and right sections, overlapping the centre stroke just enough to blend without doubling up on polish.
Reload the brush for every nail. Trying to stretch one load across two nails is the fastest route to a thin, streaky second nail and a flooded cuticle on the first. Master this loading motion and you have mastered the single technique that most defines how to paint your nails perfectly on your dominant hand.
How Do You Paint Your Nails With Your Non-Dominant Hand
You paint your nails with your non-dominant hand by stabilising the hand against a flat surface, holding the brush flatter against the nail than you would naturally, and slowing your stroke speed rather than trying to match your dominant hand's pace. Rest your forearm fully on the table rather than holding your hand in the air, since most of the shake in a non-dominant stroke comes from an unsupported arm, not the fingers themselves.
How to paint your nails perfectly with your weaker hand is a different mechanical problem than painting your dominant hand, and treating it as the same skill is why so many people never improve at it. Your fingers can hold a brush. What they cannot yet do is fine-tune pressure and angle the way your dominant hand does automatically, so the fix is not more effort, it is a different setup.
Lay your painting hand flat on the table and bring the hand being painted up to meet it, rather than hovering the brush over a raised hand. A fulcrum finger, resting your pinky or ring finger of the brush hand against the table or against the hand being painted, gives you a pivot point that removes most of the shake. This single adjustment does more for a clean non-dominant manicure than any brush or polish formula.
Press slightly harder in the centre of the nail to let the brush fan wider and cover more surface, then ease off for the narrower side strokes near the edges. Go slower than feels natural. A slow, deliberate stroke will consistently look cleaner than a fast one, even though your instinct is to rush through the hand that frustrates you most.
Paint your non-dominant hand first, while your patience is freshest. Any cuticle clean-up on that hand then happens before your other hand's fresh polish risks smudging.
Fixing Mistakes Without Redoing the Whole Nail
You fix a nail polish mistake without starting over by dipping a small angled brush in acetone and tracing only the smudged or flooded area, working from the mistake inward toward clean polish. This targeted clean-up lifts the error while leaving the rest of the coat underneath intact, and it takes seconds rather than the minutes a full redo costs.
Most guides only tell you how to avoid mistakes. Reality is that even a careful hand touches skin sometimes, especially on the non-dominant side, so a plan for fixing it matters as much as a plan for preventing it, and it is just as much a part of how to paint your nails perfectly as the brushwork itself. Keep a small dish of acetone and an angled clean-up brush within reach the entire time you paint, not just at the end.
A cuticle guard, whether a purpose-made liquid latex product or a home alternative like a thin ring of washable school glue painted around the nail before polish, is a barrier applied to the surrounding skin that peels away cleanly once polish is dry, taking any stray colour with it. The glue trick works the same way commercial latex barriers do, and costs nothing beyond a bottle you likely already own.
If the mistake is still wet, a cotton swab lightly dampened in acetone and pressed, not dragged, will lift it without smearing into the cuticle. If it has already dried, clean it up during your top coat stage instead.