Snowflake Nail Art (The Beginner Method)
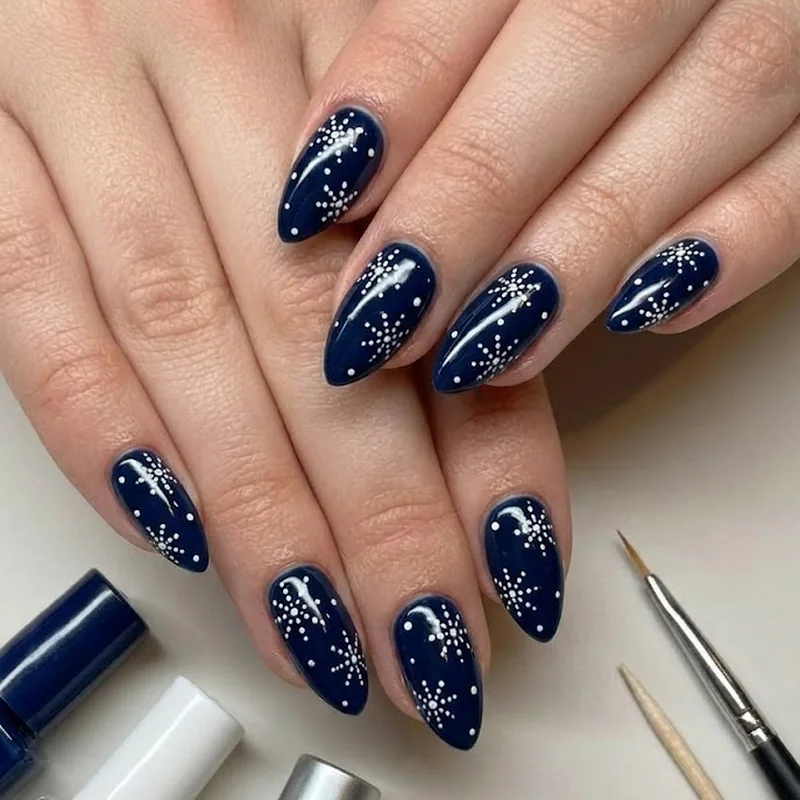
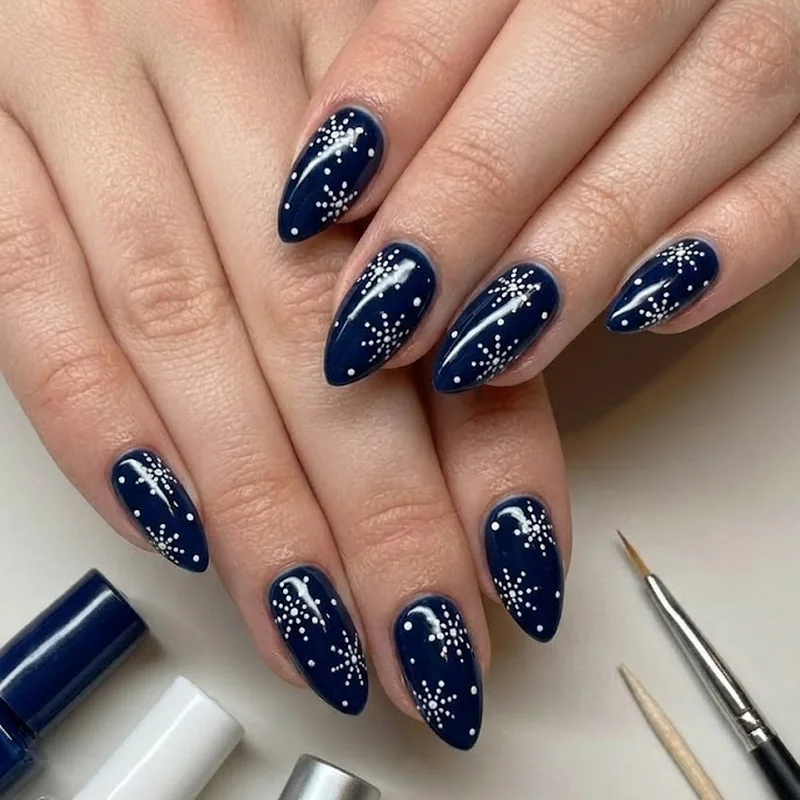
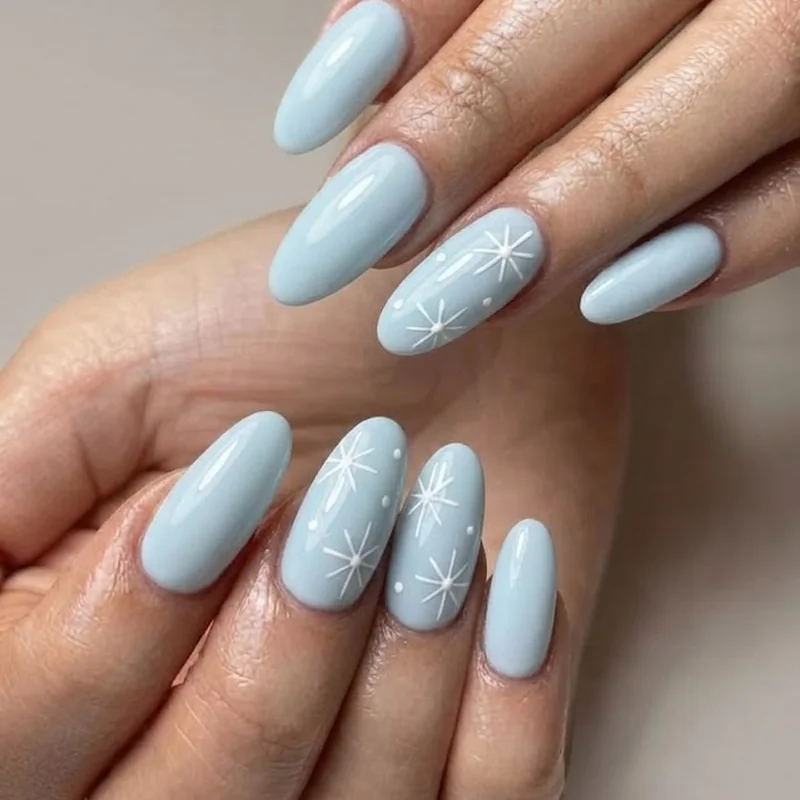
Snowflakes have a reputation as the most intimidating winter design, and that reputation is wrong. They're the most forgiving pattern on this list, built entirely from straight lines and dots radiating from a center point. No smooth curve to wobble, no shading to blend. If you can draw a plus sign and a few dots around it, you can do this.
Start with a pale blue, icy white, or soft gray base color and let it dry completely, five full minutes minimum. Rushing this step is the single biggest reason snowflake designs smudge before they're even finished.
- Dip your fine brush or a toothpick in white polish and draw one straight vertical line down the center of the nail, then one straight horizontal line crossing it.
- Add two diagonal lines crossing the same center point, so you have six lines total, evenly spaced like a compass.
- Place a small dot at the outer tip of each line using the toothpick.
- Add two smaller angled lines branching off each main line, closer to the tip than the center, for that classic snowflake silhouette.
- Let it dry fully, then seal with top coat.
If your first snowflake looks a little lopsided, leave it. A slightly imperfect snowflake photographs better than a stiff, ruler-straight one anyway. For more variations once you've got the base method down, our snowflake nail art designs and tutorials post covers everything from single accents to full winter scenes.
Frosty Ombre Tips Without a Nail Sponge Kit
A makeup sponge from your regular routine creates the same soft gradient effect a nail-specific sponge kit promises. Cut a small piece, dab two polish colors onto it in overlapping stripes, then press against the nail tip in short, light pats rather than one long swipe. A slightly rougher household sponge actually blends color more forgivingly than a perfectly smooth one.
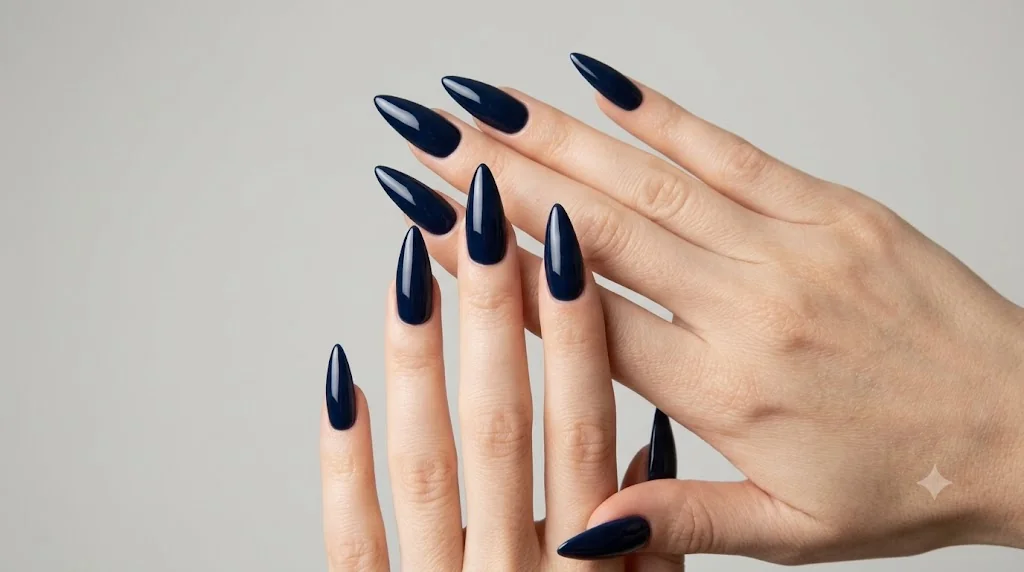
The ombre nail technique is a color application method where two or more polish shades blend gradually into each other rather than meeting at a hard line, most commonly a darker base at the cuticle fading to a lighter or metallic tip, or the reverse. It's one of the fastest ways to make easy winter nail art at home look intentional, since a soft gradient reads as polished even when the blend line isn't perfectly even. Pair a deep navy or charcoal base with an icy white or silver tip for a frosty version.
- Paint your base color and let it dry completely.
- Apply two polish stripes directly onto a makeup sponge, overlapping slightly where they meet.
- Dab the sponge onto a paper towel once first to soften the harsh edge.
- Press the sponge onto the nail tip using a light patting motion, working from the tip inward, lifting straight up between pats.
- Repeat two to three times for full opacity, then seal with top coat once fully dry.
Wipe the sponge on a paper towel between each nail so colors don't muddy. If the gradient looks patchy on the first pat, that's normal, the second and third layers build the blend.
Simple Dot and Line Winter Accents (No Dotting Tool Required)
A toothpick, a bobby pin's rounded end, or the ball end of a hairpin all substitute for a dotting tool just as effectively. The tool matters far less than the technique, dip lightly, dot straight down without dragging, then lift straight up.
Different household items give slightly different dot sizes, worth testing on scrap paper first. A toothpick tip makes a fine dot for star clusters, a bobby pin's rounded end makes a fuller dot for a single snowfall accent. Negative space nail art uses bare, unpolished nail as part of the design itself, letting the natural nail act as a visual element rather than covering every millimeter in color. It's one of the most forgiving winter looks precisely because there's less surface area to get wrong.
- Paint a clear or single-color base and let it dry.
- Dip your toothpick lightly, tap off excess on a paper towel so the dot doesn't spread.
- Press straight down onto the nail, then lift straight up without dragging.
- Cluster three to five dots loosely near the cuticle or tip to mimic falling snow, leaving bare nail in between for a negative space effect.
- Connect two dots with a thin line for a simple constellation-style accent if you want more detail.
Once this method feels comfortable, the full dotting tool technique guide if you decide to invest in one walks through seven designs that get easier with a real dotting tool in hand, worth bookmarking for later, not needed today.
Metallic French Tip Twist
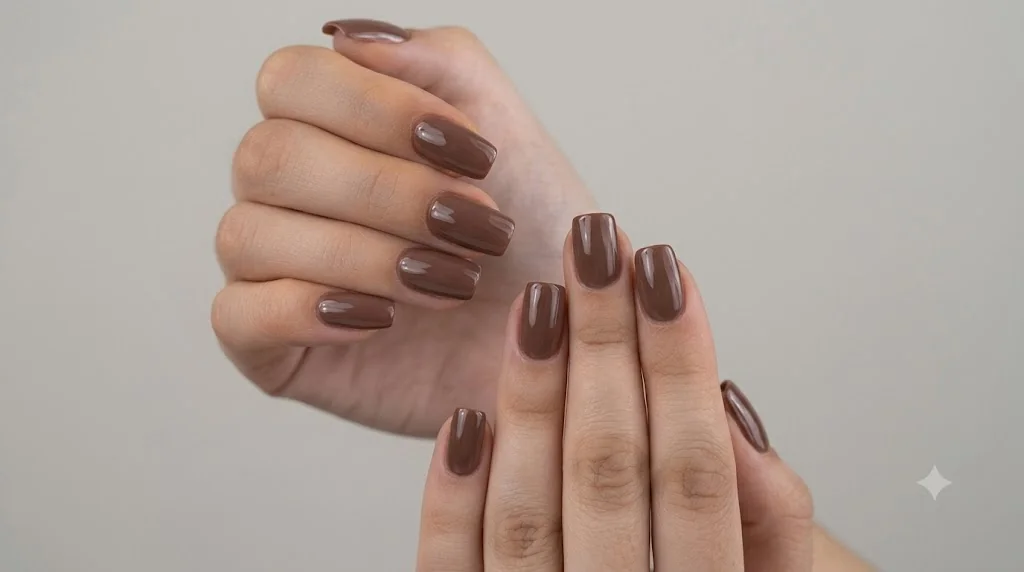
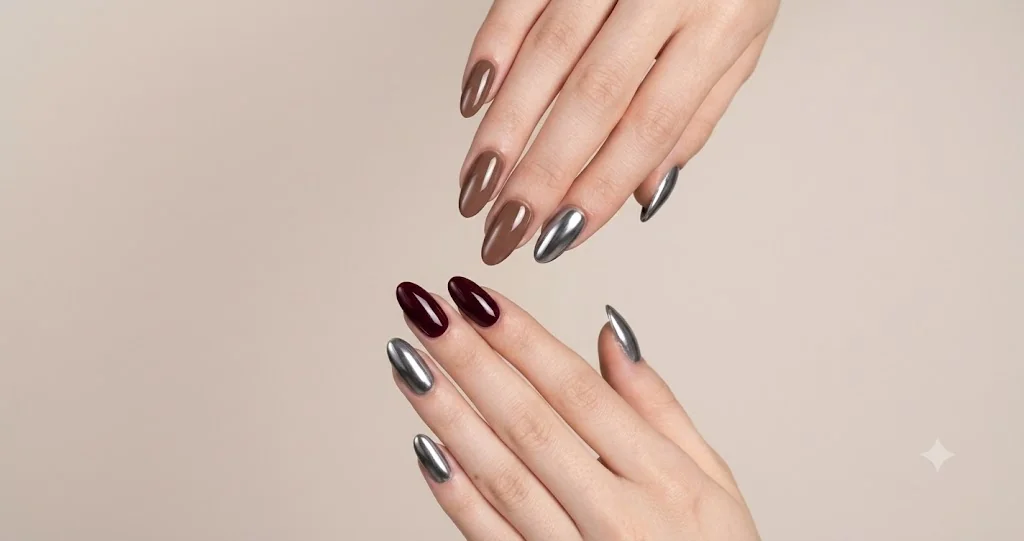
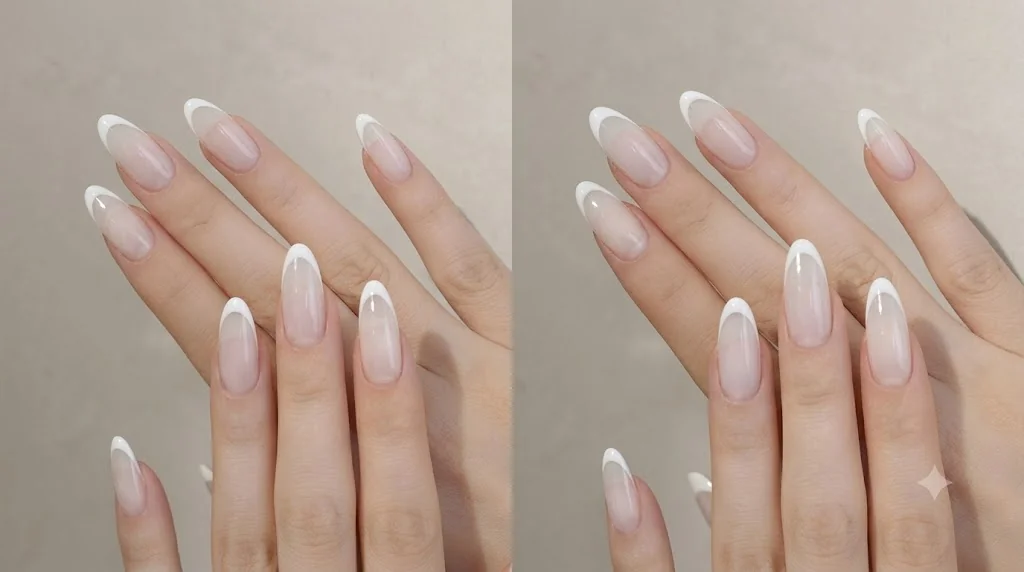
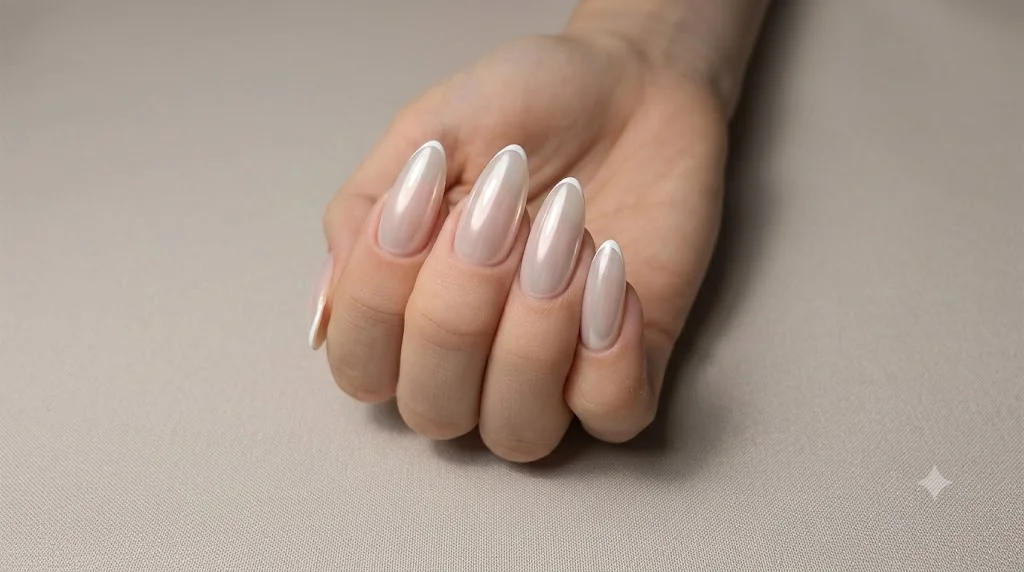
The classic French tip gets a winter update by swapping the traditional white line for metallic silver or gunmetal, and the swap is what makes this version more forgiving than it looks. Metallic polish catches light unevenly, so small imperfections in your line blend into the shimmer instead of standing out the way they would in flat white.
The cleanest way to get a straight tip line without a steady freehand is to use a small strip of tape as a guide, not to draw the line yourself.
- Paint a sheer nude, soft pink, or clear base and let it dry completely.
- Cut a small strip of tape and place it diagonally across the nail where you want the tip line to start.
- Paint metallic polish over the tip area, brushing outward from the tape edge toward the nail tip.
- Peel the tape away immediately while the polish is still wet, pulling at a low angle rather than straight up.
- Clean up any stray edges with a small brush dipped in polish remover before it fully dries.
If the line isn't perfectly straight after peeling the tape, a thin coat of top coat blurs it just enough to read as intentional rather than shaky. That's how a lot of the cleanest-looking French tips actually get finished.