The Easiest Snowflake Nail Art Technique for Beginners
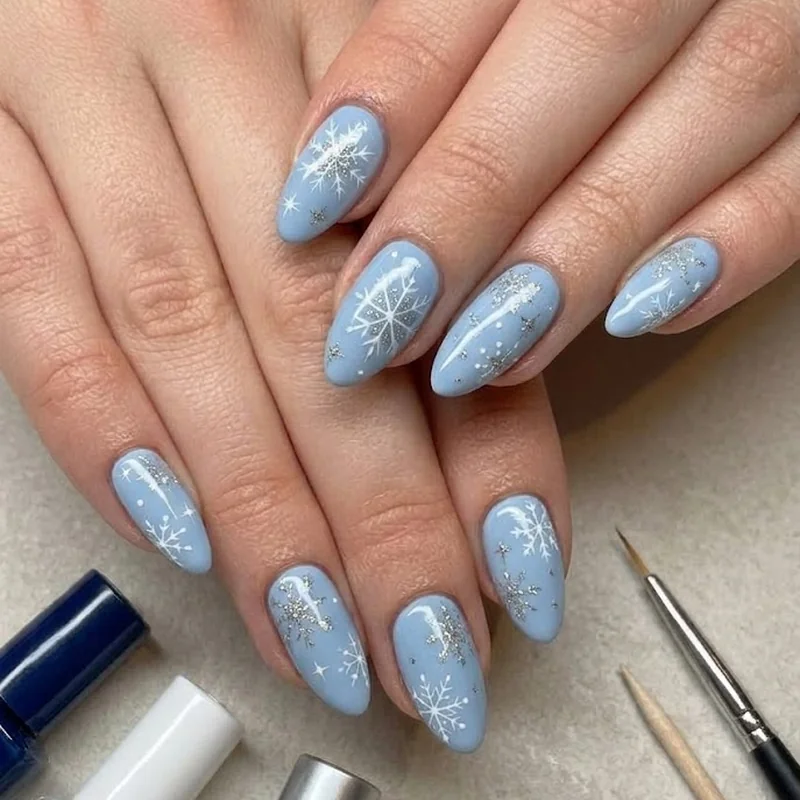
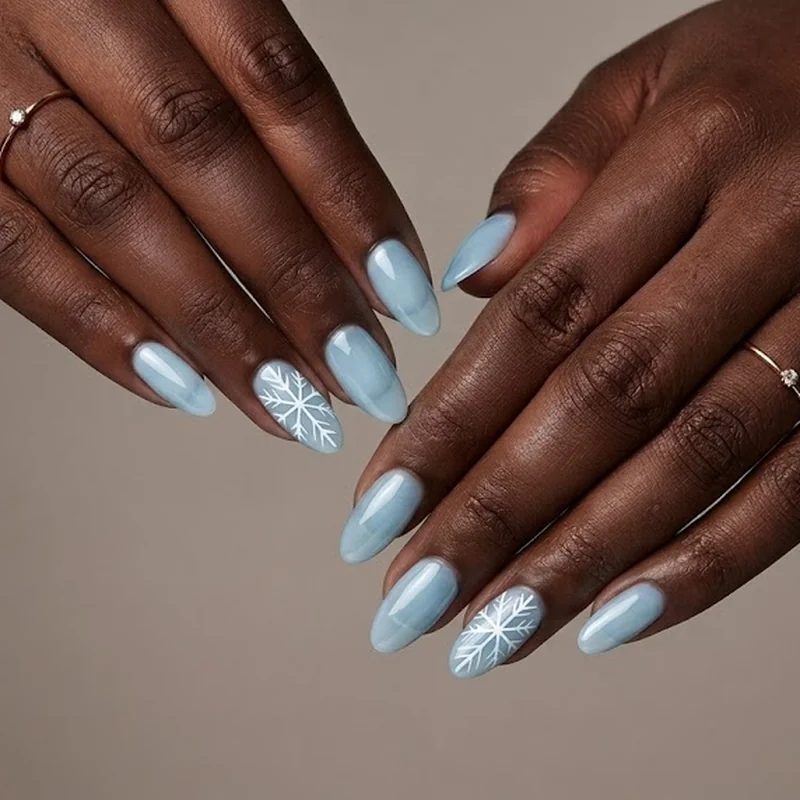
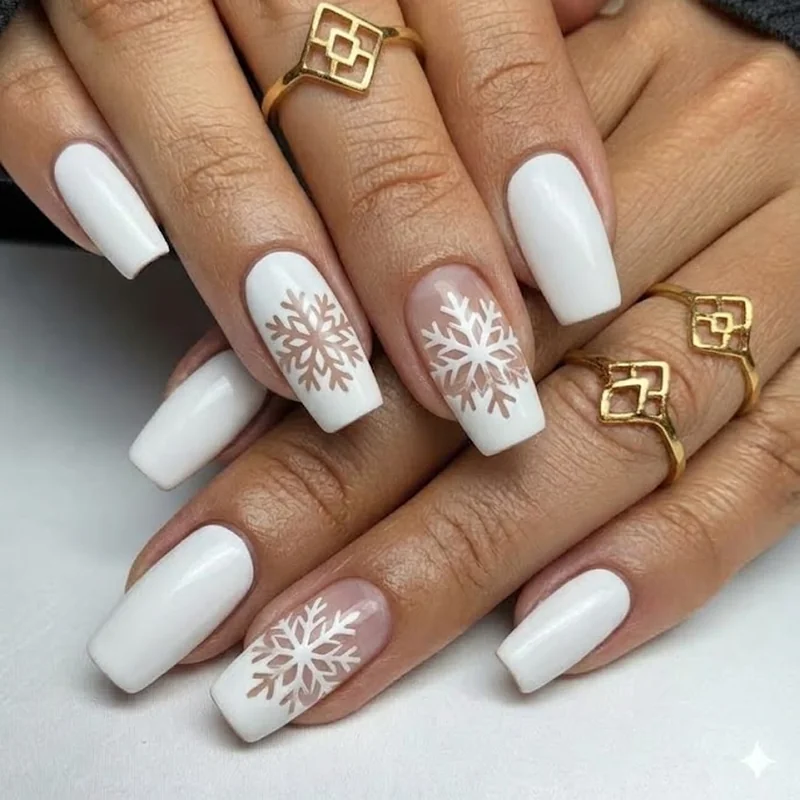
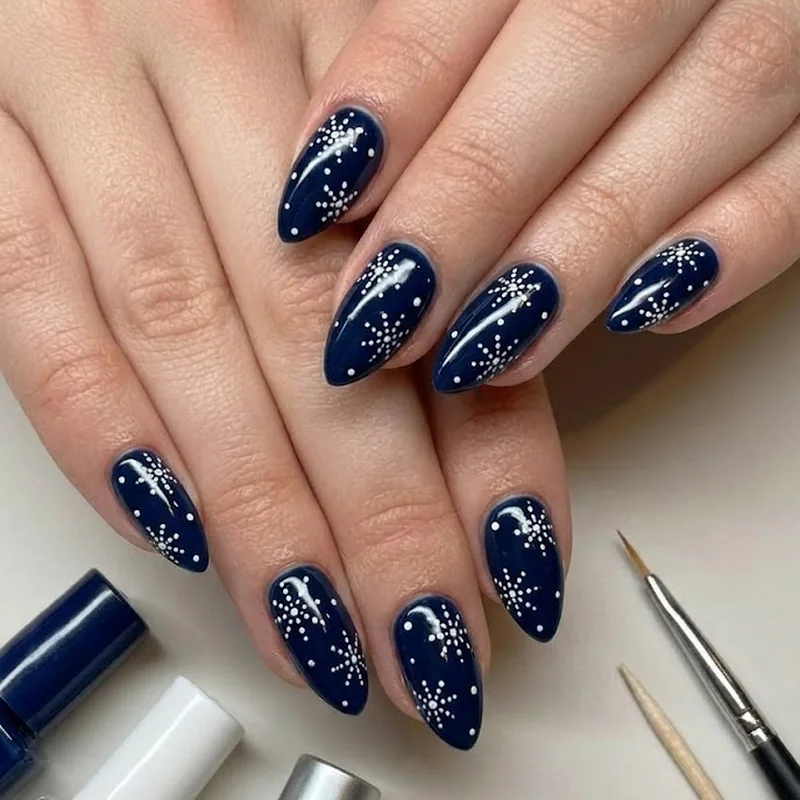
You paint a snowflake by drawing three lines that cross through one center point, then adding two short branch lines off each of those six ends. That is twelve small strokes total, none of them longer than a few millimeters, and none of them requiring a curve. This is the technique behind nearly every clean, simple snowflake design, regardless of what tool made the marks.
Start with the base color fully cured. Load a thin line of polish onto your brush tip or toothpick, and draw one straight line through roughly the center of the nail, top to bottom. Draw a second line crossing it at an angle, then a third crossing both, so you end up with something close to an asterisk. This is the entire structural skeleton of the design, and it takes seconds once you commit to the first line instead of hesitating over where "center" actually is.
The branches come next, and they are what turn the asterisk into something recognizable as a snowflake. At the outer tip of each of the six lines, add two short diagonal strokes forming a small V, angled outward like tiny wings. You do not need to measure this. A slight variation in angle from branch to branch is part of what makes the finished nail look hand-drawn rather than printed, which reads as intentional, not sloppy.
This is where the reassurance from earlier in the post pays off directly: the whole shape is lines meeting at a point, never a curve, never a fill, never anything that punishes a shaky hand the way a freehand flower or face would. A slightly crooked line still looks like a snowflake branch. A slightly crooked petal does not look like a flower. That difference is the entire reason this design earns its beginner-friendly reputation.
Once the linework is dry to the touch, usually a minute or two with regular polish, seal the whole nail with top coat. If any line looks thicker or thinner than the others, resist the urge to go back in and fix it before the top coat, since a second pass on wet polish tends to smear the first one. Leave it. The imperfection reads as texture, not error, once the whole hand is finished and viewed together rather than nail by nail.
How to Freehand a Snowflake Without a Steady Hand
A perfectly symmetrical snowflake is not the goal, and chasing one is the fastest way to make a good design look worse. What actually matters is that the lines are clean and the six branches are roughly even in length. Small differences in angle or spacing between branches read as handmade detail, not as a mistake, once the design is finished and viewed at a normal distance.
This is worth sitting with, because the fear of asymmetry is usually the single biggest thing standing between someone and their first attempt at snowflake nail art. Real snowflakes are not perfectly symmetrical either. Neither are hand-lettered signs, hand-thrown pottery, or hand-knit sweaters, and none of those categories suffer for it. The eye is forgiving of small variation as long as the underlying structure, three crossing lines with branches, is intact.
A few adjustments make the process steadier without requiring more skill. Rest your painting hand against the table or your other hand, since a braced hand shakes far less than a floating one. Work slowly on the first line of each snowflake and let the rest follow its lead. If a line comes out too thick, thin your brush load rather than pressing lighter, since a dry brush skips and looks worse than a slightly bold line.
Uneven spacing between the six branch points is the most common actual issue, more than shaky lines themselves. The fix is not more precision. It's picking a rough center point first and letting the three main lines cross there loosely, rather than trying to plan exact angles before you start. A snowflake with slightly uneven spacing still reads clearly as a snowflake. One with a wandering, hesitant center line does not, so confidence on that first stroke matters more than any single measurement.
Dotting Tool Snowflake Nail Art: A Simple Alternative
Yes, snowflake nail art works without a dotting tool. A toothpick, a bobby pin folded to a point, or the rounded end of a bristle-free detail brush all create the same small, controlled dots a dotting tool makes. The tool matters less than dipping lightly and touching straight down rather than dragging.
A dotting tool is a small handheld tool with a rounded metal ball at one or both ends, used to place precise, evenly sized dots of polish or gel onto the nail without a brush. It is common in basic nail art kits, but it is a convenience, not a requirement, for this style of snowflake.
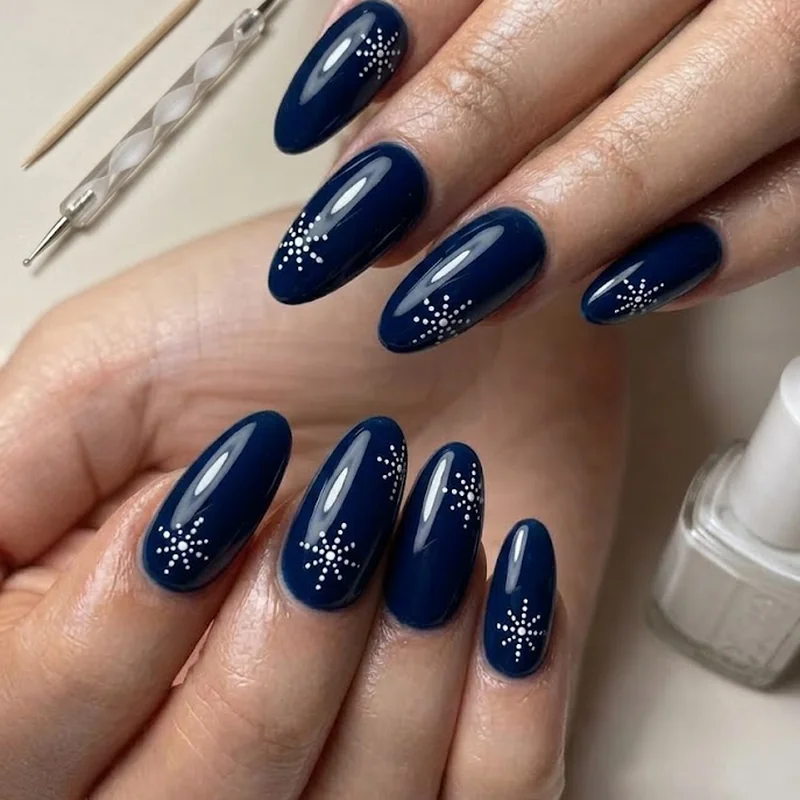
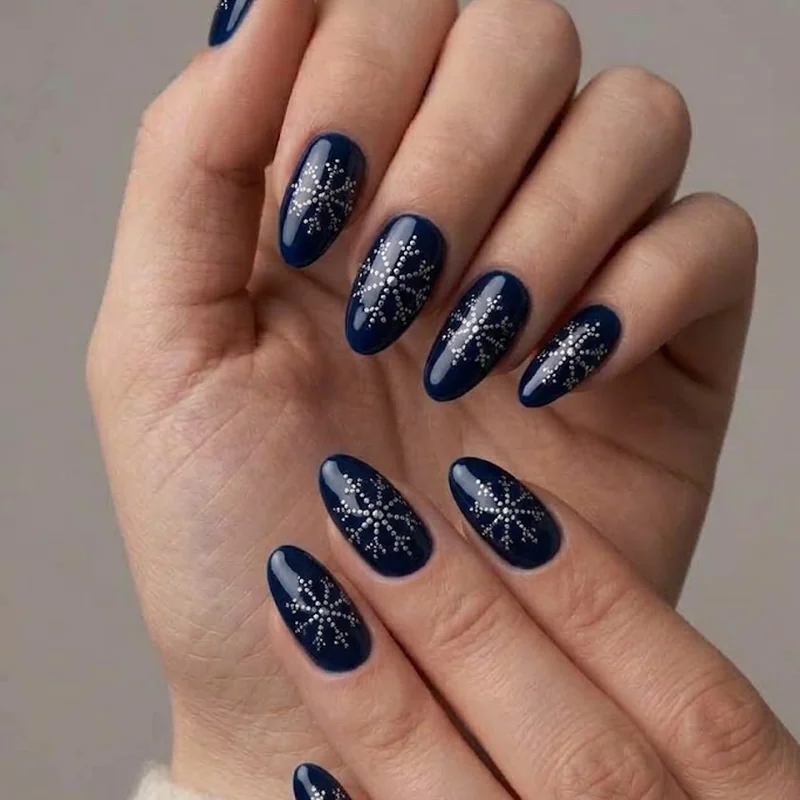
The dotted method produces a visibly different snowflake than the line method, which is worth knowing before you pick one. Instead of drawn branches, you place a small dot at the center and additional dots outward along six directions, like beads on spokes. This version tends to look slightly more delicate and more uniform in size, since a dot is easier to repeat consistently than a hand-drawn line, which makes it a strong option for anyone whose lines from the previous technique came out a little uneven.
To try it, load a small bead of polish onto the tip of your toothpick or dotting tool, touch it straight down onto the nail without dragging, and lift straight up. Repeat outward from a center point in six directions, then add a second, smaller dot further out along each line for a two-tiered branch effect. Keep the dots small. A dot that is too large spreads before it dries and loses its crisp edge, which is the main technical mistake to watch for with this method.
Snowflake Nail Art for Short Nails
Yes, snowflake nail art works on short nails, but the design needs to shrink with the nail bed rather than being scaled down proportionally. On a shorter nail, six full branches tend to crowd the edges and blur together, so the design reads more clearly with three or four branches instead, placed slightly off-center toward the cuticle rather than dead center.
The core problem on short nails is not skill, it's real estate. A six-line snowflake designed for a long almond or coffin shape simply has more surface to work with, and forcing the same line count onto a shorter, rounder nail crowds the branches until they blend into a smudge rather than a clean shape.
The fix is to simplify, not to shrink everything uniformly. Drop from three main crossing lines down to two, giving you a four-branch snowflake instead of a six-branch one. Keep each branch shorter and closer to the center point than you would on a longer nail. Moving the entire design slightly toward the cuticle, rather than centering it on the whole nail, also helps, since it gives the branches room to spread before hitting the free edge where the nail curves away.
Short nails also forgive smaller tools better than long ones do. A toothpick or a fine dotting tool tip is easier to control precisely on a smaller canvas than a wider brush, so this is a case where the "no special tools" method from earlier in this post is genuinely the better technique, not just the more accessible one.