Easy nail art for beginners does not start with talent. It starts with picking a technique that forgives a shaky hand and knowing how to fix it the moment something goes wrong. That is the entire difference between someone who paints their nails once and gives up, and someone who is still doing it a year later. Easy nail art for beginners also does not mean forty design options to scroll through. It means five techniques, chosen because each one hides its own mistakes, taught properly instead of dumped in a list.
Most roundups hand you a wall of pretty photos and no plan. You pick a design that looks simple in the thumbnail, get three nails in, smudge one, and stop. Nobody tells you what to do about the smudge. This guide does the opposite: five techniques, in order of how much hand control they need, with the fix built into each one. Practice on a spare tip first if you have one lying around, since even nail professionals recommend practicing on a spare tip first before committing polish to a real set. By the end, you will know exactly which design to reach for tonight and how to rescue it if your hand slips.
What's the Easiest Nail Art Design to Start With?
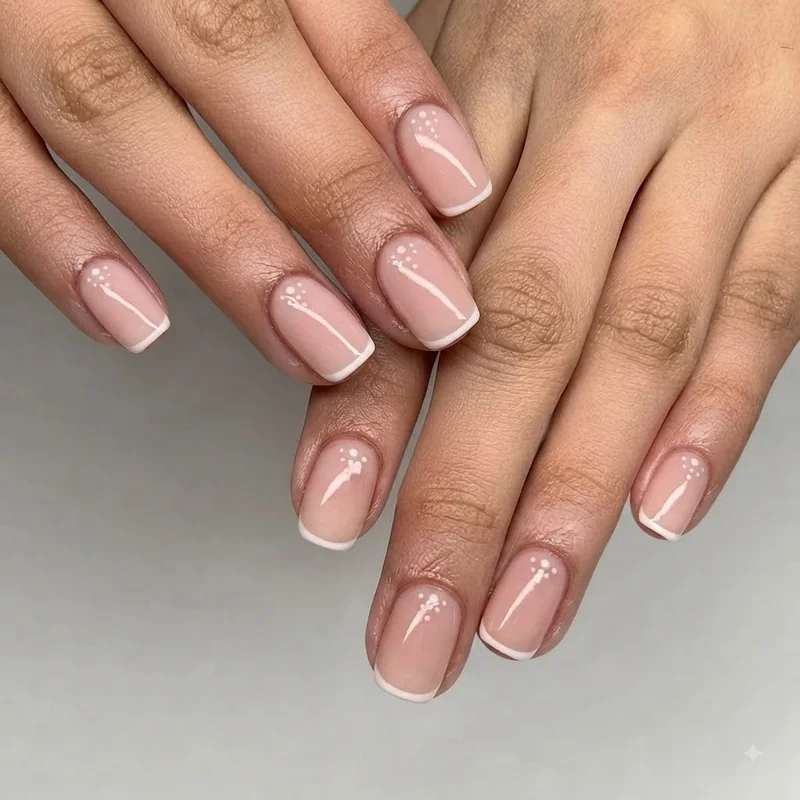
Everyone assumes "easiest" means the design with the fewest lines. It actually means the design that hides a mistake best, and those are not the same thing. A single stripe looks simple but shows every wobble. A cluster of dots looks fussier but blends imperfections into the pattern itself. That is the real definition of easy nail art for beginners: forgiving, not simple-looking.
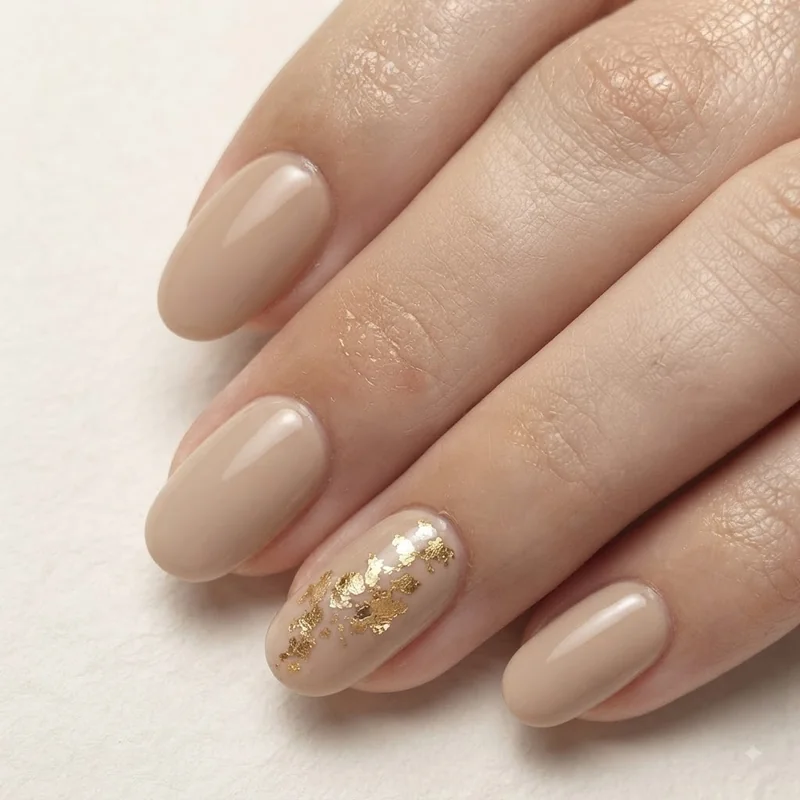
The single-accent nail wins on this measure. One nail carries the whole design, the rest of the set stays a safe, solid colour, and if that one nail goes wrong, you have lost nothing but a single nail's worth of time. It is also the fastest of the five to attempt again if you want another go. Start there tonight, not with whatever design has the most likes on Pinterest.
What You Actually Need (Probably Already in Your Drawer)
Do you need special tools to start easy nail art for beginners? No. A toothpick, the rounded end of a bobby pin, a strip of tape and a cut piece of makeup sponge cover four of the five techniques here without a single specialty purchase. The fifth, micro dots, is easier with a dotting tool but still doable without one.
Before any of that, get the base manicure right, because nail art sits on top of prep, not instead of it. A thin base coat protects the natural nail and gives polish something to grip. Two thin coats of your chosen colour beat one thick coat every time, since thick coats take longer to cure and smudge more easily under a design. If your base manicure routine still feels slow or fiddly, sort that out first with the fastest legit at-home manicure routine, then come back here for the art itself.
Once the base is cured, here is the working list: a toothpick (for dots, swirls and small details), a bobby pin (backup dotting tool), a small piece of sponge (for gradients), a short strip of tape (for stripes and blocked colour), and a top coat to seal everything once you are done. Cotton buds and remover handle cleanup as you go. Nothing on that list needs a specialty aisle.