Why Black Polish Is Harder Than It Looks (and How to Apply It Properly)
Three coats of sheer coverage and one thick coat are not the same thing. That distinction is why black polish looks streaky on so many home manicures.
Black is an unforgiving formula. Light polishes hide brush strokes. Dark ones amplify every drag mark, every overloaded bristle, every second-guess mid-application. The fix is thin coats applied with confidence.
How to apply black polish without streaking:
- Wipe one side of the brush on the bottle neck to remove about half the polish. You want a loaded brush, not a dripping one.
- Place the brush near (not at) the cuticle line. Press gently so bristles fan slightly, then draw a single stroke straight down to the tip. That's one stroke. Centre first.
- One stroke on the left side of the nail. One on the right. Three strokes total per coat. Do not go back to fix anything on a wet coat it will streak.
- Wait two to three minutes. The nail should feel dry at the edges and matte on the surface before you apply the next coat.
- Repeat for coat two. Repeat for coat three if coverage is still uneven.
The reason black polish looks patchy on the first coat is pigment settling it's normal and expected. Coat two fills in the gaps. Coat three seals everything. Applying thick coats to compensate creates a finish that takes twice as long to dry and chips within a day.
The 5 Best Goth Nail Designs for Beginners No Thin Brushes Required
If you've felt like the good goth nail art is gatekept behind expensive brushes and a steady hand that apparently everyone else has, this section is for you.
These five designs are done with tools you own right now. Each one reads as intentional and dark. None of them require freehand drawing skill.
1. Solid matte black
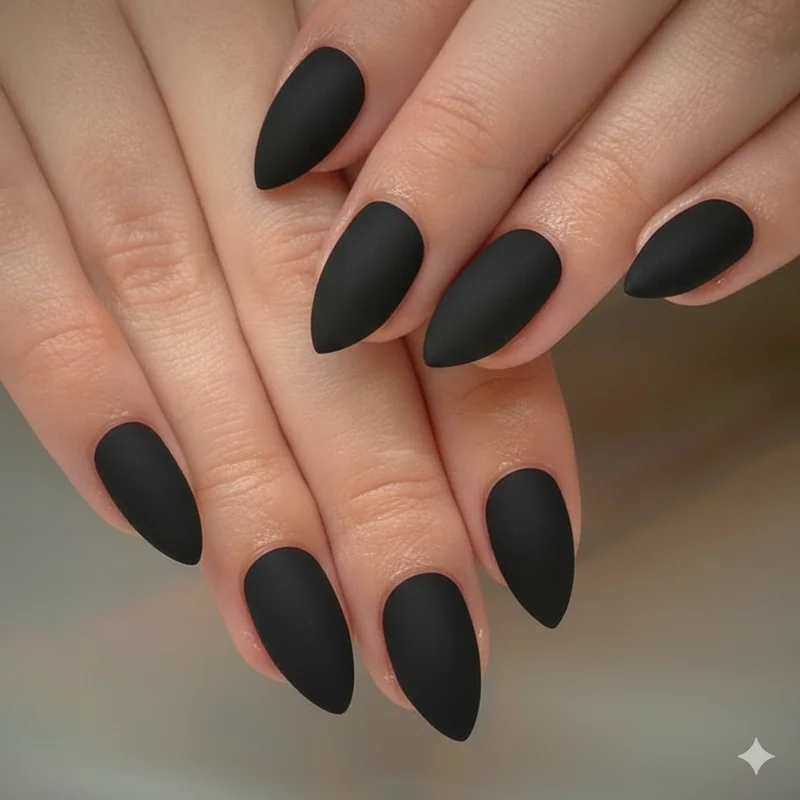
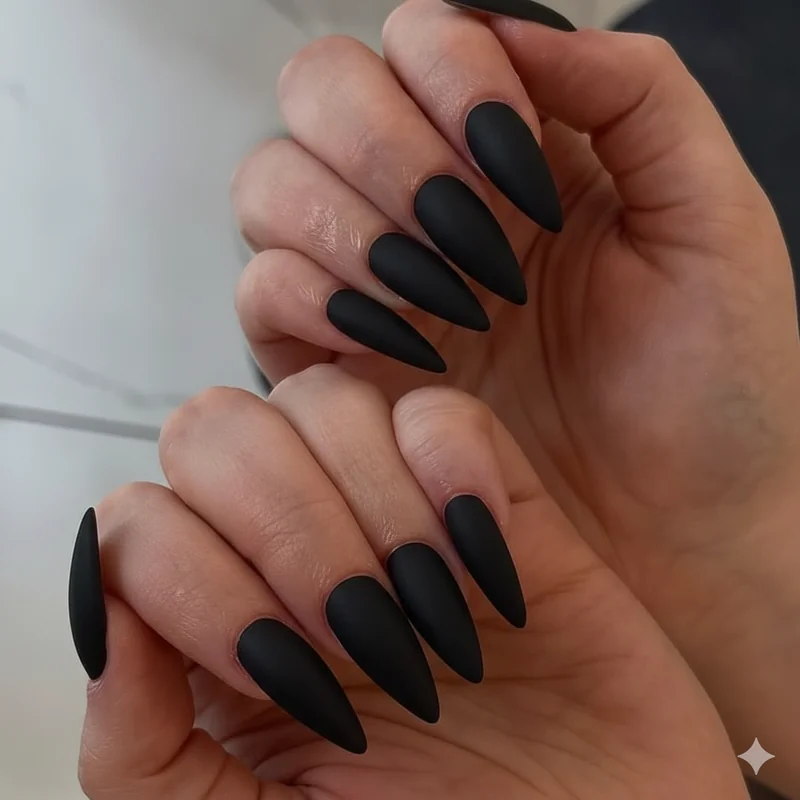
The most editorial choice on this list. Apply three thin coats of black, then one coat of matte top coat. That's it. A flat, velvet-finish black nail is more striking than a complicated design done badly.
2. Moon accent nail
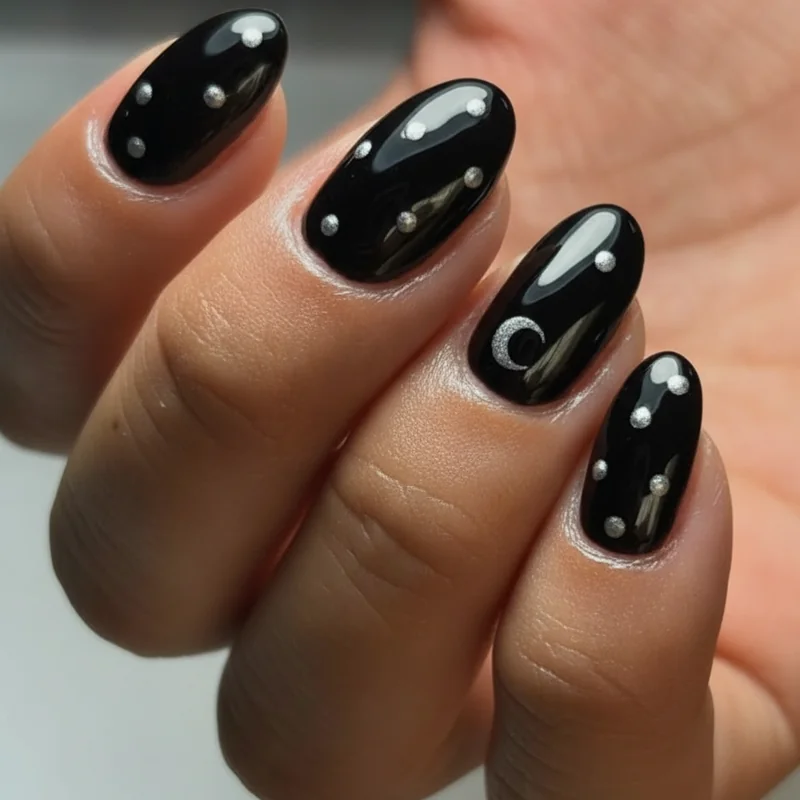
Apply black to all nails. On the ring finger, use a toothpick dipped in white or silver polish to draw a crescent along the cuticle edge. One curved stroke. Seal with top coat. Minimal, unmistakably goth.
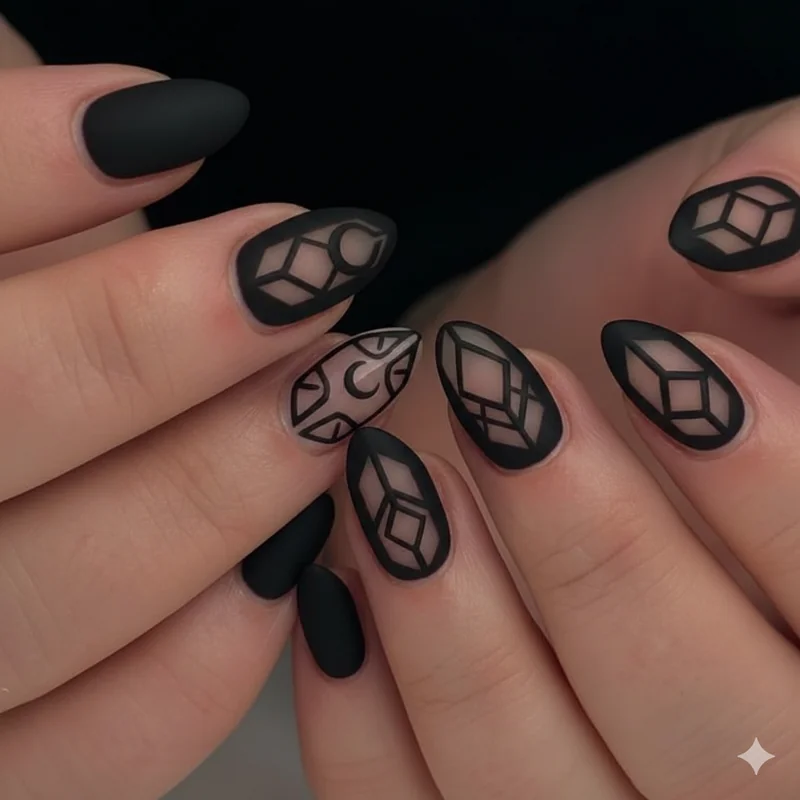
3. Negative space cross
Apply clear or nude base to all nails. Use a thin strip of scotch tape placed in a cross shape on your accent nail. Paint black over the whole nail and let it dry for 60 seconds. Peel the tape. The exposed nail underneath becomes the cross design. No drawing required.
4. Blood drip tips
Apply black to all nails and let dry completely. Dip a toothpick in deep red polish and draw three or four uneven drips from the tip downward varying lengths, slightly different thicknesses. It does not need to be precise. Irregular lines look more convincing.
5. Dot matrix
Use the rounded end of a bobby pin dipped in silver or white polish to place dots across a black base. A diagonal line of dots, a scattered constellation pattern, or a neat row along the cuticle all work. This is the entry point for pastel goth nails too, if you want a gentler starting point before committing to full dark.
For the red-and-black designs specifically, Vampy Nails: Red & Black Goth Nail Ideas has the colour combinations worth bookmarking.
Intermediate Techniques: Spiderwebs, Lace, and Skull Details That Actually Work
Most spiderweb tutorials look like this: "use a thin brush and draw lines." Which is true, and also completely useless if you don't own a thin brush and have never drawn on a nail before.
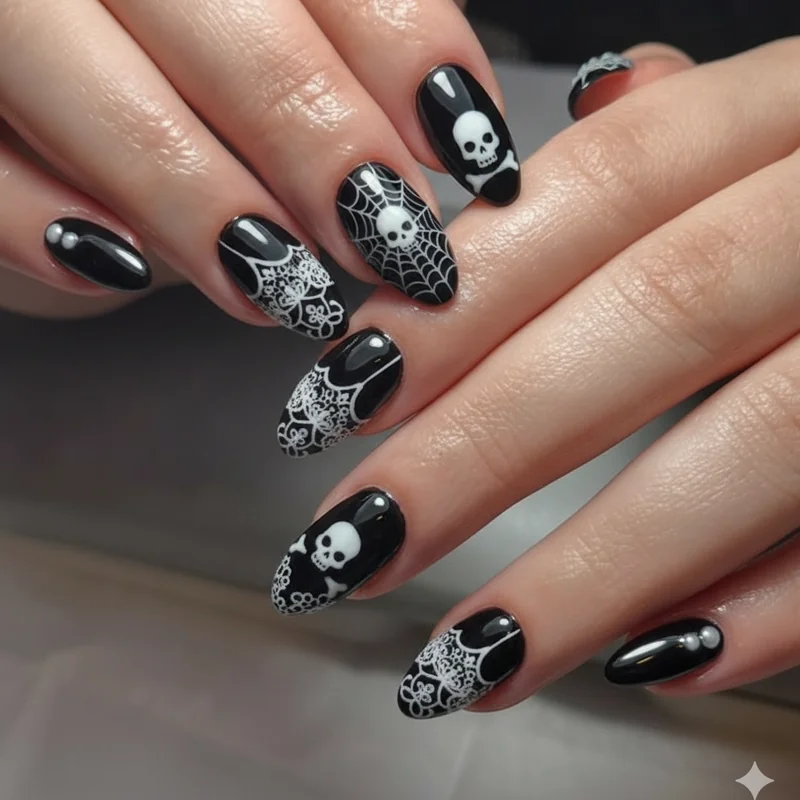
The reframe: a spiderweb is just straight lines and curved connections. The technique is more forgiving than it appears, and it works with a toothpick just as well as a brush.
Spiderweb nail tutorial:
- Apply your black base and let it dry completely at least five minutes. Rushing this step is why designs bleed.
- Dip a toothpick into white polish. Wipe off most of it on the bottle rim. You want the thinnest possible line.
- Draw four to six straight lines radiating from one corner of the nail outward, like spokes of a wheel. They don't need to be perfectly even.
- Starting from the outer edge, draw a short curved line connecting each pair of spokes. Move inward and repeat two or three rings of curved connectors total.
- The imperfections are the aesthetic. An uneven web looks handmade; a computer-perfect one looks like a sticker.
Lace nail tutorial:
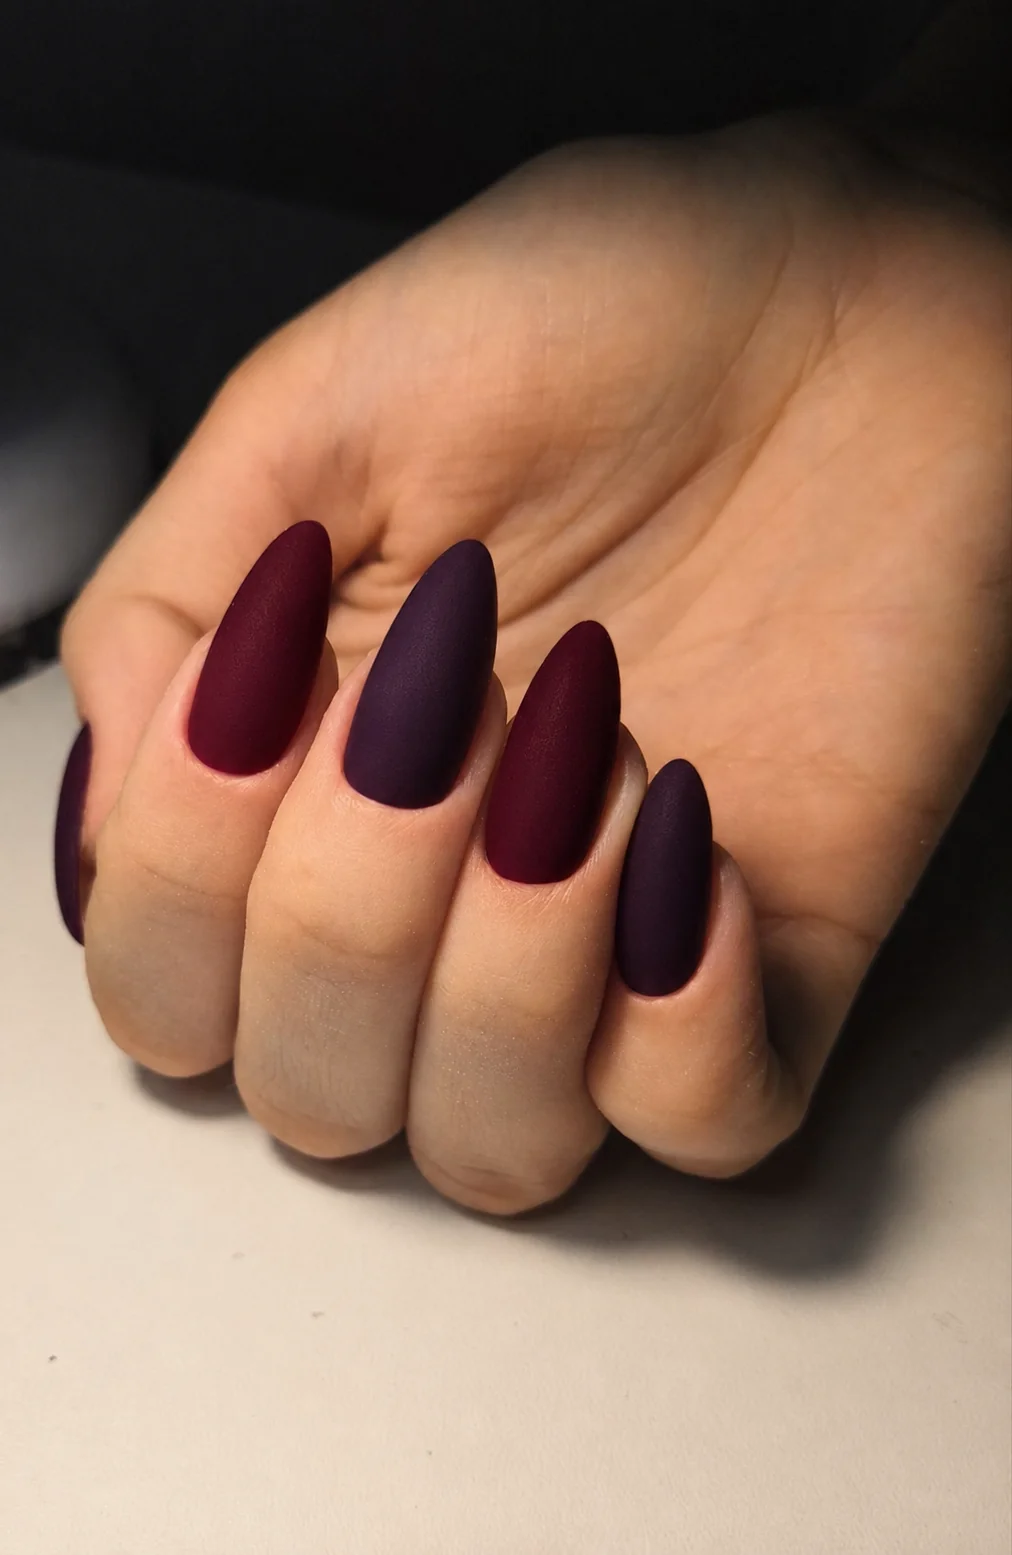
- Apply a black or deep burgundy base. Dry fully.
- Using a detail brush or toothpick dipped in white or nude polish, draw a scalloped edge along the tip of the nail a row of small arcs.
- Below each arc, place a small dot at the lowest point. Add two smaller dots on either side.
- That three-dot cluster repeated across the nail is the core of every lace pattern. Complexity comes from layering more dots and arcs above it.
Skull detail:
This one genuinely benefits from a nail art brush rather than a toothpick, because it involves filling a small shape rather than drawing lines. Still achievable with a toothpick, just slower. Draw two overlapping circles in white for the skull shape, two tiny oval eye sockets, and a row of small squares for teeth. It looks considerably better than it sounds to execute.
For moon phase designs and witchy symbol work crescent moons, pentacles, runes Witchy Nails Ideas for Every Aesthetic has the specific techniques mapped to each motif.
How to Do Chrome and Metallic Goth Effects at Home
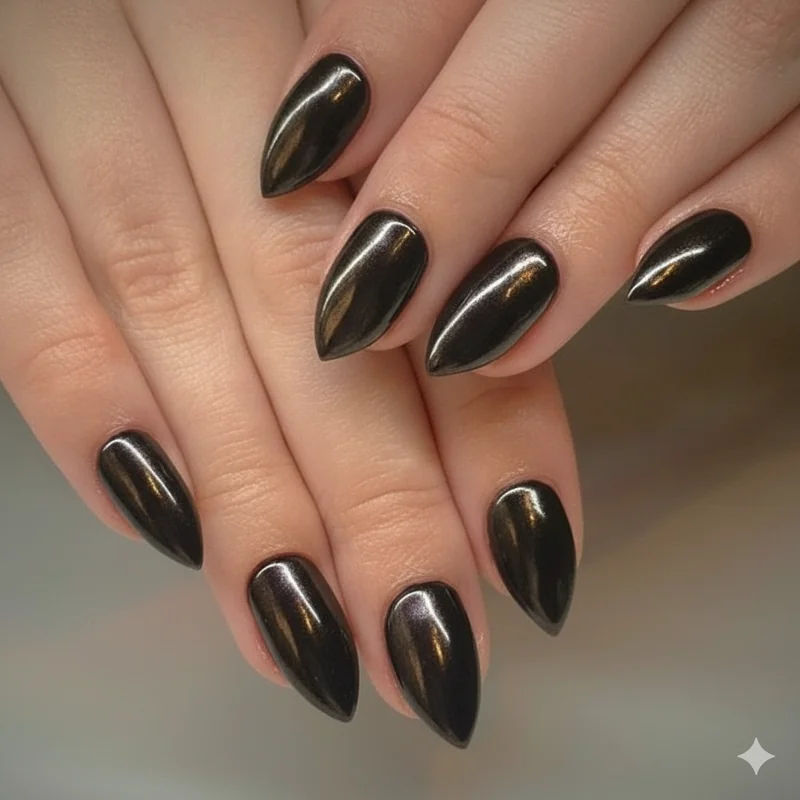
Chrome powder does not work on regular nail polish. This is the most common source of frustration for DIY chrome attempts, and no tutorial seems to say it plainly enough.
The reason: chrome powder is a finely milled metallic pigment that bonds to the inhibition layer the slightly tacky surface left behind by gel polish after curing. Regular polish dries to a hard, smooth finish with nothing for the powder particles to grip onto. The result is patchy, powdery, and lifts within hours.
To do chrome goth nails at home, you need:
- Gel base coat
- Gel colour polish (black for maximum mirror effect)
- A no-wipe gel top coat
- Chrome powder (Makartt's 6-colour kit is widely available and reliable)
- A UV or LED lamp (36W minimum)
- A silicone sponge applicator or eyeshadow sponge tip
Tutorial:
- Prep nails as normal. Apply gel base coat and cure for 30 seconds under your lamp.
- Apply black gel polish in two thin coats, curing 60 seconds between each.
- Apply a thin, even layer of no-wipe gel top coat. Cure for exactly 30 seconds not longer. Over-curing removes the tacky surface the chrome needs to adhere to.
- Using the sponge applicator, pick up a small amount of chrome powder and rub it onto the nail in small circular motions. Apply firm, even pressure.
- Buff until the surface looks fully metallic with no powdery residue remaining.
- Seal with a final layer of no-wipe top coat and cure fully.
The initial setup costs between £25 and £45. After that, each chrome manicure costs almost nothing per wear. For complex chrome alternatives and hack techniques that skip the specialist kit entirely, these at-home nail hacks are worth reading before you invest.
Matte vs Glossy: Which Finish, Which Top Coat, and How to Make It Last
The finish is not a cosmetic afterthought. It changes the entire register of the nail.
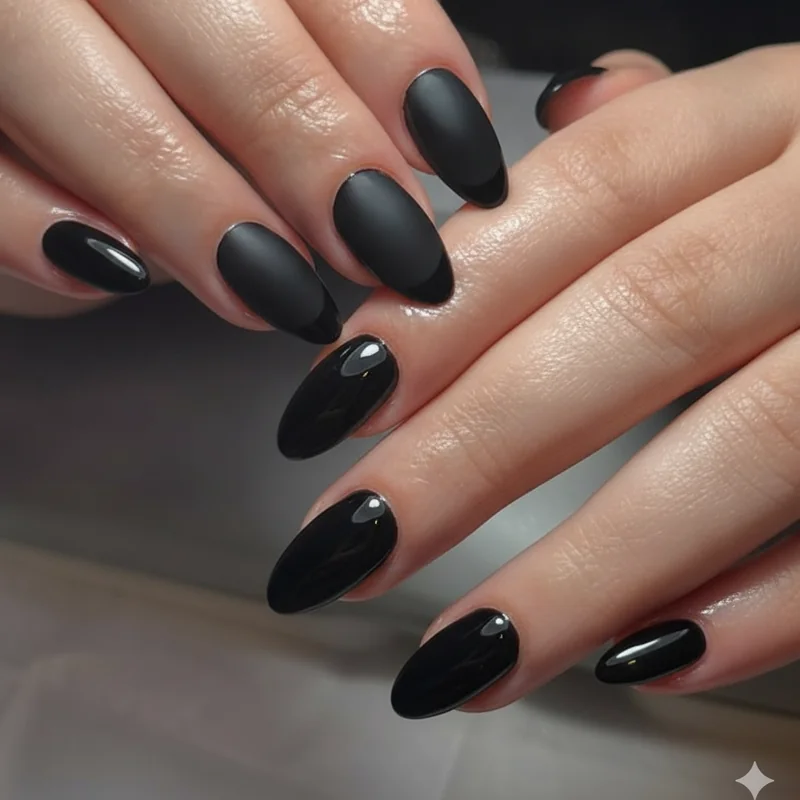
Glossy black reads as classic, high-shine, vampiric. Matte black reads as contemporary, flat, almost architectural. Both are goth. The choice is a design decision, not a preference one.
Matte top coat that won't pill:
Cheap matte top coats pill when they dry because the matting agents in the formula clump. OPI Matte Top Coat is the most consistent performer across reviews it dries truly flat, doesn't pill, and doesn't go glossy overnight. Essie's Matte About You is the more affordable alternative with a comparable finish. Avoid ultra-budget options for matte specifically this is not the place to save £2.
Matte application rule: one coat, applied evenly, no going back. If you missed a section, let the coat dry completely before adding another pass. Applying over a still-tacky matte coat creates visible streaks and a patchy finish.
For glossy: apply two thin coats of a standard glossy top coat and wrap the tip of each nail by running the brush across the free edge. That tip-wrapping move is the difference between a manicure that chips at the tip on day two and one that lasts a week. Both OPI Top Coat and Seche Vite dry fast and hold up well with dark polish. You can check OPI's full top coat range for the current lineup.